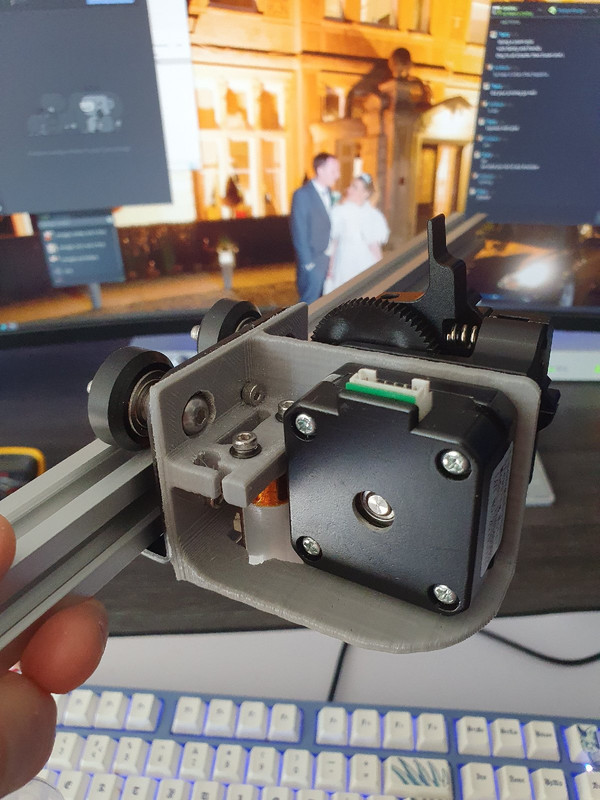
Todays random update as a couple of things have moved along. I redesigned the x axis caliper as I am now calling it, there wasn't enough clearance before to design a part that would work with the threaded T8 bars so I needed to bring the bar inwards slightly but then realised I have a couple of very nice mounting points available to me by doing it this new way so I think this will be my final design for this part. Once I finished I cut a load of angles and cut away as much of model as I could to reduce the print time and plastic usage while still having a strong part, the motor actually works as a brace as well giving extra rigidity with the motor in place.
The print itself is a bit meh but it does the job perfectly:


Then I started working on the top mounts for the T8 bar, using the longest bolt available to me I have measured with a set of calipers and set it's position at the top which you can see is quite some distance from the rest of the machine, obviously you can't leave it like this but to get measurements you need to mock things up:

With the measurements I have designed a end cap with a captive nut that should work at the top. Right now the spacer is just a block with the right dimensions to marry up with the parts I have for the top but like the x carriage I will print it, put it in place, get some measurements and then work on a new design that fits perfectly. I was considering actually making it part of that end cap which is why it is in the same build area below while I am modelling:

And how it looks right now:

I have started working on the next part which is the part that will raise the 2020 extrusion up on the T8 threaded bar. again no need for anything complicated so I have been mocking up a part that will work in cad. I think pretty much everything will have at least one revision as getting everything just right can often mean making small changes to the model, for example I know for my printer on an m8 bar that I should set the size of the hole to 8.2mm rather than 8mm if I want that purfectly snug fit. What I am really saying is I just don't have the foresight to see the potential pitfalls before getting something printing.
Also minor issue, I am running out of the blue pla. I have carbon fibre, red or grey available after that and don't know what to go with.


")


 many thanks for sending over some stuff, very much looking forward to a surprise goody bag (new toys should stop me impulse buying things I don't need elsewhere
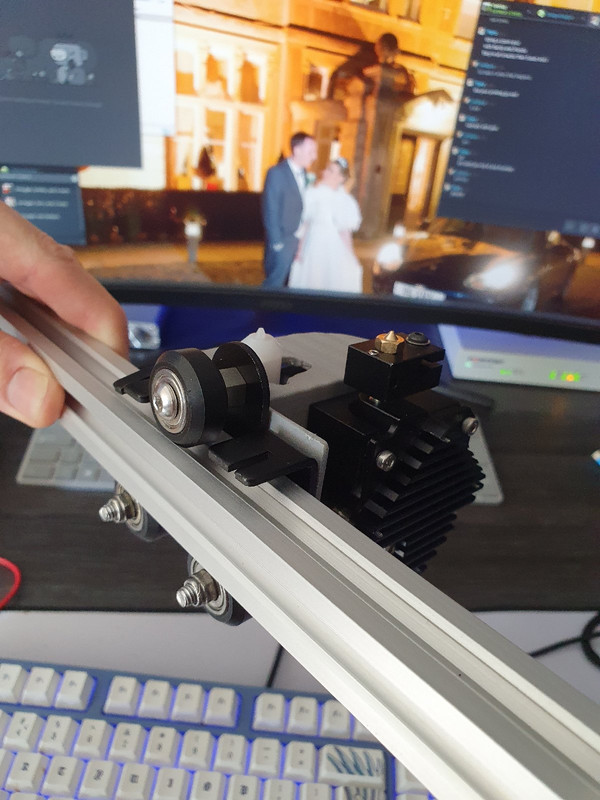

")