Project : Zotac ITX Rebox

Associate
Joined
6 Mar 2011
Posts
271
Location
London
My first scratch build was this .....

17.jpg


Project log here

It's a HTPC that uses a ZOTAC IONITX-P-E , a pico psu and laptop brick and runs XBMC to stream from a server . When I built it I needed a graphic card with an analogue out so that I could connect to a crt television . Now that I've joined the 21st century with a tv with a hdmi connection I don't need the graphic card . I added a vent above the cpu fan and that seems to work well enough for cooling .

The card now lives in my second project , this another HTPC with an ASUS AT3IONT-I Deluxe ....

1.jpg


The project log for it is here


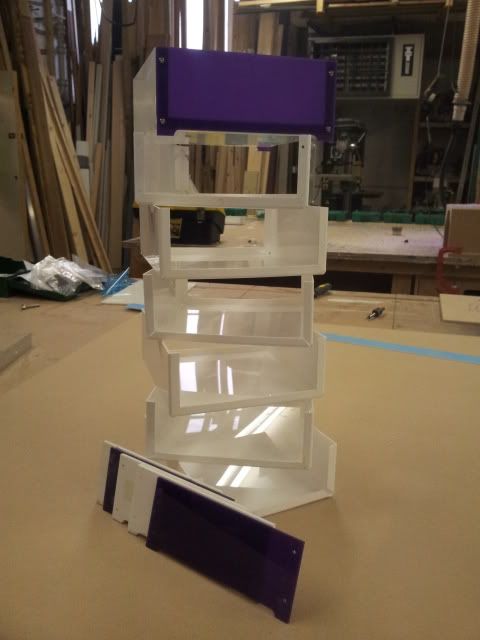
So there is no need for the extra space I thought it was time to make a new case for it . I was happy with the look my second project so I'm going for the same sort of look only smaller about 200mm by 200mm by 70mm .

Dubious sketchup picture .....

sketch.png


The main difference between my new build and the Asus build is really the constuction . I want to make something that is simpler to build and that I can get parts laser cut for so that I can make more for friends etc .

So 4mm acrylic it is then ;)

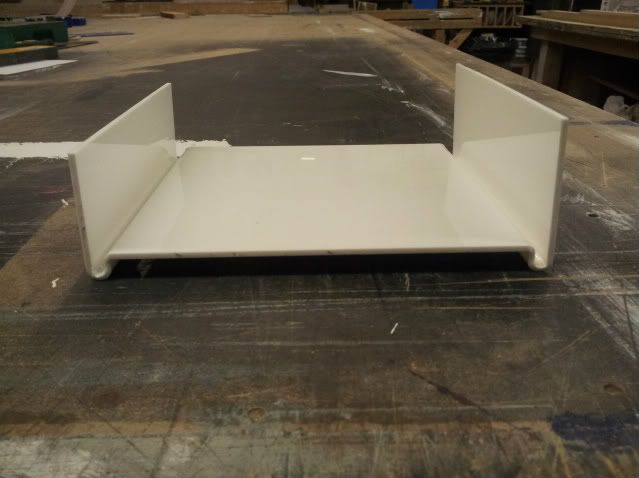
First part is the base and internal sides . I want to do this as one part with the feet as part of it .

I've not bent acrylic before so all a bit experimental for me .

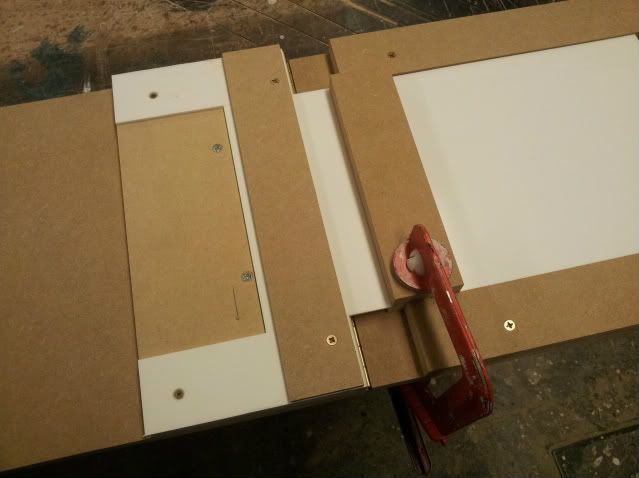
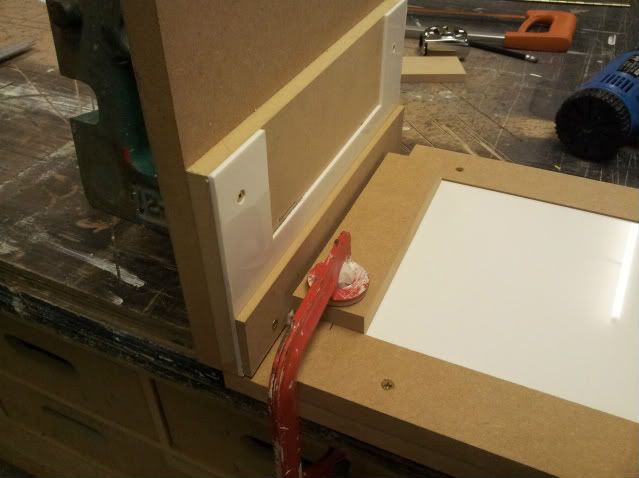
First a jig ...
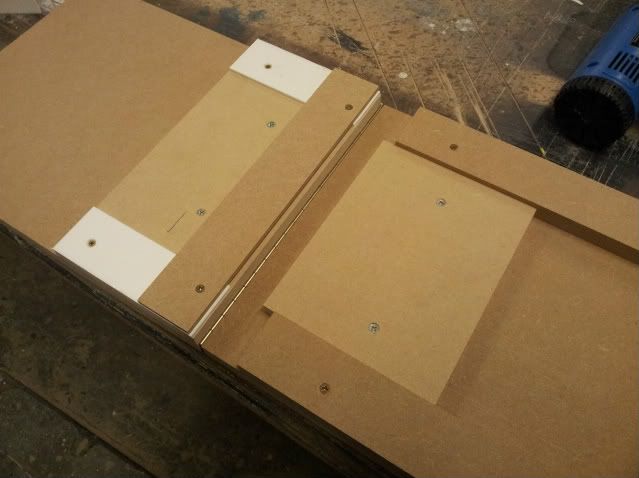
20111108_140128.jpg


First trial piece , only a 50mm wide strip .
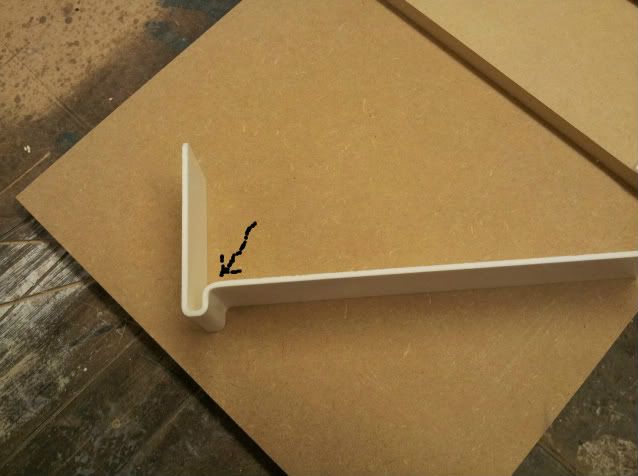
20111108_140116-1.jpg


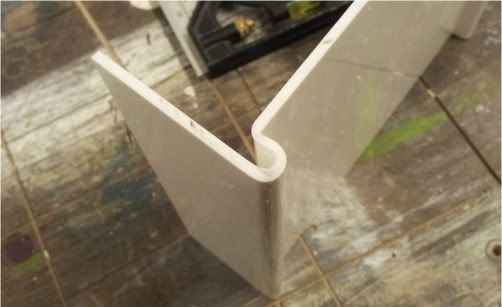
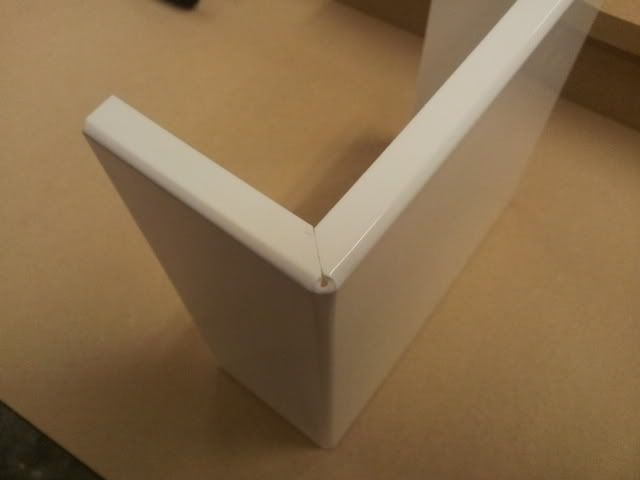
I didn't really like the sort of double radius at the point shown by the arrow .

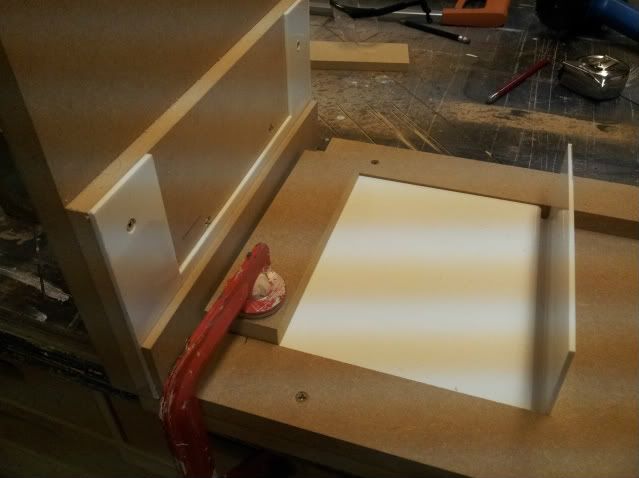
So I had another go with an extra clamp ... you can see the tighter curve on the right .
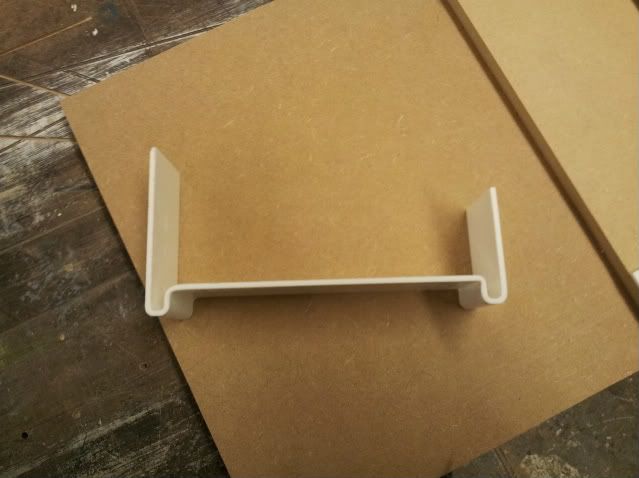
20111108_140857.jpg


Going to try out a full size one now :)
 
So first attempt at a full size one .... sort of good and sort of bad ;)

Blank in the jig about to get heated ...

20111108_152507.jpg


First bend ... waiting for it to cool .

20111108_152812.jpg


And the second .

20111108_153711.jpg


So all sort of works but a couple of problems ...

I think I'm taking out of the jig before it's cool enough , it's hard to see but the sides aren't at 90 degrees . I think it's distorting as it cools unevenly . Easy fix I think .... leave it it longer .

20111108_154152.jpg


Second problem , the ends of the acrylic are bulging out . I think my jig is too tight and it's forcing the acrylic out as it bends , you can't see it in the picture but there is a sharp line on the inside of the 'foot' where the jig is pushed into it .

20111108_154121.jpg


I think I need to radius the parts of the jig that push into the acrylic .
 
Forgot to update this one :rolleyes:

So I spent an afternoon working on this project ....

20111117_181020.jpg


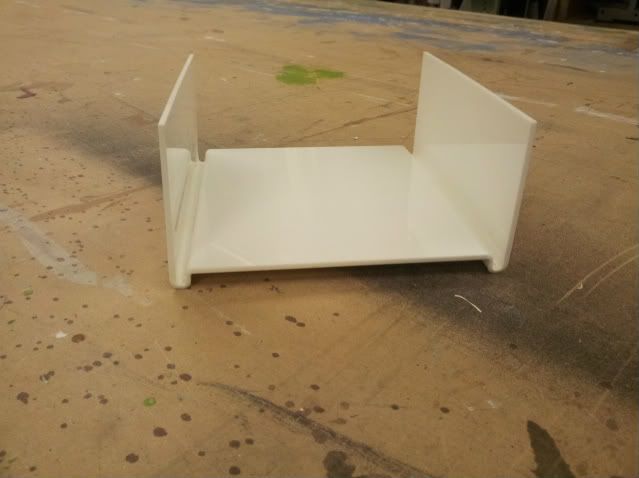
And I finally got one the right size and pretty square :)

20111117_180946.jpg


But I've run into problem if I want to make a few of these .

They all come out a slightly different size . Not by much .... about 1mm but it would mean that various parts of the case wouldn't line up :(

I think the triple bend is just too complicated for me make with any sort of consistency .

A bit of a rethink is needed :)
 
Strip Heater

So I've got a new plan for this , same sort of look but a couple of changes to the construction .

I've got some 2mm acrylic now so all I need is a strip heater . Rather than start a new thread I thought I'd put in here :)
First step I dug out my old foam cutter and power supply from when I made and flew RC gliders . Still working after 15 years but I suppose there isn't much to go wrong with it :lol:

20111124_121402.jpg


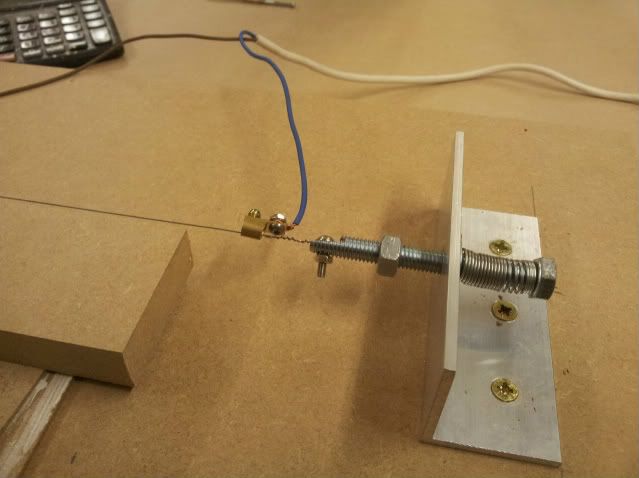
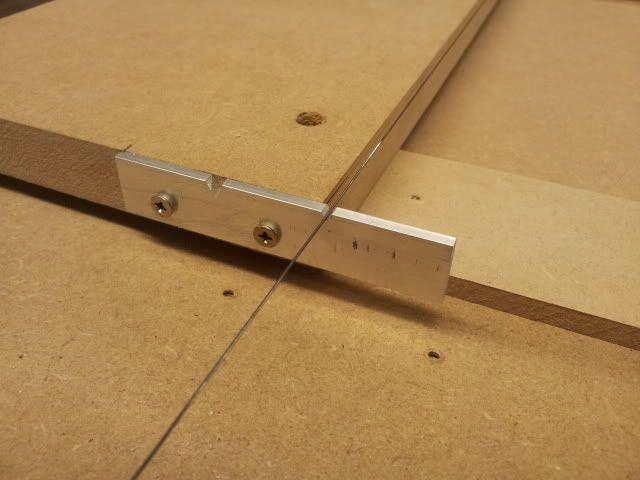
I want the wire to stay straight when it gets hot and expands so some sort of tensioning thingy is needed ....

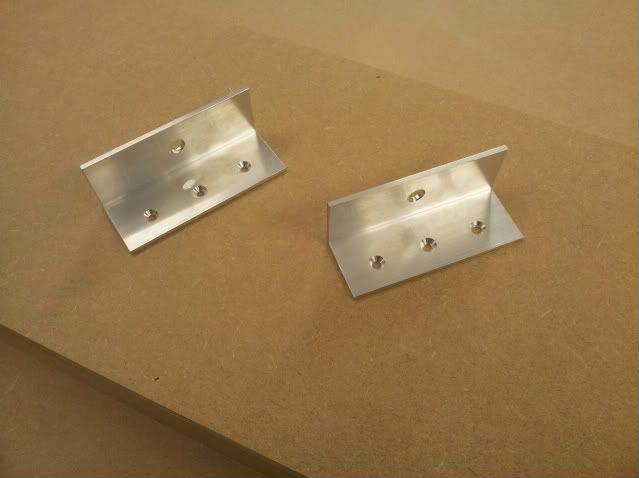
Brackets .

20111124_141255.jpg


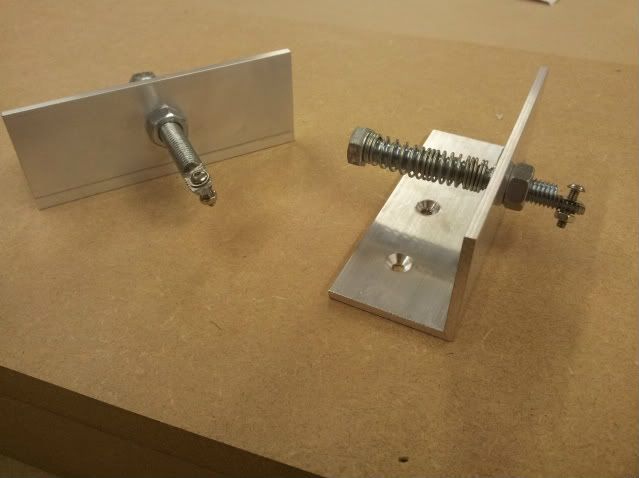
Some bolts with springs .

20111124_145545.jpg


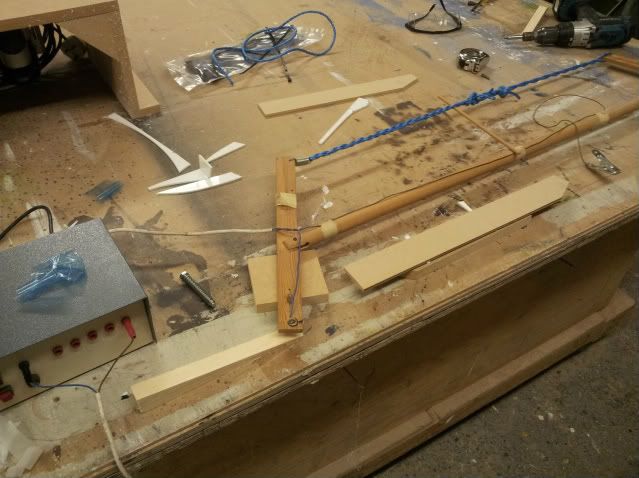
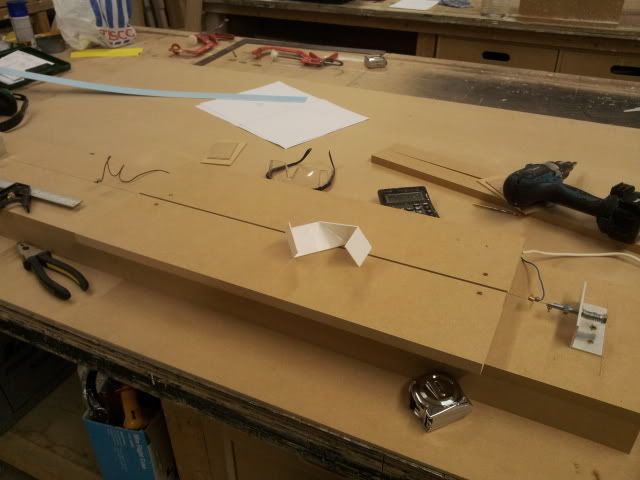
Tensioning thingy fitted with the wire and electrical connection

20111124_163124.jpg


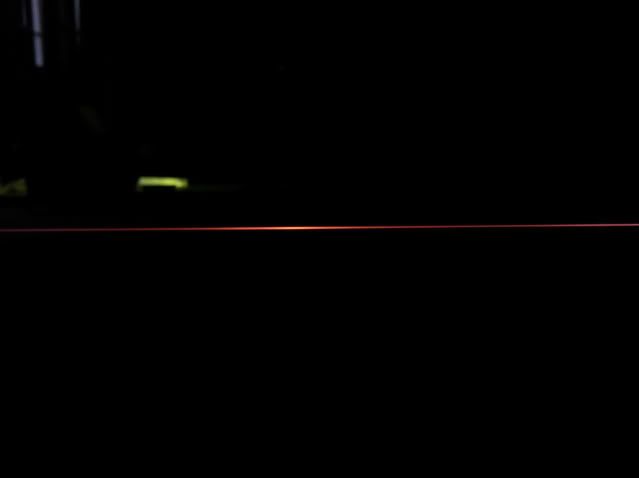
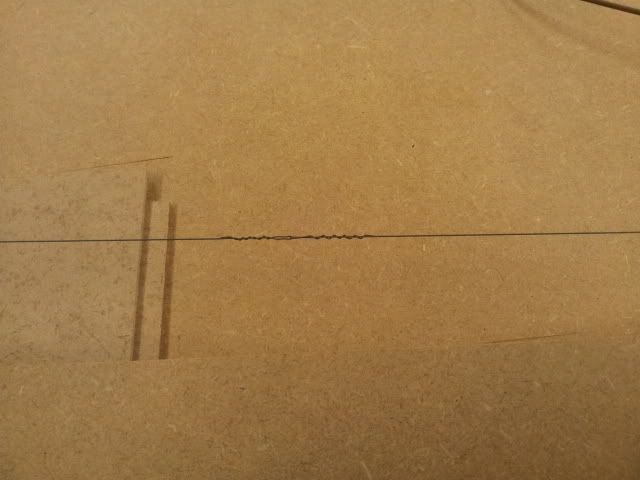
Test run .... it's hot and it's straight ;)

20111124_161601.jpg


Seems there is something that can go wrong .... just after I took the picture the wire snapped :worried: luckily it's not under much tension so I didn't get whipped by a bit of red hot wire , maybe a bit too much heat for my 15 year old wire :duh:

Anyway running repair until I get some new wire .

20111124_164029.jpg


Finished :)

20111124_172938.jpg


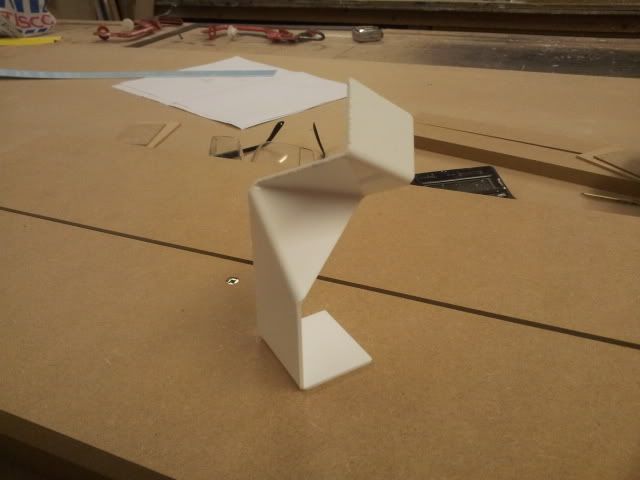
And a bent bit of acrylic .....

20111124_173133.jpg


And if you're really interested a video of the tensioning thingy in action ....

 
Last edited:
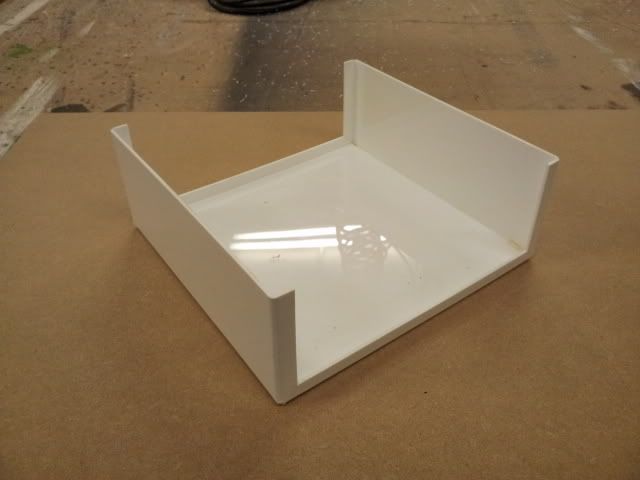
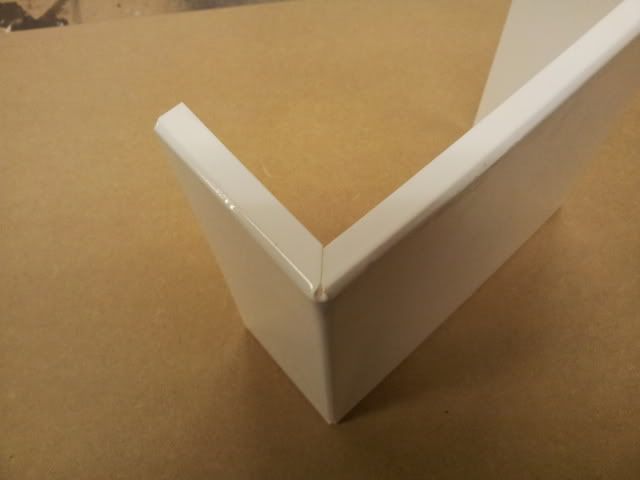
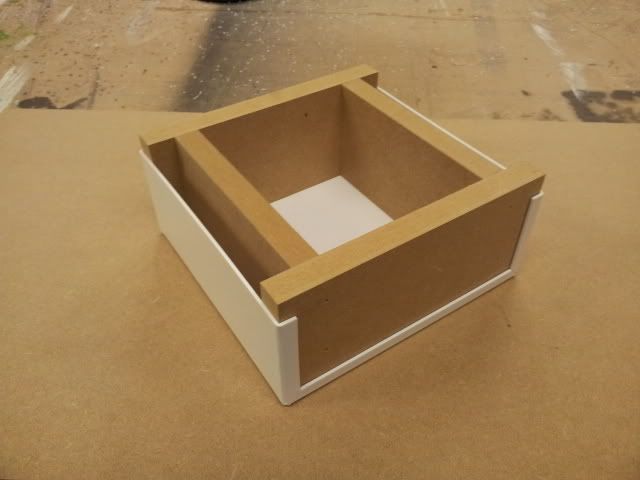
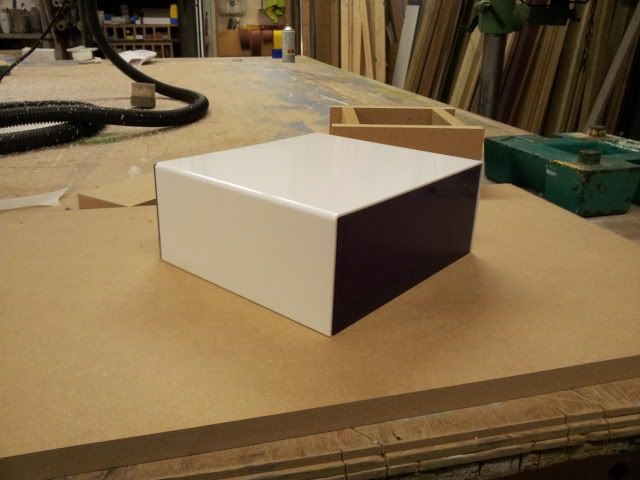
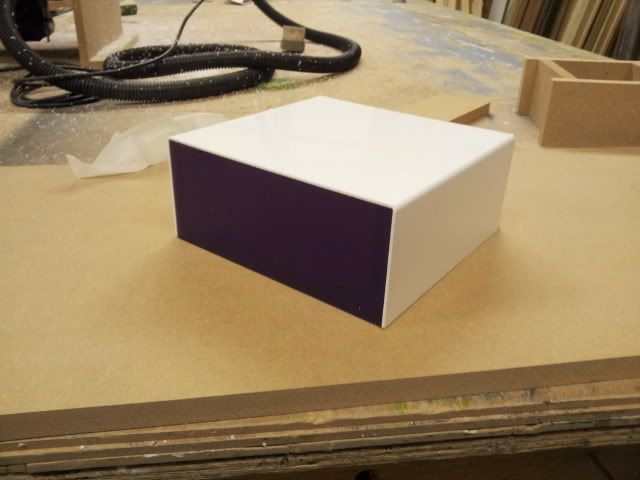
So a quick rough and ready test run of my new plan :)

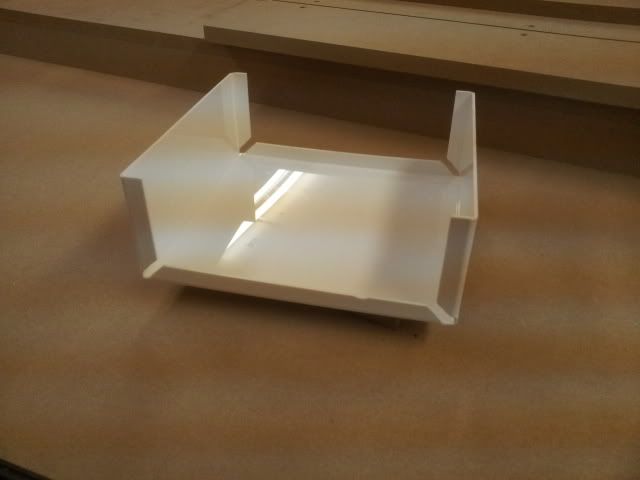
Internal bit , I'll make the corner cut outs neater on the real thing .

20111125_161458.jpg


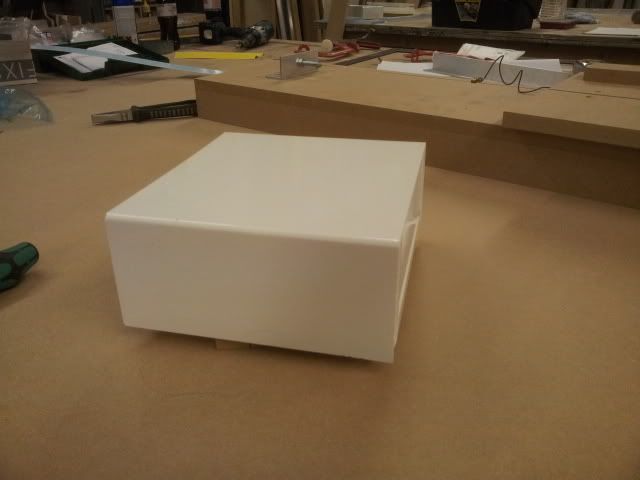
With the cover .

20111125_163144.jpg


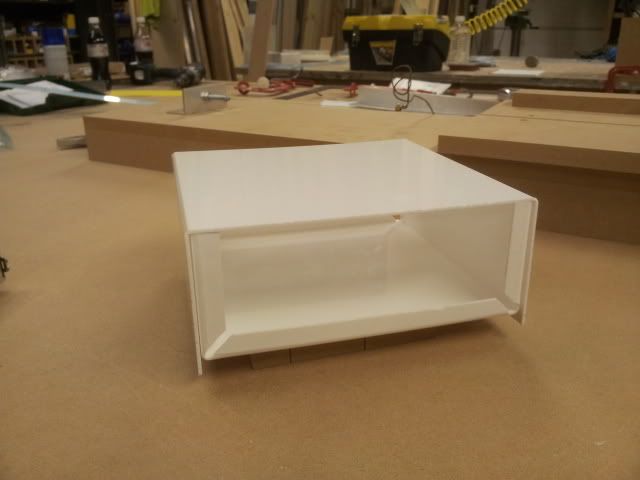
So far so good , the parts are square and the right size :) The only problem is the top sags slightly . I though about fitting a brace to support it but I'm trying to keep everything as simple as possible . Second idea was to inset the front panel instead of fitting it on the front but then I lose the clean look of the front .

Then I realised .... turn it through 90 degrees inset the sides . Clean look to the front and support for the top :)

20111125_163626.jpg
 
I like the look of this project. Scratch built cases are always more interesting that other builds.

BTW, what are you using to heat the acrylic sheet? Ever tried bending a large raduis with acrylic?
 
Impressive so far, liking this project. How much are the materials your using and how long does it take to bend?

I'm not sure on material costs yet . It doesn't take long to make the bends . If the wire is up to temp it takes about 45 secs for the 2mm acrylic to be bendable .

I like the look of this project. Scratch built cases are always more interesting that other builds.

BTW, what are you using to heat the acrylic sheet? Ever tried bending a large raduis with acrylic?

On the first case design with the foot I was using a heat gun on the new one I'm using the strip heater I made .
 
Today's progress ....

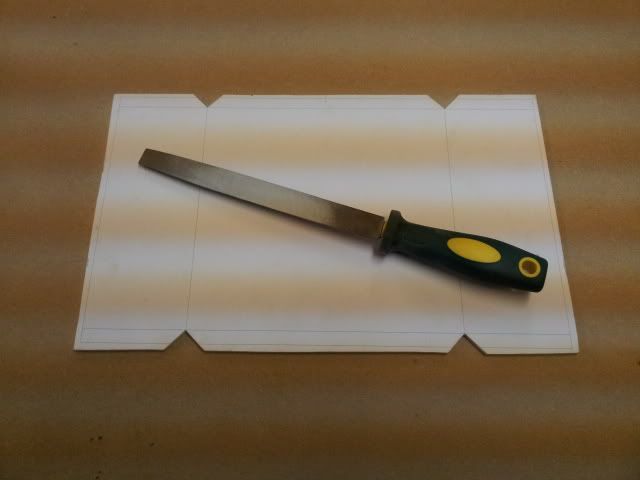
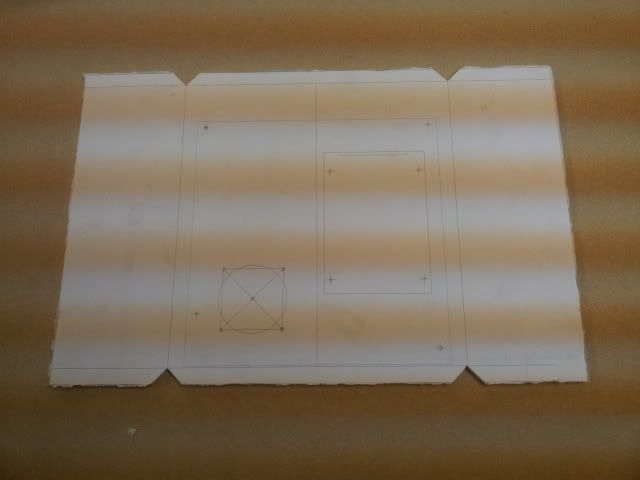
Now I'm a bit more certain about where I'm going with this I started on an accurate template for the base .

20111127_123821.jpg


First proper go at a base .

20111127_150820.jpg


20111127_150835.jpg


Made a jig to hold everything square while gluing the sides on .

20111127_150918.jpg


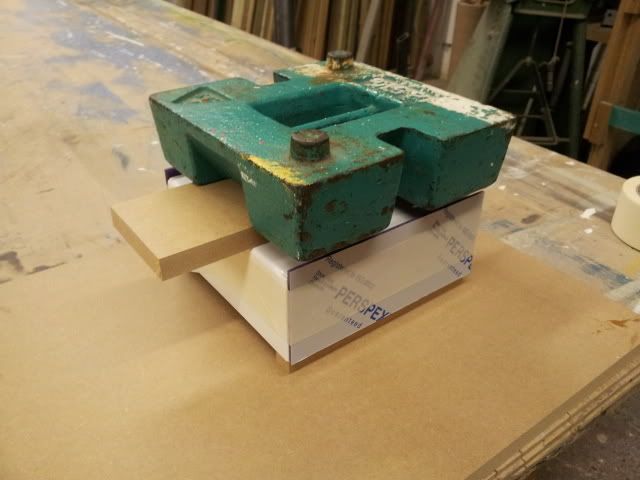
Bit of weight to hold everything steady .

20111127_152705.jpg


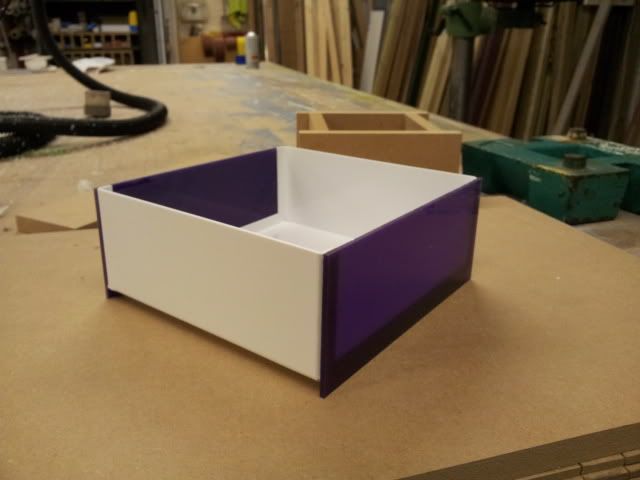
Sides stuck :)

20111127_152847.jpg


And a trial fit with the old top .

20111127_152940.jpg


Now I know I said I wanted to keep the front face clean but now that I look at it I rather like the white edge of the top showing .....
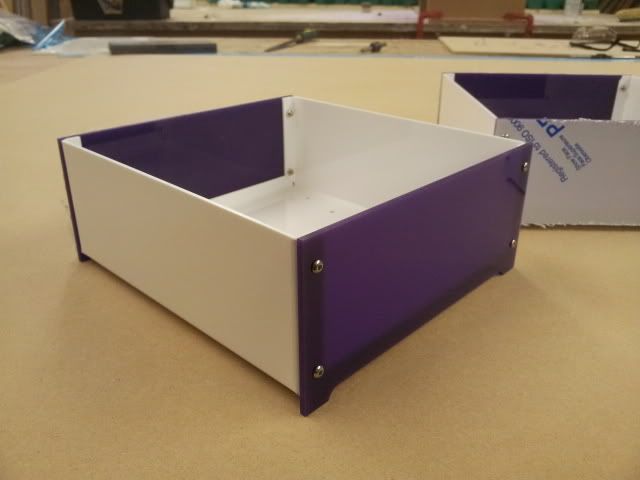
20111127_152954.jpg
 
excellent work, i reckon people would buy those you know..

I would ^

Id buy one 100%

Thanks guys .... good to know I'm getting it right :)
Mini update :)

I've been working on fine tuning the bending of the internal part of the case . I'm trying to improve the accuracy of the tabs etc .

So yet another template , turned through 90 degrees so that the coloured panel is on the front . I've also put in the mounting points for the standoffs etc

20111204_114817.jpg


A slight change to the strip heater ... these bits hold the wire in position more accurately .

20111204_143211.jpg


Almost there with the corners :)

20111204_155754.jpg
 
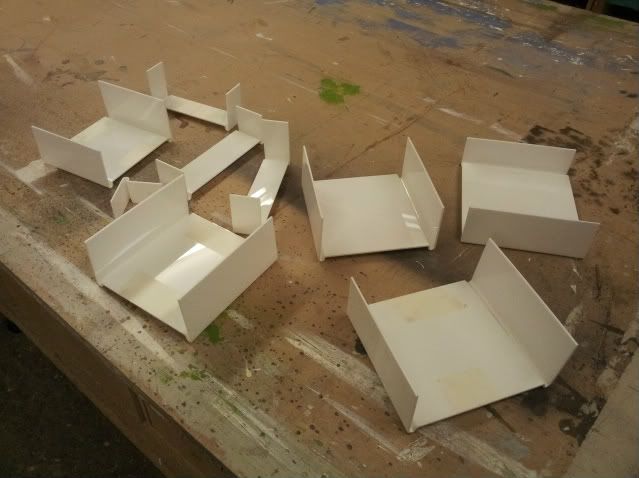
So after many templates , jigs and remakes of templates and jigs and trial pieces and slightly different trial pieces ......

20111207_135339.jpg


I finally feel like I'm getting this sorted :lol:

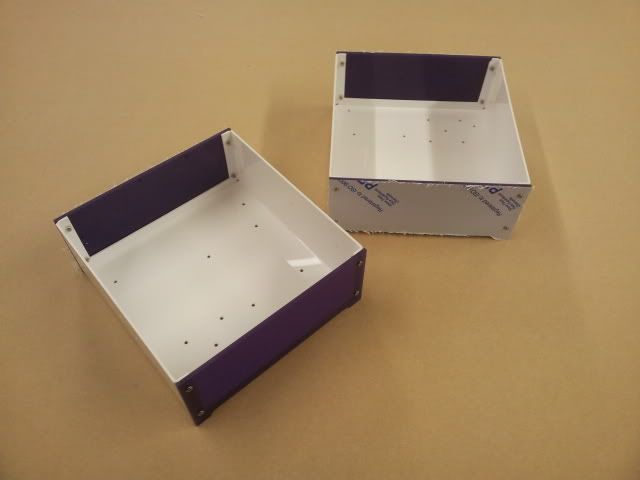
The internal and front and back bits for two cases .... both the same size ( the right size ) , both square and they match each other :)

20111207_135714.jpg


20111207_135747.jpg


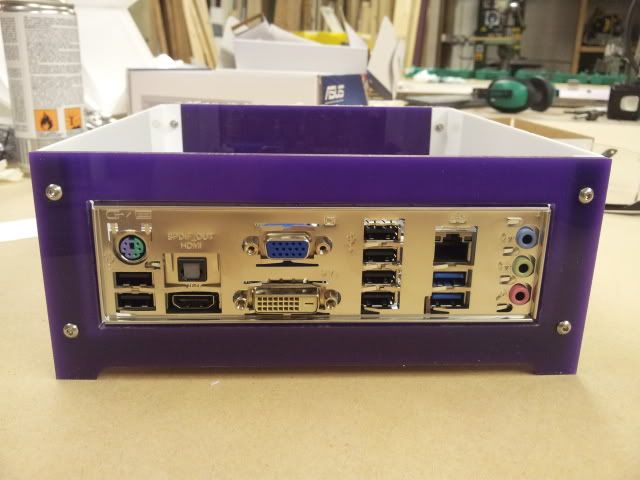
So next to sort out is the cut out for the I/O plate then on to the cover and some sort of ventilation .


:)
 
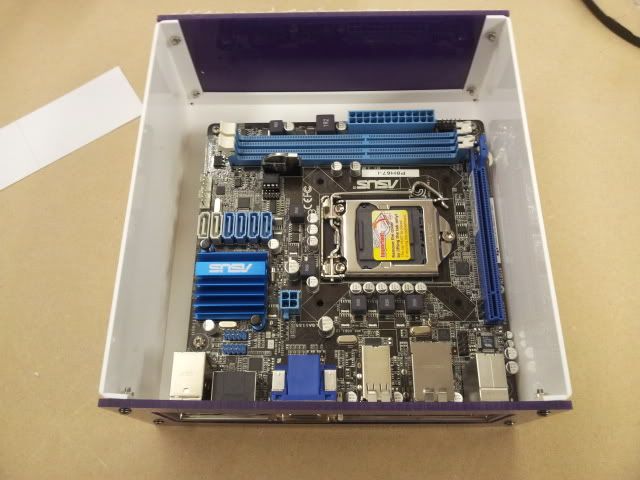
pyropetepete .... no room for an optical drive , now that I've done the cut out for the I/O plate you can see how tight it is on space .

There's 15mm under the mobo for a laptop hdd and a low profile fan .

20111207_164949.jpg


20111207_165003.jpg
 
Back
Top Bottom