Well first test print complete, at least I know it works

Did that stl come with the printer?
If so, then open it with note pad and see what they used to slice it in.
Then you can use the settings in the stl.
Well first test print complete, at least I know it works
Ahh but the case also needs to fit the printer just how I want itIve spent too much time designing stuff for this printer

I see
I was bored and bought a TFT70 and a wifi card for it
Keeping TFT35 for the printer but 7" for octoprint would be nicer I think. The Pi is now in a carbon firbre/tpu (the clear stuff you gave me) case. First tpu print came out ok. Could probably go a bit hotter for better quality on the tpu tbh. I just left the bed at 50 pressed print and fell asleep on the sofa. Woke up to this: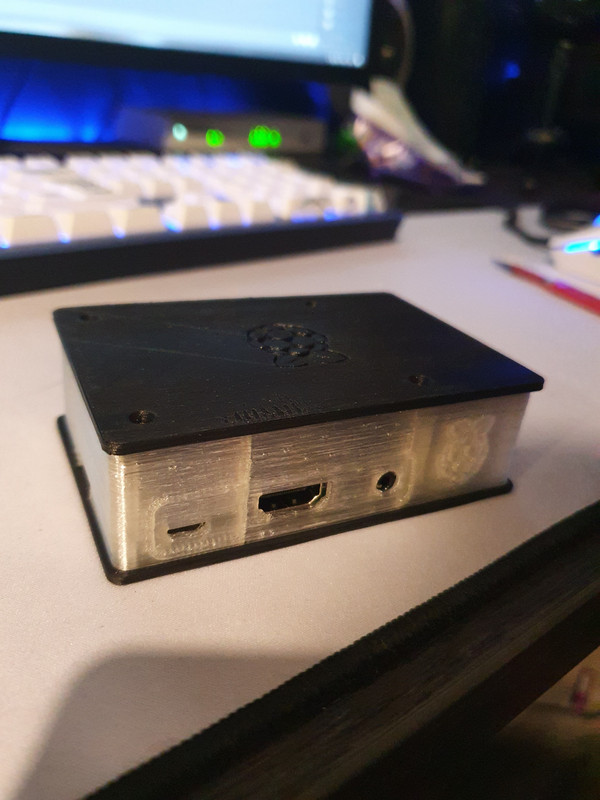
TFT70, nice! - I decided to go 7" for the Pi also
Did that stl come with the printer?
If so, then open it with note pad and see what they used to slice it in.
Then you can use the settings in the stl.
I'm guessing the values to look at/copy are the max acceleration, federate, print/retract/travel acceleration, and jerk?

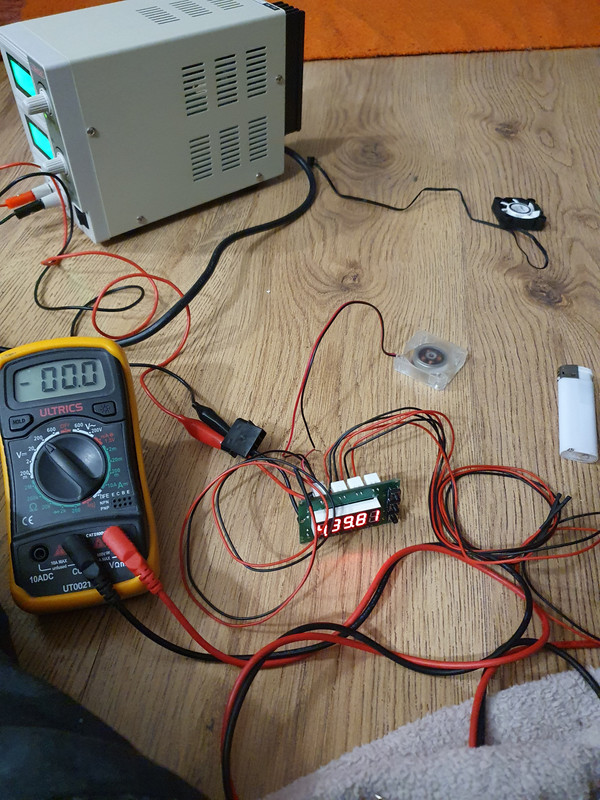
There is not enough pwm control on the skr 1.4 turbo... fans are loud, better fans on the way plus pwm for everything...
The buck converter for the pi is also here so I should get to wiring that up also
How many fans do you want to control? Hotend fan should be on full anyway but can be set to only come on at 50°c, part cooling is taken care of, electronics fan?
You could have also used the 2nd hotend mosfet for the two electronics and set it as a temp controlled fan.
 its cool though and gives me loads of control and i can now know all the temps around the drivers and case as well as the temps of the pi3 on a handy little retro screen. Speaking of which I designed a little case:
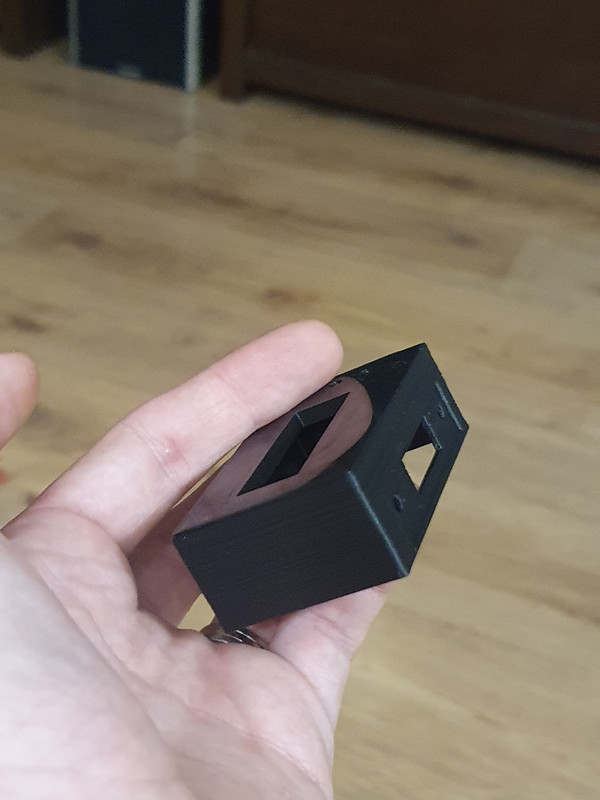
Starting to find the limitations of the standard Ender 3 when doing larger prints....so I've got new springs and a glass bed coming tomorrow.
Didn't the standard ender 3 have a double sided bed? One side textured and the other glass?
It's textured one side, just plastic on the other. The springs are really awful though, they move just from moving the bed around while levelling. Might need to modify the Z-limiter as well as I have to have the springs really loose to get it high enough to not trip the Z limit.