Robocain - Robocop 2 robot

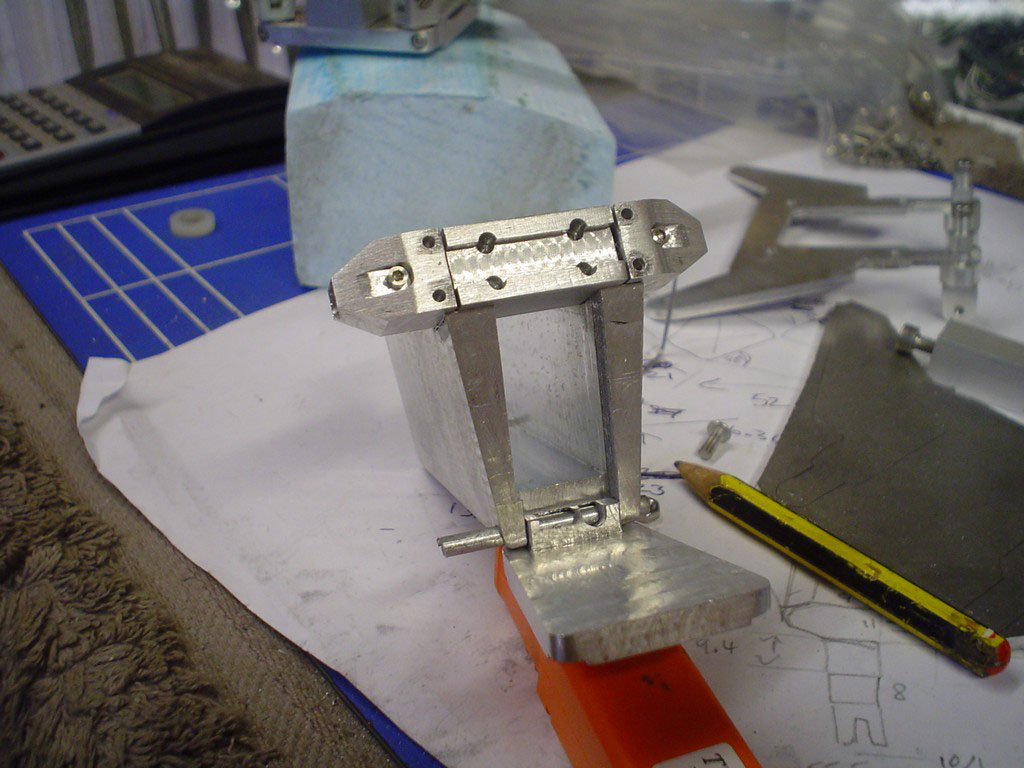
drilled through the box thing and made a pin to pivot it on, took ages to get it to close flush
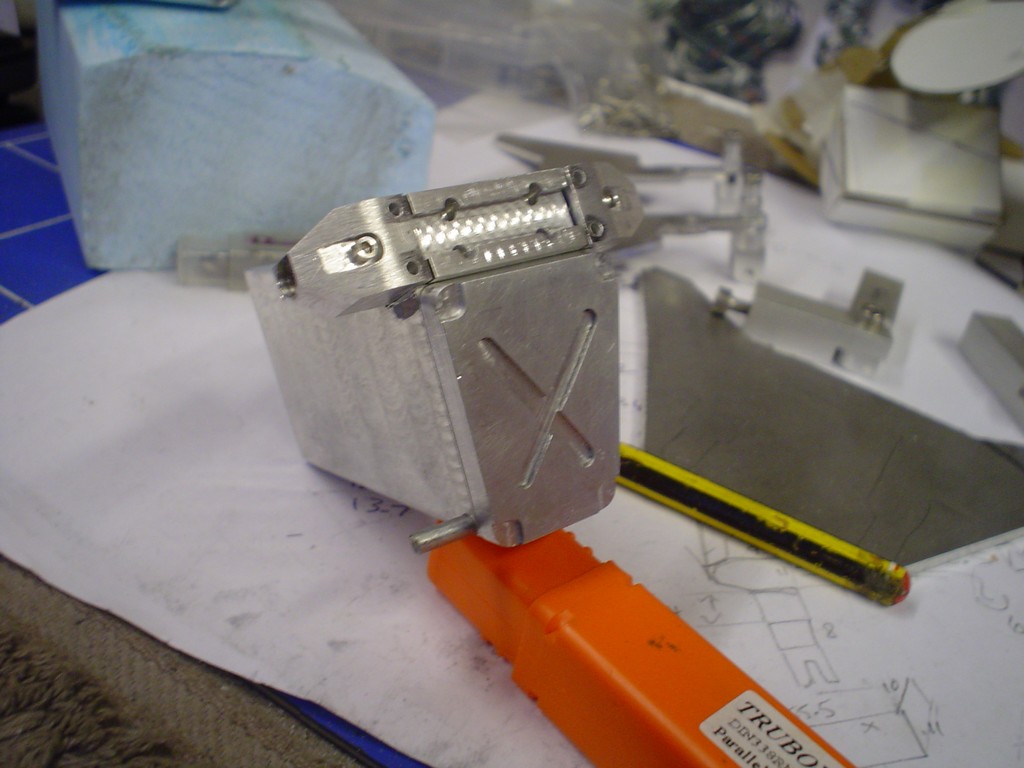
DSC08722.JPG


DSC08723.JPG


made some mounting points at the back to screw it to the mounting plate
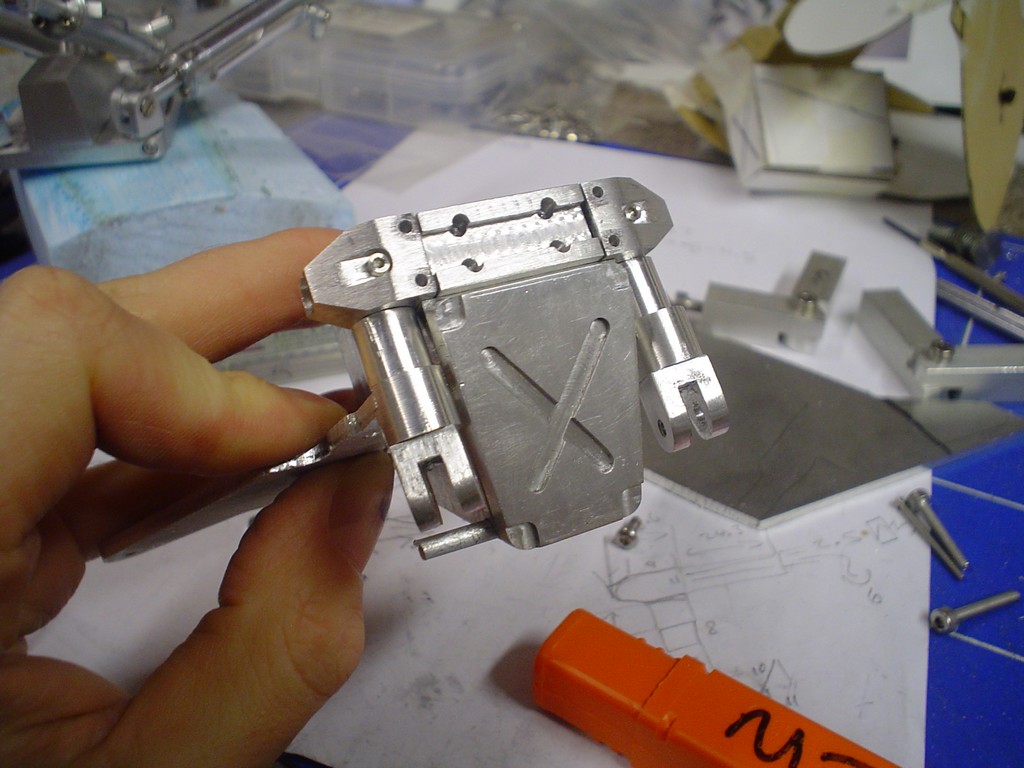
DSC08724.JPG


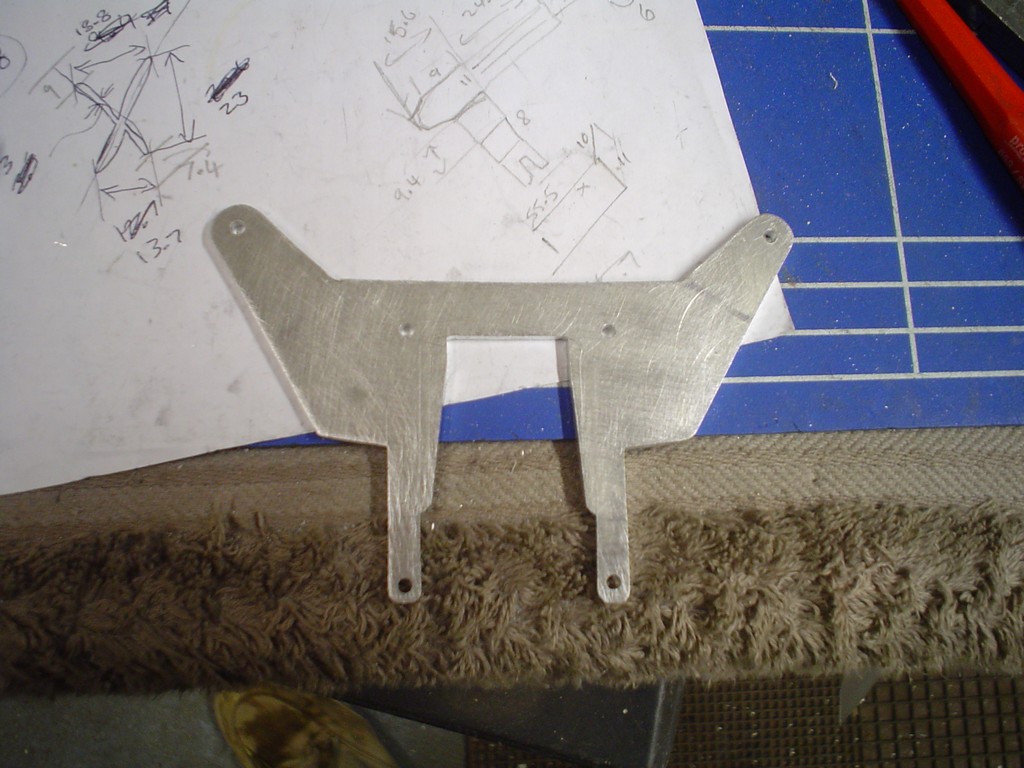
and decided to cut a fresh plate out this one has been modified one time too many.
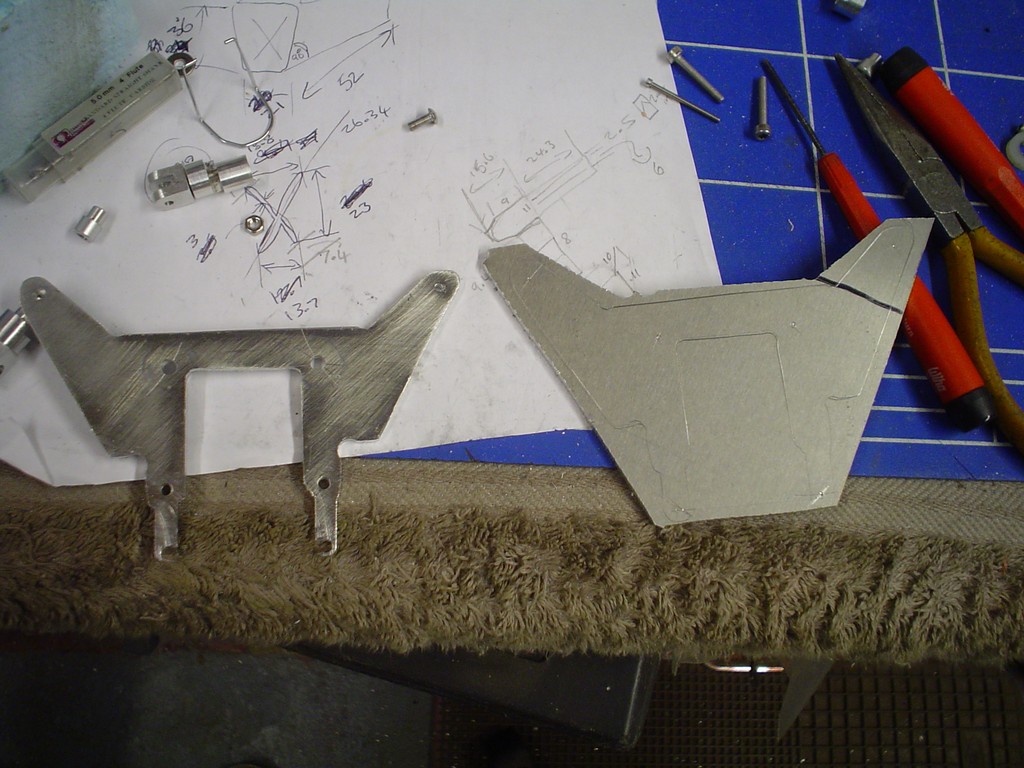
DSC08725.JPG


DSC08726.JPG


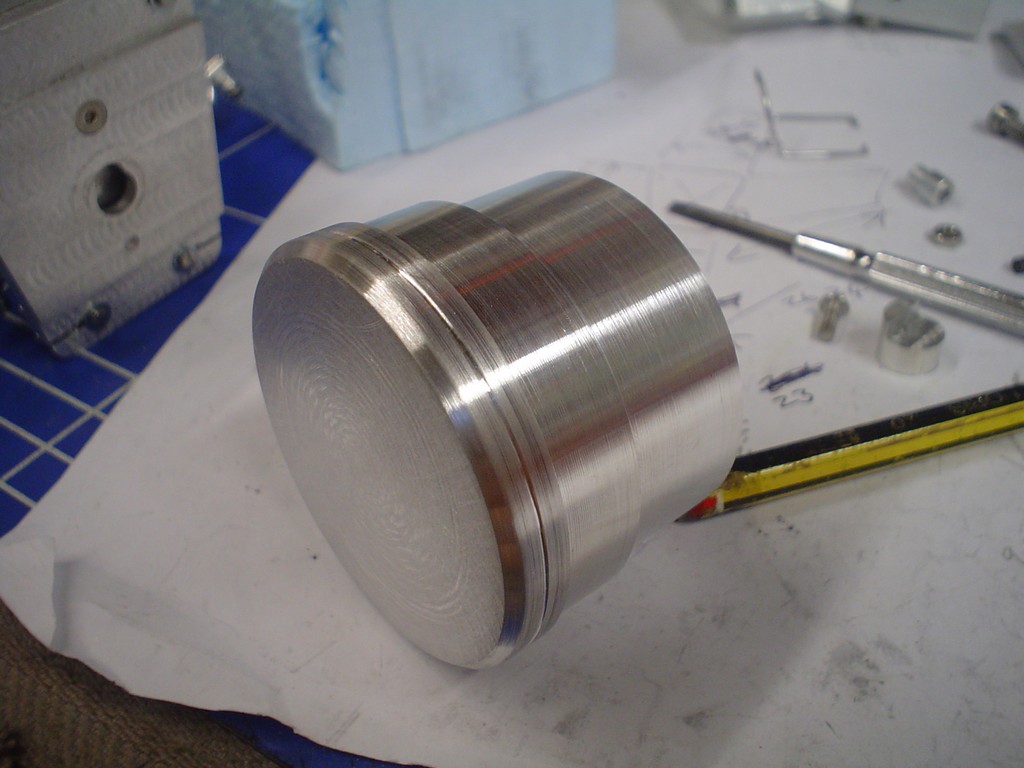
starting on the chest, looking like a big washing machine drum
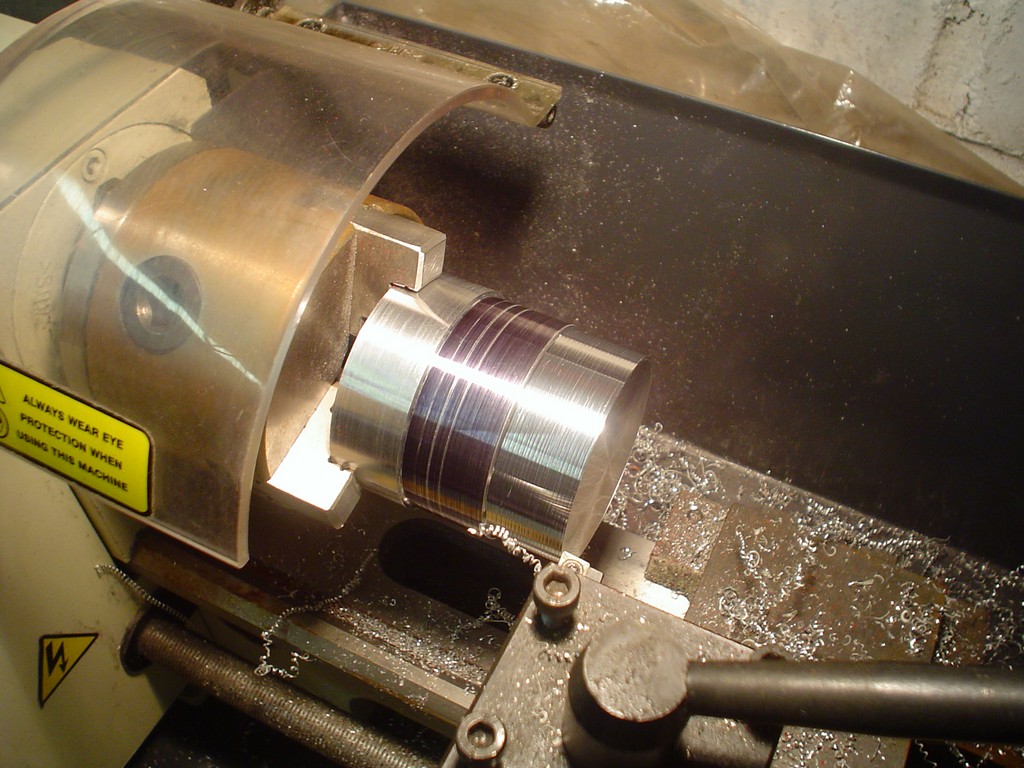
DSC08727.JPG


DSC08728.JPG


realised after cutting the big disk that it just wasnt big enough, looks wrong to the pics
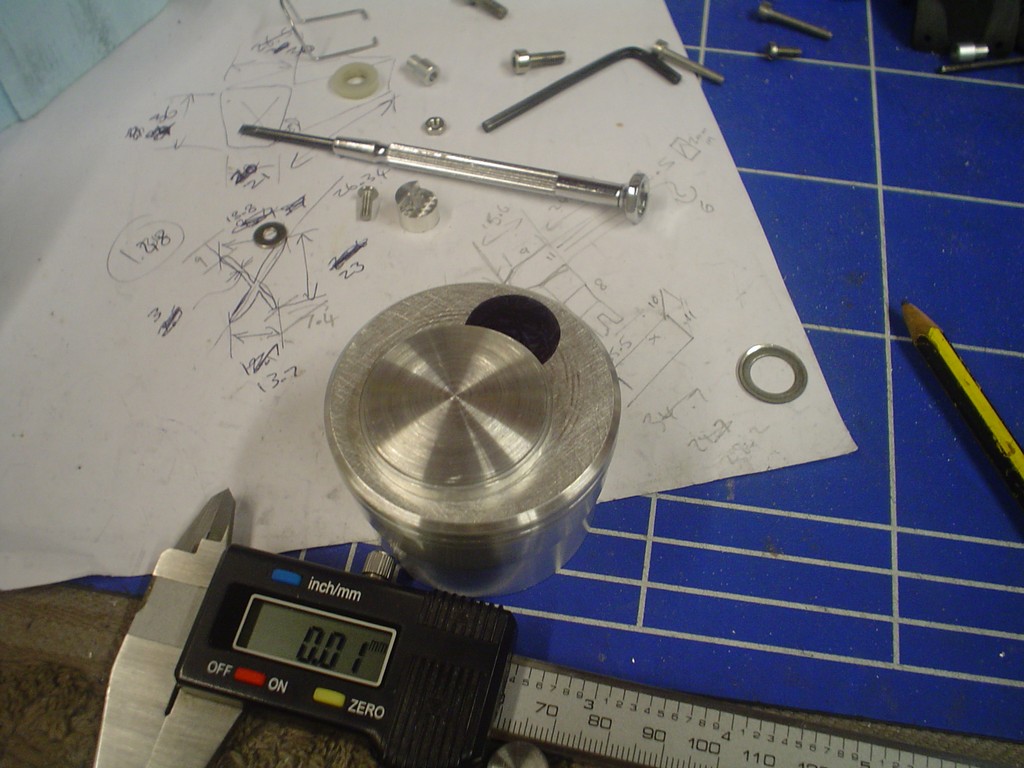
DSC08729.JPG


so ended up making a slightly larger one
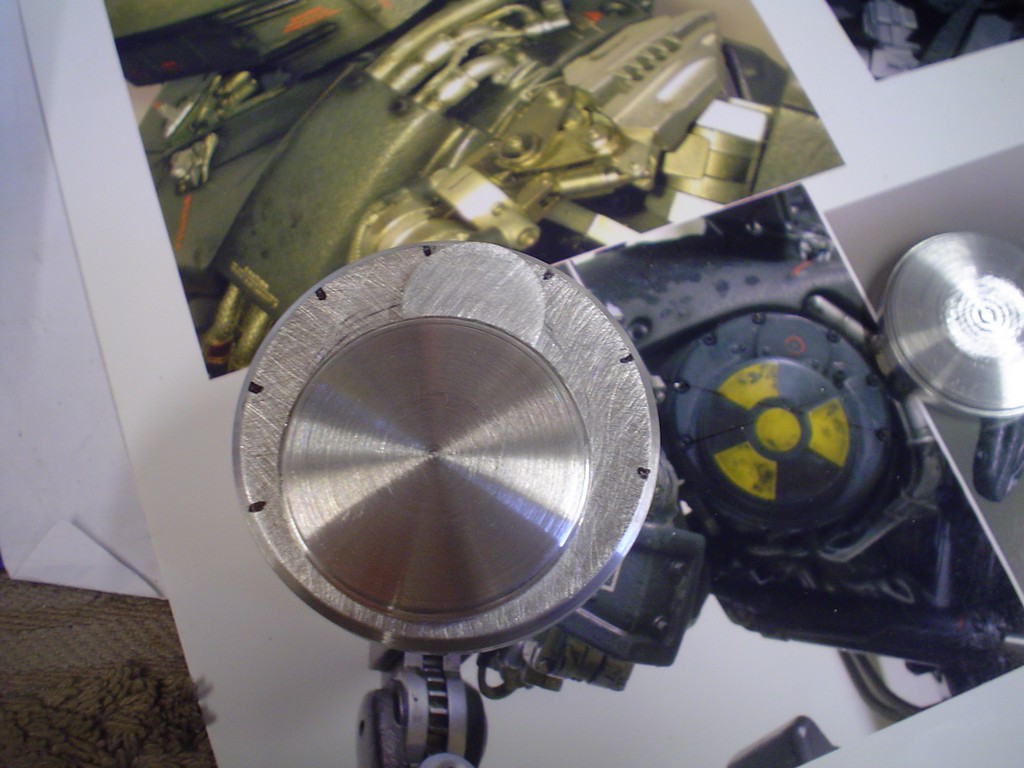
DSC08730.JPG


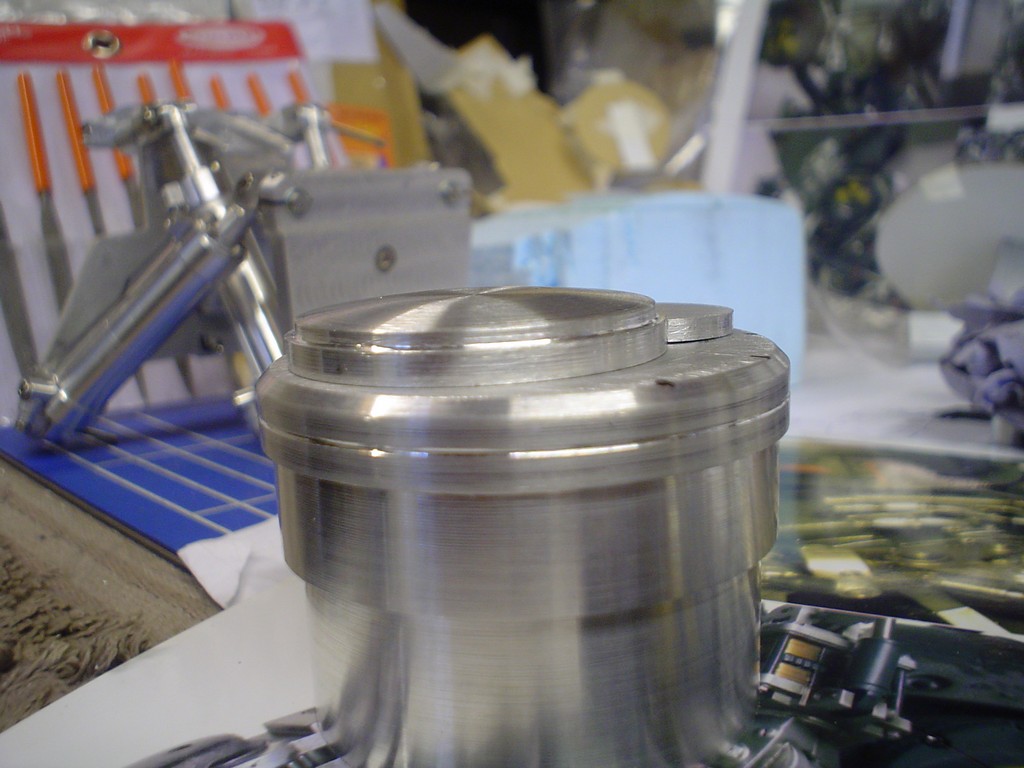
profile....

DSC08731.JPG
 
Insane stuff, really impressive.

I hope you keep a good metallic/real looking finish after painting it. Would be a shame to paint it all then be hard pressed to tell it apart from a mould! :D

More updates! :)
 
Once again incredible work.

When this is done you should send a link to the photo/info page to Adam Savage (from the Discovery tv show Mythbusters), he does stuff like this (made the pistol from Blade Runner for e.g) but on no-where near the scale of some of your projects!
 
Well im in Florida this week but you'll be pleased to know I kept some updates back so you dont get Cain withdrawal! good thinking huh :p

I recessed where all the screws sit with a 3mm mill then drilled and tapped them, turned the screws down too.

DSC08732.JPG


Next I made a pair of these blocks on a slight angle that will go into the back of the drum and allow them to be adjusted a bit and then held in place

DSC08733.JPG


something like that

DSC08734.JPG


on to the other side, turned more or less the same size with some beveling and recesses

DSC08735.JPG


it needs a U shaped piece on the front of it, after a bit of thought I decided just to do it by hand. Its only a 1 off and by the time I'd setup the rotary table and clamped such a small piece down I could have made it.

DSC08736.JPG


DSC08737.JPG


something like that

DSC08738.JPG


bolt it on for a trial fit

DSC08744.JPG


next back to the delrin for the cover that goes on the chest

DSC08745.JPG


after fixing the "U" on I milled out room for the cover.

DSC08746.JPG


and that sits in there nice :)

DSC08747.JPG
 
Good god, this is simply awesome.

Might of missed it, what kind of workshop set up do you have.
Assuming you must have full on lathes and pillar drills.
 
Insane stuff, really impressive.

I hope you keep a good metallic/real looking finish after painting it. Would be a shame to paint it all then be hard pressed to tell it apart from a mould! :D

More updates! :)

This is exactly why i was thinking that home anodising would be a better option than painting. You can get some awesome results and its a finish that is beneath the surface so it'll retain all the detail and be far more durable.
 
Back
Top Bottom