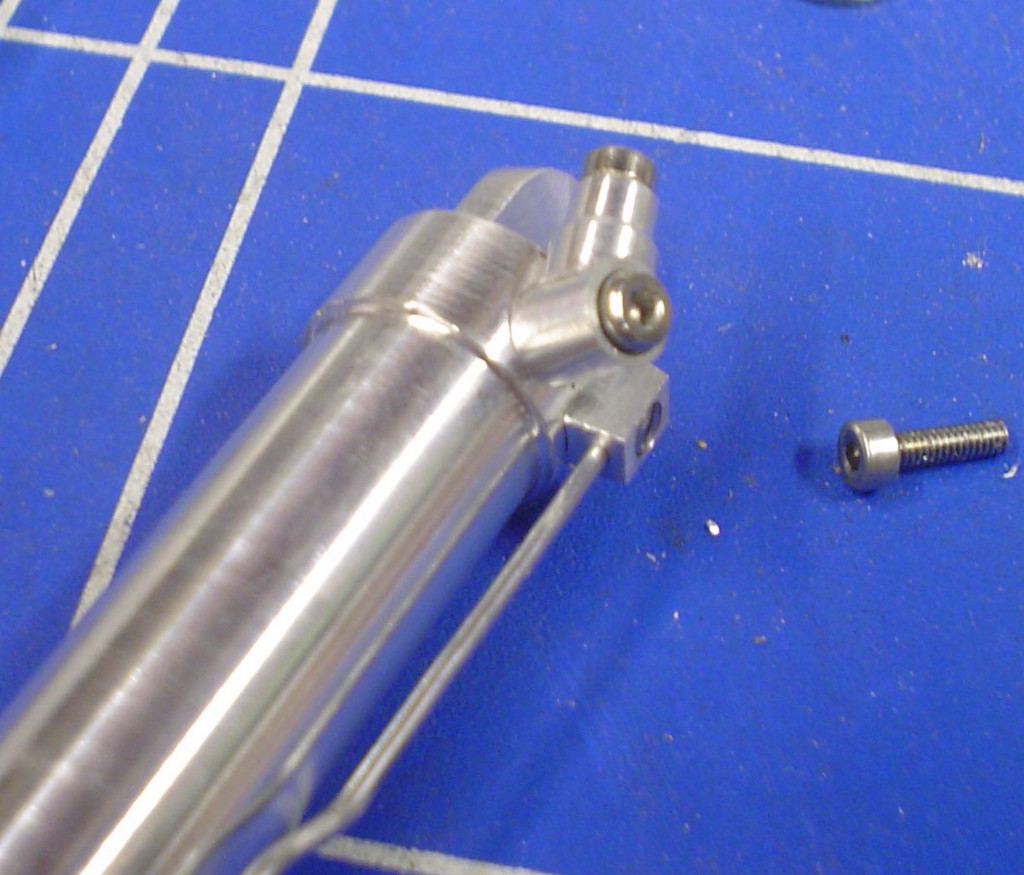
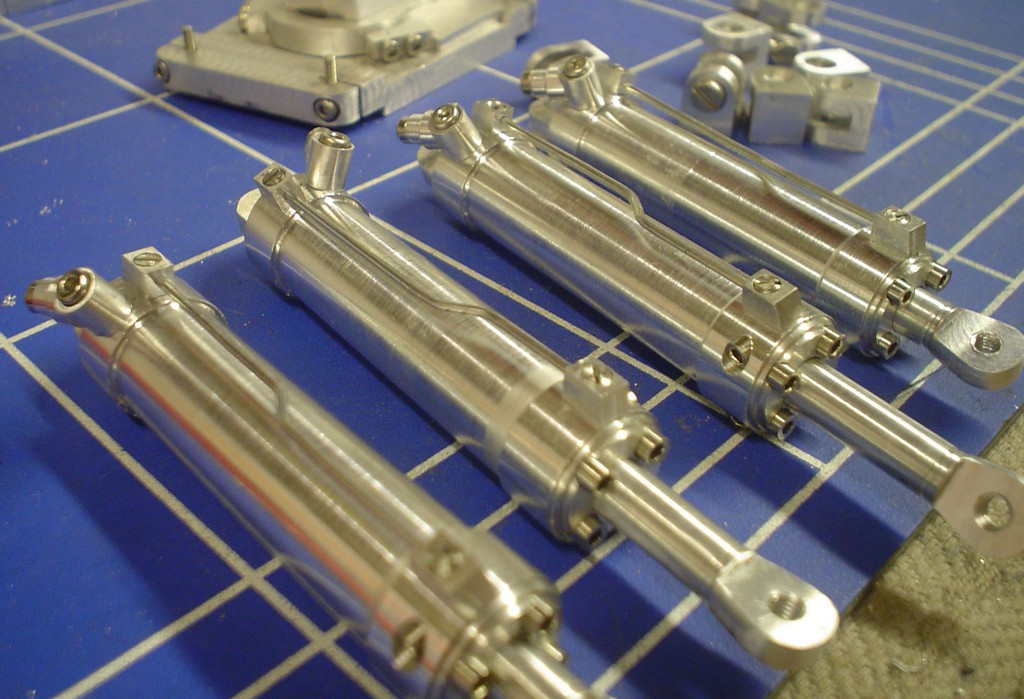
Robocain - Robocop 2 robot

Cut a very thin strip of metal, only 3.5mm across, then had to cut a bevel in the top, did this by wrapping a rod in sandpaper and carefully rubbing away at it.
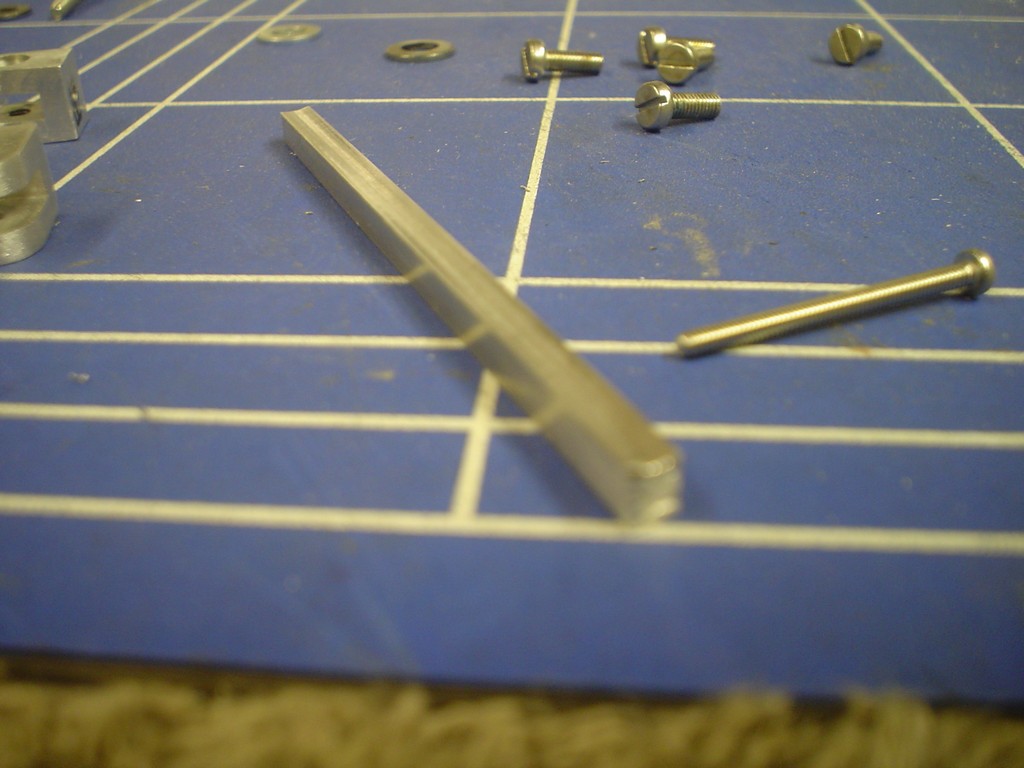
DSC08682.JPG


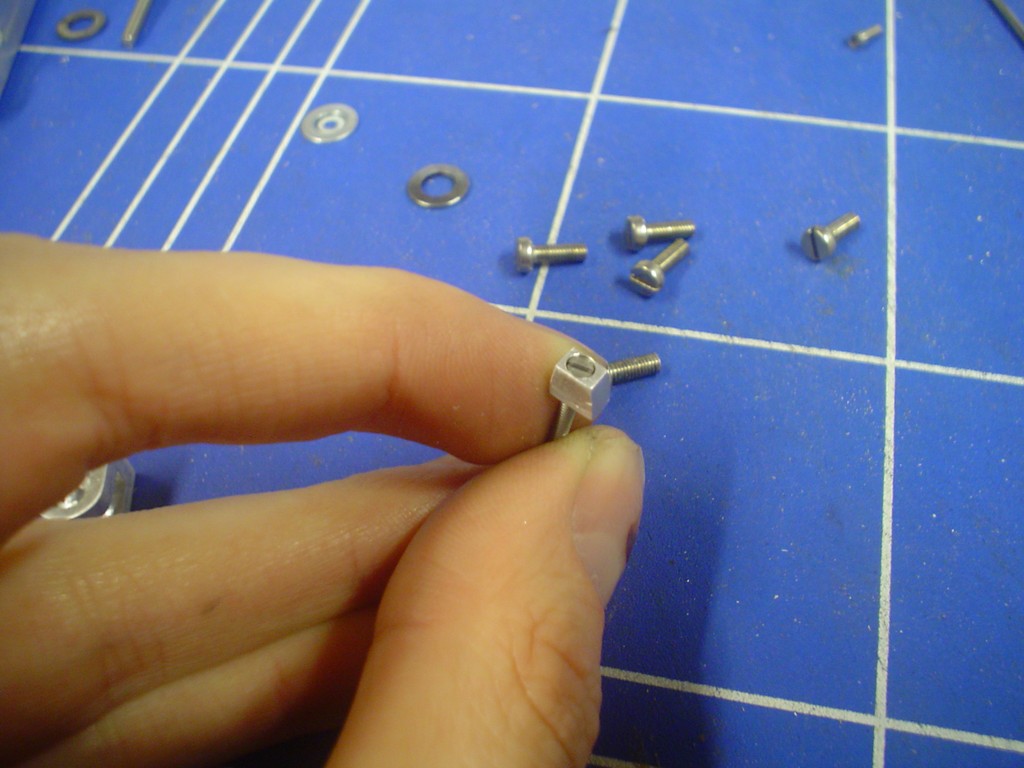
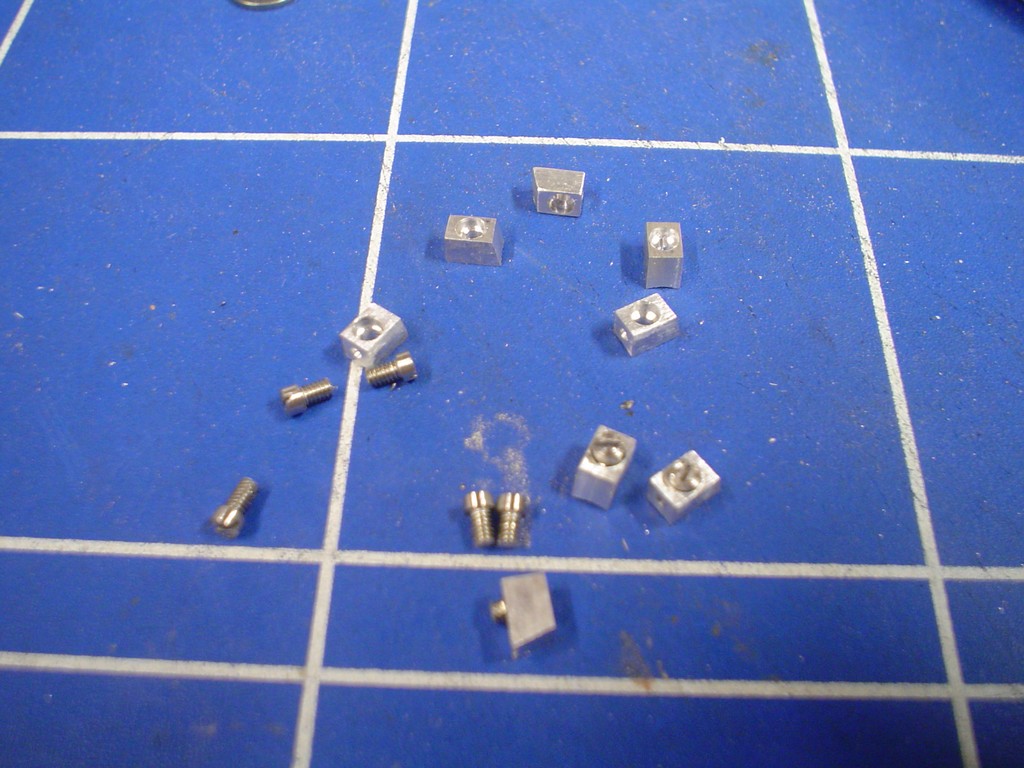
next had to trim 8 of these into this shape then drill them and countersink, no mean feat, I can hardly hold them!
DSC08684.JPG


needless to say the M2 flathead screws where a bit too big, so I had to carefully turn all thoses down too.
DSC08690.JPG


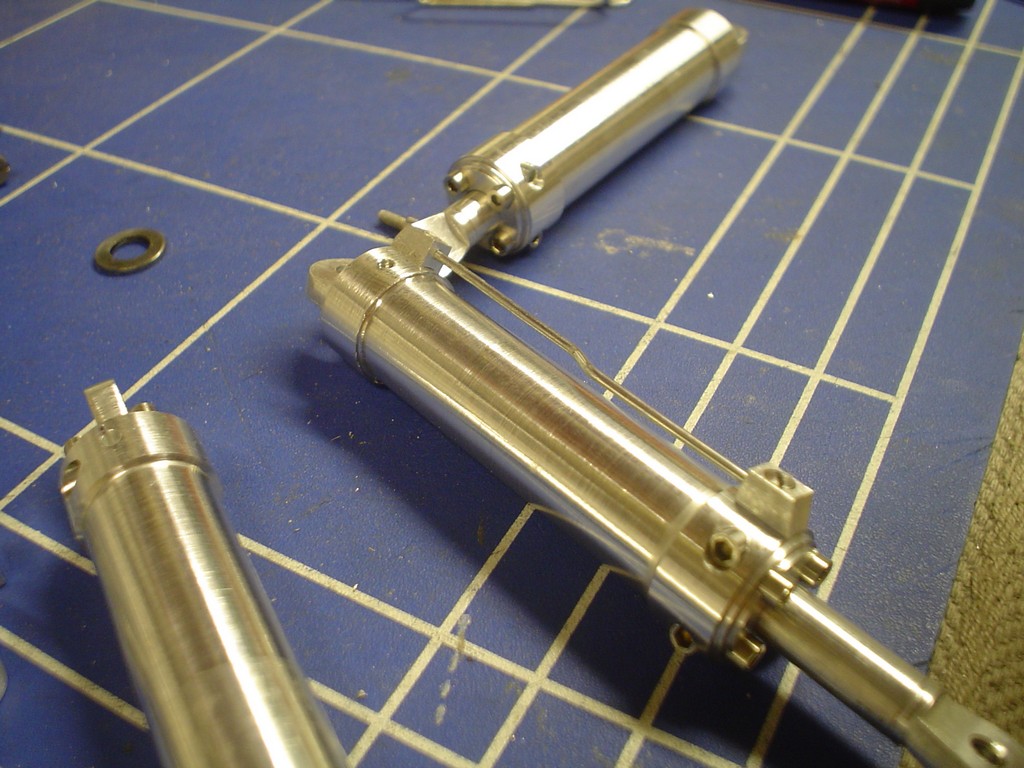
One installed, used a piece of 1.5mm wire for the pipe
DSC08693.JPG


DSC08694.JPG


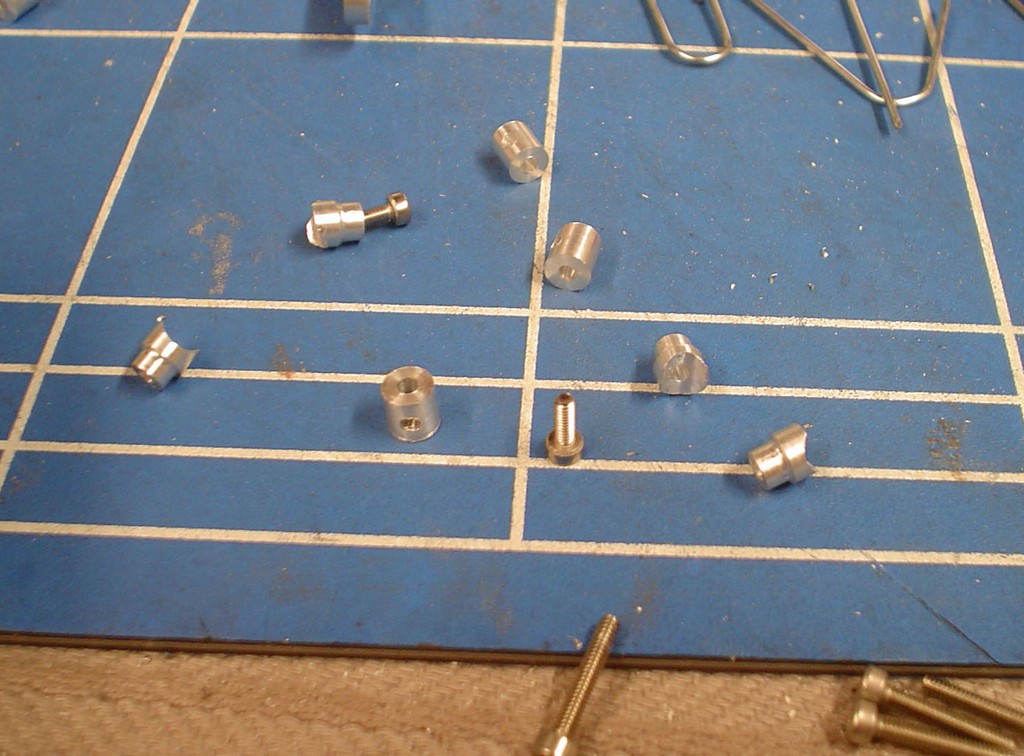
and another set of fittings for the pipework
DSC08695.JPG


and attached.

DSC08696.JPG


Thats pretty much job done on these, im glad I didnt screw anything up :)

DSC08697.JPG


DSC08698.JPG
 
ive just had a good read though the 7 pages while trying to look productive at work on monday morning :/

Very nice work. Im always impressed by someone who is self taught. You should offer yourself to do some commision work rather than recreating something you have already done!

How long untill we can see the bottom half stoodup by its self? or does it not work like that ? :)
 
the Walther WA2000 uses the mechanism from a Western Arms 1911, but with a very long barrel. it's probably firing at about 450 to 500 FPS because of that.

the Unique Alpine TPG-1 uses the bolt-action mech from, i think, a KJW-M700, it too should be very powerful

i think the DSR-1 uses another M700 mechanism, but customised so that the bolt handle is at the front of the bolt.

when using gas in airsoft guns with long barrels, you get high FPS's because the long barrel gives the gas the opportunity to expand fully, accelerating the BB all the way.

thats not entirely true, the barrell length doesnt have that much affect on fps after a point, it will increase the fps to a point in a gas powered gun but I would be willing to bet a 300fps or there abouts 1911 would be pushed to 450fps simply with the addition of a longer barrell, on AEGS, or bolt action airsoft guns too long a barrell is actually a bad thing
 
Last edited:
You’re doing a fantastic job. :)
How far through the project are you now?

Im not sure, maybe 20%

ive just had a good read though the 7 pages while trying to look productive at work on monday morning :/

Very nice work. Im always impressed by someone who is self taught. You should offer yourself to do some commision work rather than recreating something you have already done!

How long untill we can see the bottom half stoodup by its self? or does it not work like that ? :)

I do commision work, over the years I have made all sorts of things for people.

I HOPE this will be done by the end of the year, 8 more months..... fingers crossed.

It only has 1 leg so standing it up is a no go at the moment, plus it takes time to assemble it all and I want to spend all my time working on it rather than playing with it...... ooo eerr
 
This is going to be hard for a bit..... im even breaking out the cardboard, just about reached the limit of what I can do in my head.

first up the plate to conect all the rams in the body, this is all guess work as you cant really tell from the pics whats going on


DSC08699.JPG


decided to knock that out of metal but i think its a bit short.......

DSC08700.JPG


trying to estimate the sizes and angles of the shouler fixing points, its like a rubix cube, you get it looking good from 2 angles then look from the top and its wrong!

DSC08701.JPG


made some heavy duty mounts out of metal

DSC08702.JPG


started making the main parts up and fitting them into the "skeleton" very wrong on some places, need to extend the main chassis

DSC08703.JPG


pushed the front pistons further forward and then re calculated the position of everything, it looks beter, but still spent a few hours moving everything around.

DSC08705.JPG


made a start on a simple bit

DSC08707.JPG


also realised the plate is not flat but tilted up at the front so mounting it higher up and again recalculating for the position of everything.

DSC08710.JPG
 
To be honest this is a real big challenge, im struggling through it.

section above the door thing

DSC08711.JPG


the screws in this are very small, ive ordered some.

DSC08712.JPG


DSC08713.JPG


I tried to make the inside of where the trap door goes by bending a thin bit of metal to shape..... but it looked and felt crap, so im doing it the hard way.

DSC08714.JPG


DSC08715.JPG


DSC08716.JPG


took forever to mill the inside out, put the angles on it and milled a recess for the bit I made earlier to sit on it (this is the back of it)

DSC08721.JPG
 
Great project, and im very impressed with your work, i cant to see the finished product!

Only now I have the robocop theme tune stuck in my head... dum dum dum dum dum de dum dum duuuuum...
 
Good point r2d2. :p

This thread could essentially be one of the best CVs ever created. ;)

Most definately.

I really like this thread. I work in a related field, and like many have said this guy has some serious talent.

I cant wait to see the finished robot.
 
Back
Top Bottom