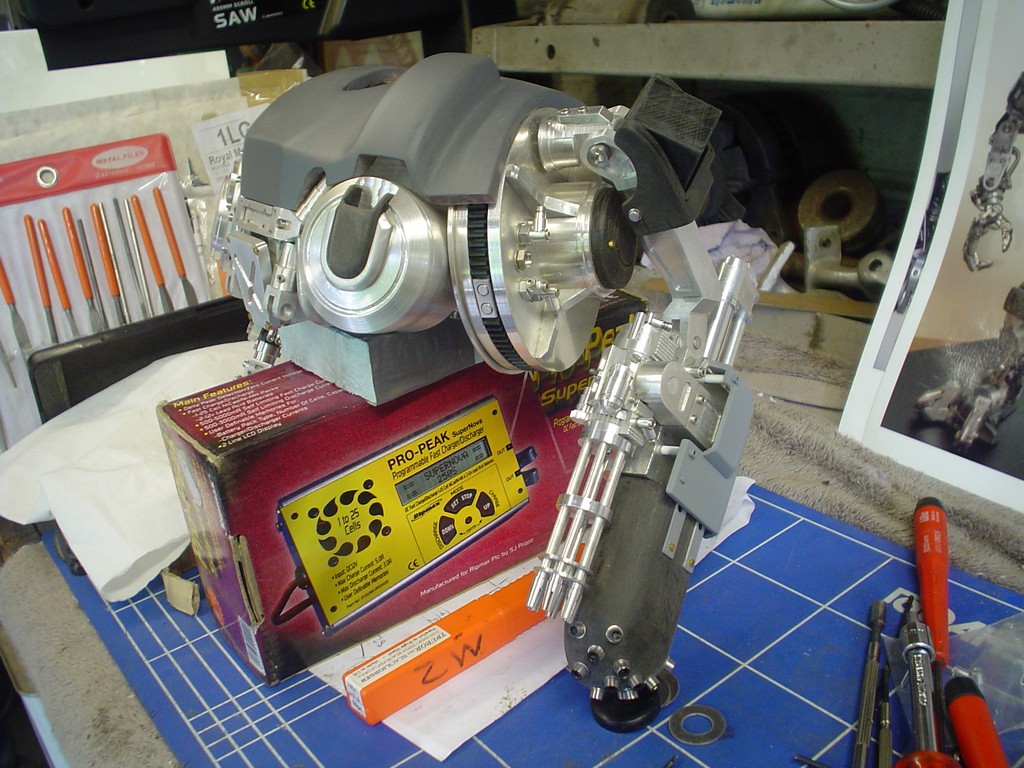
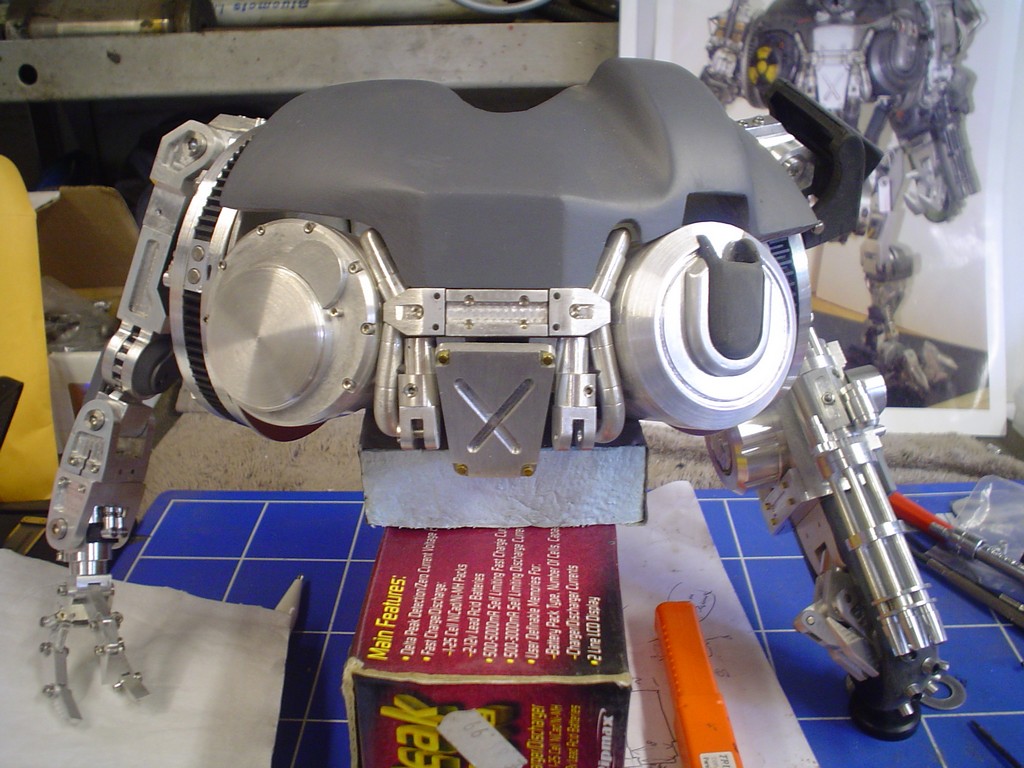
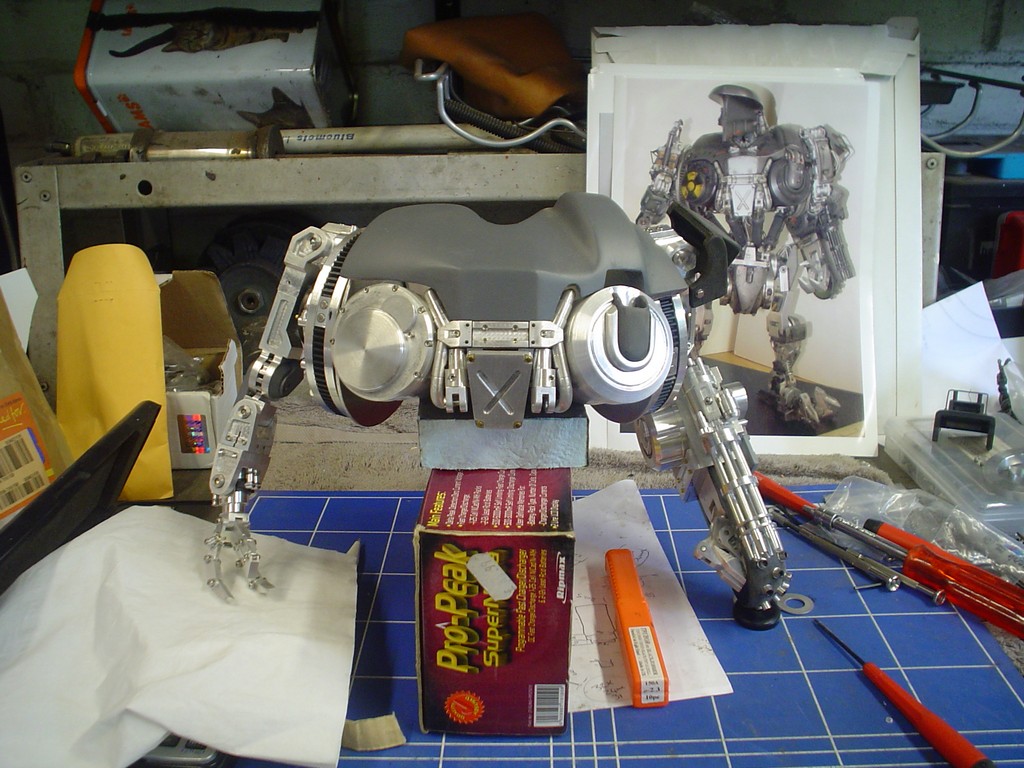
Robocain - Robocop 2 robot

Thank you, I appreciate the support!

2 out of the 4 arms on

DSC09086.JPG


DSC09087.JPG


DSC09088.JPG


DSC09089.JPG


DSC09090.JPG
 
Been watching this model unfold since you started and its been a fantastic display of attention to detail and master model building. Inspiring and the work of a very talented metal worker, and I just don’t know the correct superlatives to pass on to express just how amazing this bit of work actually is.

Amazing skill, and I can’t wait for the next instalment of this absolutely stunning bit of work.
 
Thank you all for your continued support, 2 arms done, 2 to go!

Turned the 2 shoulder joints, these fit to the shoulder disks.

DSC09091.JPG


cut and shaped to look as close to the picture as I can get

DSC09092.JPG


then the end cut flat, drilled and a pin mounted on the disk.

DSC09096.JPG
 
I was originally yes, but I need to do the head first to see if there will be any space left inside the body for it.

DSC09097.JPG


better make 2 of these

DSC09098.JPG


and one of these

DSC09099.JPG


decided to finish off the shoulder cover from the 2nd arm, i forgot about that

DSC09100.JPG


DSC09101.JPG


back to the 3rd arm

DSC09110.JPG


and all fitted together you see where im going with this

DSC09111.JPG


DSC09112.JPG
 
I always had ideas of how to make things but never actually did it till I was about 22. As a child I was always making things out of technic lego and things like pop up cards for peoples birthdays and christmas.
 
Got it fitted up and attached to the shoulder disk

DSC09114.JPG


cut 2 blocks for the next parts and turned some disks

DSC09113.JPG


spent a bit of time rubbing everything down with 600 gritt to get that satin smooth finish. Most of the other parts ive done I havnt bothered yet but I wanted to do this arm as it would be on the finished model, most of the aluminium will look like this. This arm is tough to make as the original is just a piece of molded plastic so I have to think up ways of joining the parts together without visable screws etc.

again this was hard to do, the tiny screws not real on the puppet, mine using tiny tiny M1.6 mm screws and nuts.

DSC09117.JPG


attached, note they are on both sides,

DSC09118.JPG

counter sinking holes so the screws, again M1.6, sit flush with the surface.

DSC09119.JPG


making another 1 or 2 of these parts, had to use the slitting saw to carefully cut the slot

DSC09120.JPG


2 more, nearly done in their pre-rubbed down state.
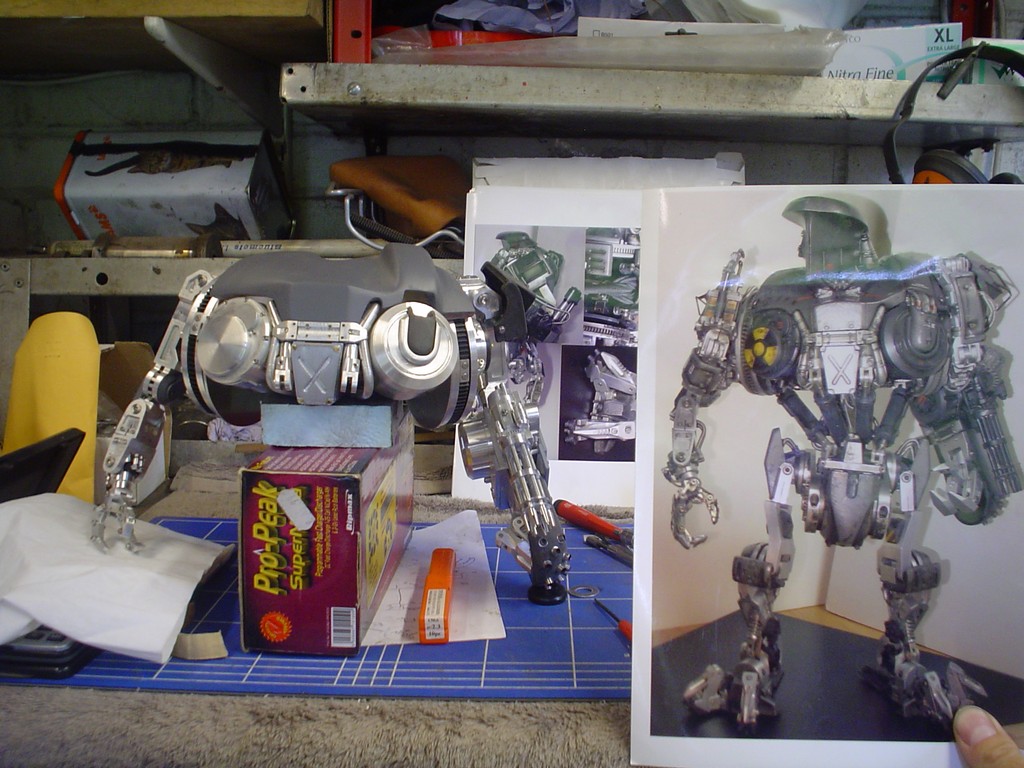
DSC09121.JPG
 
Back
Top Bottom