Robocain - Robocop 2 robot

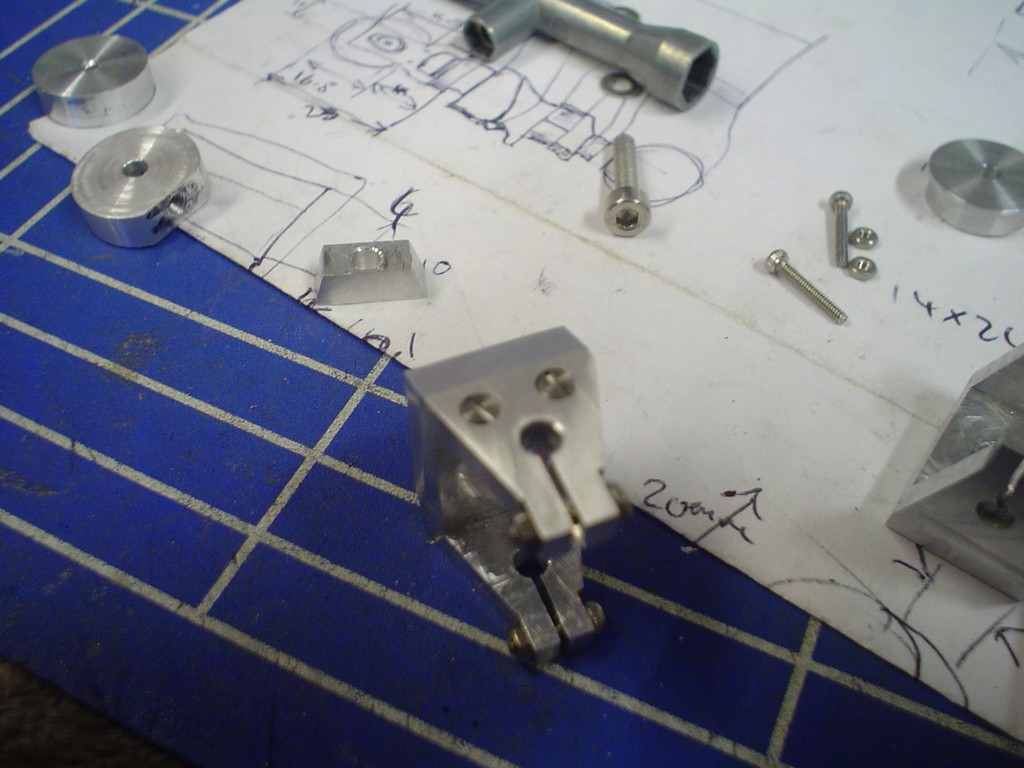
sunk the tiny screws into the clamp joint parts
DSC09124.JPG


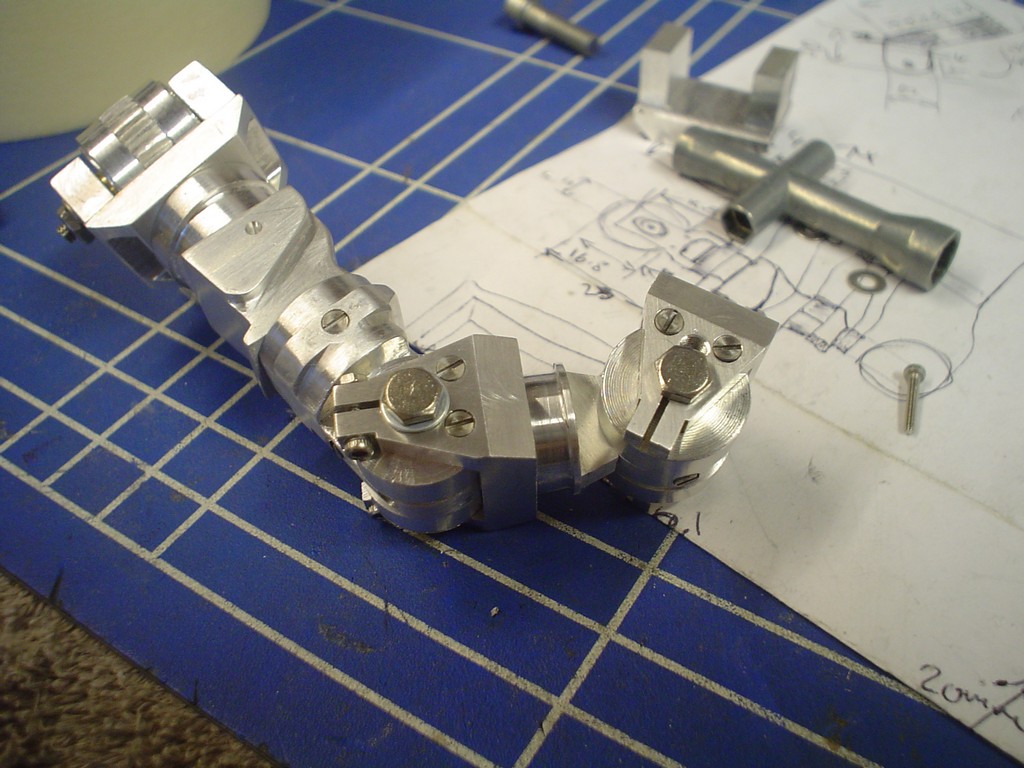
had to make some odd parts and disks etc to join everything together
DSC09125.JPG


realised it was too short so had a re-design and spaced it out a bit more, this section will be covered so it doesnt need to be as detailed.

DSC09129.JPG


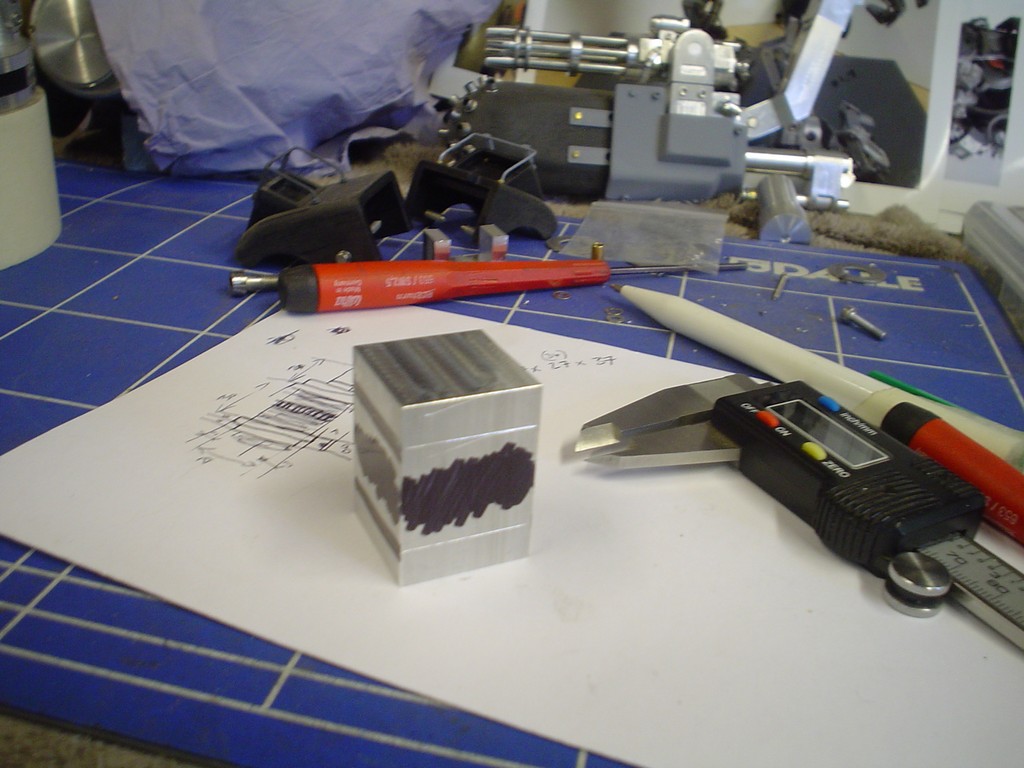
This arm has the spot welder thing on it, hard to know where to start on such a complex lump, so after some thought and a lot of measuring im quite happy with this
DSC09130.JPG


looks about the right size to me, trim the middle out

DSC09132.JPG


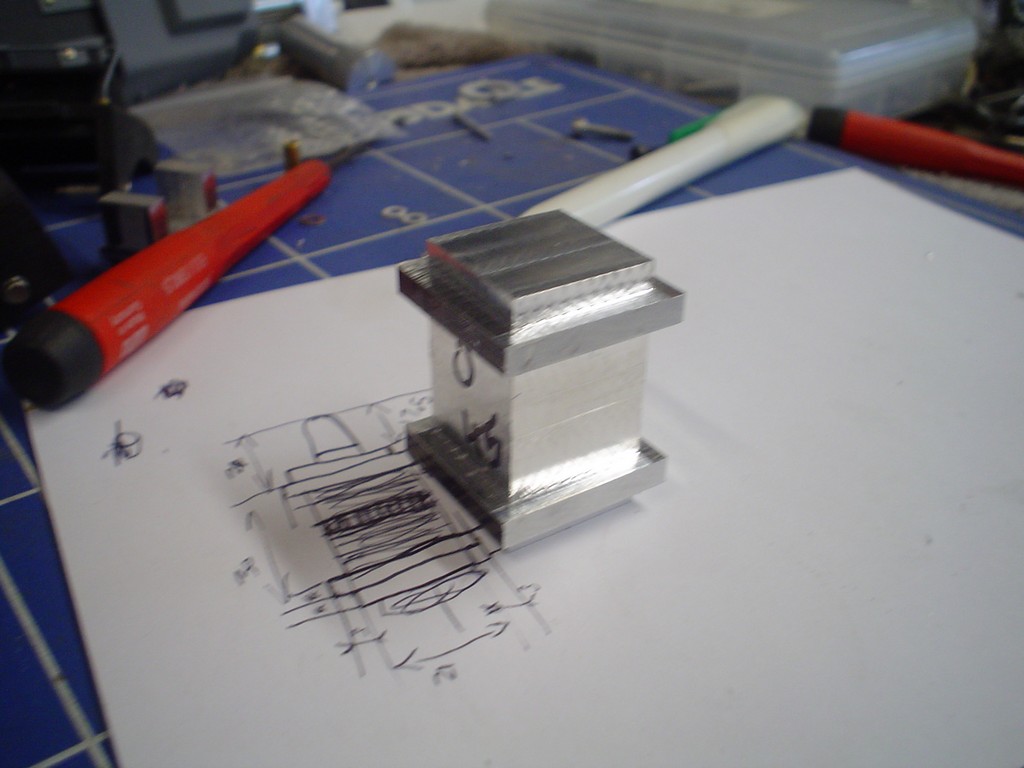
and the top, sitting on another turner prize of a diagram that looks like a cross between a babies rattle and a policeman hiding behind a tomb stone
DSC09133.JPG


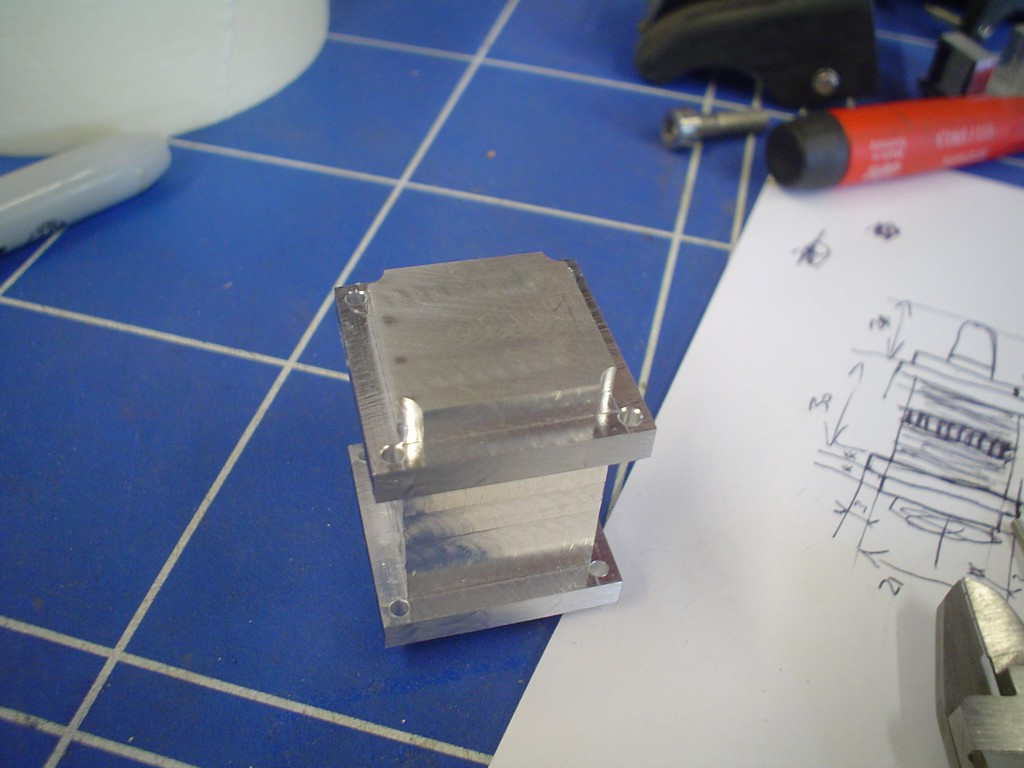
carefully recessed the edges and drilled through so they lign up top and bottom.
DSC09135.JPG
 
meh, I could make that while the kettles boiling :D

ok cut a groove around the middle and found a good imitation of the stripe around the middle, a cable tie!

DSC09136.JPG


more trimming and recessing, here and there

DSC09137.JPG


top part

DSC09138.JPG


using the end I made earlier, made the small part that will hold the bottom of the ram and cut that top part to shape.

DSC09139.JPG
 
Loving the spot welder attachment, really nice detail.

Just a couple of questions though, who made the orignal stop motion model for the film and was it made the same way as yours, bit by bit or is it sculptured from material and painted to look metal.

How many individual parts will be in yours including screws ?
 
The film was on channel 5 the other night, and I couldn't help but stay up and watch it!

Have you thought about adding some working LEDs as the spotlights Robocain has when you first see him? Then you could use him as the worlds greatest bedside lamp! :p

PK!
 
I saw this project when it was only on page 2... I've now just spent the last 2 hours catching up and reading all 17 pages, and even then I glossed over some of the photos - but this is just truly amazing engineering work.

I'm going to try to keep up with this - it's got to be thread of the year for me - just amazing attention to detail!

Thanks for that mate, glad to have you onboard!

The film was on channel 5 the other night, and I couldn't help but stay up and watch it!

Have you thought about adding some working LEDs as the spotlights Robocain has when you first see him? Then you could use him as the worlds greatest bedside lamp! :p

PK!

I saw it was on! couldnt watch it though, sick of the site of the damn thing!
I thought about fitting the lamps but decided against, I will have one of the best features working though ;)


Loving the spot welder attachment, really nice detail.

Just a couple of questions though, who made the orignal stop motion model for the film and was it made the same way as yours, bit by bit or is it sculptured from material and painted to look metal.

How many individual parts will be in yours including screws ?

The original was made by tippett studios, have a read here:

http://www.robocoparchive.com/info/robocain.htm

They made about 10 of them for the film, a lot of the bits are moulded resin, they would make an original and then the rest from the mould. This whole arm for example is plastic on the original.

No idea on individual parts, a lot :D

I thought a lot about the arms of the welder, the originals are solid moulded pieces, I eventually settled on this design, when you only have to make one its not so bad to shape it by hand, its when you have to make 2 or 4 the same that this is the harder option.

DSC09142.JPG


attached and trimmed to size, needs a hole in it for the electrode oart and the whole thing blending and filing

DSC09143.JPG


yeh?

DSC09144.JPG
 
2nd "arm" not so easy, after a bit of thinking I decided to make it like this

DSC09145.JPG


had to cut the slot in the tube with the slitting saw.

DSC09146.JPG


at last a fun bit! little hydraulic ram

DSC09147.JPG


detailed, drilled and then the rod to fit

DSC09148.JPG


tiny screws, tiny holes and a tiny bracket

DSC09149.JPG


:):):):):)

DSC09150.JPG


in other news, found some corrugated plastic which looks ideal for the shoulder thingies

DSC09154.JPG


i originally though it had a light behind it, but its the flash from the photo, thank god

DSC09153.JPG


had to make a number of little hydraulic pipe fittings again, all attached holes drilled and taped. Just the finishing off to do now, some detail here and there.

DSC09155.JPG
 
Welder part is sick. Loving it. Cannot wait to see it finished.

Have to re-iterate, PLEASE don't paint..need a way to detail the colour and make authentic looking without paint..would wreck the built metal effect imo!
 
Back
Top Bottom