Man of Honour
- Joined
- 5 Jun 2003
- Posts
- 91,561
- Location
- Falling...
That's really neat! Love this project.
 https://vrm.victronenergy.com/installation/252106/share/fdd67cc7
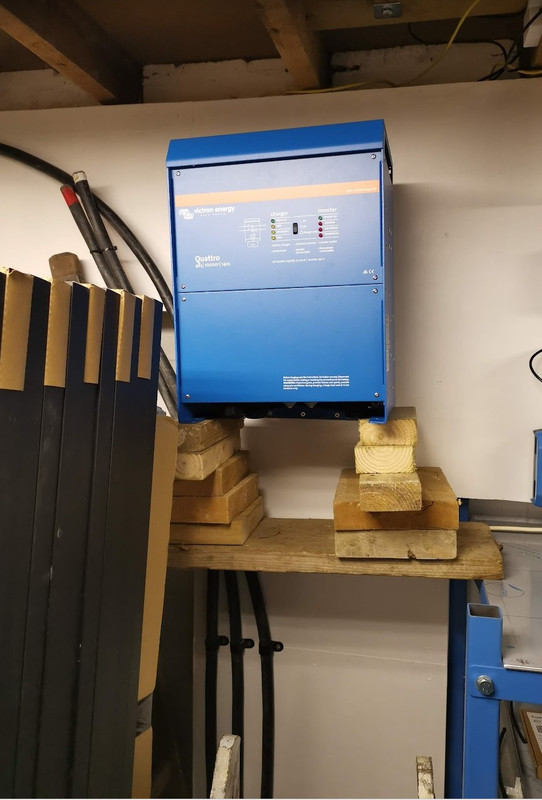

Jesus that's a unit!
")
it's adding up to a lot more than I thought it would, but it will be one hell of a system.

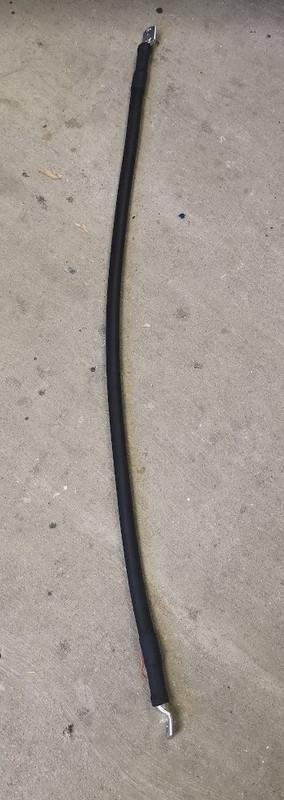
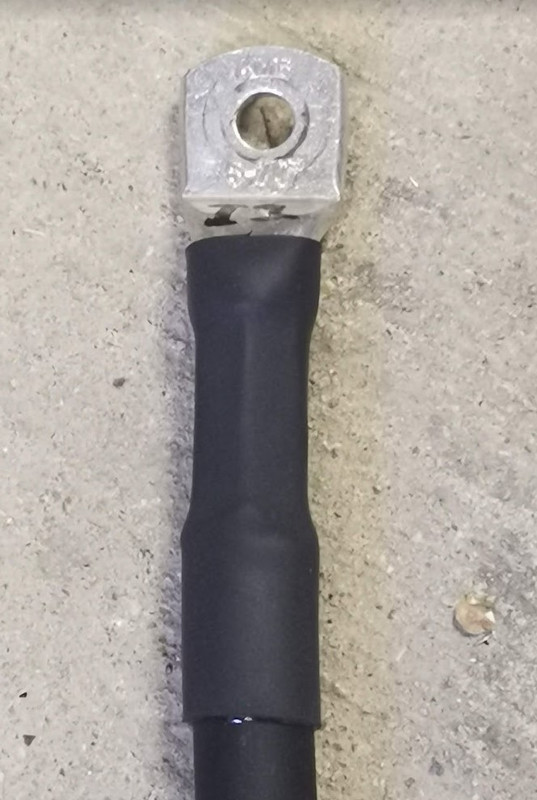
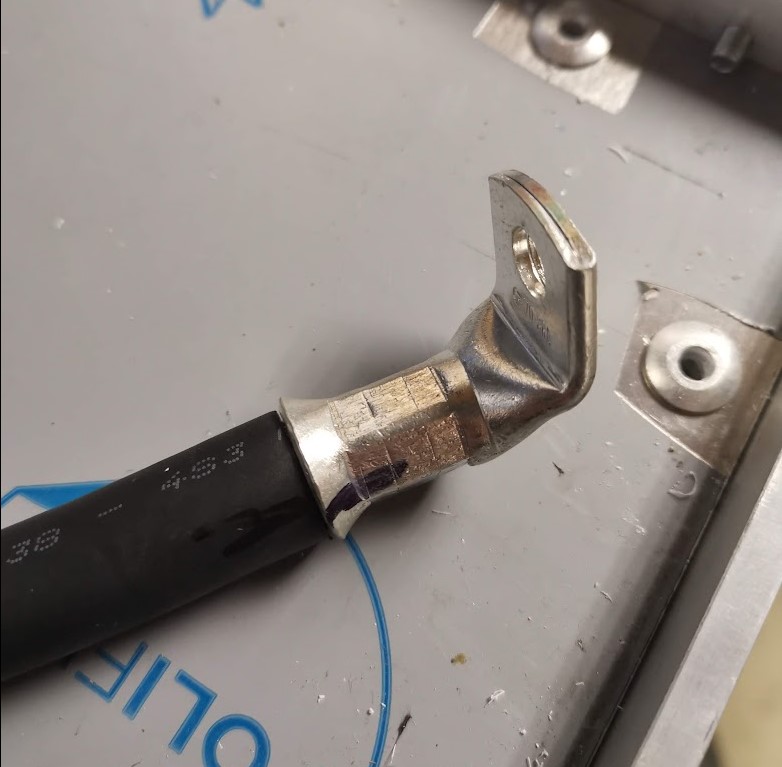
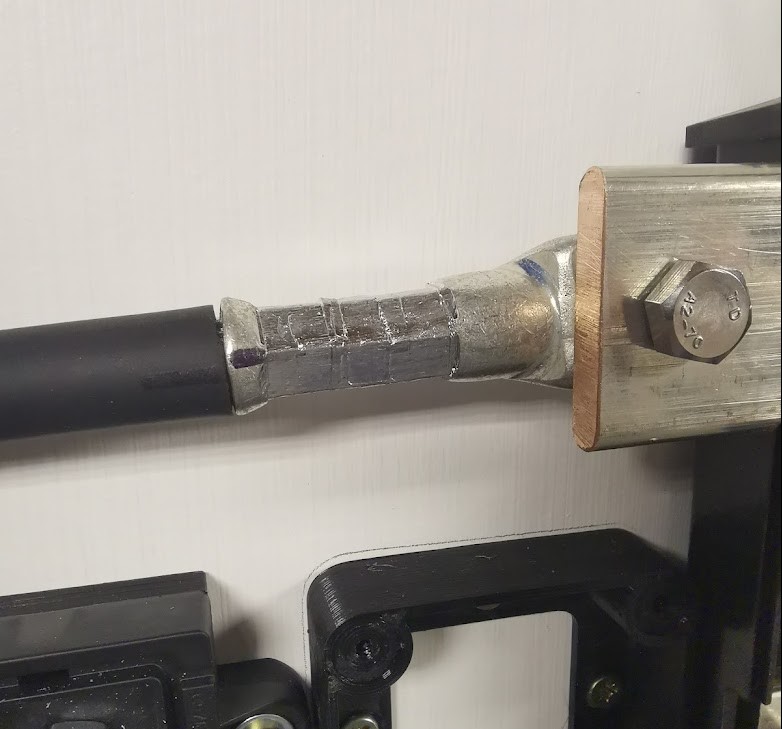
I'd go the 16Ton version for the longer length handles, makes crimping a bit easier, you still have to use all your strength
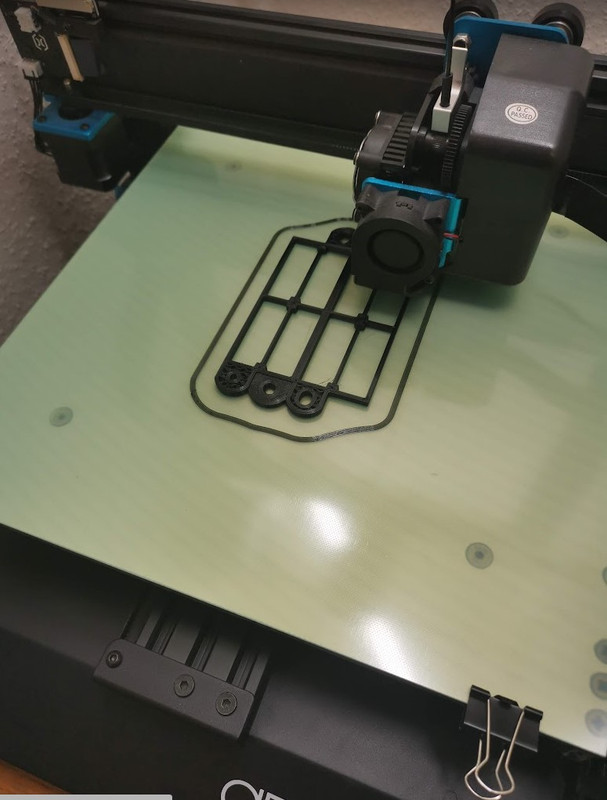
A lot of crimping to do.
When' the electrician due?.
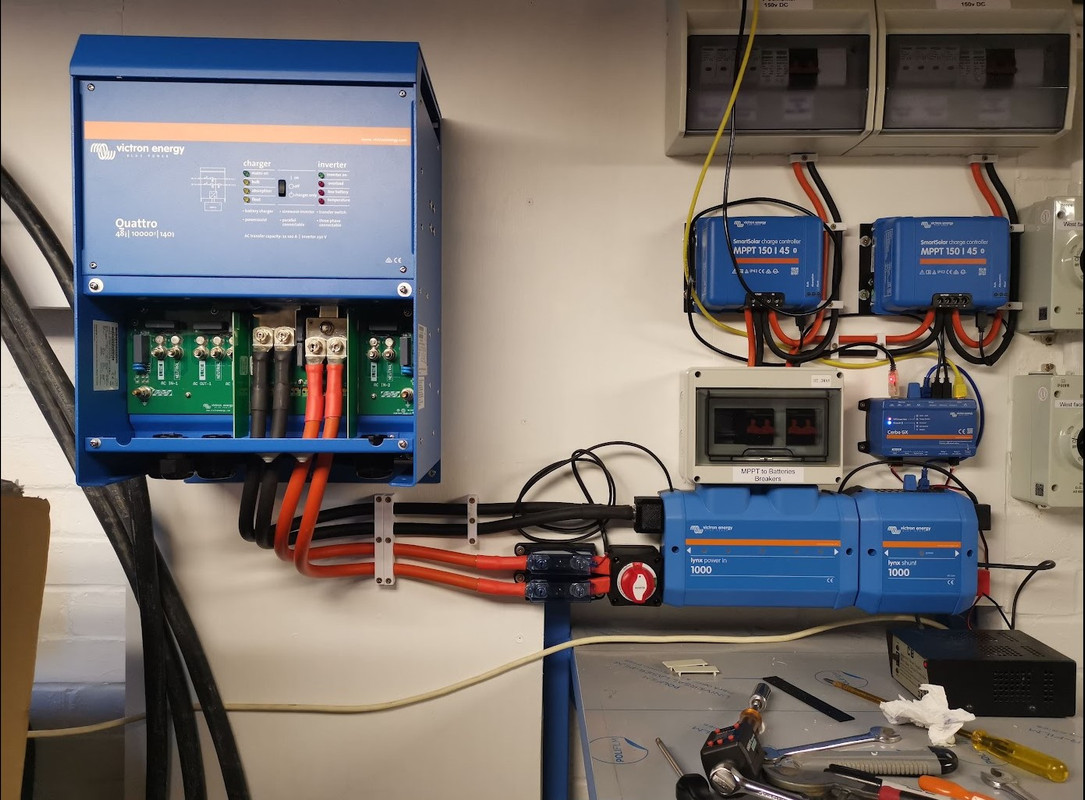
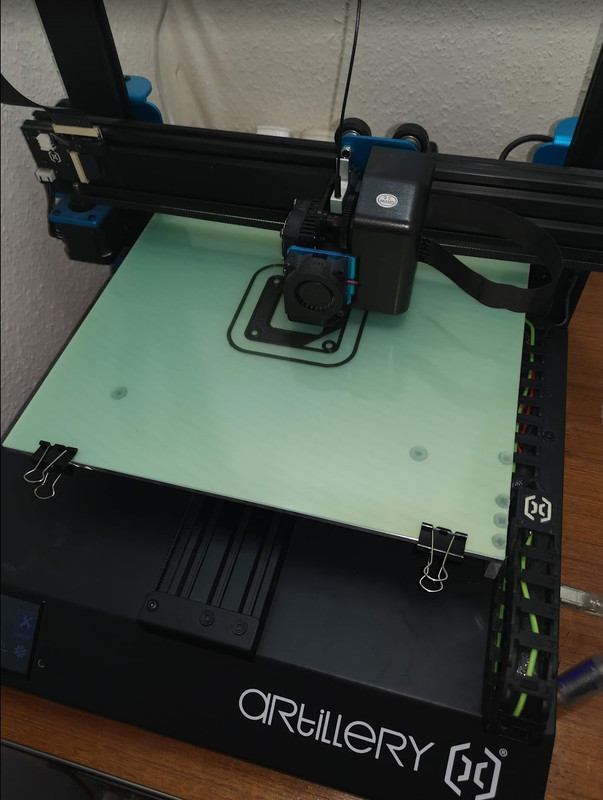
Great job - very impressedThe Cerbo GX is alive
It only shows what the SolarEdge system is generating and the ambient temperature in the garage. Currently its running off a 12v power supply.
The inverter weighs 51kg, so its rather heavy to even carry, let alone lift, so it called for some ingenuity, and the assistance of my daughter.
First we carried it out to the garage, then lifted it on to the workmate, then I stood on two pairs of steps and lifted it on top of the battery rack. Then I put a scaffold board across to some ladders, moved it across and then we slowly raised it up on blocks, until it was high enough to get on to the wall bracket.
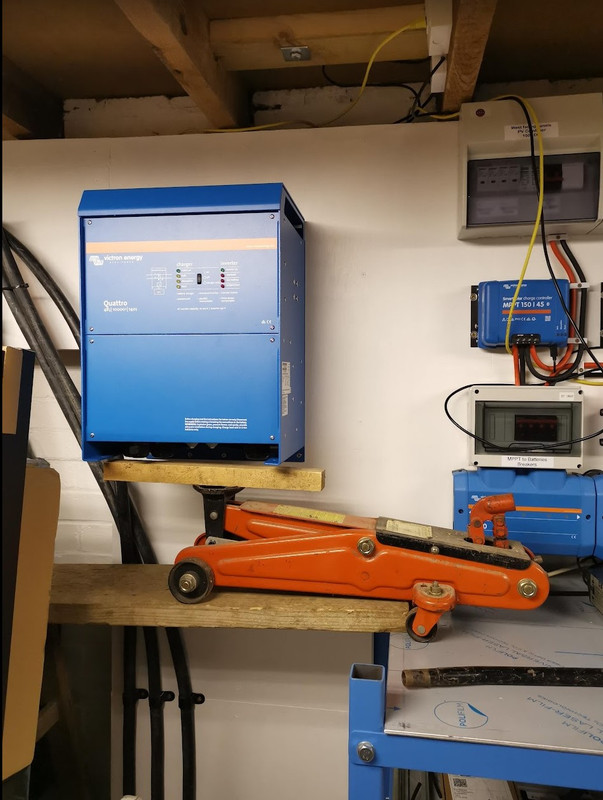
Then I needed to centralise it on the bracket, but couldn't budge it, so I got my trolley jack out.
And here it is hanging on the wall.