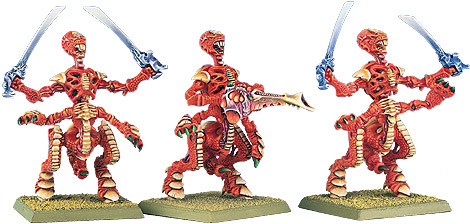
Nids can be done fairly quickly at least for the "horde" as you don't need to do them a very high level when you've got dozens of the same model on the table, I did something like 100 gaunts/gants in a couple of days to 3 colours by using an airbrush to do the main colour (I think it worked out at about 3 minutes per model with the airbrush), then about 5 minutes each for the second colour by hand, it's quick and dirty but it works. At some point I probably need to go back and apply a wash, but that's unlikely to happen for a long time as i'm not playing 40k at the moment (and have barely managed any hobby in two years

).
It probably took me longer to assemble and prep them for painting as they were the older kits, the newer push fits are insanely fast to assemble at the expense of few/no options.
With the likes of the washes and now contrast paints you can conceivably do a horde with chitin/fur quite quickly by doing either a base colour for the fur and then a wash, or a suitable contrast (instead of base and wash) and largely leave it at that, which saves a lot of time on models where you can do a fair bit like that.
Also IIRC with Nids it is possible now to do relatively low model count armies, it's been a whiles since I looked at the books but I think there were a couple of "troops" options that only needed a few models (warriors IIRC are 3-5).
One of the tips I picked up from GW I think it was (I can't remember if it was one of the little group talks at warhammer fest), is that horde armies only really need characters done to a high standard, and in old fantasy you could do things like the ranked troops as 3 or 4 variants, from row fully done, second/third row roughly done concentrating on the upper part of the model (you're only really seeing them from above), and sides/back where you might do a better job on the backs and arms.
Basically you concentrate on what you can see, and what will draw the eye, so there is little point doing the boots/jackets/faces nicely on an entire squad of 50 troops when you'll only ever see 5-10 of them so you do it on the ones you'll see, and doing things like a quick highlight on the hat/helmets and weapons will draw your eyes away from the faces on the rest. Younger brother briefly started doing night goblins IIRC and was doing that method, from memory he did the "outside" 20 or 30 to a reasonable level and the ones inside to a very low level (little more than undercoat/sloppy base coat on the body, but reasonable heads/upper weapons) and when they were formed up on the tray you couldn't really tell the difference without looking closely.
I'm probably explaining it really badly
")
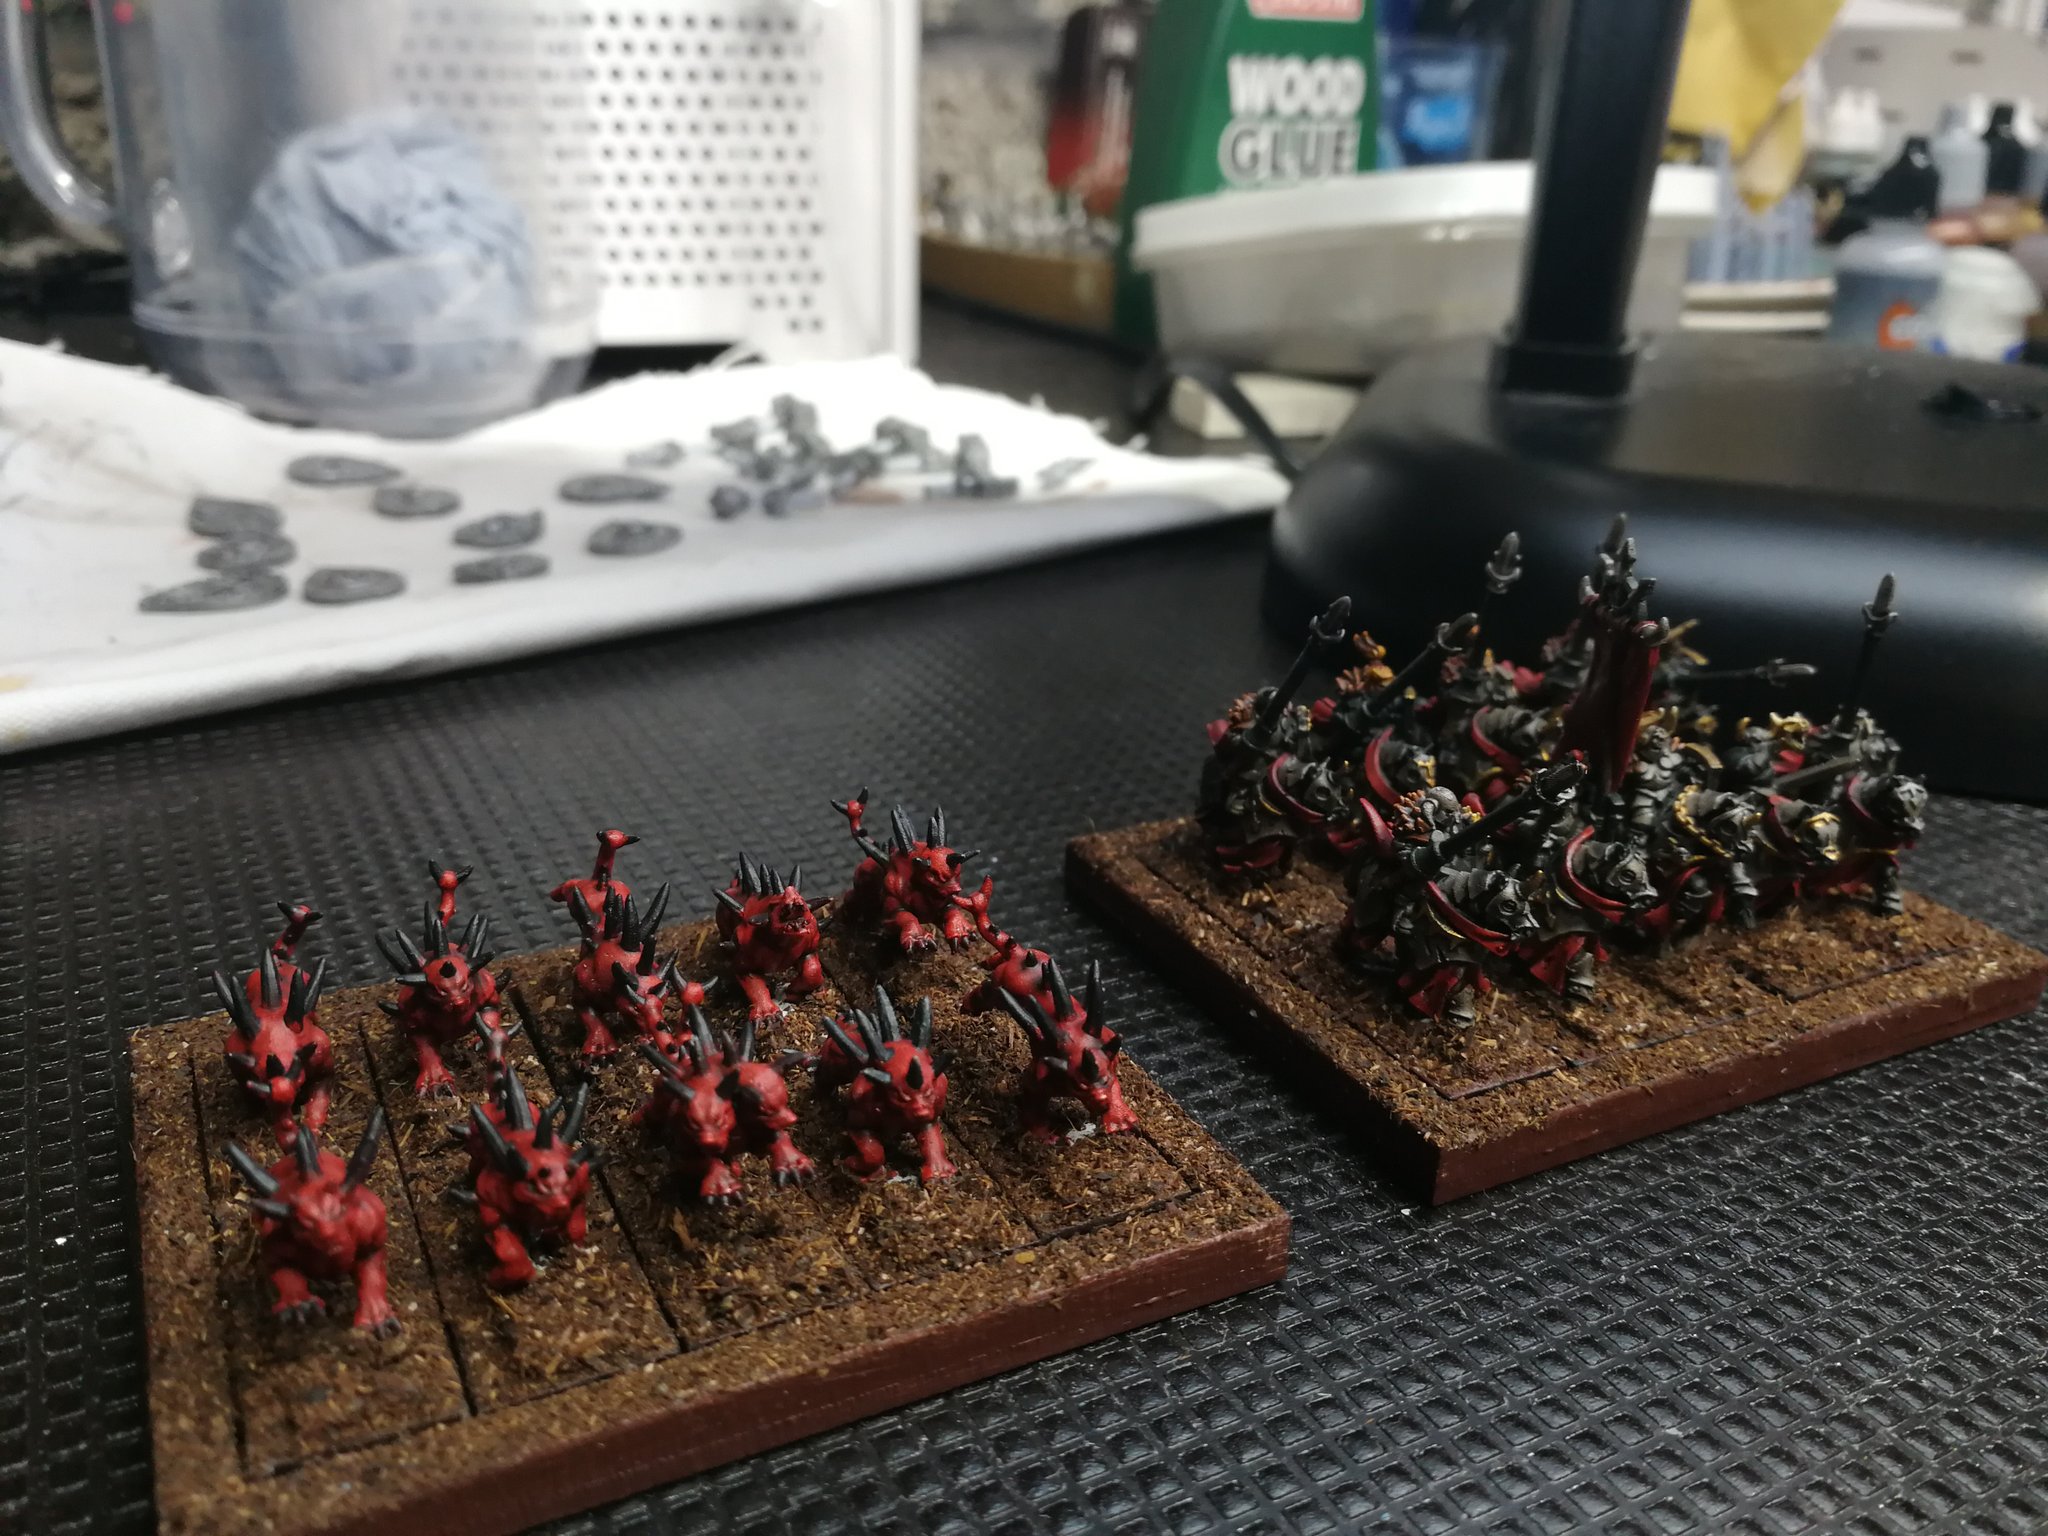
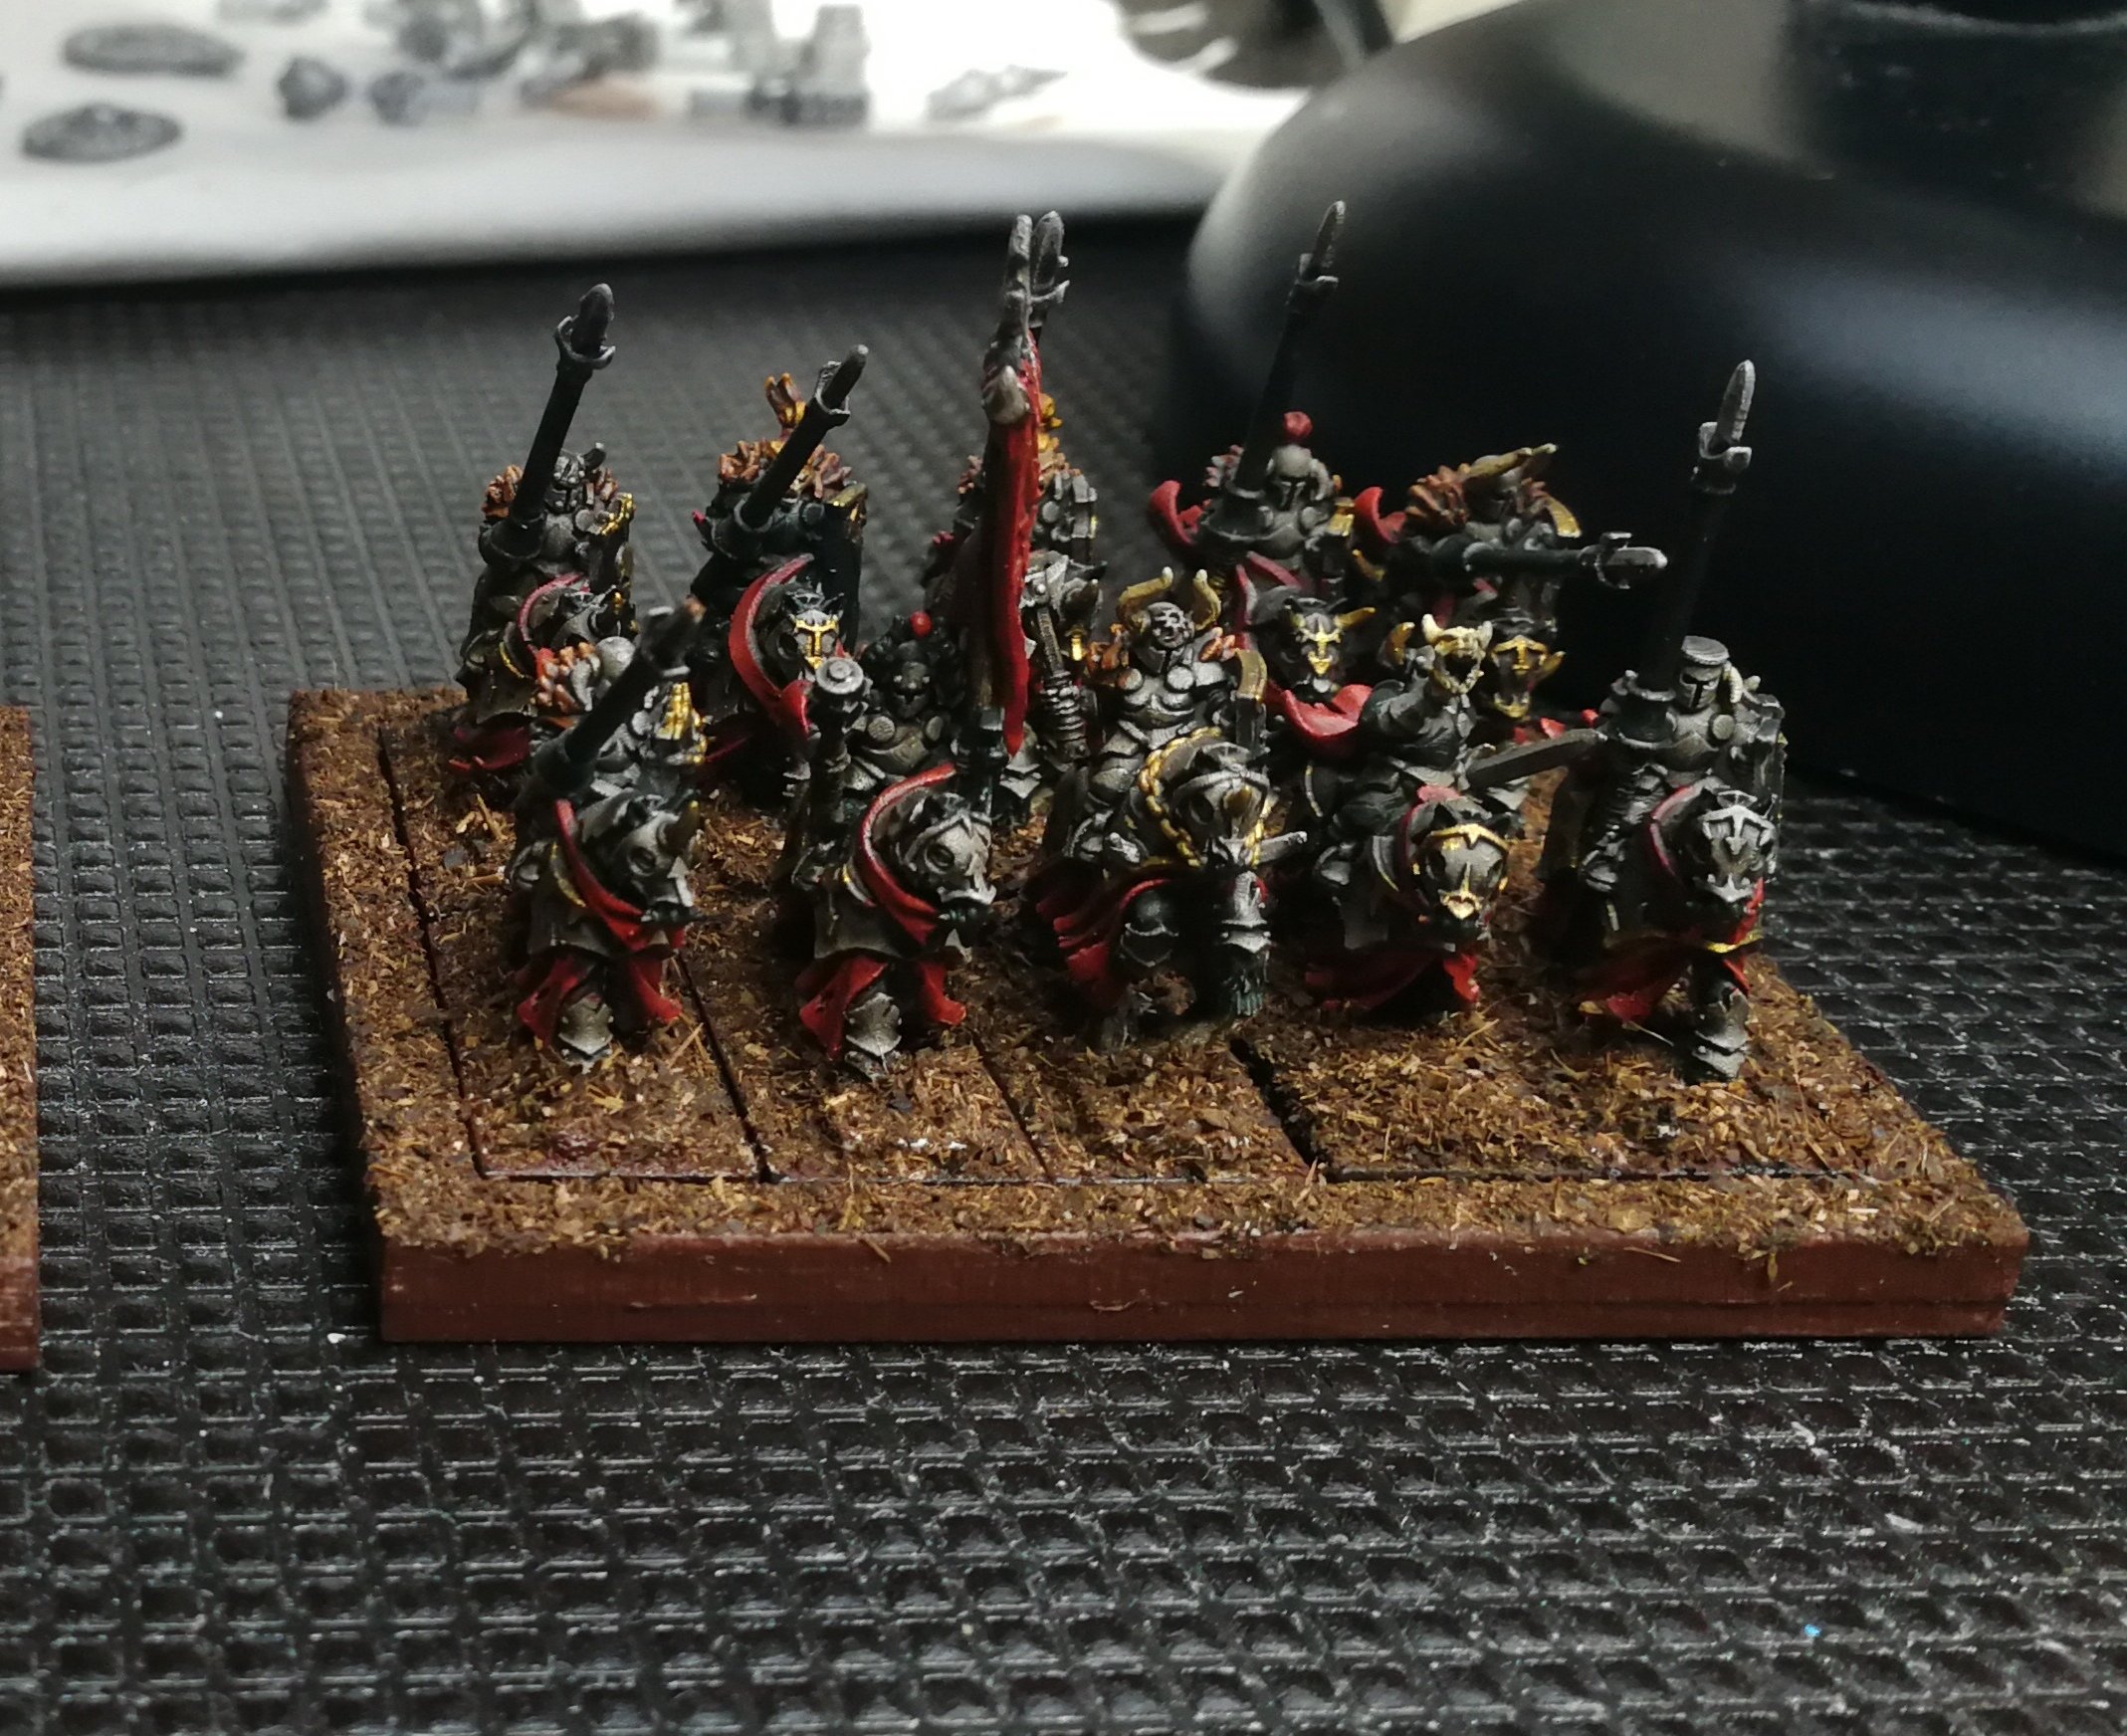
Knights are definitely fairly fast, they're large models with a lot of surface area that can be done with a spray can and then washes, one of the ways most of the people I talk to do their 40k knights (and Titanicus Titans) is they spray the skeleton with a gunmetal undercoat (or black then gunmetal for a slightly deeper colour), then liberally apply a wash followed by some highlighting but only where it's going to be seen once you've put the armour panels on, and the armour panels can often be sprayed with a base colour with relative ease saving time with the hairy brush.
If you can find them the Knight Renegade game in a box GW did (two versions at least*) was a good way to get a couple of Knights as from memory the box was just about the RRP for one knight, but you got two, some scenery and the dice etc, however that was released around 5 years ago so very hard to find I'd imagine.
One general tip I'd give every time now is buy some n52 magnets (IIRC 2mm deep by 3mm diameter) and superglue them to the bottom of your bases before you do anything else.
That magnet will help you hold the models whilst undercoating, as you can get a cheap bit of metal about 45-60 cm long and space them out on it whilst spraying them with the undercoat and it won't let them fall over (Ikea used to do some magnets and a strip for holding notes that was ideal, but a cheap long steel rule** is good but might need to be glued to a bit of wood), you can use blutack and a stick but I found the magnets were faster and worked much better especially if you were doing a lot of spraying as you could production line magnetising the bases before you assembled the models, and when swapping the models on the stick it's just lift and move, no mucking around trying to make sure the blu tack is sticking or replacing double sided tape between models (and if you're doing a lot at once that saves a huge amount of time, especially if you're doing airbrushing and might swap back and forth a couple of times for different colours).
The same magnets can help you hold the models when painting or, store them as you can get "flexmetal" sheets in A4 size for about ~£2 a pop*** which will sit nicely in 4 and 9l really useful boxes and hold the models really securely both for storage and transport**** (larger models might need several magnets spaced around the base - I tend to do 2 or 3 on a 100mm base). A 4l really useful box with a sheet in the bottom costs about ~£7 and has the same sort of storage for say Marines or Gaunts/gants as a £40 foam lined box (I think i've got about 100-150 in a 4l box) but stacks better and unless you're throwing them around works just about as well, whilst the larger boxes can take 40k nights etc, saving a small fortune over the foam boxes as a ~£10-15 box can hold multiple Knights, or an entire titanicus force.
Sorry long, rambling and i've gone slightly off on a tangent with my "magnet obsession" as my brother calls it, usually before asking if I've got the right size for his latest Titanicus models.
*I bought two of the first as it had a lot of building scenery parts, then one of the second.
**In the before times pre-covid poundland did such a ruler that was rubbish as it was too thin to support it's own weight, but from memory if you stuck it to a bit of cheap wood you had a great magnetic painting stick.
***It's basically the same rubbery sort of sheet that is used for some fridge magnets (and that you can buy for your printer) or on a larger scale the signs you can stick to the side of a van but take off at the end of the day/when the rental van goes back, just unmagnetized.
****One of my friends inadvertently demonstrated this when he forgot the box had models in and held it on it's side, IIRC all the models stayed stuck to the flexmetal which was stuck to the bottom of the box.