

-
Notice regarding image hosts and attachments. See here.
You are using an out of date browser. It may not display this or other websites correctly.
You should upgrade or use an alternative browser.
You should upgrade or use an alternative browser.
The G.E.C.K - Vault Tec component.
- Thread starter ALXAndy
- Start date
More options
Thread starter's posts

Oh I didn’t carry up the JBL 4312g. Couriers did that for me.
What?!

 Surely at only 24kg a piece, that's one under each arm and sprint up the stairs!
Mad how bad arthritis gets so fast tbh.
Yeah, we were warned how it was all downhill after 40...but did we believe them?!

Really nice work, enjoyed reading through the thread until I got to the part about your Mum, so sorry to hear that man.
What CNC is that you have, apologies if asked already, I just like these type of things as I mainly work in CAD/CAM and use large CNC machines daily at work.
I fancy a little project sometimes but then reality hits me that I'm a lazy sod and it will lie half finished forever. The strange thing is when someone asks me to make something I'm quite good at finishing, my own things tend to get left when I get bored half way in. I love reading all of these threads, I honestly don't know how you guys all stay so motivated, also the quality of work you all put out with what you have at hand is simply brilliant.
What CNC is that you have, apologies if asked already, I just like these type of things as I mainly work in CAD/CAM and use large CNC machines daily at work.
I fancy a little project sometimes but then reality hits me that I'm a lazy sod and it will lie half finished forever. The strange thing is when someone asks me to make something I'm quite good at finishing, my own things tend to get left when I get bored half way in. I love reading all of these threads, I honestly don't know how you guys all stay so motivated, also the quality of work you all put out with what you have at hand is simply brilliant.

Quick update.
The upgrade to the machine is mostly done. As I thought though I will need a piece to adapt the ball screw block onto the bed. Thankfully the gap is 8mm, so a nice round number.
I now have 45cm of movement so more than enough phew.
The upgrade to the machine is mostly done. As I thought though I will need a piece to adapt the ball screw block onto the bed. Thankfully the gap is 8mm, so a nice round number.
I now have 45cm of movement so more than enough phew.
OK. I have now sorted the plans with my machinist pal and we are making a plate that holds the ball screw block on. The machine is pretty much ready apart from that.
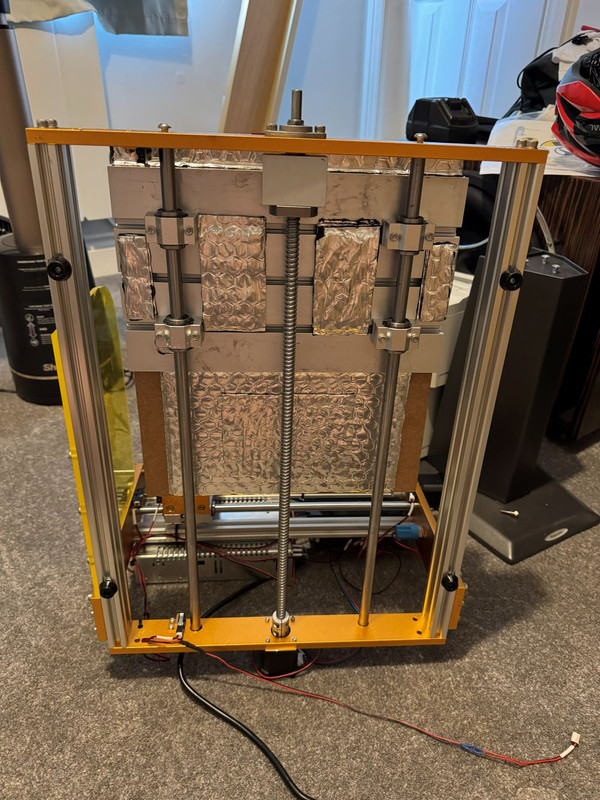
I need to buy some M5 counter sunk bolts. I've also ordered new side panels (I broke one walking into it at 4am) and some more deadening as I am putting on a new spoil board. The one on there has taken a battering because I used thinner card stock and the bit went into the spoil board. Problem with that is it then creates air channels so that the double sided tape doesn't grip as well. So I ordered a new one, and some more deadening mat and will then order thicker card stock.
I need to buy some M5 counter sunk bolts. I've also ordered new side panels (I broke one walking into it at 4am) and some more deadening as I am putting on a new spoil board. The one on there has taken a battering because I used thinner card stock and the bit went into the spoil board. Problem with that is it then creates air channels so that the double sided tape doesn't grip as well. So I ordered a new one, and some more deadening mat and will then order thicker card stock.
Couple of things I forgot.
I’ve ordered some 4mm clear acrylic for new sides. I broke one. I’ve also ordered some of those locking floor mats they use in gyms and garages etc to put the machine on so it doesn’t transfer noise into the floor.
Apparently they’re all coming tomorrow when I’m out. Sake. Will have to have them redelivered on Friday.
I’ve ordered some 4mm clear acrylic for new sides. I broke one. I’ve also ordered some of those locking floor mats they use in gyms and garages etc to put the machine on so it doesn’t transfer noise into the floor.
Apparently they’re all coming tomorrow when I’m out. Sake. Will have to have them redelivered on Friday.
Spoil board is now fitted and shimmed. I had to drill and sink new holes as I’d have lost 2cm machining space. So it took many hours…
The plastic for the new sides is here so I’ll do those later.
I’m going to make a stand for the machine too from left over bits. More on that soon.
I’m still sorting things and emptying boxes. Two are now empty and gone. That leaves four more.
I never realised how much work it would be when mum paaaes sheesh.
Slowly getting there. The work is in taking the rubbish downstairs. Mad workout that!
I did take a day out to get a bmx wheel built. Bought a rear cassette with Ti driver, axle and bolts.
The plastic for the new sides is here so I’ll do those later.
I’m going to make a stand for the machine too from left over bits. More on that soon.
I’m still sorting things and emptying boxes. Two are now empty and gone. That leaves four more.
I never realised how much work it would be when mum paaaes sheesh.
Slowly getting there. The work is in taking the rubbish downstairs. Mad workout that!
I did take a day out to get a bmx wheel built. Bought a rear cassette with Ti driver, axle and bolts.
Progress. I have had a million things to do. It's also been stupid hot. My infection is back so I can not ride a bike or sit too long at a PC. Fun, not. The machine is finished.
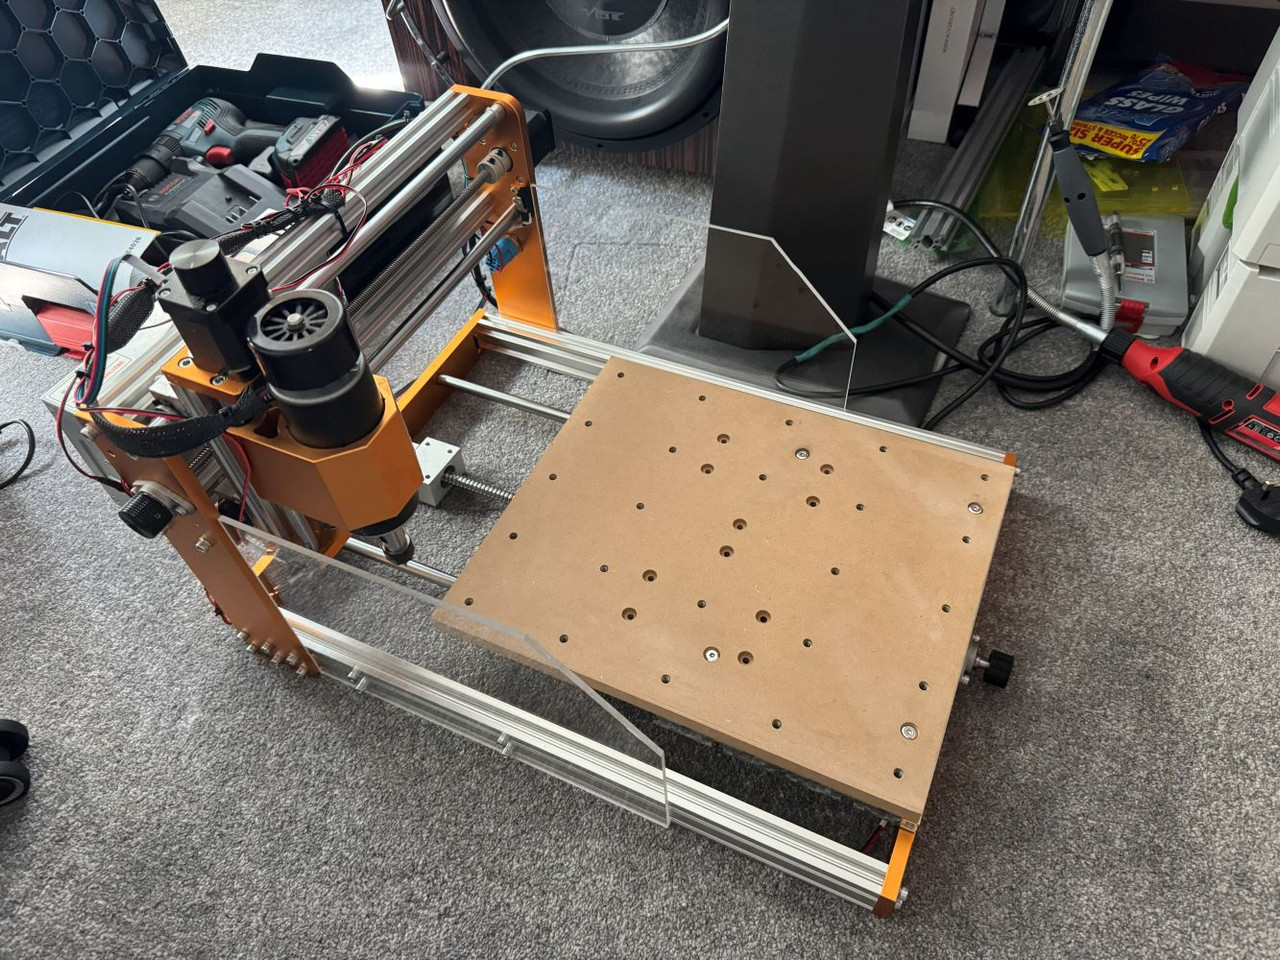
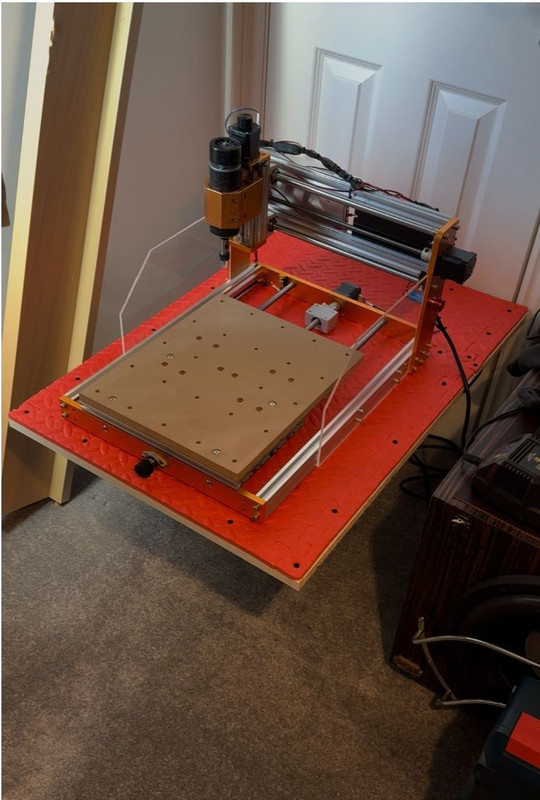
This is the table I made with the gym mats to quieten it.
And the work continues in the bedroom. I need a couple more storage crates and then I will be able to finish up everything.
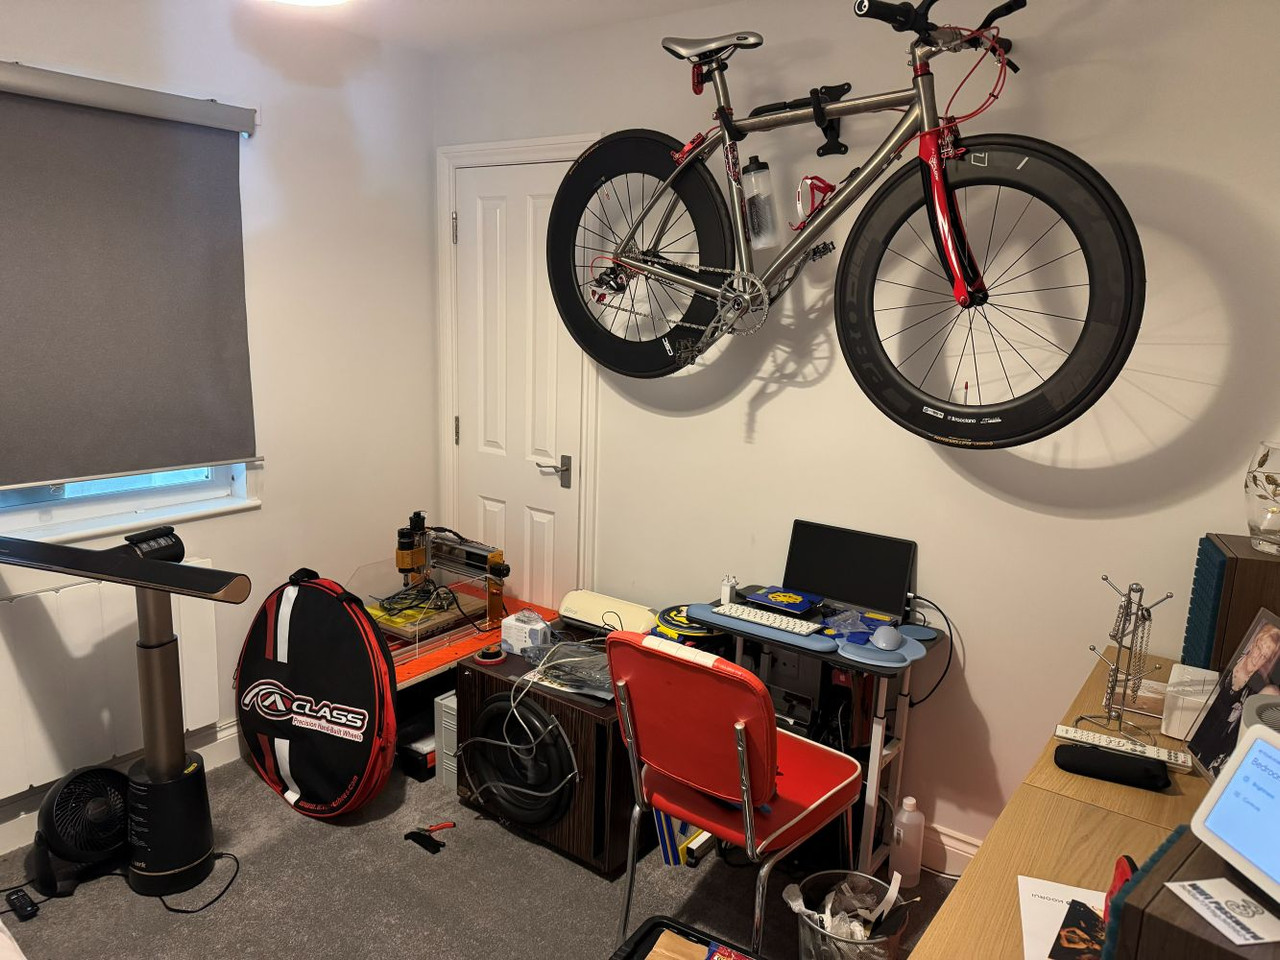
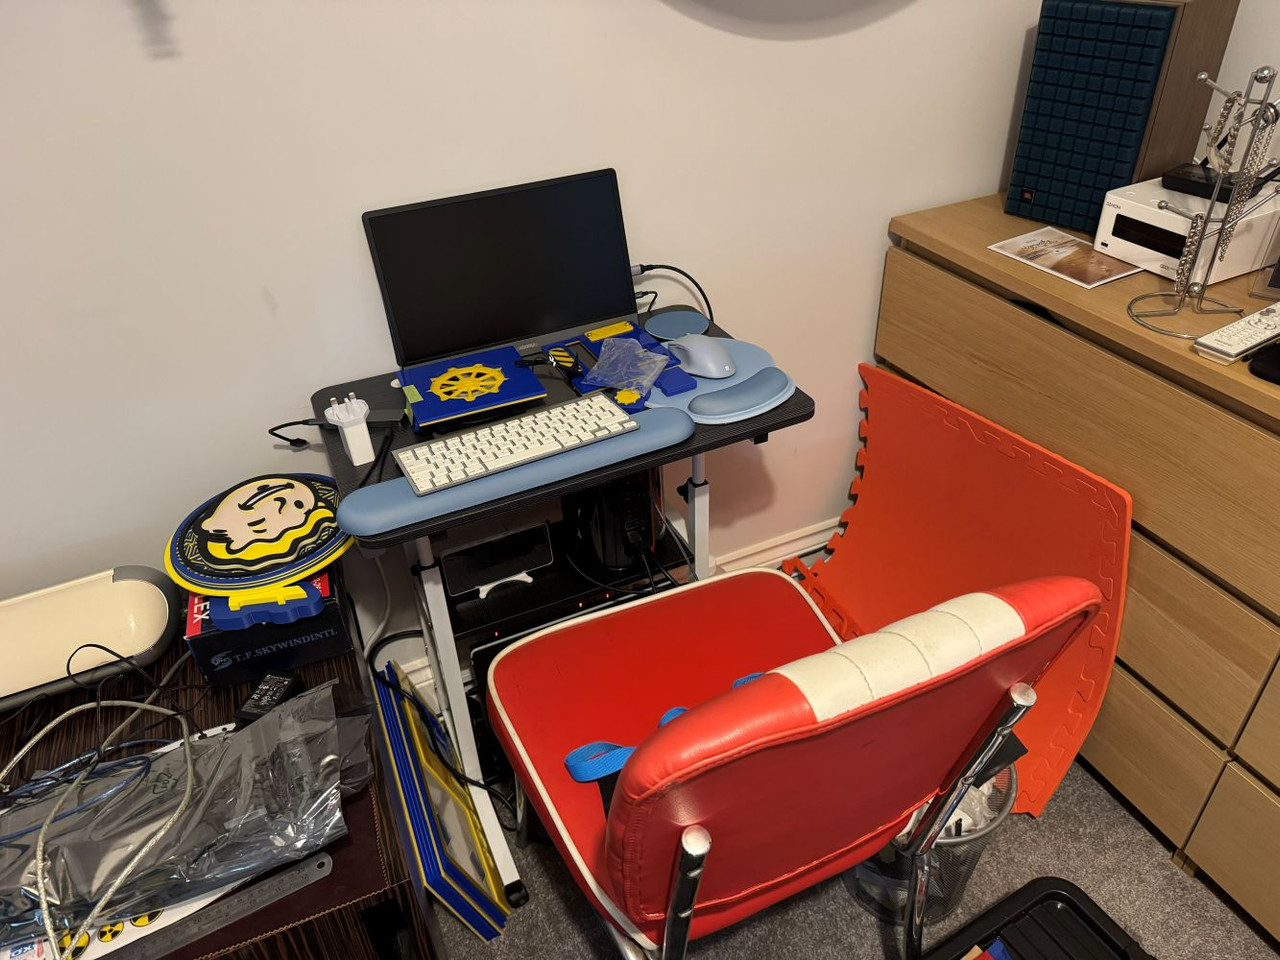
As you can see theres stuff all over the desk. It needs putting into boxes to keep it safe.
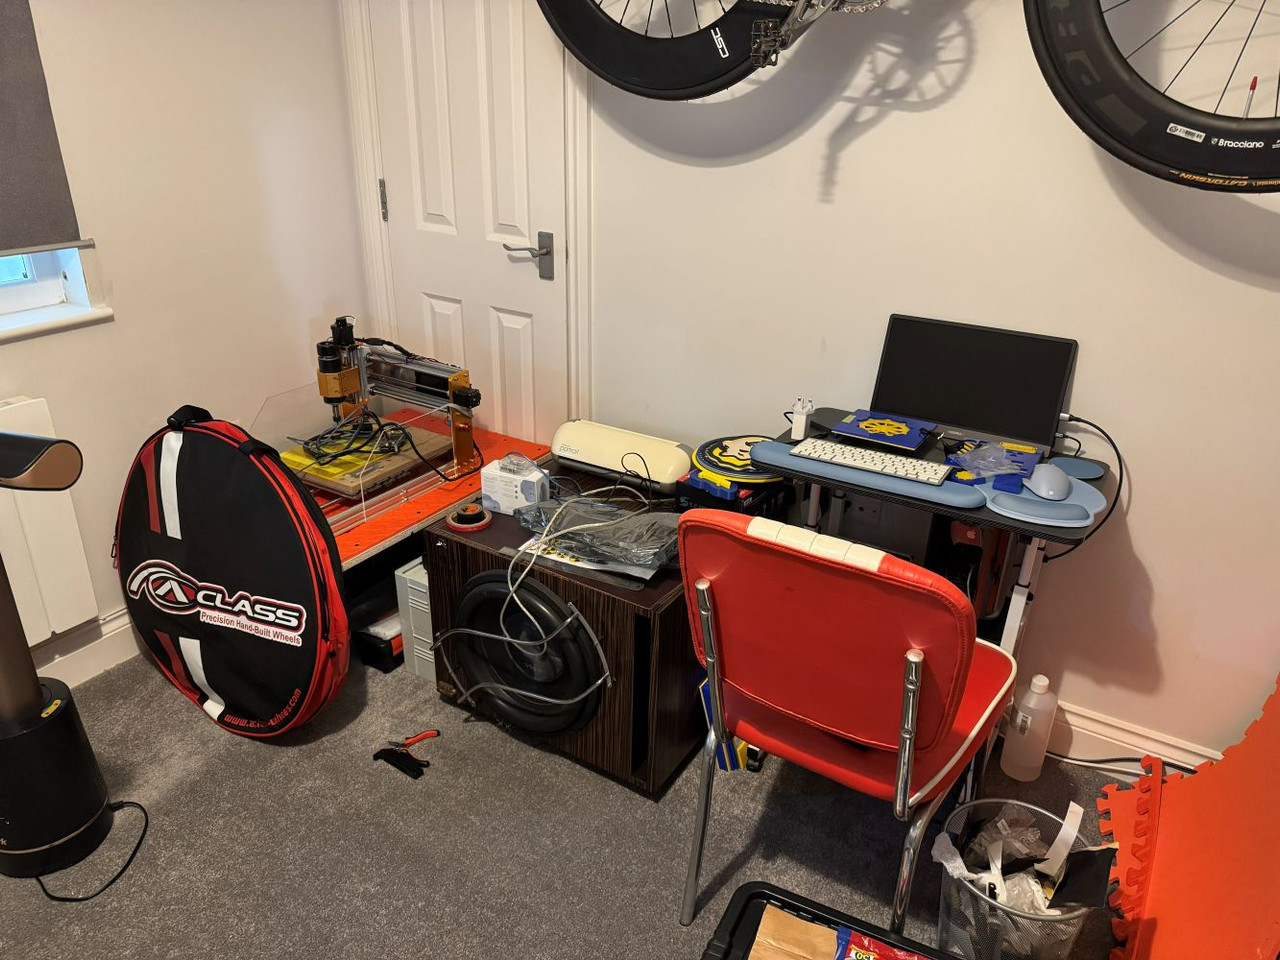
I also need to change the stepper settings in Easel as it now moves too much due to the new ball screw. I need the desk clear for that, though.
This is the table I made with the gym mats to quieten it.
And the work continues in the bedroom. I need a couple more storage crates and then I will be able to finish up everything.
As you can see theres stuff all over the desk. It needs putting into boxes to keep it safe.
I also need to change the stepper settings in Easel as it now moves too much due to the new ball screw. I need the desk clear for that, though.
Easel is more than good enough tbh. I just need to find the settings for the axis stuff.
Last of the plastic totes arrived. I’m now going to start work painting the Mac next week. It’s cooled down enough to be great panting temps now.
Last of the plastic totes arrived. I’m now going to start work painting the Mac next week. It’s cooled down enough to be great panting temps now.
Oh and I had another idea for the build. In the pile on top of the subwoofer are two amazing 3d prints my mate did for me for Christmas. One is a Vault boy, the other is the Fallout logo in blue and yellow. I want to mount the logo atop the computer when it is done. So, I ordered 250mm of this in 10mm.
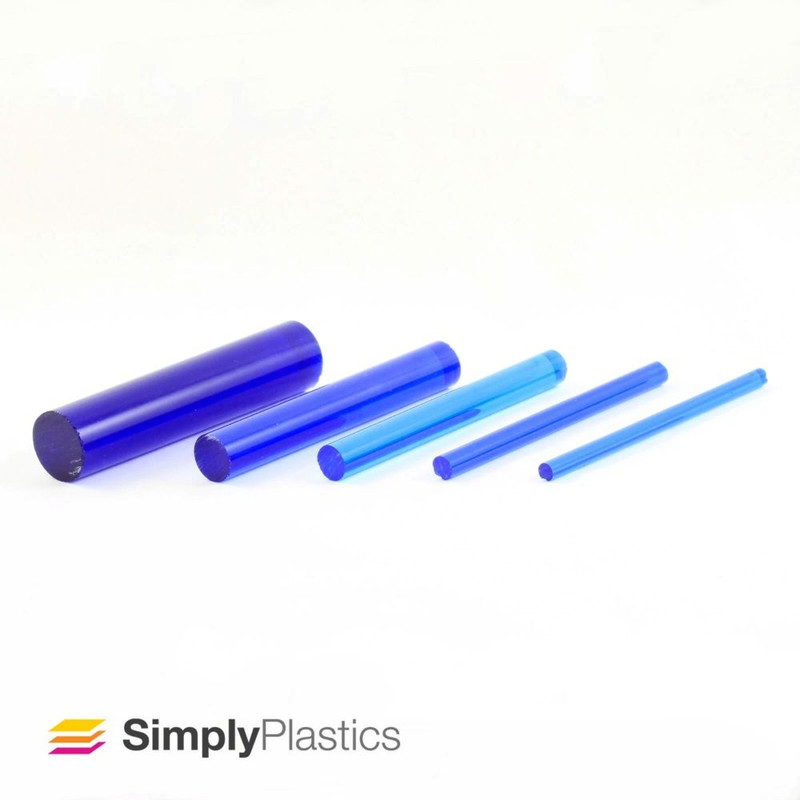
And will drill and tap inserts so it can be bolted on top.
And will drill and tap inserts so it can be bolted on top.
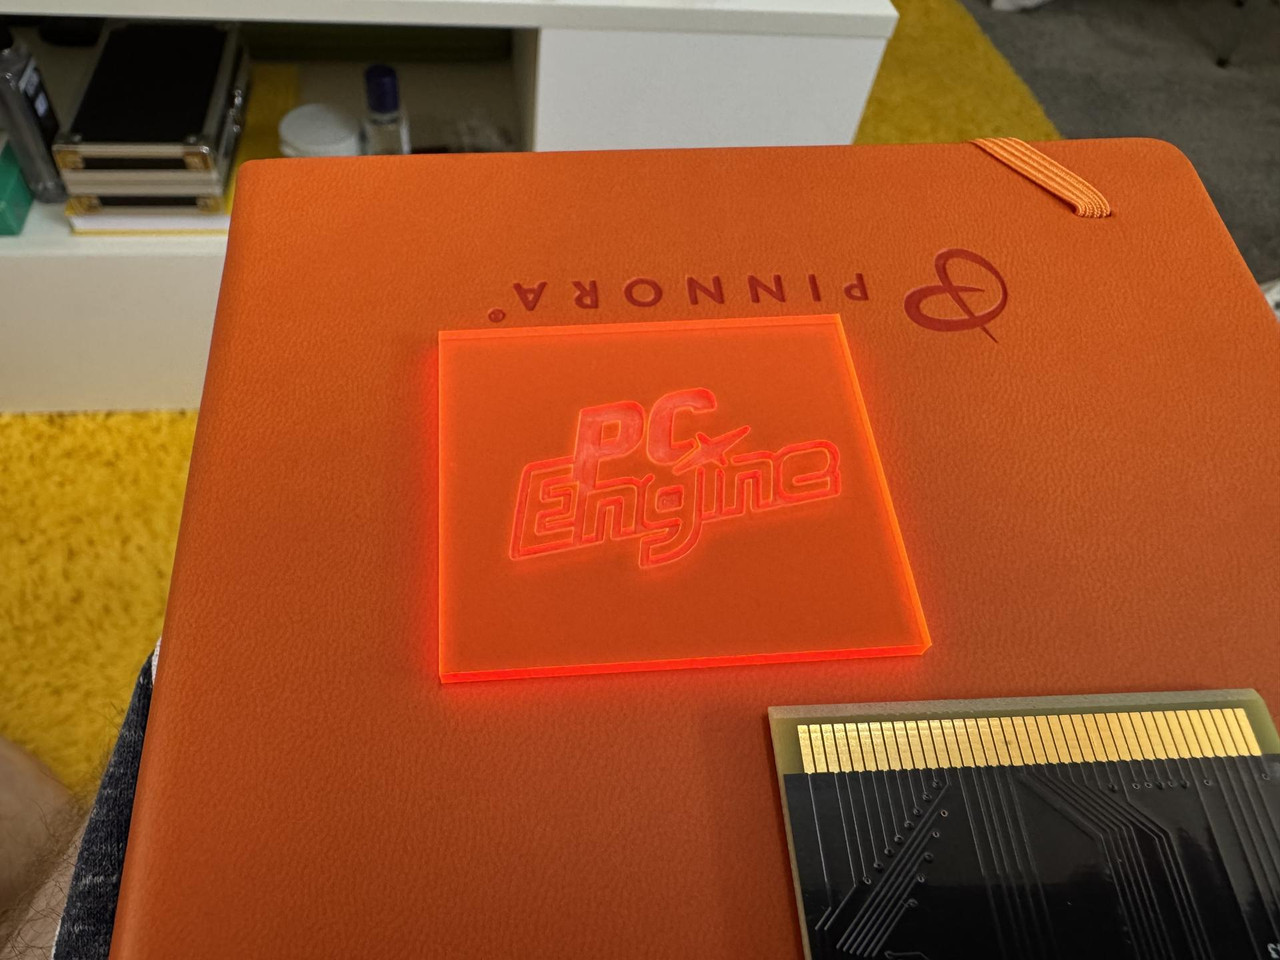
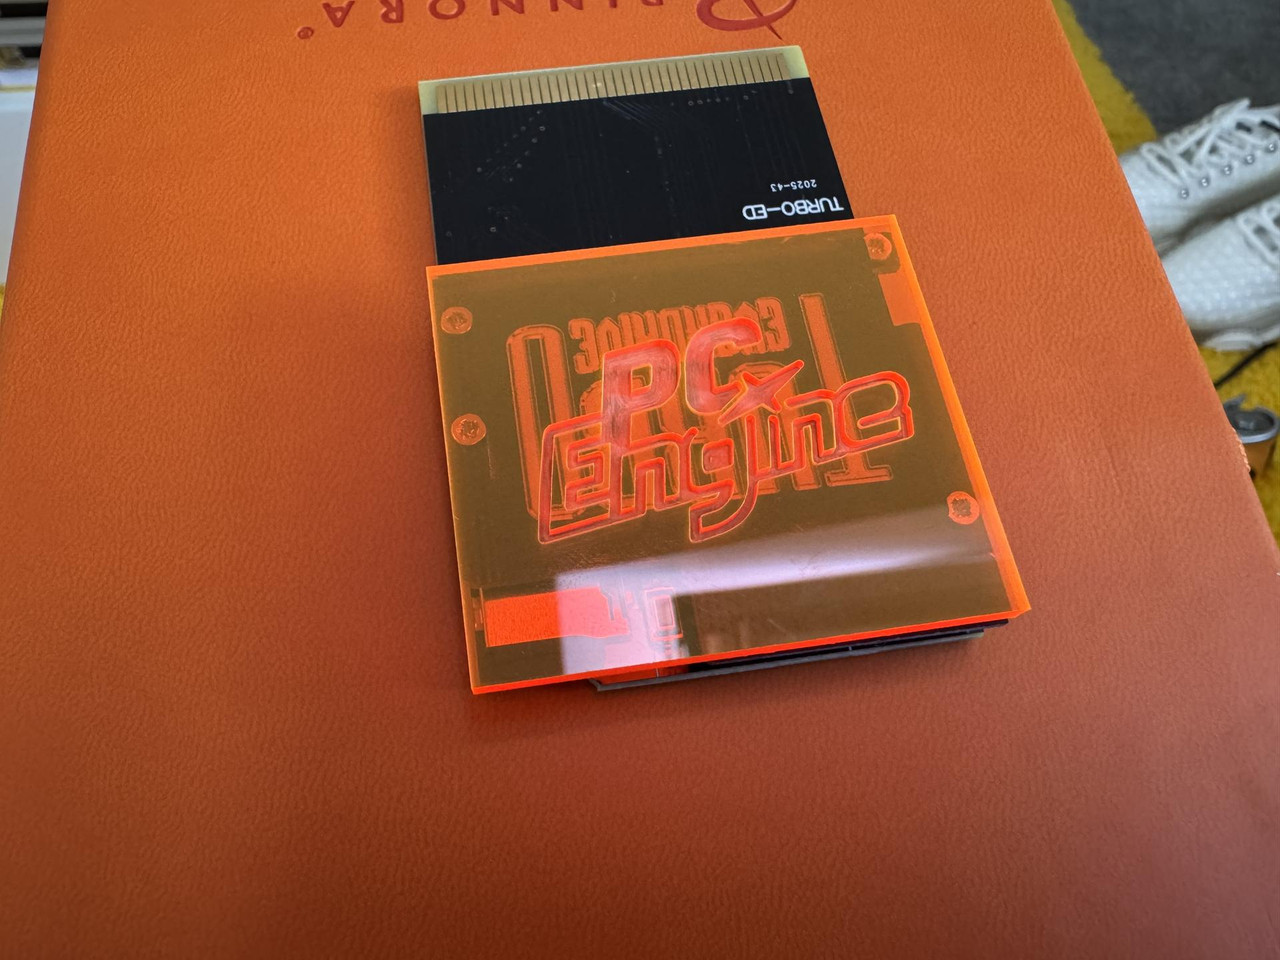
Well something really odd happened.
I finally got the machine hooked up to a laptop and ran a test cut. Now this test cut was 10mmx10mm and it should have been messed up on the Y axis due to the new ball screw having a larger thread. Not diameter, but a larger thread pitch.
However, even though the onboard controller was moving the bed too far Easel worked fine? lol the annoying thing is I spent two hours researching how to fix an issue that wasn’t an issue somehow.
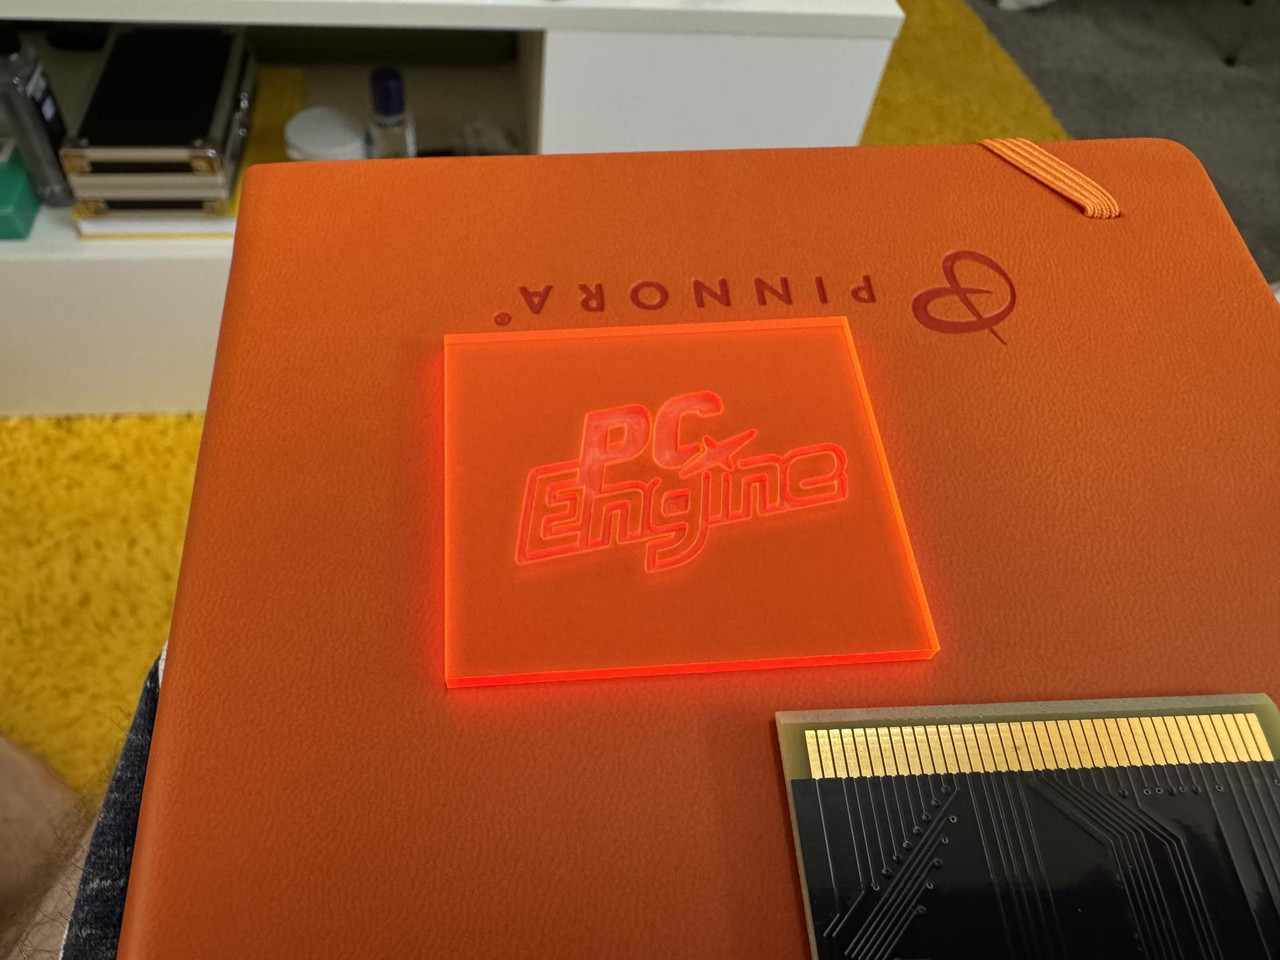
As you can see I ran a test cut and carve earlier. And it’s bob on. I figured it was safer to make a cover for my ever drive than risk a £10+ sheet of acrylic.
So you know what this means, right?
Oh it’s on biyatches. It’s on like conky dong lmao.
Last edited:
Well sod and bugger ! Lmao.
You know over the last few months I’d kinda forgotten all about the joys of modding and creating things. I must say that yesterday was a huge rush of that dopamine.
Today? A lesson in pain lol.
OK so I took loads of pics but every single one was pointless. Why? Because today was a day of fail.
First I cut four pieces of that 10mm acrylic rod. Then all I wanted to do was draw some circles in photoshop with 1mm holes in the middle so I could stick them onto the ends of the rods and centre punch them.
Photoshop kept crashing. After three hours of trying everything it became apparent that I’d not actually fully used it on the Mac yet but when you do? It crashes. I even had it apart and changed the RAM but nope.
So I did my best to mark the middle of the rod and centre punch them. I then spent nearly two hours trying to put 5mm holes in each end. The acrylic is extruded and so after lots of melting and slowing the drill and etc? They cracked. So my spare was gone and I tried to centre punch the end of another one and it exploded.
So I literally spent the entire day getting hot and angry and achieved absolutely sod all.
Ugh.
You know over the last few months I’d kinda forgotten all about the joys of modding and creating things. I must say that yesterday was a huge rush of that dopamine.
Today? A lesson in pain lol.
OK so I took loads of pics but every single one was pointless. Why? Because today was a day of fail.
First I cut four pieces of that 10mm acrylic rod. Then all I wanted to do was draw some circles in photoshop with 1mm holes in the middle so I could stick them onto the ends of the rods and centre punch them.
Photoshop kept crashing. After three hours of trying everything it became apparent that I’d not actually fully used it on the Mac yet but when you do? It crashes. I even had it apart and changed the RAM but nope.
So I did my best to mark the middle of the rod and centre punch them. I then spent nearly two hours trying to put 5mm holes in each end. The acrylic is extruded and so after lots of melting and slowing the drill and etc? They cracked. So my spare was gone and I tried to centre punch the end of another one and it exploded.
So I literally spent the entire day getting hot and angry and achieved absolutely sod all.
Ugh.

This is where a 3D printed jig shines. Print off a simple cap with a hole in the centre, put over the end of the rod, slowly drill in the hole.
And never apply sudden force to acrylic or it'll explode, as you found out.
Sucks to have a day of failure though, especially when you're excited to get back into it.
And never apply sudden force to acrylic or it'll explode, as you found out.
Sucks to have a day of failure though, especially when you're excited to get back into it.
Yeah, absolutely. You won't find lots of pics of fail in my thread either! *Nonchalant whistle*OK so I took loads of pics but every single one was pointless. Why? Because today was a day of fail.
Not played with extruded so could be a silly suggestion but rather than drill slowly to avoid melting, could you go the other way and deliberately melt a hole? Obviously taking measures to avoid breathing in any toxic fumes.
This is where a 3D printed jig shines. Print off a simple cap with a hole in the centre, put over the end of the rod, slowly drill in the hole.
And never apply sudden force to acrylic or it'll explode, as you found out.
Sucks to have a day of failure though, especially when you're excited to get back into it.
No 3D printer yet. Next Friday.
The problem is extruded. Had I known it was before I bought it I’d never have bought it.
The idea was to drill the ends and then melt in the threadserts.
Problem is once you get to a 2mm bit it starts to bite. Meaning to get one hole to 5mm takes about an hour. One hole. I’d have needed 6.
As for centre punching? Been doing it on cast for over two years now due to drill bit drift.
See that orange cover for the ever drive? See those 2mm holes pretty much on the edge? Those were all punched.
Extruded is just junk tbh.
The ***** up part is that in honesty I didn’t even need the rods. This is the beautiful print my mate made for me.
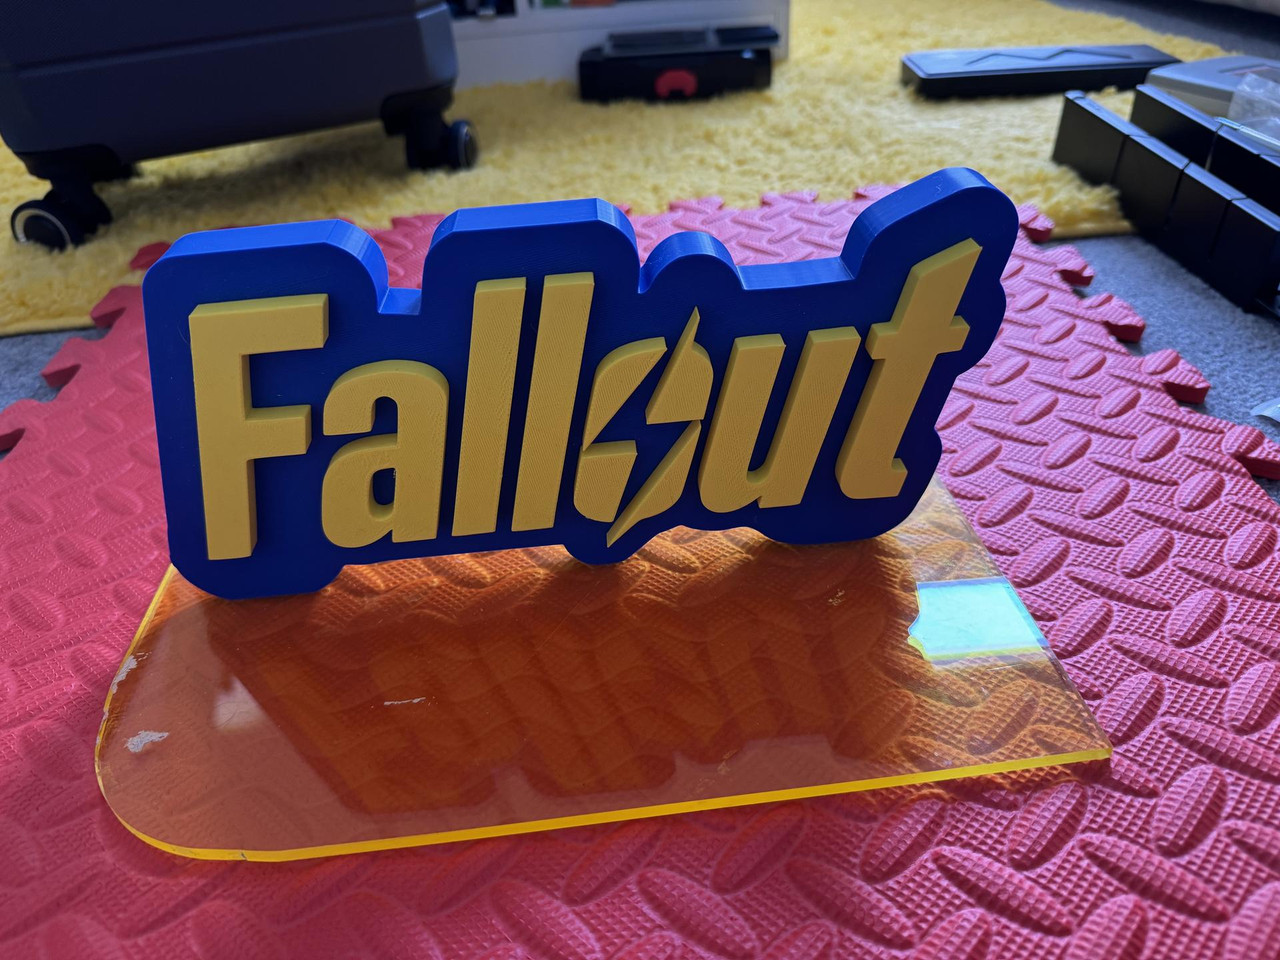
See how it has three areas that are flat?
All I needed to do was add threadserts and just bolt it straight to the top.
I’m taking today off as yesterday was hot and tiring.