

-
Notice regarding image hosts and attachments. See here.
You are using an out of date browser. It may not display this or other websites correctly.
You should upgrade or use an alternative browser.
You should upgrade or use an alternative browser.
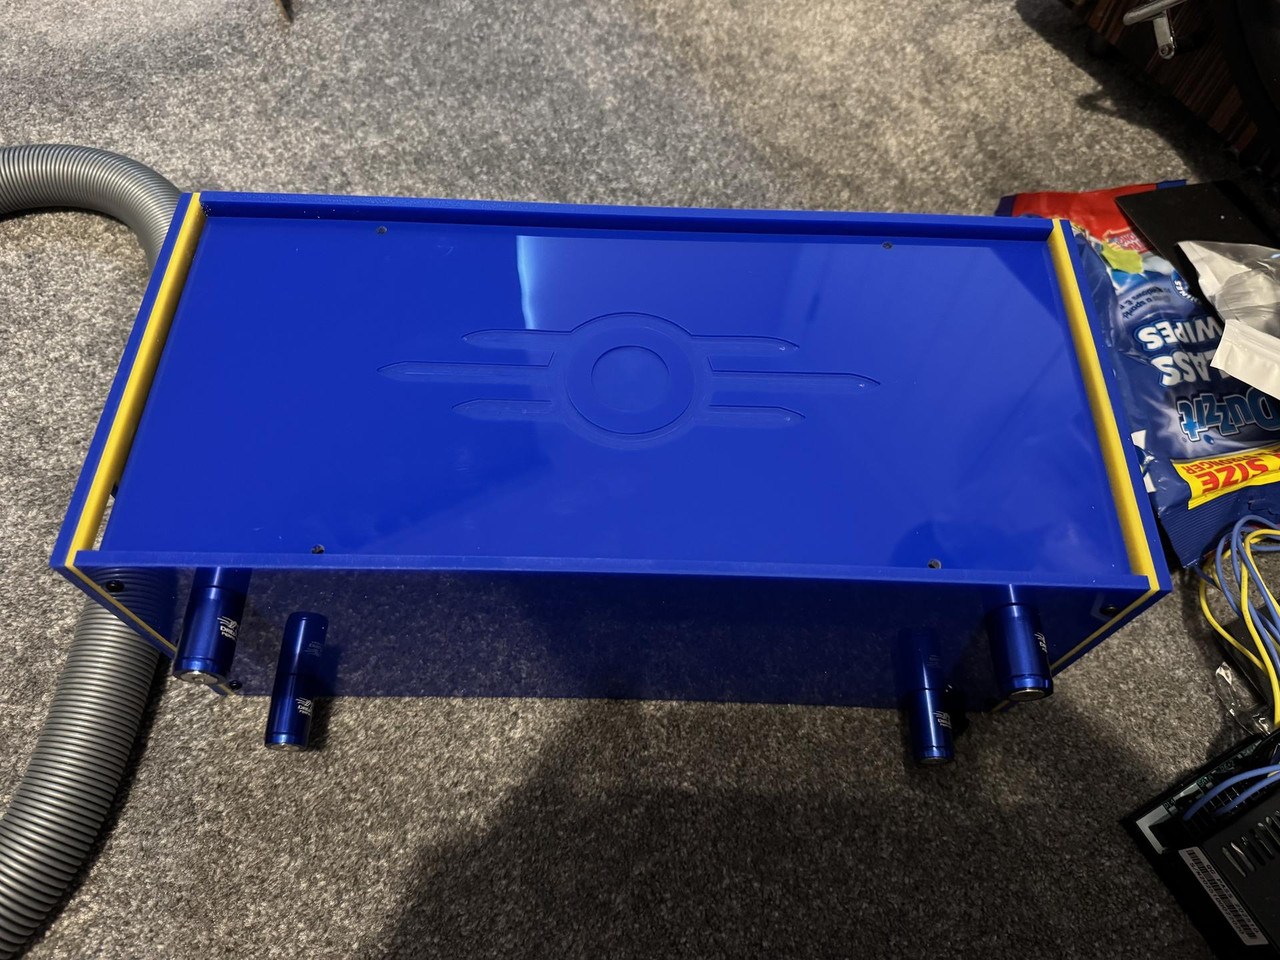
The G.E.C.K - Vault Tec component.
- Thread starter ALXAndy
- Start date
More options
Thread starter's posts
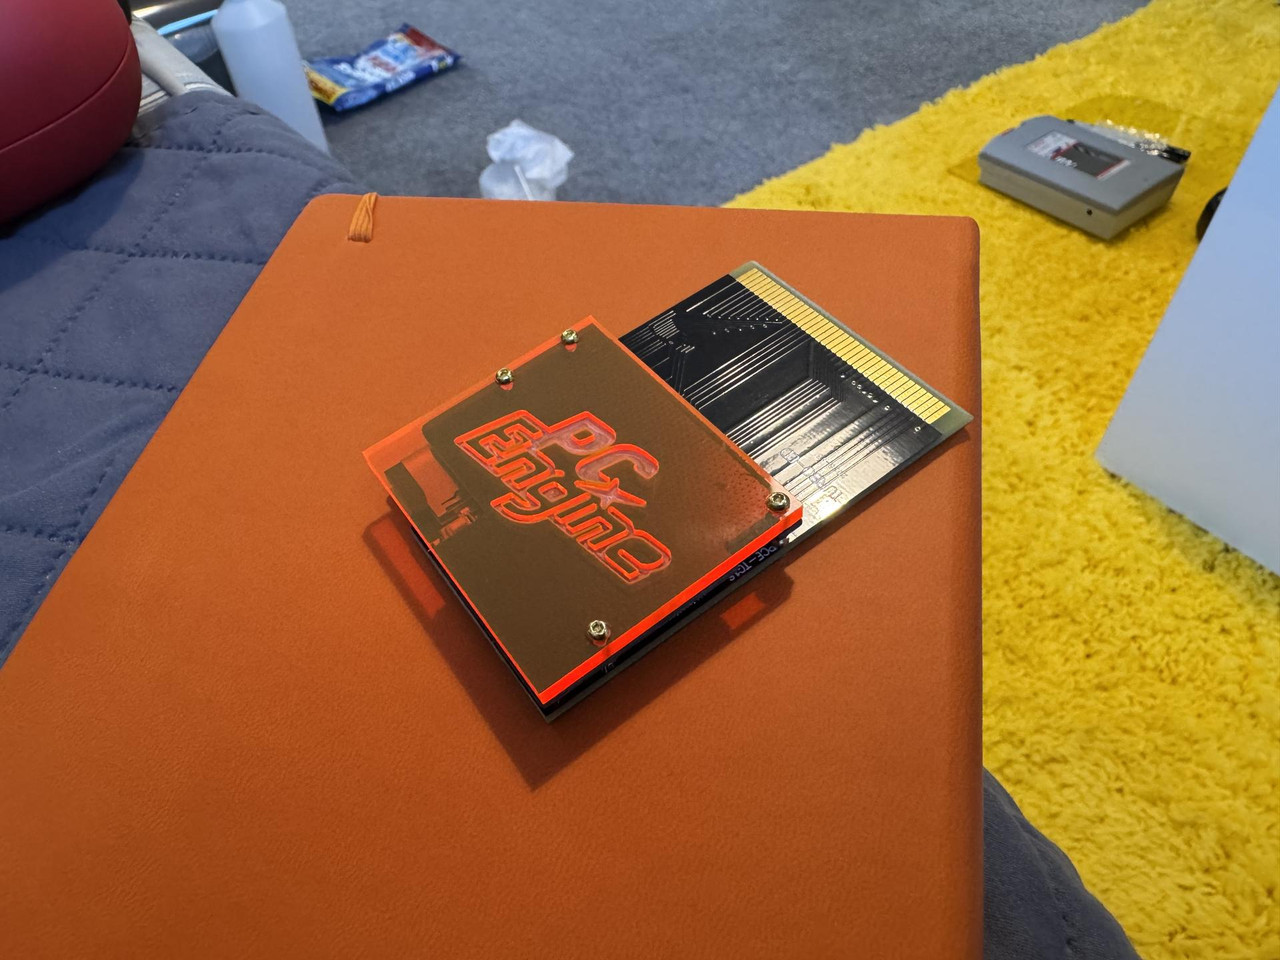
The bottom is cut.
I made a very minor boo-boo thinking it sat over the front and back. It can’t it would make the interior too small.
I’ve now conceded that I’m going to have to use metal threaded cubes so they’re ordered.
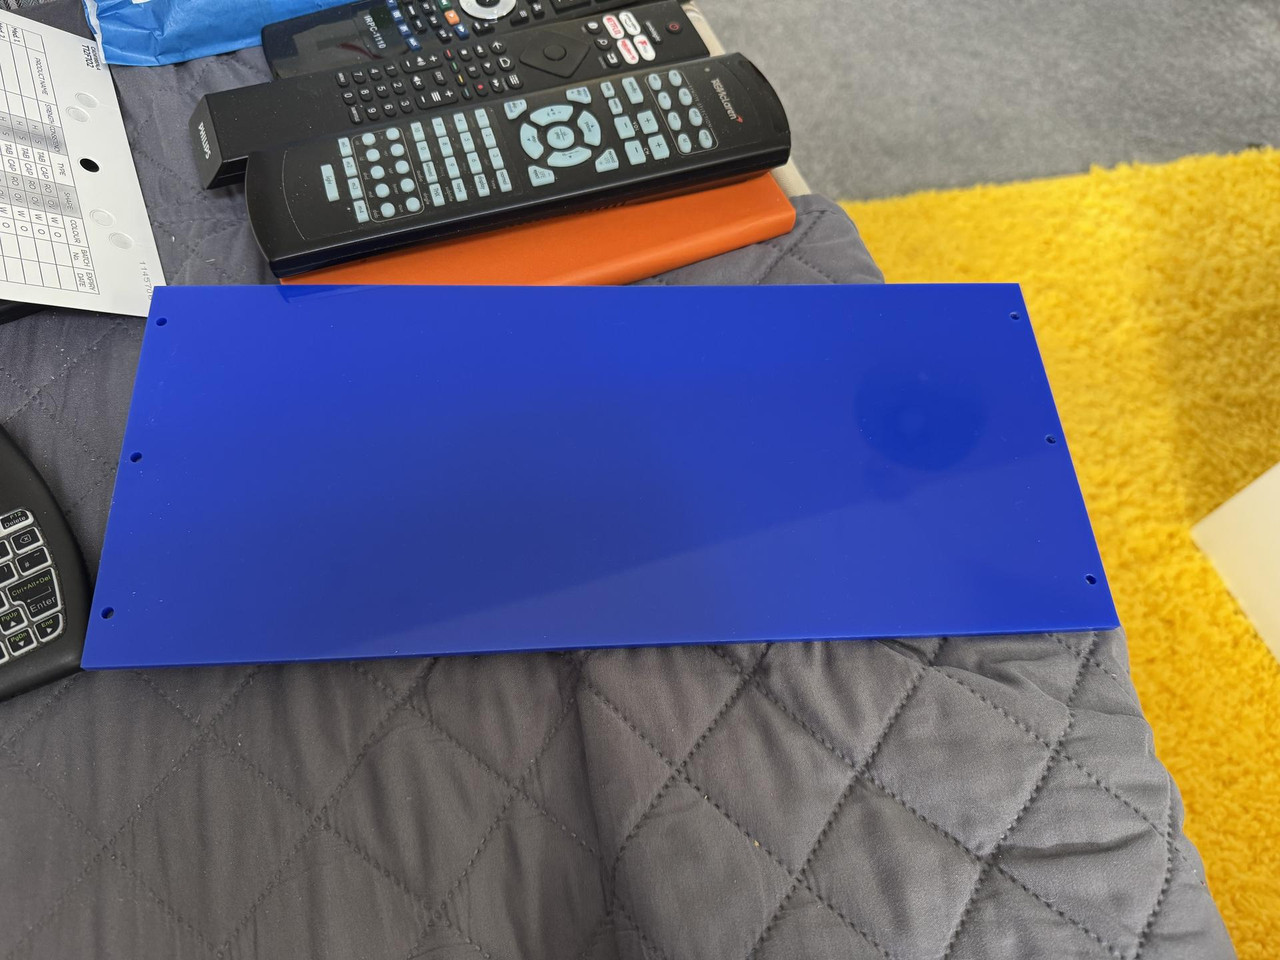
Dimensionally though it’s absolutely spot on.
I made a very minor boo-boo thinking it sat over the front and back. It can’t it would make the interior too small.
I’ve now conceded that I’m going to have to use metal threaded cubes so they’re ordered.
Dimensionally though it’s absolutely spot on.
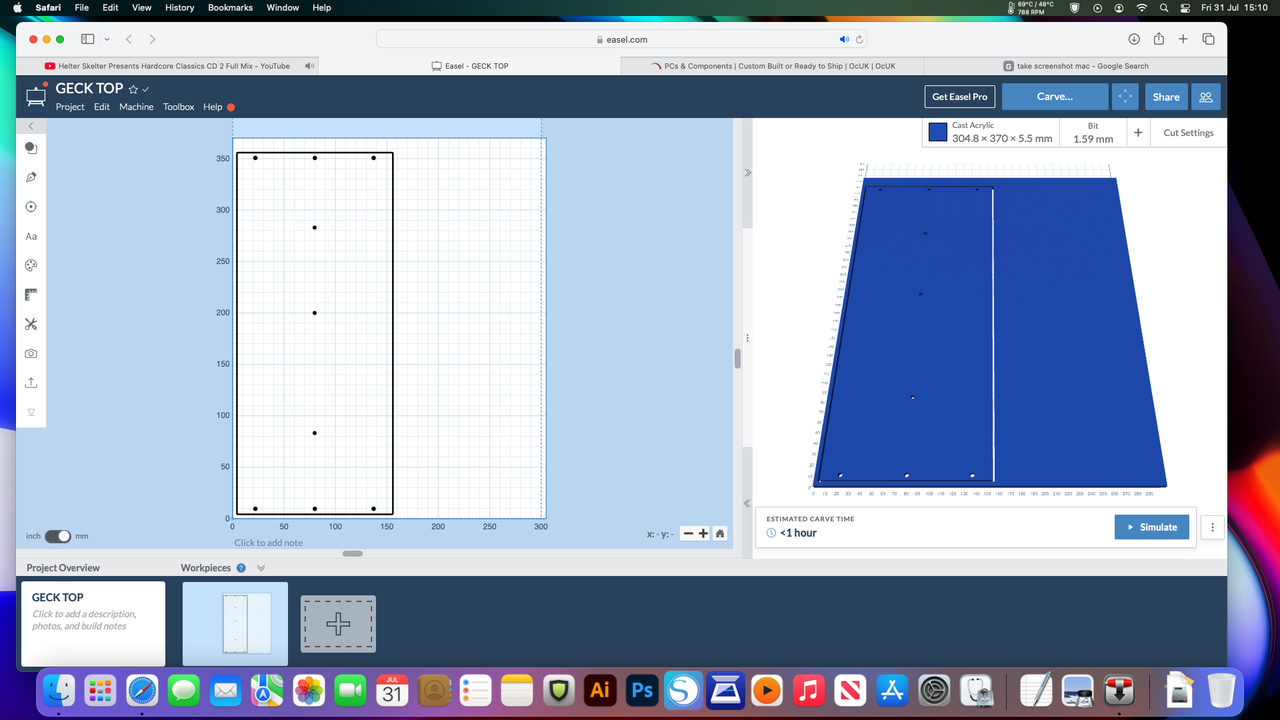
Meh set it up now.
I didn’t want to risk anything so I set the machine to super slow for the bottom piece so it took like over two hours. I’ve now doubled the feed rate and tbh it’s still slow and says 47 mins. So I reckon about an hour.
I didn’t want to risk anything so I set the machine to super slow for the bottom piece so it took like over two hours. I’ve now doubled the feed rate and tbh it’s still slow and says 47 mins. So I reckon about an hour.
OK so the top is done also.
Thankfully because I thought I’d be using m4 bolts I cut them to like 4.2 mm so I could adjust things. So, even though they are a mil or two in the wrong place the slack allowed the blocks to be in the correct place without needing shims.
Yay.
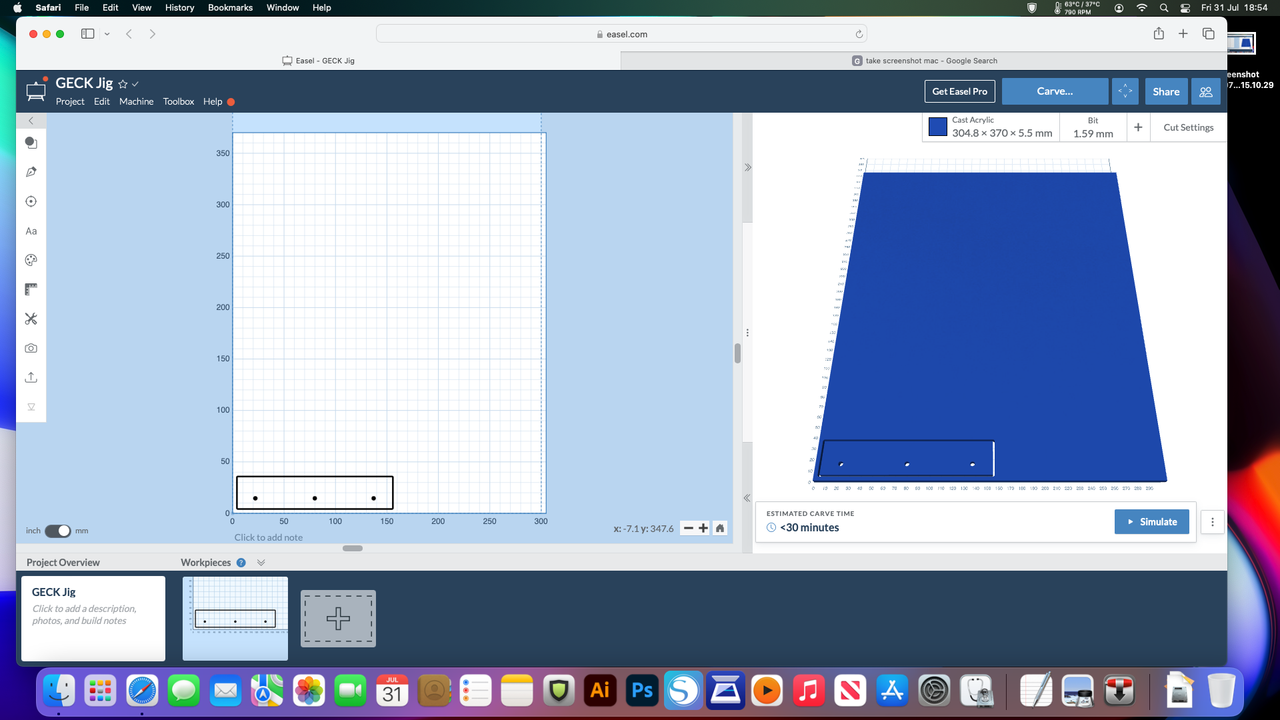
So tomorrow I need to machine a jig for drilling the holes into the front and back in the correct places. Obs I didn’t machine any as I thought I’d be screwing into it and not through it.
I’m also going to fit the logo to the top tomorrow too, and with any luck it’ll resemble a box without sides lol.
OK. Good evening all I hope you are having a fantastic weekend.
We've ran into some troubles. Not just one trouble, multiple.
See, I designed this thing last year. Like, 10 months ago. I've been to heck and back and by this time any memories of what I was actually doing are long gone. As such when I finally upgraded the machine and put it back together it still wasn't big enough. It was about 2cm short of where I wanted it. Again, this is what happens when you are not thinking clearly. Mum was extremely poorly by this stage and I made the choice to just abandon it and care for her. I owed her that much for the wonderful life we had smashed out through some horrible times.
Any way, so I cut the bottom last night. I immediately realised it was not big enough to mount "around" the front and back and would have to go inside. And this is where it gets nasty. It absolutely Fs the entire inside of the design of the case up. Nothing fits where it should. As an example, the top will now push the entire BC250 downward by 5mm meaning the power connector will not fit. The stands I made for it? are now too big. The right side panel? well that now runs straight into the heatsink for the memory on the back.
Not good. That said, none of this is really surprising. At least not to me. This is what happens when you have a year like I have had and it's no ones fault.
So. Before I get to the good things (and believe me they are amazing) I will now give a run down of what I need to do to make it work.
1. I am going to have to snap off the connector for the power (well, cut it with snips) and ram the 8 pin on there like the other BC250 I made.
2. I am going to have to swap the back plate with the other BC250 and sacrifice the memory cooling. Believe me if there was not another BC 250 I'd be really REALLY screwed.
3. Make new stands.
And any 4s or 5s that are bound to crop up.
Now, we go onto the good.
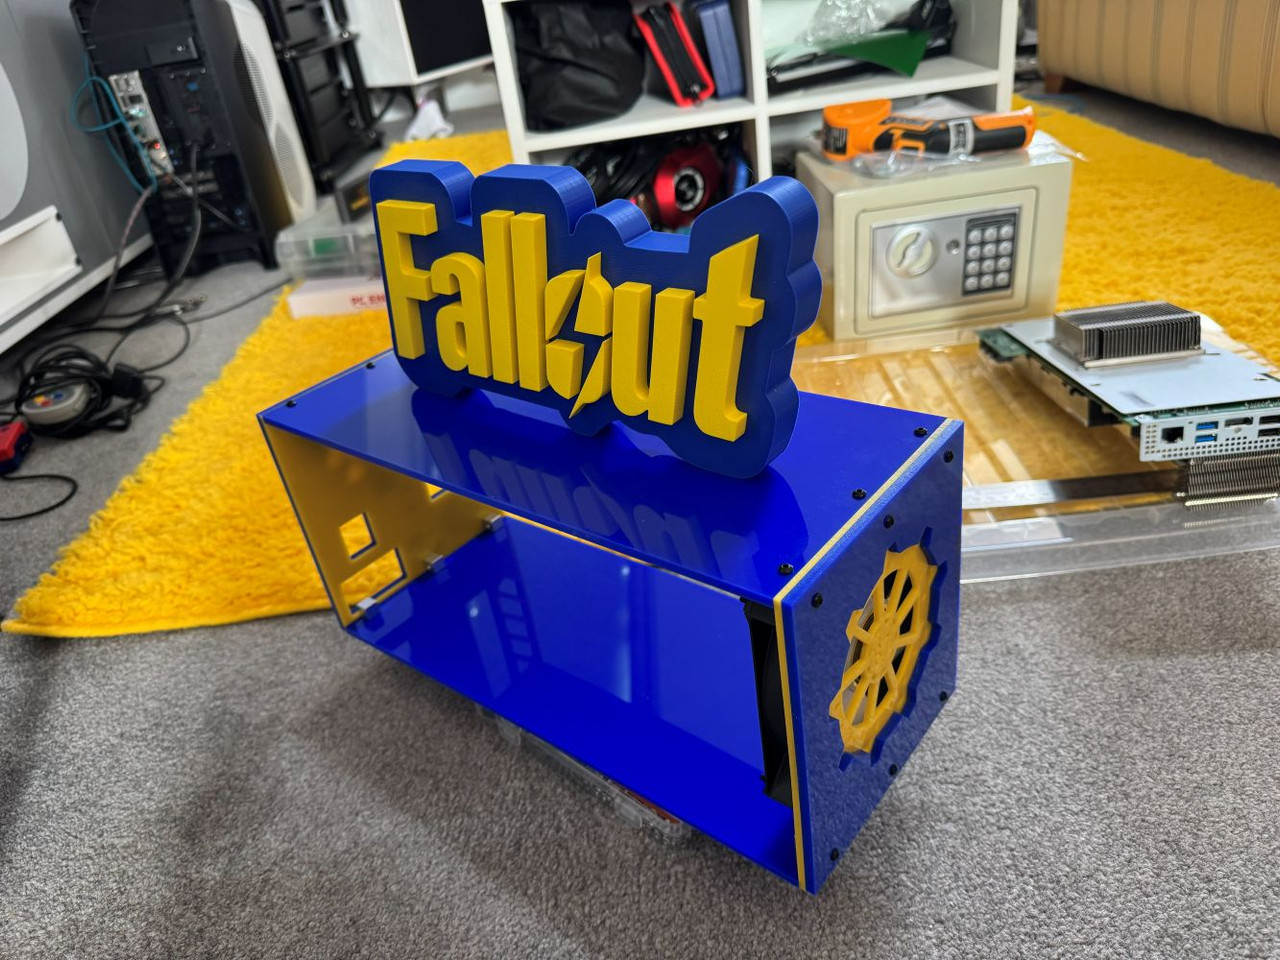
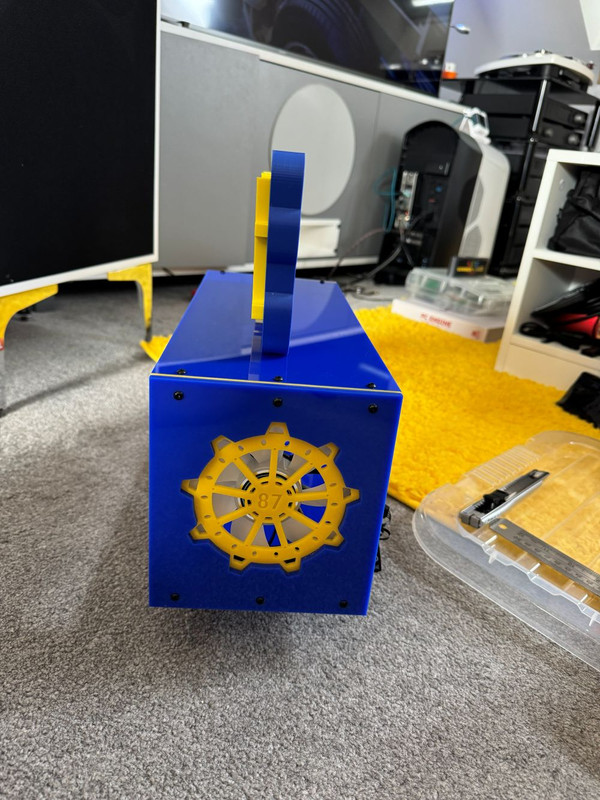
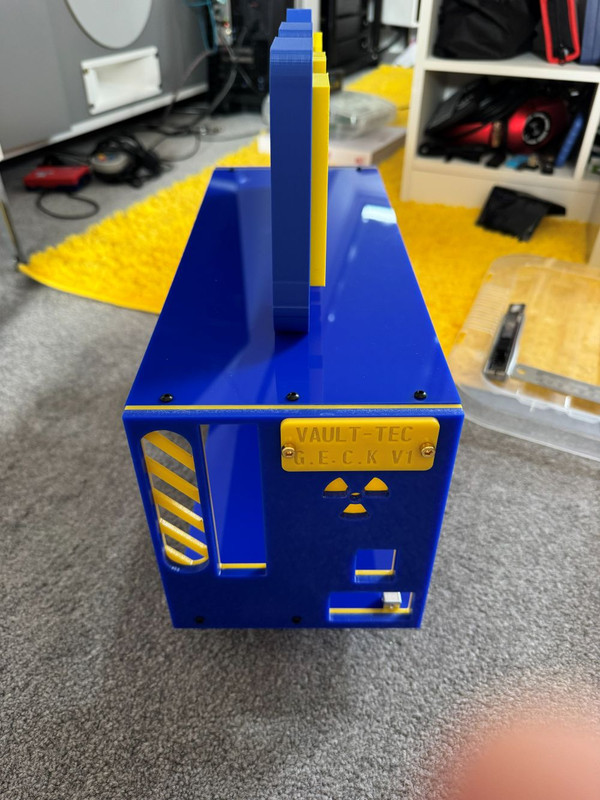
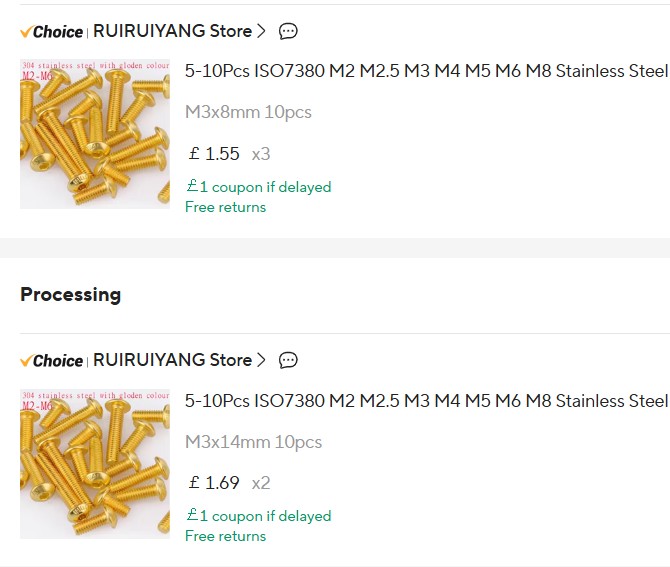
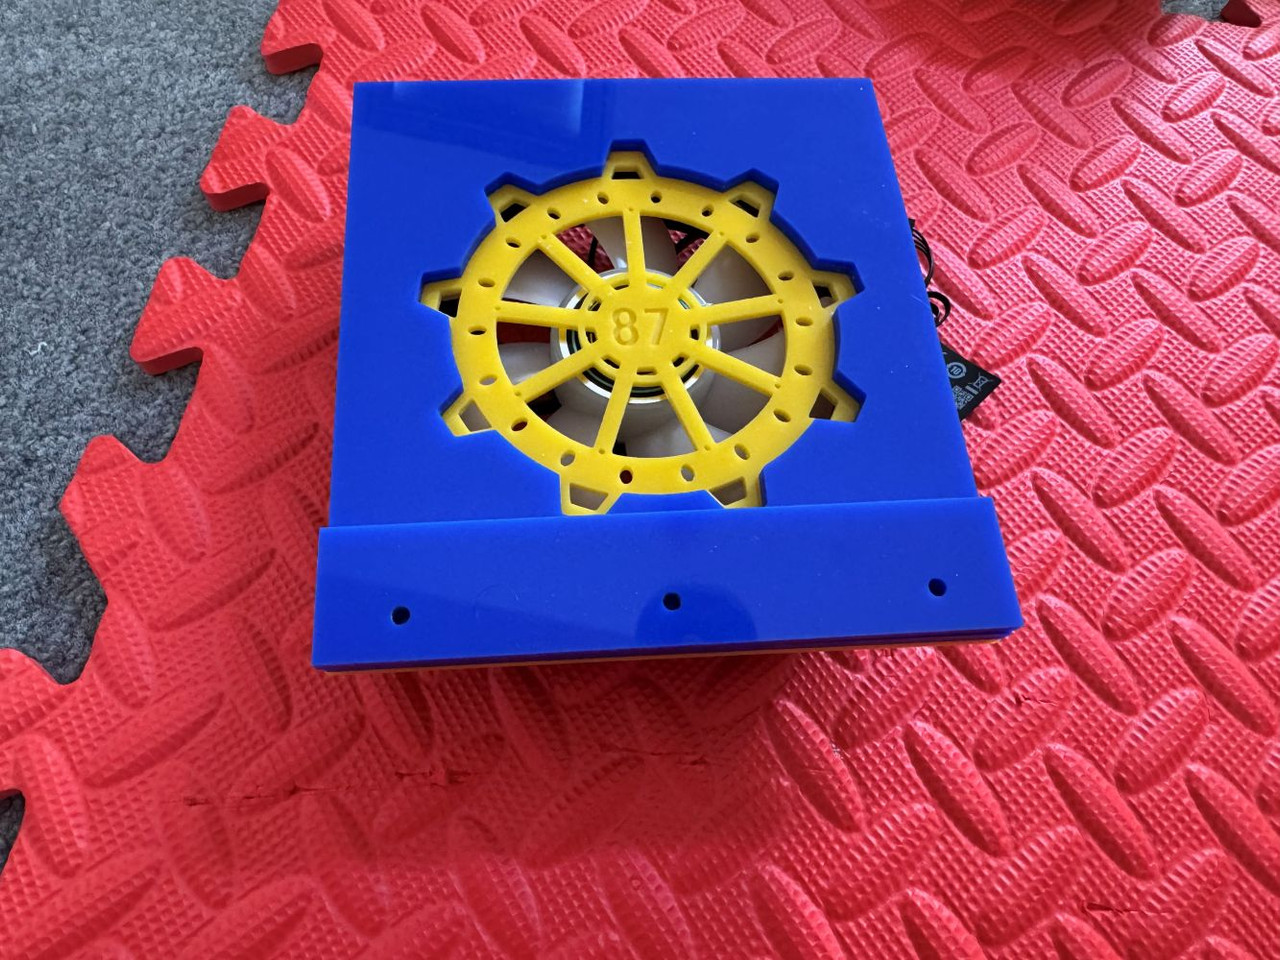
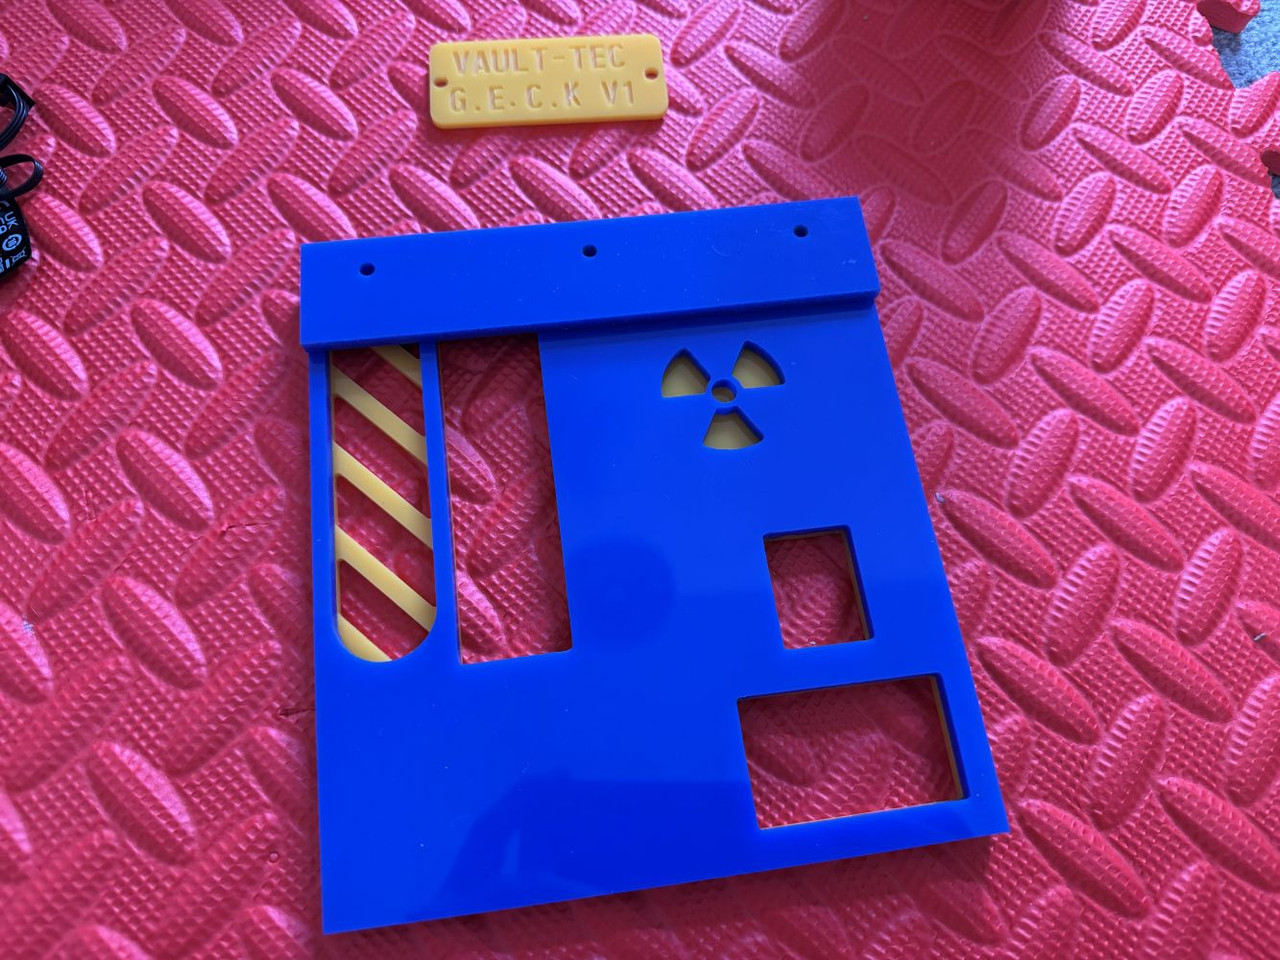
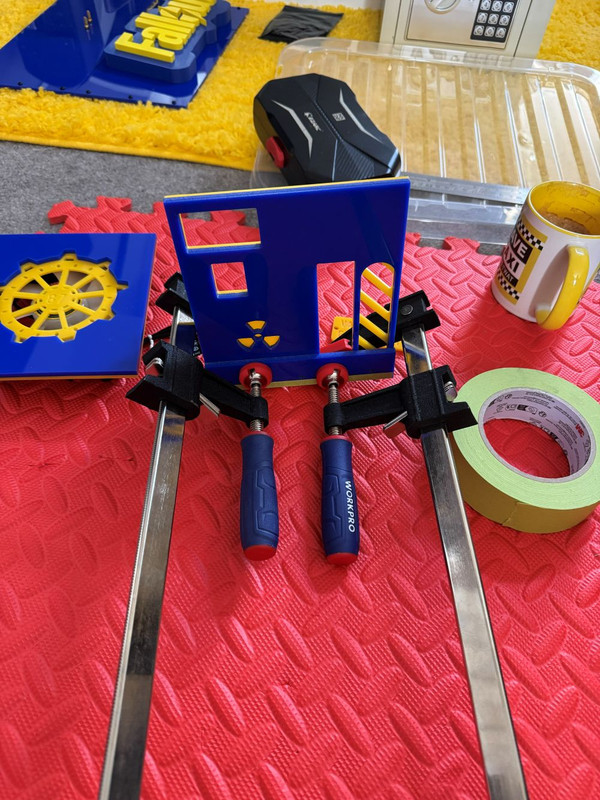
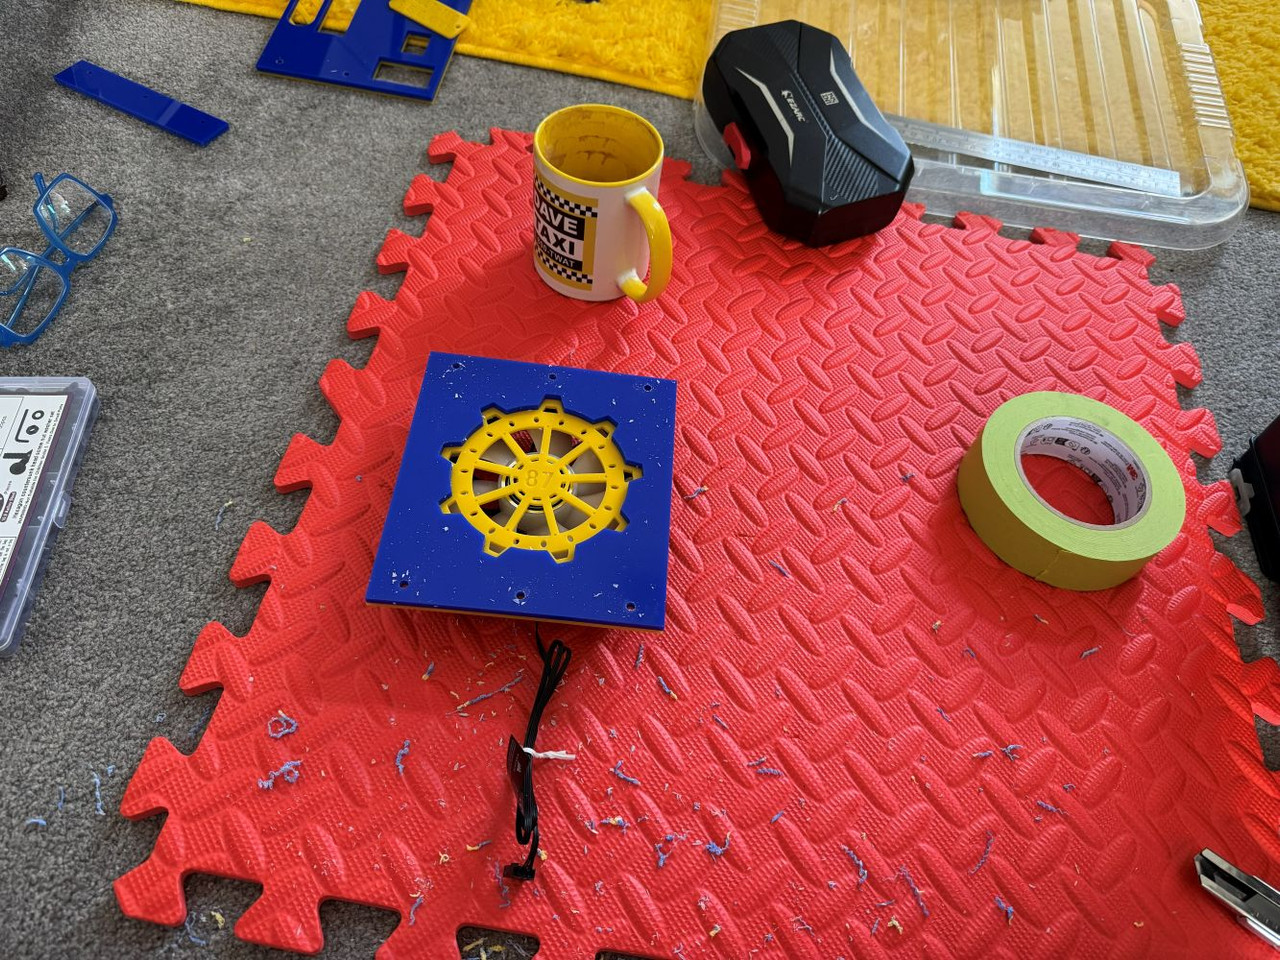
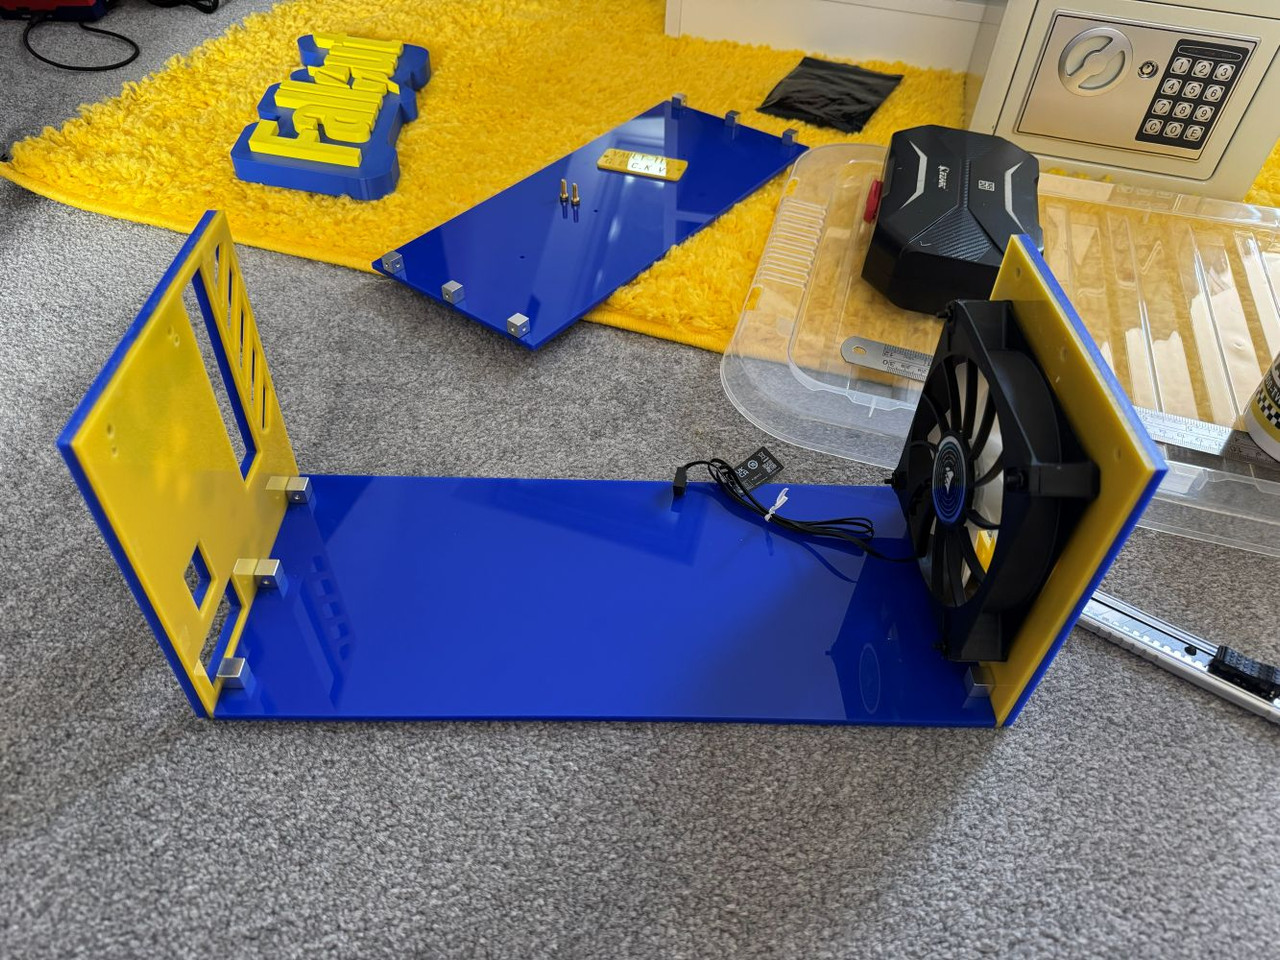
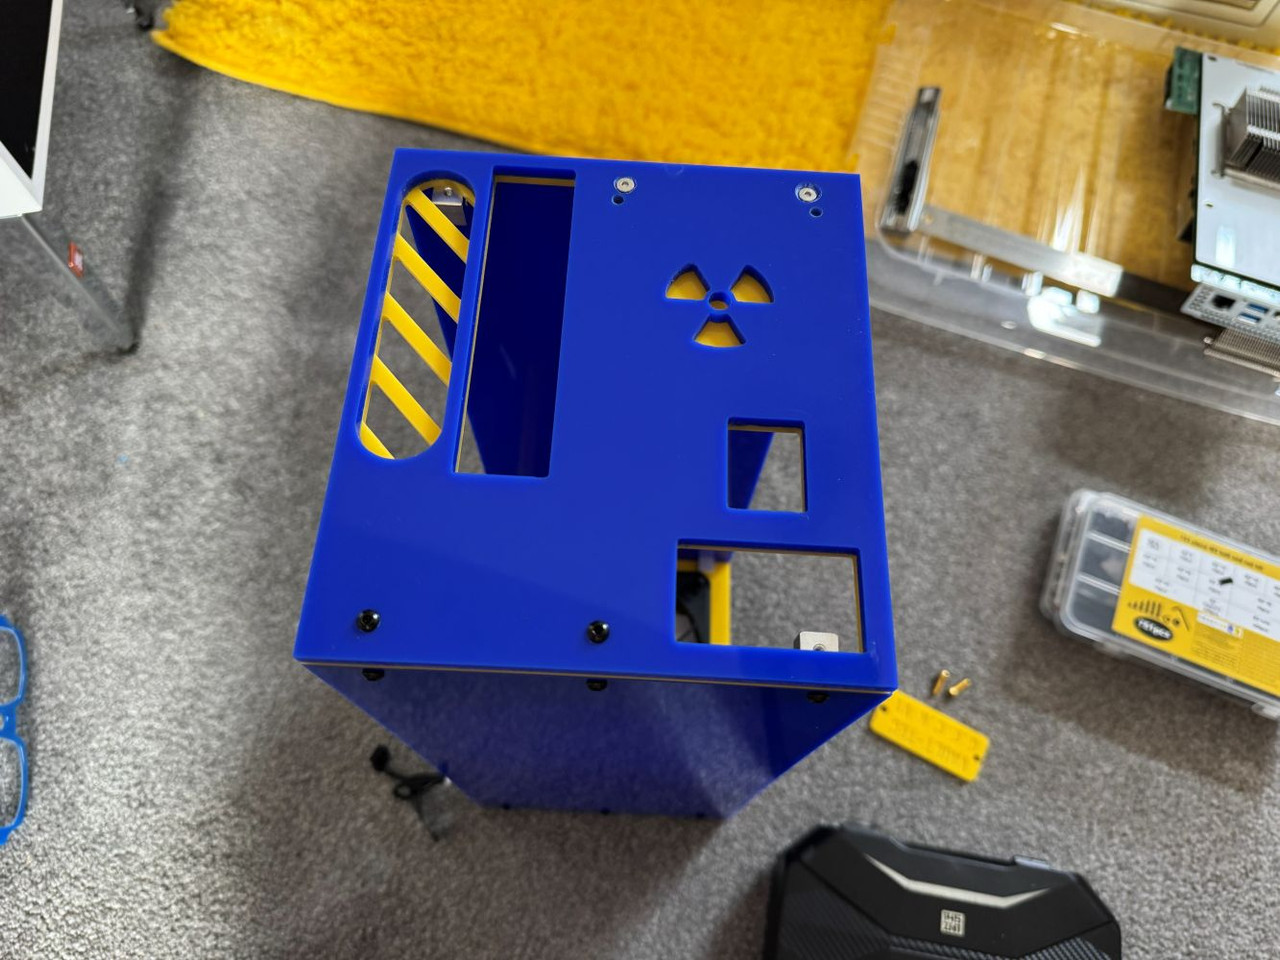
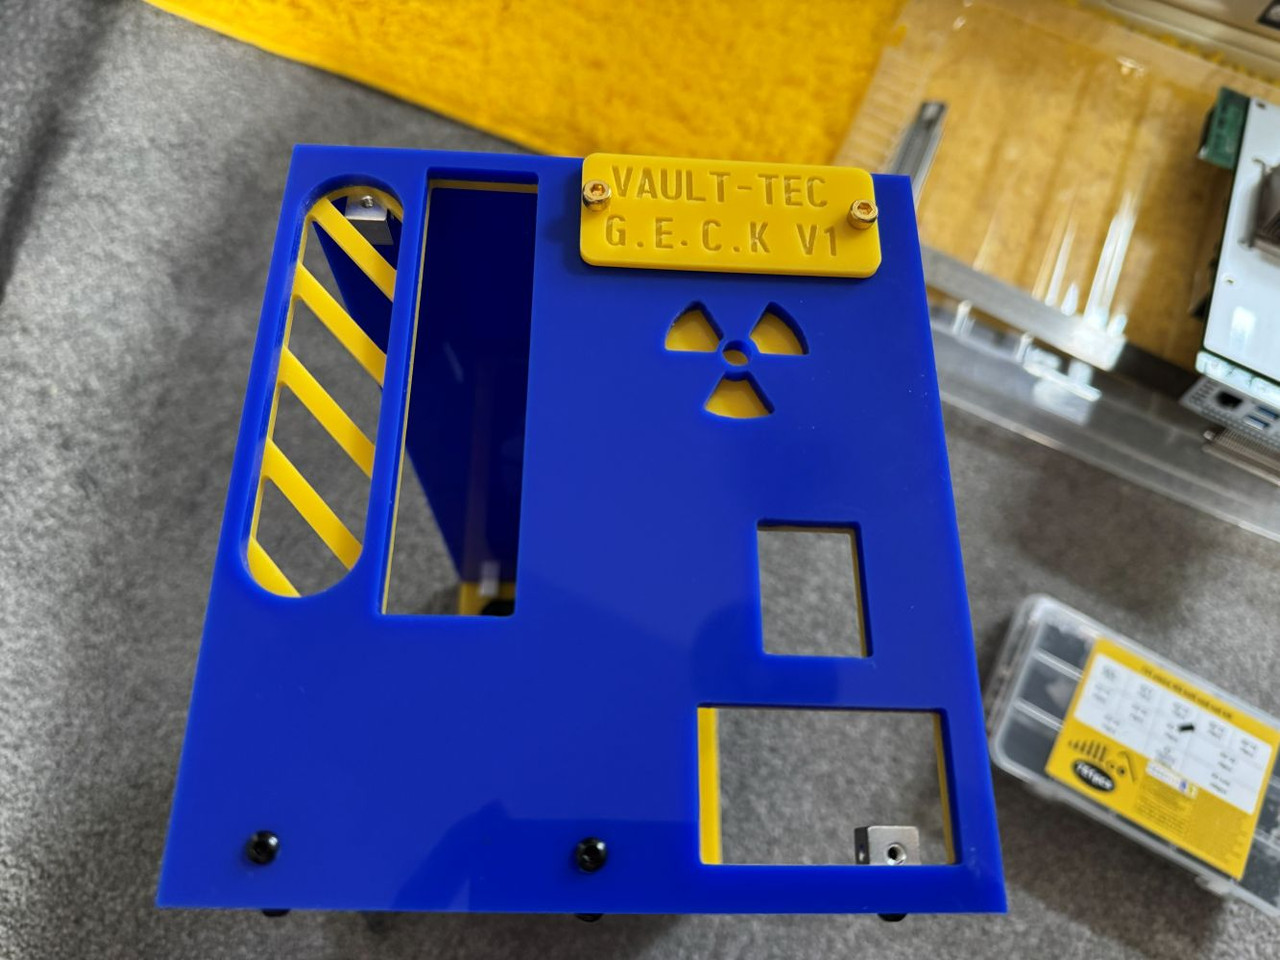
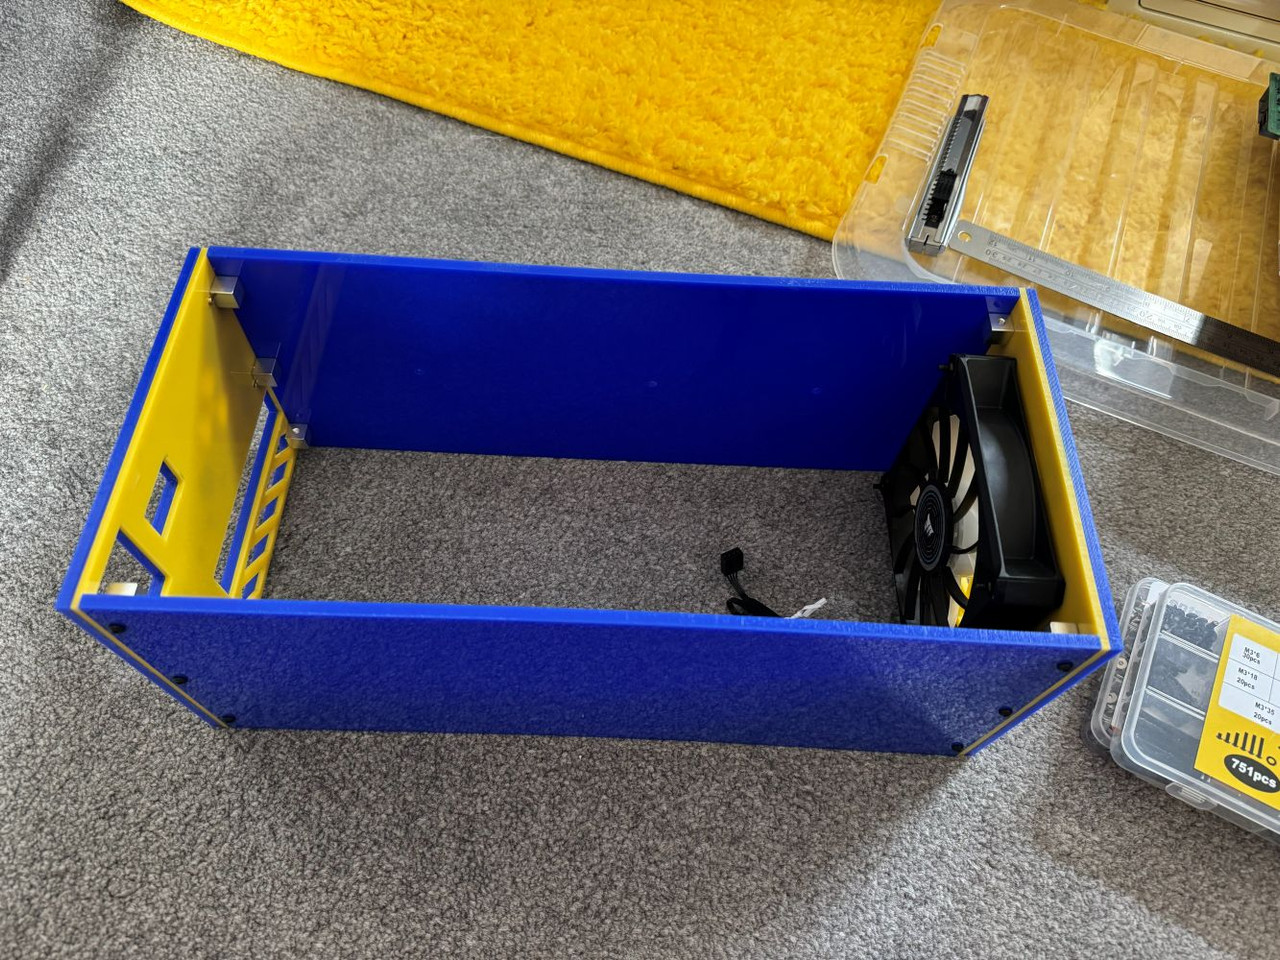
General notes. I can not use the M4 bolts as I could not get M4 cubes in the correct size. Note at the end there are some gold Ti bolts? I have ordered those For right now I am using black ones just for testing.
Had I not put the badge on the back with bolts I would have been in real trouble now. I would have to drill through it. Thankfully I bought some counter sunk bolts and yeah, all good there.
I think that about covers it. Brain is kinda fried at this point as I have been brain storming all day about how I can actually make this work.
We've ran into some troubles. Not just one trouble, multiple.
See, I designed this thing last year. Like, 10 months ago. I've been to heck and back and by this time any memories of what I was actually doing are long gone. As such when I finally upgraded the machine and put it back together it still wasn't big enough. It was about 2cm short of where I wanted it. Again, this is what happens when you are not thinking clearly. Mum was extremely poorly by this stage and I made the choice to just abandon it and care for her. I owed her that much for the wonderful life we had smashed out through some horrible times.
Any way, so I cut the bottom last night. I immediately realised it was not big enough to mount "around" the front and back and would have to go inside. And this is where it gets nasty. It absolutely Fs the entire inside of the design of the case up. Nothing fits where it should. As an example, the top will now push the entire BC250 downward by 5mm meaning the power connector will not fit. The stands I made for it? are now too big. The right side panel? well that now runs straight into the heatsink for the memory on the back.
Not good. That said, none of this is really surprising. At least not to me. This is what happens when you have a year like I have had and it's no ones fault.
So. Before I get to the good things (and believe me they are amazing) I will now give a run down of what I need to do to make it work.
1. I am going to have to snap off the connector for the power (well, cut it with snips) and ram the 8 pin on there like the other BC250 I made.
2. I am going to have to swap the back plate with the other BC250 and sacrifice the memory cooling. Believe me if there was not another BC 250 I'd be really REALLY screwed.
3. Make new stands.
And any 4s or 5s that are bound to crop up.
Now, we go onto the good.
General notes. I can not use the M4 bolts as I could not get M4 cubes in the correct size. Note at the end there are some gold Ti bolts? I have ordered those For right now I am using black ones just for testing.
Had I not put the badge on the back with bolts I would have been in real trouble now. I would have to drill through it. Thankfully I bought some counter sunk bolts and yeah, all good there.
I think that about covers it. Brain is kinda fried at this point as I have been brain storming all day about how I can actually make this work.
I'd like to personally thank Postimages for totally stuffing up the order of the photos. Way to go ! /sarcasm off.
Going back to point 2... *IF* the machine will go beyond the spoil board to 365mm? I can make the sides sit outside. Meaning I won't have to sacrifice the memory cooling. I don't have enough plastic to redo the top and bottom and have no desire to. I just want to work with what I have. I already have a fully working BC250 so I could care less really if this one actually works, though it would be the cherry on top if it does of course.
Right I am going to watch TV.
Mornoon.
I’m going to have a day off. I’ve loaded the machine up and will crack on tomorrow. I’ve housework to do and it keeps getting neglected.
Good news though. When in place I have 10mm below the power connector. If I cut an access hole and make a cover that gives me 15mm, which was the original dimension for the plug to fit.
Still thinking about how I can possibly gain back the 5mm down the side so the memory cooler fits.
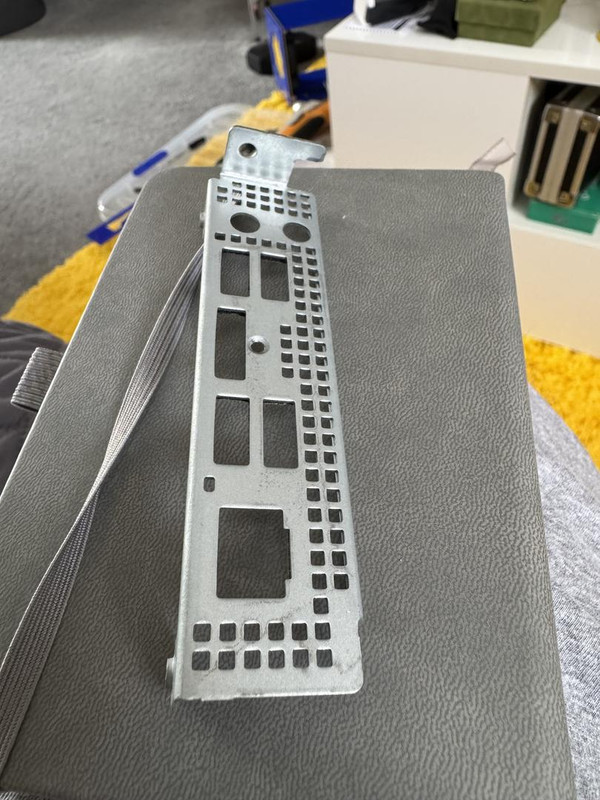
OK more good news. If I shift the IO by 5mm the heat sink for the memory can stay.
Good news is there is plenty of room on the side so nothing will be covered….. all apart from a button lol.
So I’ll need to drill a hole in the back of the case.
Just got out the Dremel and sorted the IO shield so it can move.
Edit in. Have been thinking about the duct. I think I’m going to use the same method I used on the other one. Bit tartier though with yellow duct tape..
And using acetate sheet. Of its good enough for nearly every psu in existence it’s good enough for me.
Good news is there is plenty of room on the side so nothing will be covered….. all apart from a button lol.
So I’ll need to drill a hole in the back of the case.
Just got out the Dremel and sorted the IO shield so it can move.
Edit in. Have been thinking about the duct. I think I’m going to use the same method I used on the other one. Bit tartier though with yellow duct tape..
And using acetate sheet. Of its good enough for nearly every psu in existence it’s good enough for me.
Last edited:
Afternoon mon biens.
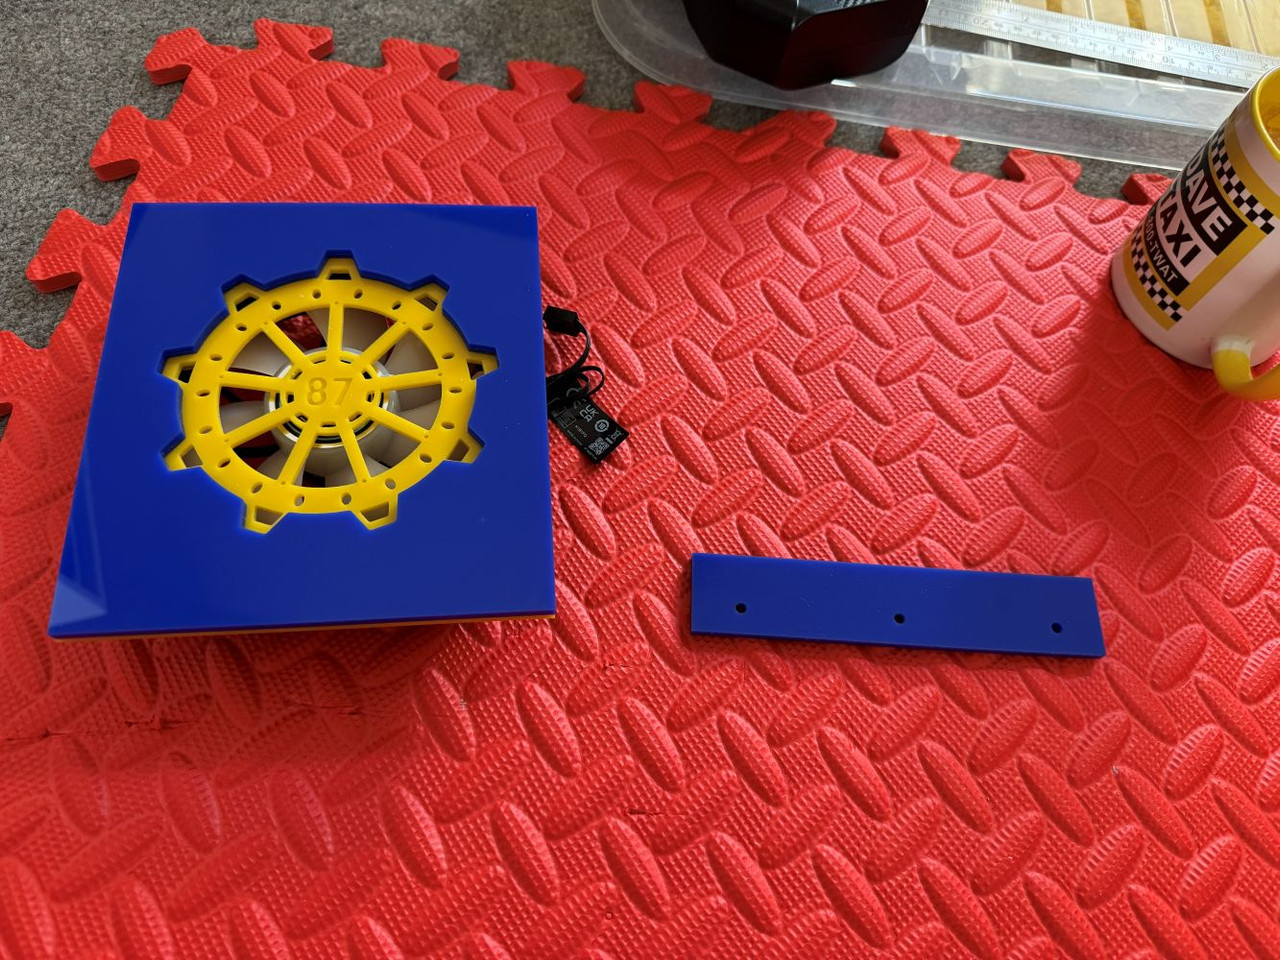
I spent yesterday evening designing the side panels. Due to having enough yellow stock I decided to do them both the same. IE elaborate. Thus I just set one on its merry way and it’ll take about two hours.
I’m home tomorrow so with any luck I can do another one then. The yellow pieces that inset shouldn’t be too time consuming.
It was so hot yesterday that even though the machine was not running (I’d forgotten I’d left it on and it was in standby) the fans in the psu and controller were going nuts and making an awful racket.
At least it’s much cooler today. I’m sick of this heat it needs to do one tbh.
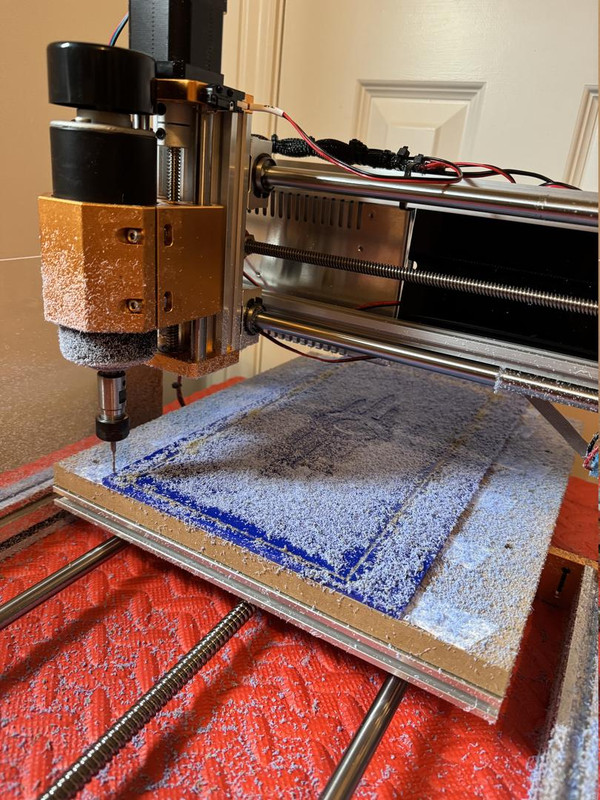
Mungo like candy!
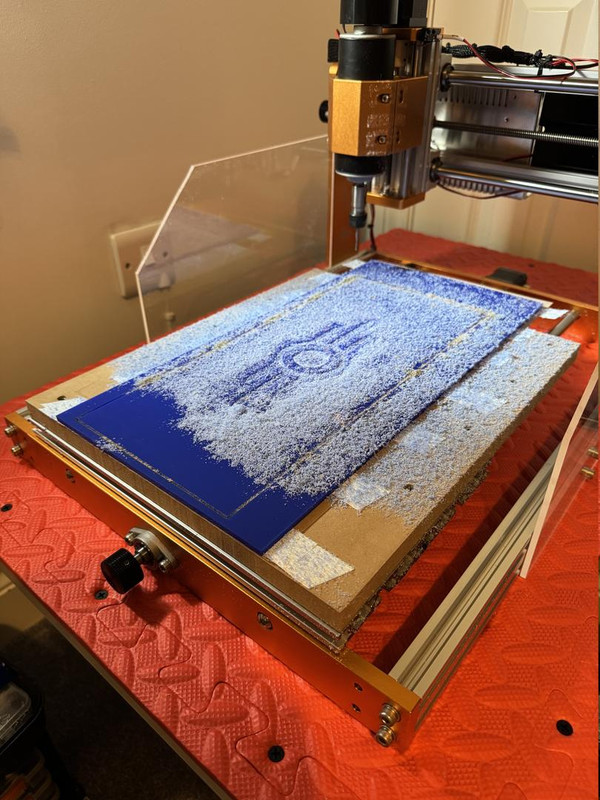
20 mins of cleaning later…
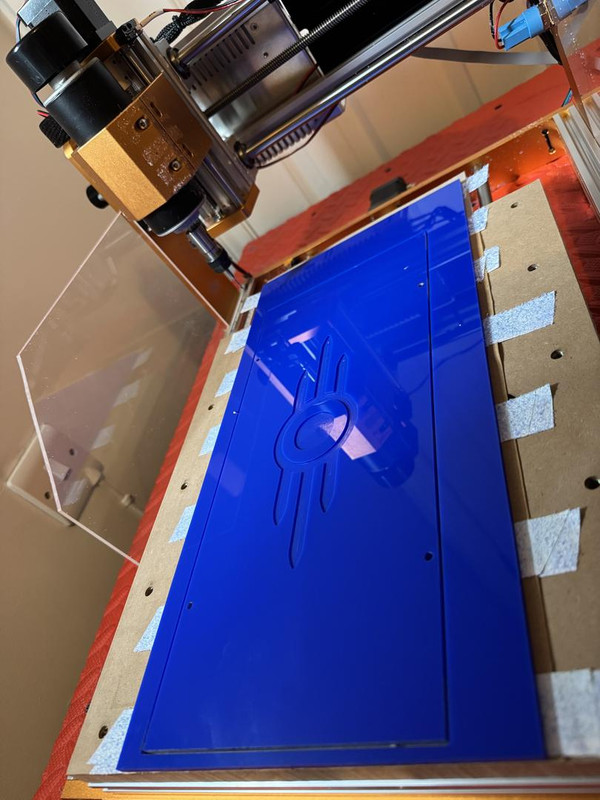
Do note I’ve left a couple mil of space around the edges so it doesn’t get stuck. Also it is resting on the blocks for the top and bottom…
All we need then is a 1 mm bit and just two more hours of vrrrrrrr lmao.
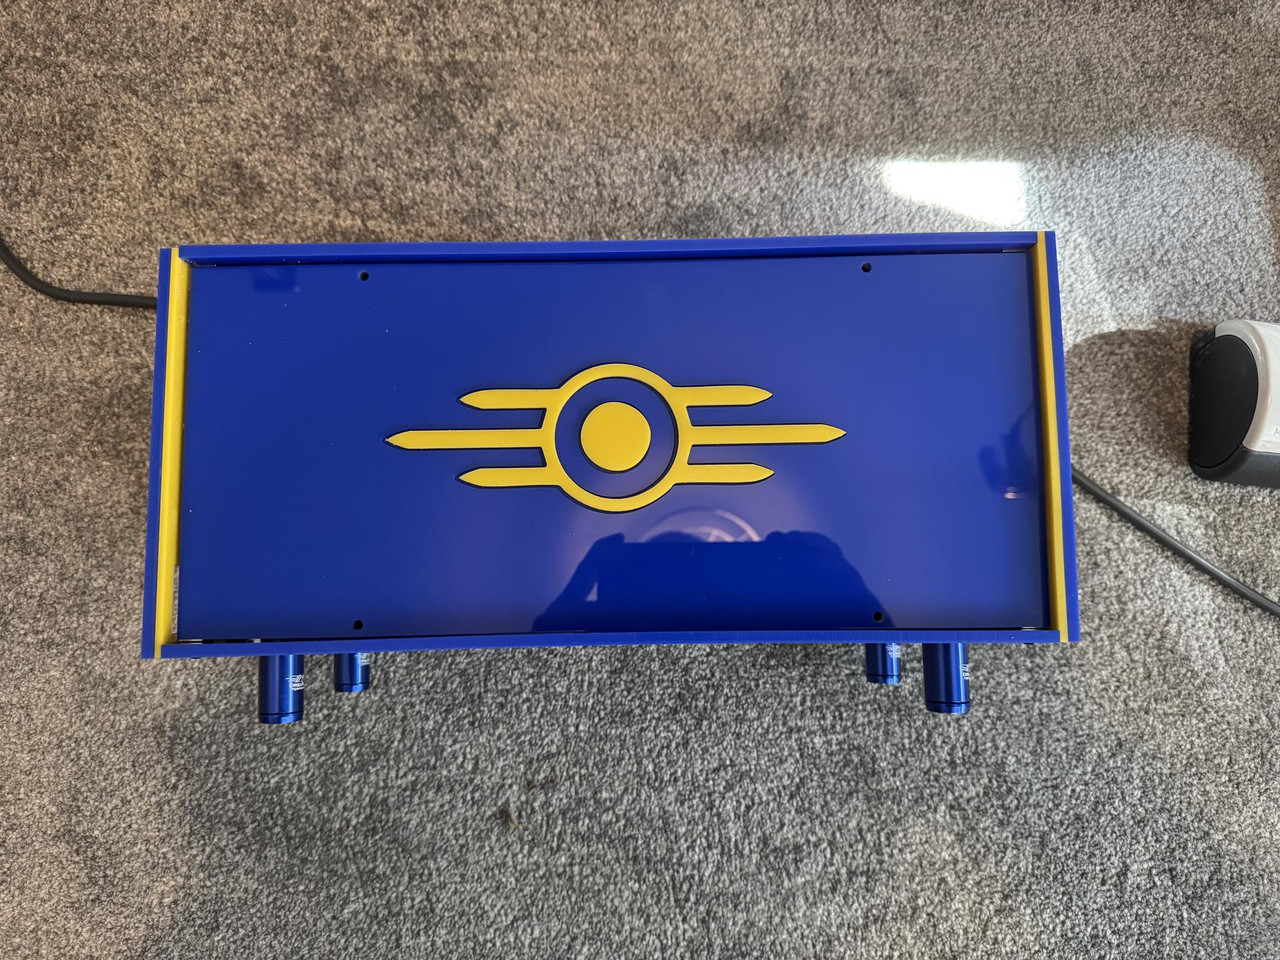
So as I said both sides will be that elaborate. May as well right?
The machine is noisy but with the bedroom door closed and my living room door closed I can’t hear it. My only neighbour up here is a good 30ft away behind three more doors, one of which being a fire door.
He works though but hey, he’s a nice dude and I don’t want to pee him off so I do like to be done by 5pm.
Right. Going to focus on other things now for a couple days, so will get back on this at the weekend.
20 mins of cleaning later…
Do note I’ve left a couple mil of space around the edges so it doesn’t get stuck. Also it is resting on the blocks for the top and bottom…
All we need then is a 1 mm bit and just two more hours of vrrrrrrr lmao.
So as I said both sides will be that elaborate. May as well right?
The machine is noisy but with the bedroom door closed and my living room door closed I can’t hear it. My only neighbour up here is a good 30ft away behind three more doors, one of which being a fire door.
He works though but hey, he’s a nice dude and I don’t want to pee him off so I do like to be done by 5pm.
Right. Going to focus on other things now for a couple days, so will get back on this at the weekend.

Well that renders my emailed question mootlooks good. Elaborate is definitely the way!
Well it solves an issue I’ve had for ages!
When I made the badges for my subwoofer the inserts were very tight.
So what I did different was change the bit down to 1mm, then “cut inside shape path”. So now it just drops in instead of many hours of filing lol.
I’ve left the yellow down as I need a small 3mm piece with a hole in and a blue 5mm piece the same. Saves wasting tape….
What I know about Easel can be written in 50' text in the head of a pin....but in case the concept carries across In Fusion, when creating a tool path, there is an option for stock to leave. The idea is you set say 0.2mm to leave on a roughing pass and then do a finish pass for the last bit. However, you can set a negative value too which will result in (deliberately) cutting it too small...or in the case making enough space to drop it in.
In Fusion, when creating a tool path, there is an option for stock to leave. The idea is you set say 0.2mm to leave on a roughing pass and then do a finish pass for the last bit. However, you can set a negative value too which will result in (deliberately) cutting it too small...or in the case making enough space to drop it in.
I am not looking forward to the CAM side of things in Fusion tbh...but that would involve having actual workspace available to set up a CNC I don't have.
Spent 2 weeks off for my birthday hoping to gut one of the rooms and set up a load of workbenches I got, but no chance was I lugging things around in 30 degree heat! And now I seem to have been adopted by a cat who loves the pile of blankets I was looking to shift out...
Spent 2 weeks off for my birthday hoping to gut one of the rooms and set up a load of workbenches I got, but no chance was I lugging things around in 30 degree heat! And now I seem to have been adopted by a cat who loves the pile of blankets I was looking to shift out...
Last edited:
I am not looking forward to the CAM side of things in Fusion tbh...but that would involve having actual workspace available to set up a CNC I don't have.
Spent 2 weeks off for my birthday hoping to gut one of the rooms and set up a load of workbenches I got, but no chance was I lugging things around in 30 degree heat! And now I seem to have been adopted by a cat who loves the pile of blankets I was looking to shift out...
Ah. Erm. About that.
I won’t go into too much detail. Mums death could have brought my brother and I together or tore us apart. It was the latter.
As such communication broke down and he threw out 90% of the machine. Sorry for not mentioning it before but as you can imagine it’s a bit of a sore subject.