The Left Handed Build

love this build, like what you have done cant wait to see the finished item

Thanks very much :)

Found and read the entire thread in one go (In between doing things at work)

Subscribing!

lol, always concerns me when people say they have read this in work.
Just don't want someone getting disciplined for reading my log :D

I cant believe this is still going on haha, looks like it will be worth the time and effort however. I love how you 'upgraded' before you even finished xD :p

subbed

Yes, still going (much to the disappointment of Mrs P)
As for 'upgrading', this system has gone through many changes during this build.
I personally think this build will never be completed & there will always be something being changed ;)
 
I personally think this build will never be completed & there will always be something being changed ;)

Somehow I just knew you were going to say that! ;)

It would be lovely to see it... even for just a few days, as a complete and fully assembled working system though... and not on your dining room table, either!!
 
As for the cables, they are all my own work.
Started off as cables, plugs etc & finished off as this.
Maybe I should take a few more images & do a little ‘how to’ write up on producing this for SATA drives , as a few people have asked about it.
If you are interested, then PM me as I put together a few e-mails on another forum.

I've been looking for a message facility, and can;t find one. I'd like to see your guide on how to do this please, and where you got the bits...
 
This thread is great, an awesome build :D

Thanks very much :)

Somehow I just knew you were going to say that! ;)

It would be lovely to see it... even for just a few days, as a complete and fully assembled working system though... and not on your dining room table, either!!

lol, I think it will be completed but there will always be something 'ongoing' (much to the disappointment of Mrs P).
I am not sure if this could be classed as a 'disease' or a 'condition' but sometimes I wish I could just be happy with what I have & stop changing things around.
I have some more pictures read for the next update, just need to get it written up.

I've been looking for a message facility, and can;t find one. I'd like to see your guide on how to do this please, and where you got the bits...

I have sent you a message through trust :)
I will also post on this forum but can’t link the actual items as they are competitors to OcUK (names changed to protect the innocent & me) :rolleyes:
 
A short run through how I sorted out my power distribution system for my SATA drives.
The first power cable I had was basically a cheap cable that I purchased & just cut up.
This did the job but was not as neat as I would have liked.

For this new build I purchased all the individual components & manufactured it from scratch.
I used

Power Connector 4pin Molex plug
Power Connector 4pin Molex plug pins
Power Connector SATA Molex plug
Power Connector SATA Molex plug end caps

and a few meters of cable (the cable is rated at 4.5 amps)

The method

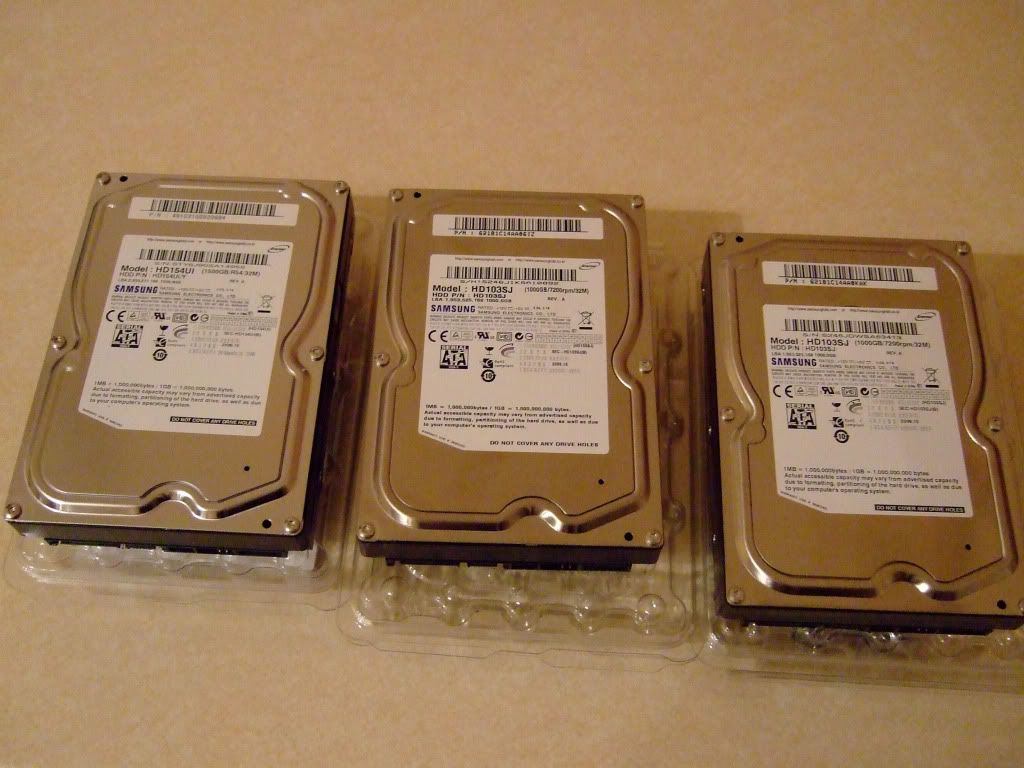
Set the drives out
DSCF1273.jpg


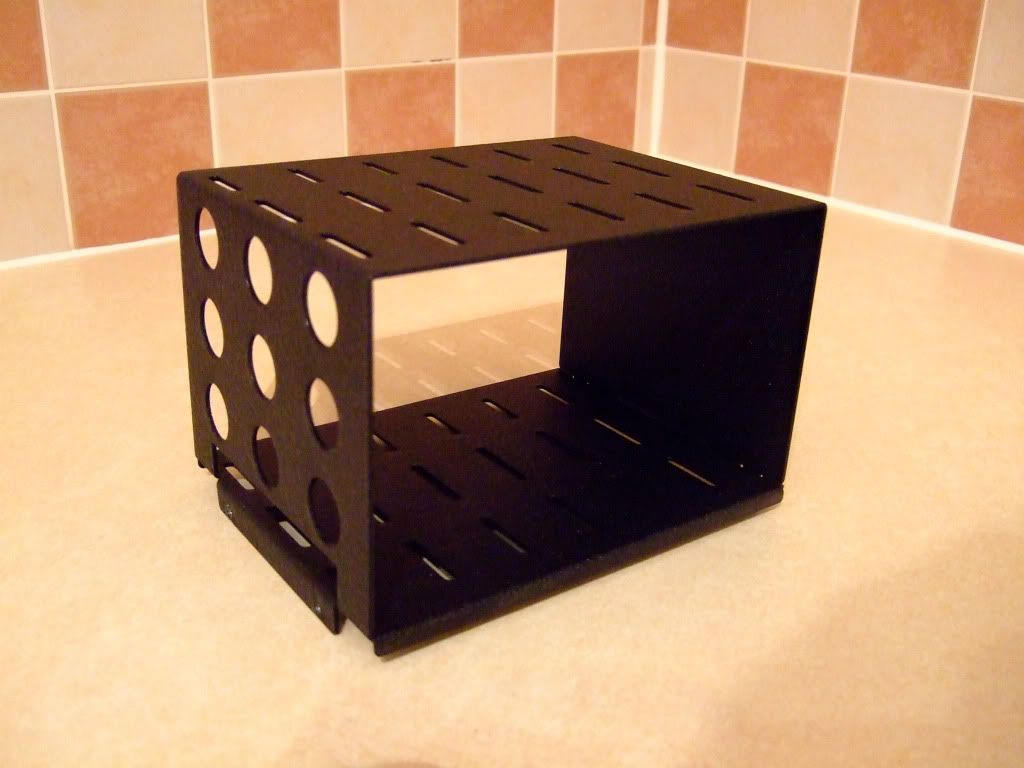
I used an old Lian Li hard drive caddy to hold the drives

DSCF1259.jpg


I put the drives in the correct place & fitted the SATA power plugs into the rear of the drives (this gives the correct spacing)
Measure the distance between the power plugs & add a few millimetres (this gives the correct length of the heat shrink)
You then start putting it together.
Push the wire into the rear of the SATA power plug (no need to remove any insulation of the cable as the wire is cut as its pushed on)
You then add the heat shrink, pull the cable tight & push it onto the next power plug.
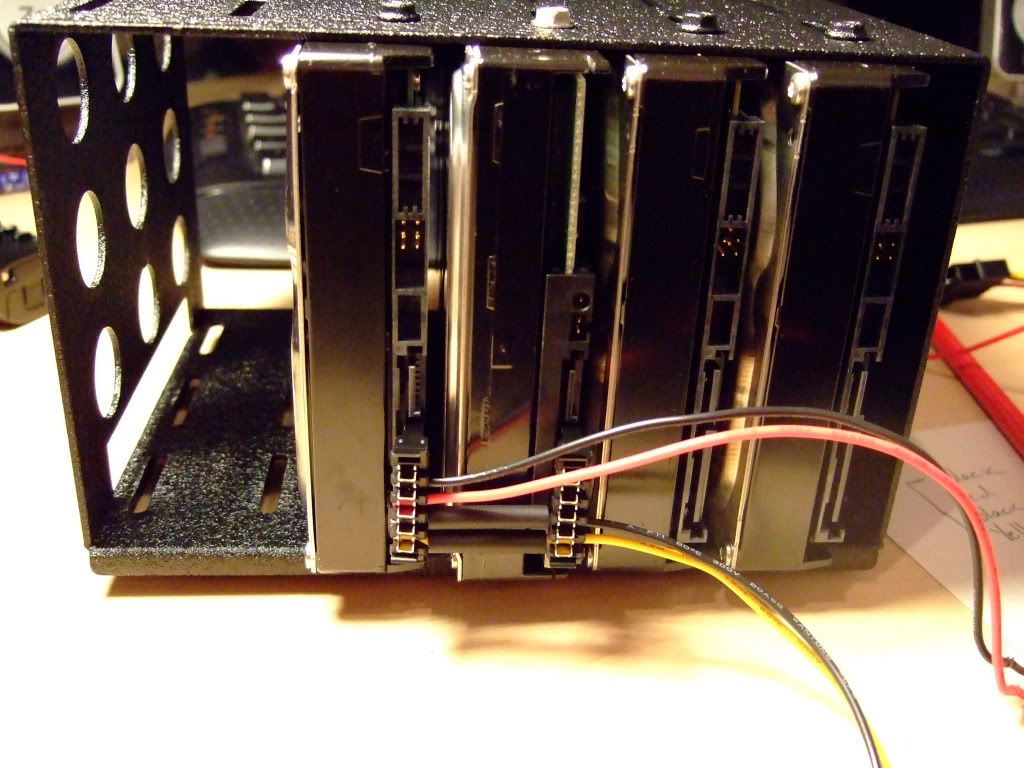
Just repeat this for all four cables. (+12v, 0v. +5v, 0v)

DSCF1276.jpg


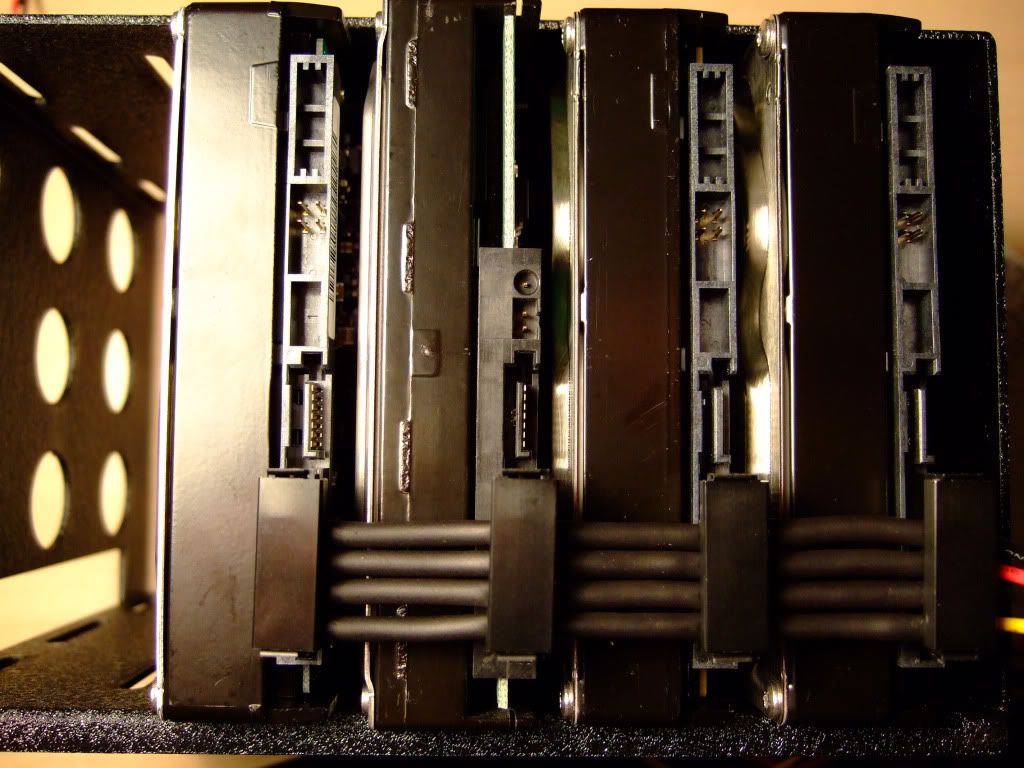
If you do it correctly, you should have something like this.

DSCF1278.jpg


Hopefully this information will be helpful but if you need any more then just ask :)
 
... it's just a shame you can't do something similar with the sata connectors.

I end up plugging in the end drive, then running the next one over the existing one to the next drive, and then tape it down onto existing cable, then rind and repeat until all 4 or so have been done. it looks ok, but it bends the sata connector on the drive if you do the tape up too tight. It's also very difficult to then move the taped cables as 4 SATA cables taped together can be quite stiff - lending a problem when it comes to tidily plugging the other end of the cables into the mobo. :(

Any suggestions?
 
Last edited:
Thanks fella. Appreciate the details. Will use most of this when I rebuild mine :)

Not a problem, just happy to help :)

... it's just a shame you can't do something similar with the sata connectors.

I end up plugging in the end drive, then running the next one over the existing one to the next drive, and then tape it down onto existing cable, then rind and repeat until all 4 or so have been done. it looks ok, but it bends the sata connector on the drive if you do the tape up too tight. It's also very difficult to then move the taped cables as 4 SATA cables taped together can be quite stiff - lending a problem when it comes to tidily plugging the other end of the cables into the mobo. :(

Any suggestions?

Unfortunately not as I have never seen a combined SATA cable (but I have a nagging feeling that I may have :( )

I know you can also get the SATA cables pre sleeved by BitFenix


This is what I had to do (you have most probably already seen this)

IMG_2001.jpg


IMG_2002.jpg


IMG_2005.jpg


IMG_2007.jpg


Everything neatened up with a few cable ties but this still puts a lot of strain on the rear of the drives. I then run the cable as one ‘thick’ cable as the five were all joined together.
On the motherboard end I then ‘fanned’ them out & put them in their respective plugs
I thought about using the 'hot swap' caddy from a 800D (you see these for sale sometimes when someone is doing a water cooling project) but as you see, I went with what I know :rolleyes:
 
yeah - we've applied the same logic but I used the flat RED sata 2 cables :)
You've used cable ties whereas I've used electrical tape the same colour as the sata cables rendering it "invisible". I'd get a photo if it didn't mean taking down my server to get at the cage.
 
Not the biggest update but very important.
The work that has gone into getting everything looking so neat has been incredible.
I have to add how disappointed I am in the quality of the images I have taken (they all look soft).
I hope this does not distract from the viewing experience.
I hope you enjoy :)

The motherboard was ‘test fitted’ a lot of times to ensure everything was correct


IMG_0674.jpg


All the fittings have spacers fitted underneathe them. These have been machined in a lathe to ensure they are the correct length


IMG_0676.jpg


This has ensured that all the pipework looks very ‘clean’ & minimalistic


IMG_0688.jpg


Both reservoirs test fitted in place


IMG_0679.jpg


I also went with the EK system for linking all the GPU’s together (you may also notice that I now have another 680GTX ;) (sorry no pictures))
I also run in all the cables


IMG_0687.jpg


All the cables that were run up to the fan controllers were ‘adjusted’ to ensure they were not longer than required. (this was very fiddly & just used up so much time :( )
But looks neat in the end :)


IMG_0717.jpg


Not long now until it’s all finished
 
Wow!

Stunning tidiness. I love the tube routing that you've done. I thoroughly appreciate how much time must have gone into getting that to look that good!

The soft lens filter is a bit pr0n like though.... ;)
 
Just spent who knows how long reading through this with avid interest! I don't often venture into the Project Logs forum but I'm sure glad i did :)

Mr P, from one anal retentive to another, you have done an amazing job with this!! I've never attempted a custom PC build, but my attention to detail is lavished on renovating my house, and I am sure that Mrs P and Mrs D would understand each other's pain ;)

In fact, a couple of times my other half has ventured into the room and made me feel a little guilty that I am not currently building the forms for our kitchen worktops - I had better do something about that now, or as with your build, ours will never be finished!

Once again, incredible work, I love it :D Looking forward to seeing the finished article...
 
This is just so epic on so many levels. I kinda spent a fair chunk of last night reading this, got to bed way after 3 (some 4 or so hours after my GF went to bed) -_- but was worth it.

I really hope you get around to finishing this project as I can wait to see the final product.
 
I have to say that this is one of the best builds i have ever seen, the amount of detail and work that has gone into this really is amazing, i hope to see the end pictures very soon with that monster fully fired up!
awesome!!!
 
Last edited:
Back
Top Bottom