The Left Handed Build

this is looking top notch


Thank you :)


Hey Guys,

New here after lurking for a while had to subscribe mr p amazing work :D

Be proud


Its great to see another lurker coming out of the shadows (was one myself for so long) & so happy that my build was the one you wanted to comment on. :)
Thank you

I have to say that this is one of the best builds i have ever seen, the amount of detail and work that has gone into this really is amazing, i hope to see the end pictures very soon with that monster fully fired up!
awesome!!!


Thank you very much.
As you said, there has been a lot of detail in the build (some may say that it has been over kill in some areas, as some of it will never be seen) but I wanted to continue this standard throughout the build.
Hopefully the end product will not disappoint :)


This is just so epic on so many levels. I kinda spent a fair chunk of last night reading this, got to bed way after 3 (some 4 or so hours after my GF went to bed) -_- but was worth it.

I really hope you get around to finishing this project as I can wait to see the final product.


lol, so happy you enjoyed the read but most people would say my build log could be used as a remedy for insomnia.
Also hope the GF did not get the entire duvet :)
As for finishing, just a little longer & its all done :)


Just spent who knows how long reading through this with avid interest! I don't often venture into the Project Logs forum but I'm sure glad i did :)

Mr P, from one anal retentive to another, you have done an amazing job with this!! I've never attempted a custom PC build, but my attention to detail is lavished on renovating my house, and I am sure that Mrs P and Mrs D would understand each other's pain ;)

In fact, a couple of times my other half has ventured into the room and made me feel a little guilty that I am not currently building the forms for our kitchen worktops - I had better do something about that now, or as with your build, ours will never be finished!

Once again, incredible work, I love it :D Looking forward to seeing the finished article...


Glad you stuck your toe into the murky waters that is the ‘Project Logs’ section & thank you for your king words :)
As for being ‘anally retentive’, if you have this ‘problem’ then unfortunately that’s how it is.
I think I have always had it but since becoming an Engineer, its only got worse.
Everything has to be just right & the words ‘that will do’ is my pet hate.
In my eyes, its right or wrong.

As for getting you into trouble with Mrs D, I am sorry for that & I hope the read was worth it :)


Wow!

Stunning tidiness. I love the tube routing that you've done. I thoroughly appreciate how much time must have gone into getting that to look that good!

The soft lens filter is a bit pr0n like though.... ;)


Thanks m8 for the kind words :)
Unfortunately, the soft lens was not intentional :(
I don’t know why the images are not as sharp as they should be ????
I have recently gone to a local camera shop to get the lens checked over :(
Hopefully it’s user error & not an expensive fix.


How long do you think until you'll be ready to leak test?


It’s being leak tested as I type :)
The GPU loop filled & tested without any issues.
However the CPU loop has been a real PITA due to the rad being above the res & blocks.
The res constantly fills with air & does not want to come out.
I think it’s just a question of time before all the air comes out of the system & makes its way to the top of the res (fingers crossed).

Another update soon :)
 
WOW!
this build is amazing!
makes my pc look like something you seen down a dark road next to the dumpsters! haha
wish i had the skills to do something like this!
and i also wish i had the budget!!!! im stuggling to get the money togther for a 3570k! hahaha
 
Can't wait to see. When I did my loop, I ended up hardwiring the loop to the PSU and then inverted the case to get the air bubbles out the radiator. Can you do that?
 
WOW!
this build is amazing!
makes my pc look like something you seen down a dark road next to the dumpsters! haha
wish i had the skills to do something like this!
and i also wish i had the budget!!!! im stuggling to get the money togther for a 3570k! hahaha


Thank you for the kind words & the original budget is a long distant memory (until I see my credit card statement) :rolleyes:


What an awesome build, great work on the case over time, not far to go now :D


Thank you.
I hope to finish soon but have had a little "set back"


Can't wait to see. When I did my loop, I ended up hardwiring the loop to the PSU and then inverted the case to get the air bubbles out the radiator. Can you do that?


lol, this case has been upside down, back to front & inside out :)
The water is now a mass of ‘micro bubbles’ that can’t be removed
Anyway that loop has to be drained down as the EK res has split around the threaded area & is now leaking fluid.
(I think EK quality control has struck again :( )
Not happy about trying to sort out another EK RMA :mad:
I think its time for me to spend my money with another company
 
Just had an e-mail from EK support.
They are going to send me a new 60mm replacement acrylic tube to replace the damaged on in the reservoir.
Hopefully it will be with me soon & progress can start again :)
 
I had that trouble, RMA'ed it and the second one did it too and couldn't be bothered to repalce so went with an aquacomputer nickel res. I figured a metal one wasn't going to crack lol.

Build is looking awesome, can't believe how patient Mrs Piggin is for the mess though. I am sure it has been asked before but has the planned hardware changed during the build? as thinking the time this has taken and will take until finished some new shiney hardware come out.
 
I had that trouble, RMA'ed it and the second one did it too and couldn't be bothered to repalce so went with an aquacomputer nickel res. I figured a metal one wasn't going to crack lol.

I normally find the EK RMA process very frustrating but this time I had no problems.
I received an e-mail over the weekend saying a replacement has been shipped.
I thing the fact I linked my build to the request could have helped as I almost have 50000 hits on OcUK alone :)

Build is looking awesome, can't believe how patient Mrs Piggin is for the mess though.
Thank you.
As for Mrs P being a patient women lol
I don’t think any women can be called that :)
Every day I have been given a thorough ‘lecture’ about ‘that bloody mess’
The only problem now is she will have to find something else to ‘nag’ me about.
She has already hinted that the bathroom could do with a fresh lick of paint (no rest for the wicked) :(

I am sure it has been asked before but has the planned hardware changed during the build? as thinking the time this has taken and will take until finished some new shiney hardware come out.

When I first started the build, I didn’t intend to change the hardware as the build should have been completed quite quickly (that plan did not work out lol)
As time moved on, so did the hardware :rolleyes:
Changed from a X58 to the X79 format
The GPU’s changed from a 5970, then to 580GTX’s in SLI & now 3x 680GTX’s in SLI

When I consider what has been changed, only one 1.5TB hard drive remains from the original build I started with.
As for changing hardware before this build is finished, I don’t think so, as it’s pretty well specified ;)

3960X
ASUS Rampage IV
16GB Mushkin RAM
3x 680 GTX’s in SLi
SSD’s for windows & game folders + 5.5 TB for storage

But in the future, I think things could change lol
 
"But in the future, I think things could change lol "

I like your honesty. Why change the habit of a lifetime eh? :)


I think Mrs P would like to think this will soon be all over but I am more of a realist :)


Anyway, one with the update

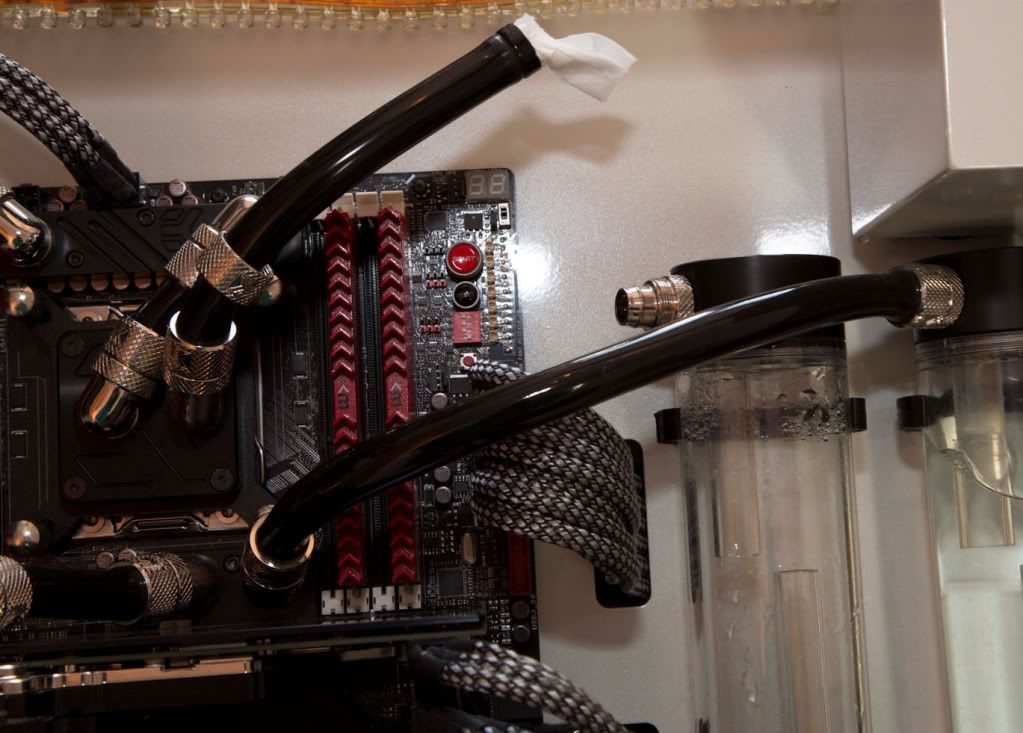
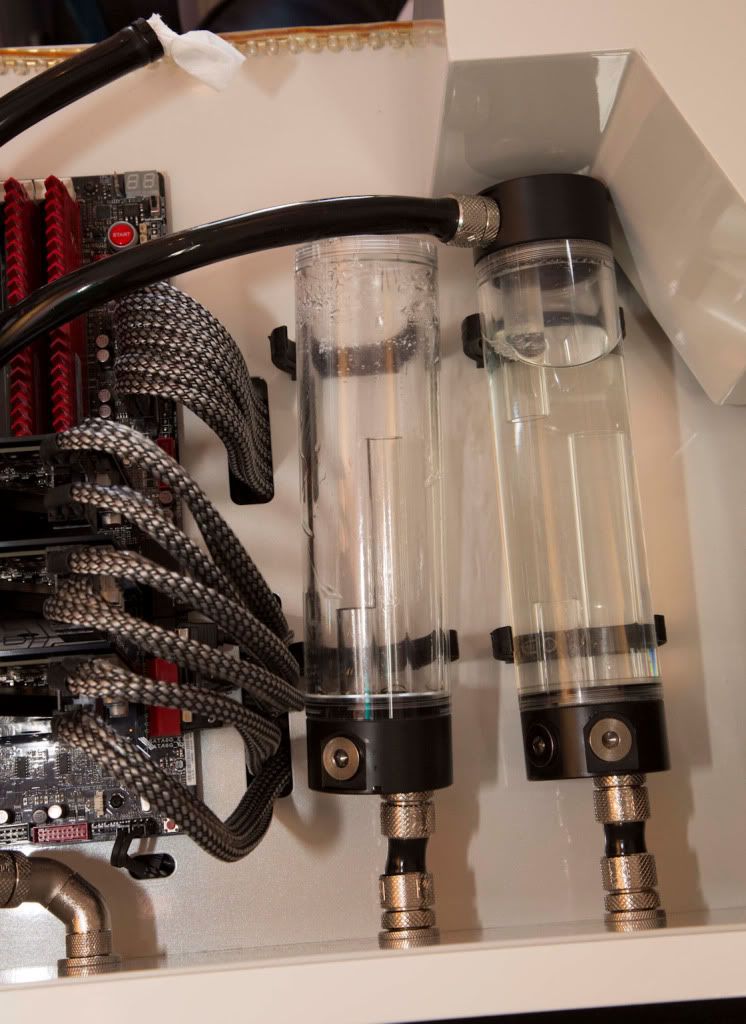
Both res’s are now fully plumbed in


IMG_0711.jpg


And the loops are completed (for the eagle eyed, the GPU's now have backing plates ;) )


IMG_0708.jpg


Leak testing ongoing


IMG_0710.jpg


As you can see, the left hand res (used for the GPU's) is full of micro bubbles :(


IMG_0724.jpg


Even though the fan controllers were ‘quite neat’


IMG_0717.jpg


I thought a little cover would make it look that bit better :)


IMG_0730.jpg


I have also added some lighting to the case, in the form of led strips on the sides & cold cathodes in the top


IMG_0726.jpg


All the control wiring, switches & transformers are above the DVD drive


IMG_0722.jpg


The GPU's res now has a 'crack' in the bottom & I am awaiting a replacement.
Hopefully it will be with me soon & everything will be finished :rolleyes:
 
Looking quite "finished" now :)

Looks fantastic, I've said it before but I love how clean this build is (and look forward to seeing the finished rig)
 
Looking quite "finished" now :)

Looks fantastic, I've said it before but I love how clean this build is (and look forward to seeing the finished rig)

Thank you very much :)
Once the EK res situation is rectified, the build will soon be completed

That looks amazing, good job. Any photos with the lights? I see you put some in there, looks great!

Thank you very much :)
The last job before putting the external panels on will be doing some pictures with the lighting on & some with everything finished etc.
These should be completed soon & the last update can be posted :D
 
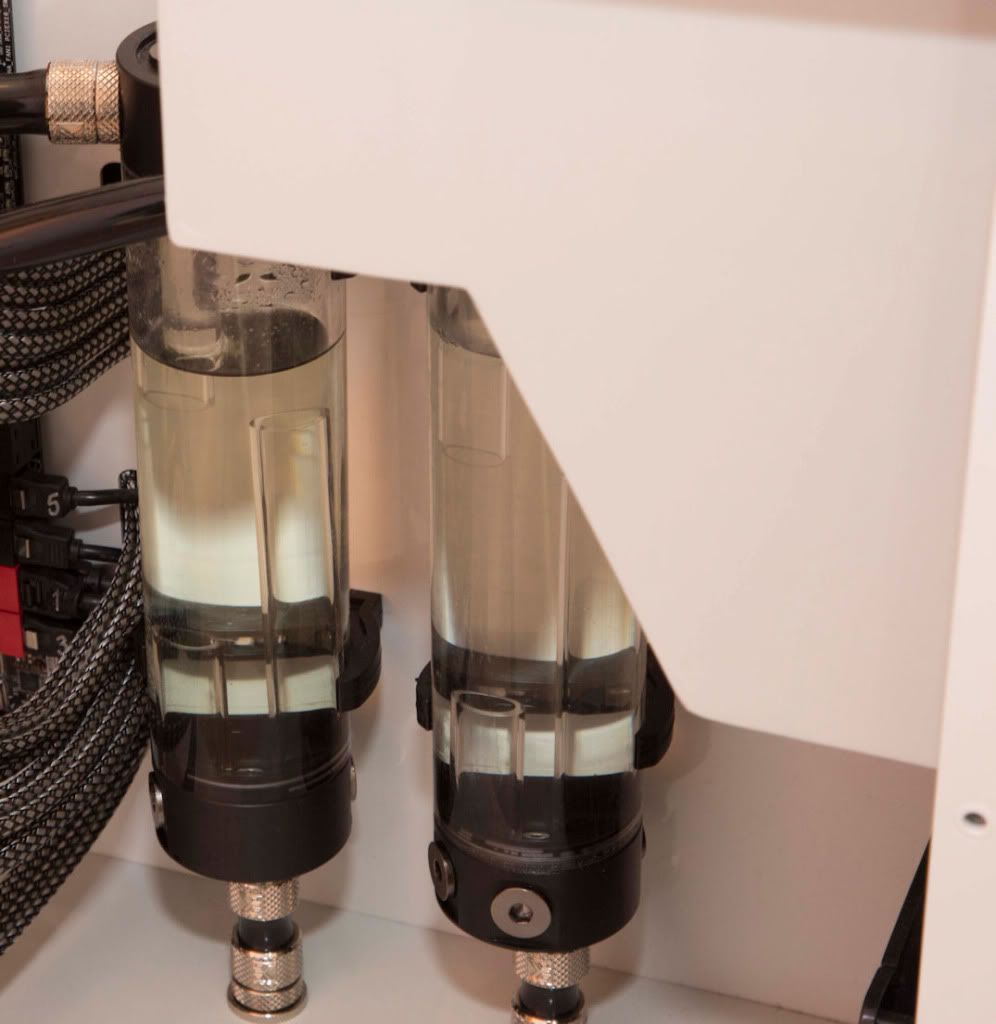
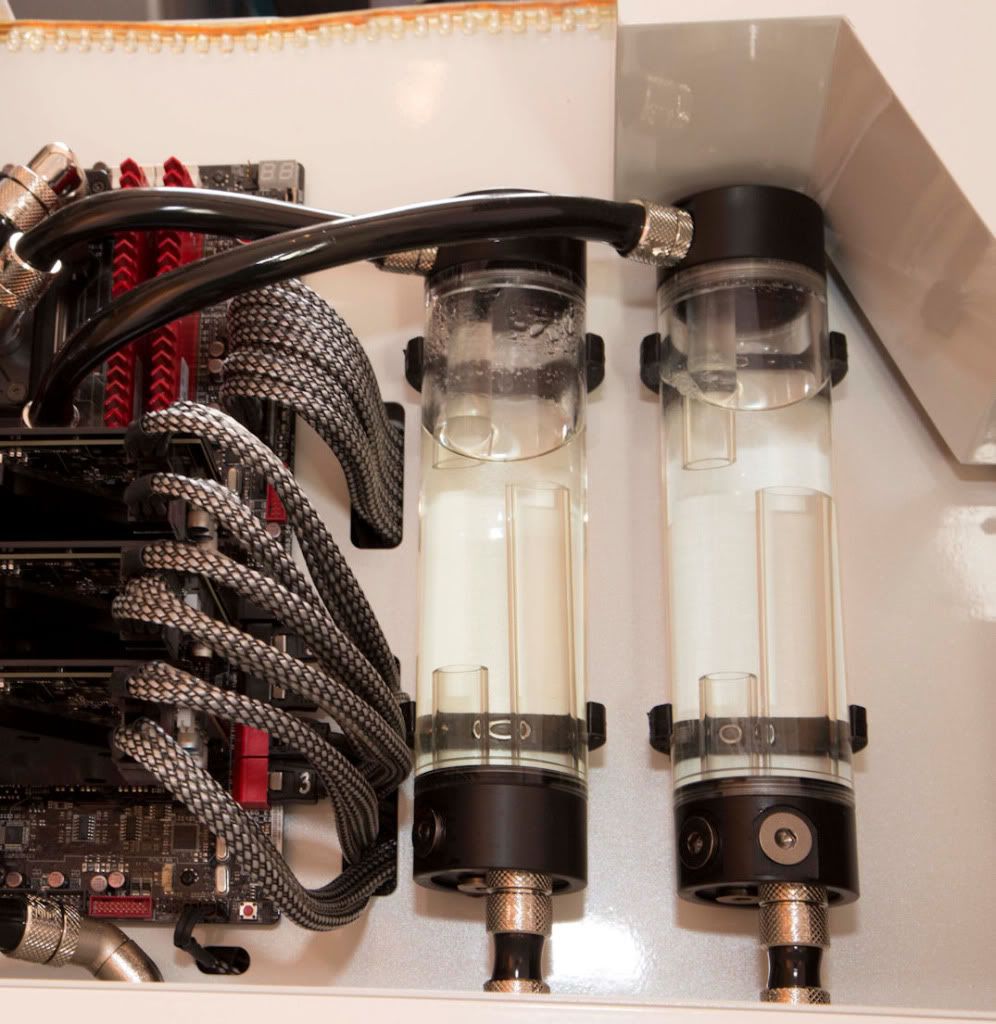
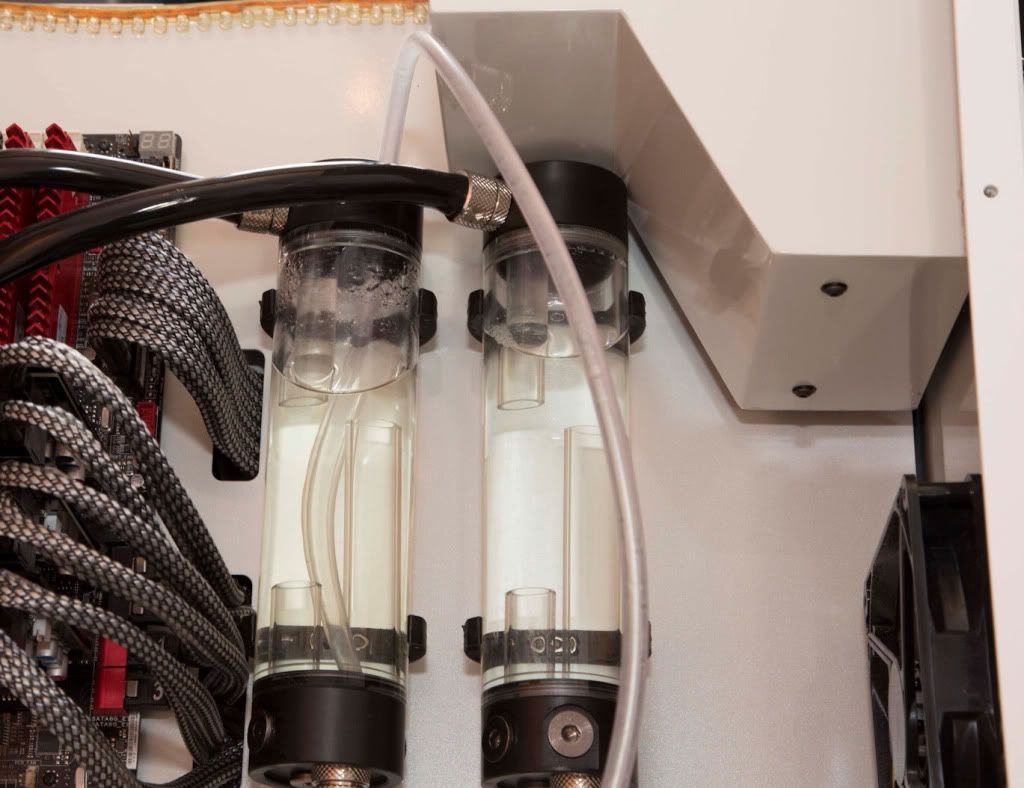
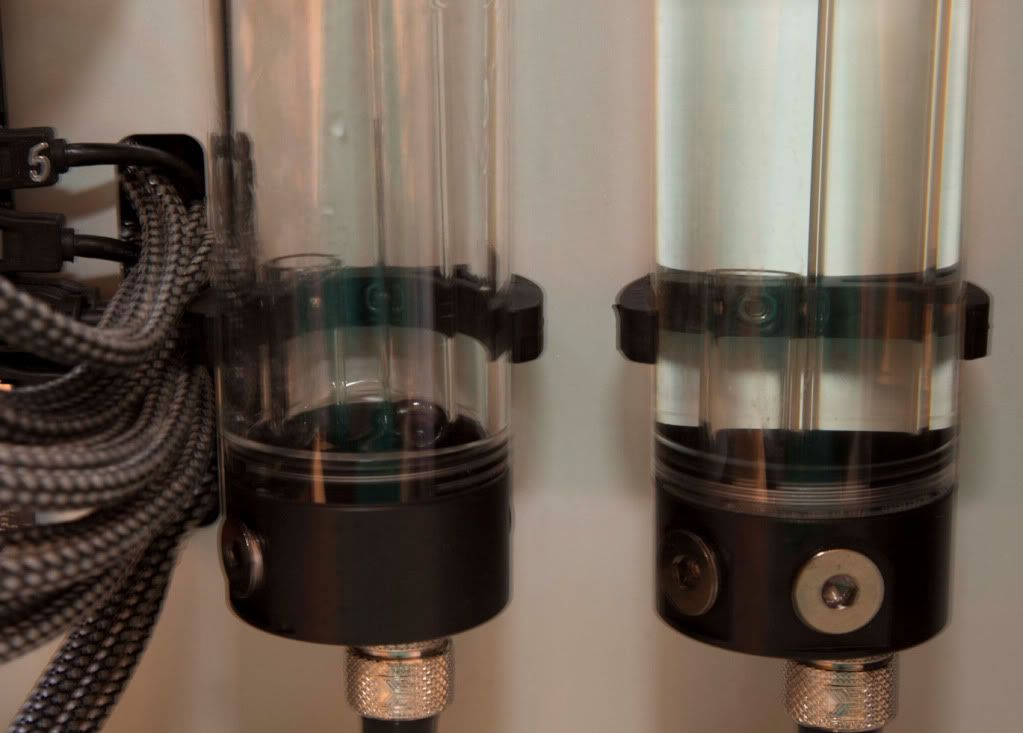
I thought the issue with the EK reservoir leaking was going to be easily rectified when EK offered to send me a new replacement acrylic tube.

The res leaks very slowly, so the level is lower in the CPU loop (shown on the left)


P90A0755.jpg


I did not want to drain the whole loop just the res, so tilted the case up on its side to make the res the highest point in the loop


P90A0757.jpg


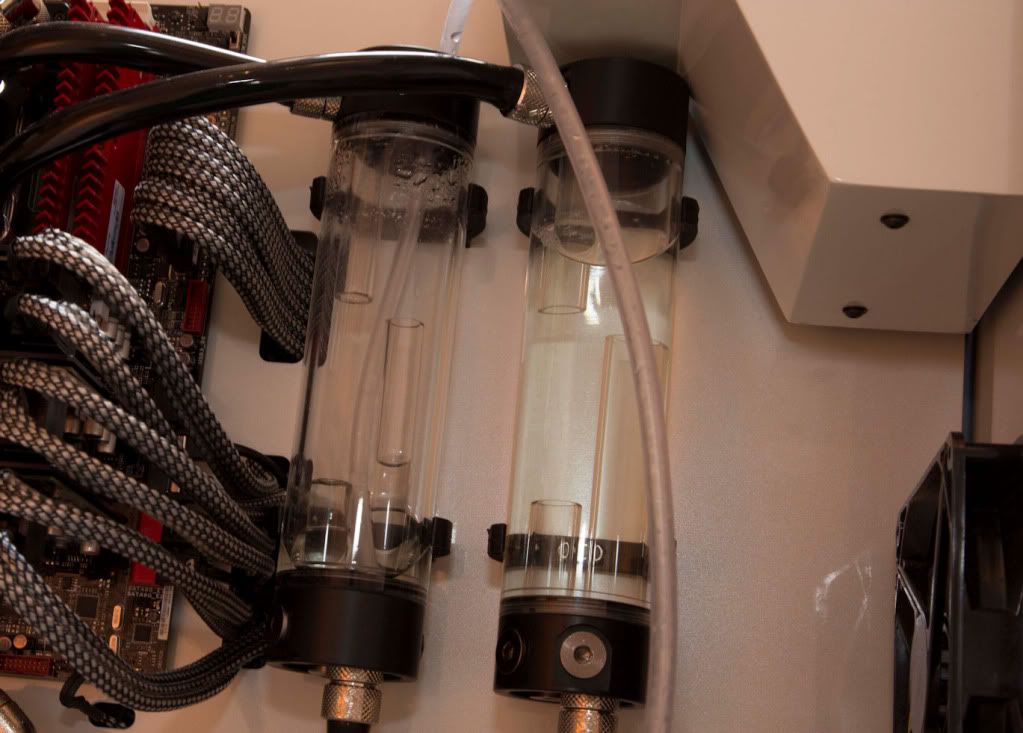
I then put a small clear plastic pipe inside the res & siphoned the fluid out (be careful if you attempt this @ home as EK fluids can be harmful & don’t taste very nice)


P90A0759.jpg


Level dropped down to the bottom of the res


P90A0760.jpg


The small clear plastic pipe was repositioned & the res was fully drained


P90A0762.jpg


The top fitting was undone & pipe work plugged


P90A0766.jpg


The res was then popped out of its holder to make access easier


P90A0767.jpg


The top was then unscrewed & removed


P90A0768.jpg


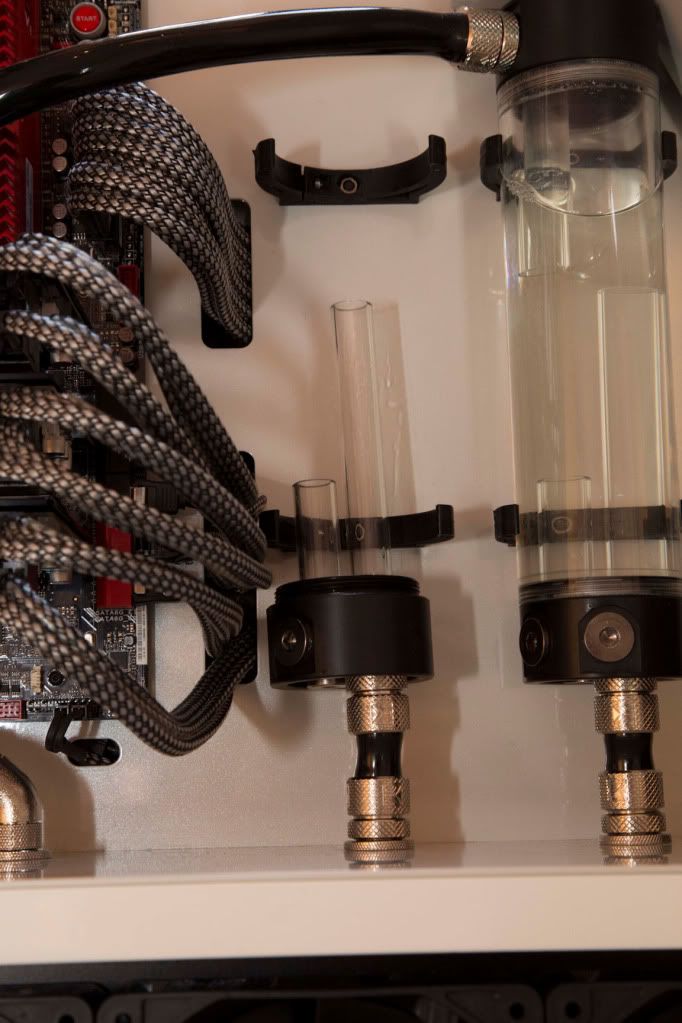
The acrylic tube was then unscrewed from the base


P90A0769.jpg


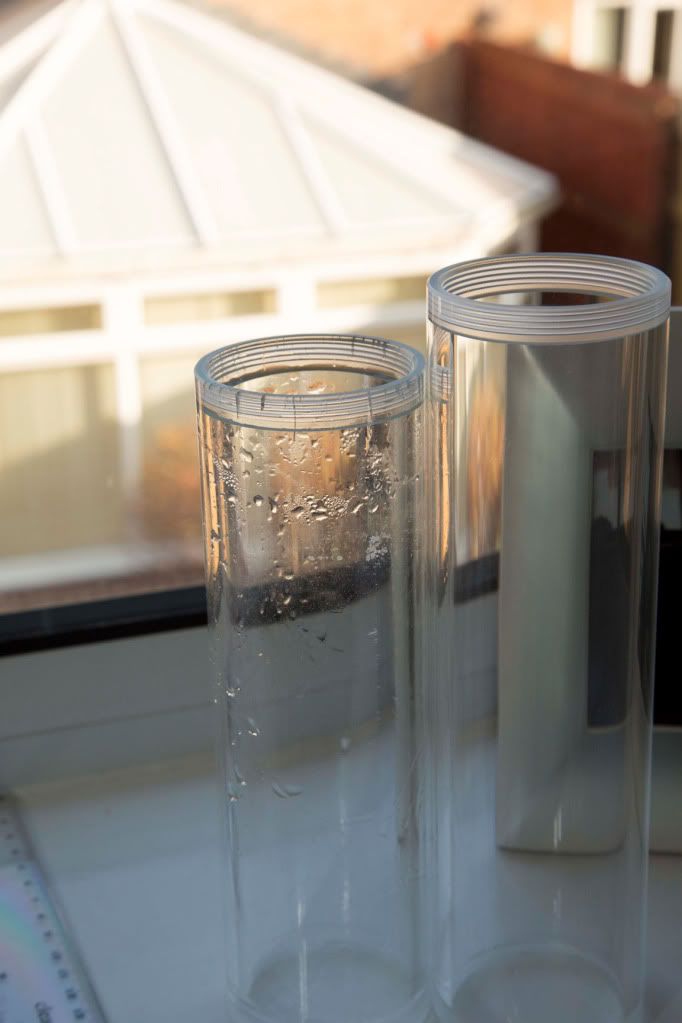
Then to my dismay, I found the tubes to be the wrong length


P90A0773.jpg


On closer inspection I found the new tube to be 20mm longer than the original.
I once again contact EK & found they don’t manufacture the ‘advanced’ tubes anymore only the ‘basic’.
At this time, I am in contact with EK & the supplier to try & get the correct replacement parts but I am not holding out much hope.
 
Can you not use some form of tape for the time being to stop the leak? I know you can get tape that is meant to stop gas and air escaping from areas like that as I had to have it done as a temporary fix to my PCP Air Rifle. Cannot for the life of me remember the name of the stuff though.
 
Hi Antony
Thanks for the suggestion
I think you are referring to Polytetrafluoroethylene (PTFE) tape.
Unfortunately, due to the brittle nature of the acrylic tube, I think it would crack even further if PTFE was added to the diameter of the res.
 
Back
Top Bottom