They were 5 day delivery (same as my buttons and trim plate) on AliExpress whereas the only ginfull I could see were a lot longer and Guillikit were a lot more expensive.I have the hallpi sticks, they seem pretty good. Not put a huge amount of time on them because I want to put a backpaddle kit on, but they seem decent. Same as the gulikit tmr (confirmed, not just speculation) and those get decent reviews.
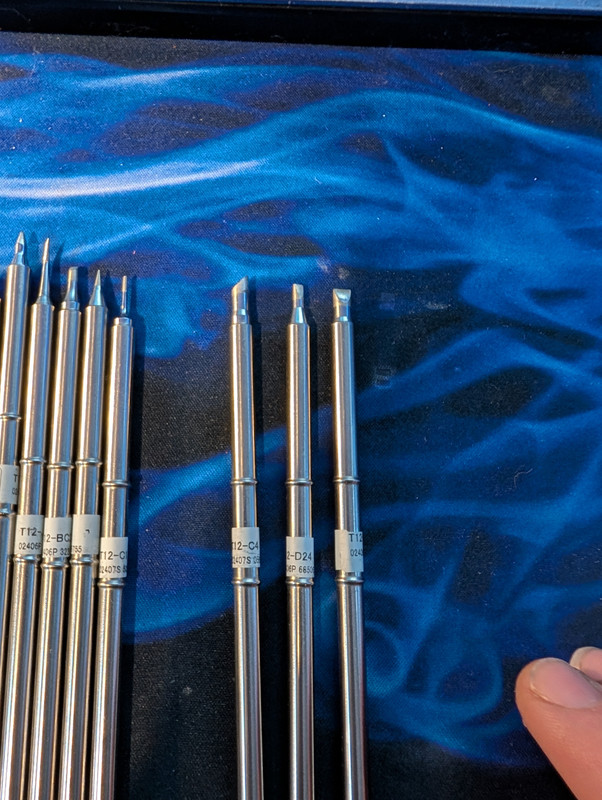
Couldn't find our "rework" style soldering station at work, but did at least find a temperature controlled iron, so will give that a go for desoldering over the weekend if I get a chance. I've got some of the flux recommended in this thread, a solder sucker and some braid, so hopefully good to go.


") - Will add it to tonights shipping.
- Will add it to tonights shipping.