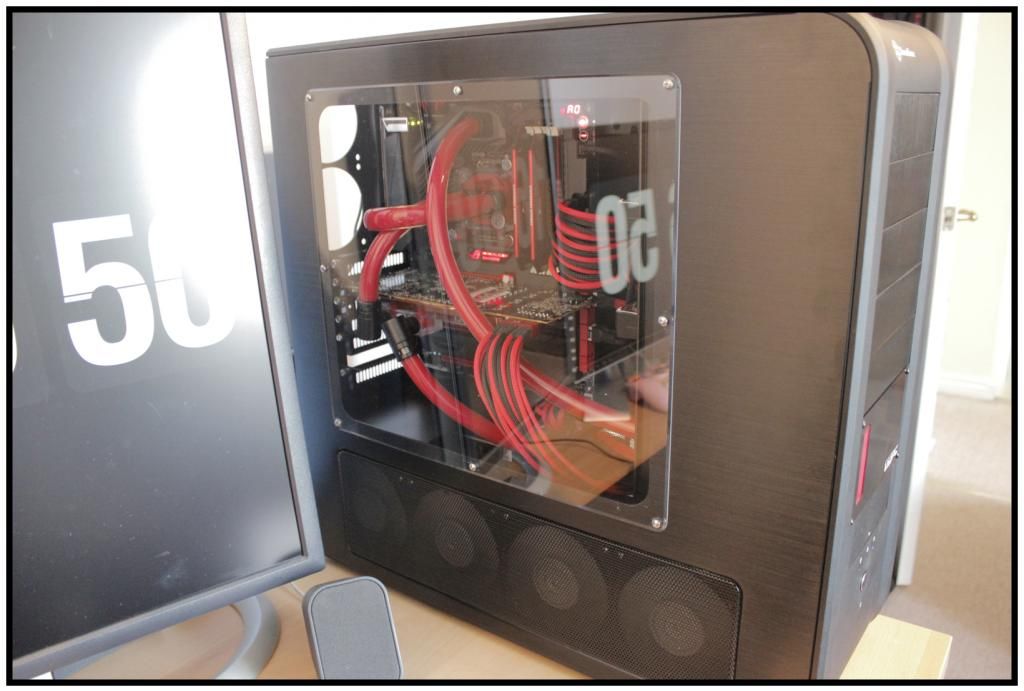
Watercooled Case Gallery

Soldato
Joined
7 Mar 2013
Posts
3,322
Location
Caistor
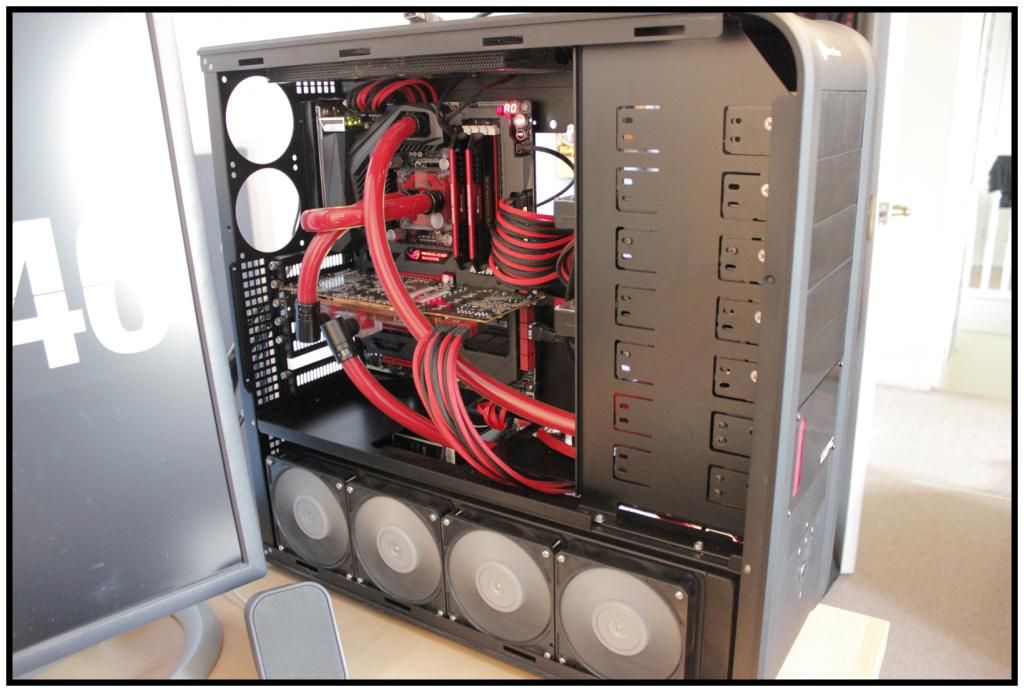
The radiator is mounted on the outside of the case under the cover, and the fans mounted internally... Unfortunately they don't seem to make a 280mm rad slim enough to fit up top without modding, and the 240mm slotted in with no modding at all.

thanks :)
I am trying to fit in a W/C system into a phantom 410 as well :)
 
Associate
Joined
7 Feb 2012
Posts
131
No problem. Seems to be surprisingly few people who are attempting this (either that or I'm looking in the wrong places!

Infamous - I didn't even consider putting a 240 in the front aswell, although that does look like quiet a lot of modding!
 
Associate
Joined
13 Aug 2011
Posts
25
Location
Limavady, N.Ireland
No problem. Seems to be surprisingly few people who are attempting this (either that or I'm looking in the wrong places!

Infamous - I didn't even consider putting a 240 in the front aswell, although that does look like quiet a lot of modding!

Wasn't that much, just drilling out the rivets that held that cages in place, then cutting off the bottom of the dvd drive tray.
I trimmed the hdd tray ho hold my drives. I used spare stand offs and motherboard screws to secure it back to the case to hold the res/pump.
 
Associate
Joined
7 Jul 2009
Posts
84
Location
Norwich
Love the black/blue theme

Is your gcard in danger of sagging a bit or is it my dodgy eyes again!? ;)

you're right that was sagging pretty bad, probably needed to tighten the screws a bit. Doesn't matter now though as its since been replaced with a 780 :D
since that ugly pic, i've swapped the 45 degree fitting to the gpu for a 90 (looks a lot neater and less stress on the tubing).
The pump now hangs level instead of being wonky (it was new tubing).
The molex cable for the sound card was swapped for one of the blue braided corsair cables (redone the cable management)
The hard drive now sits in a hdd silencer in one of the 5 1/4 inch drive bays (in reverse to hide the cables).
And finally a good dusting and sorted the hanging led strip as it started to peel.

Currently got an issue with the 800d power button though, its not broken what so ever, but simply doesn't spring back out. This is a silly design flaw and a common reported issue.
This is the second issue i've had with the case in less than 2 years of owning it, first being the sata power connector on the hot swap board - when i unplugged the cable, the inside of the connector (the pins and some plastic snapped off and stayed in the socket, seems its a verry tight fit)

i'm helpless when it comes to making something look good :D
that red on white looks perfect, i'm jelous of the chiller too :D
 
Last edited:
Soldato
Joined
10 Mar 2012
Posts
3,595
Location
unstated.assortment.union
Hi,

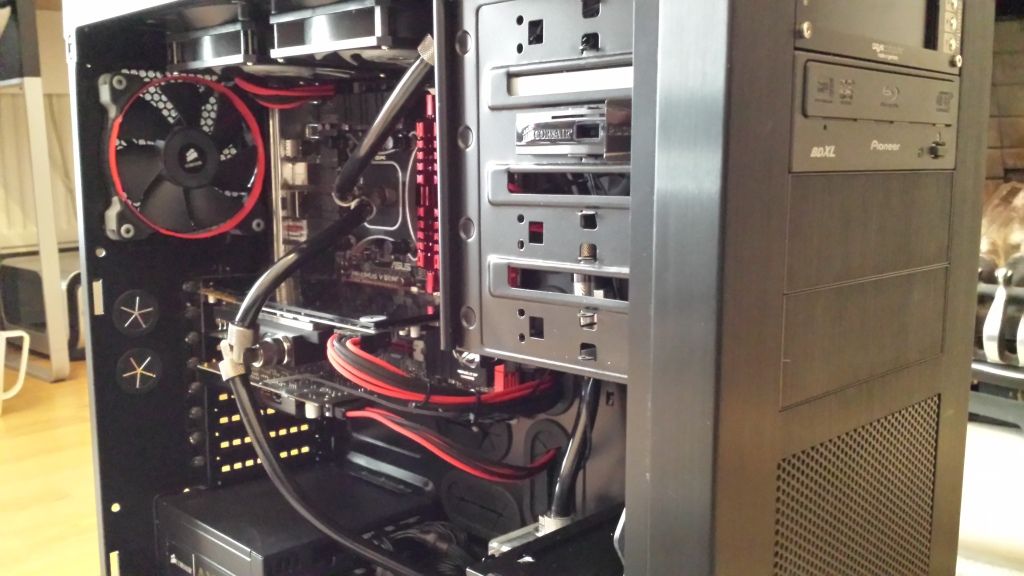
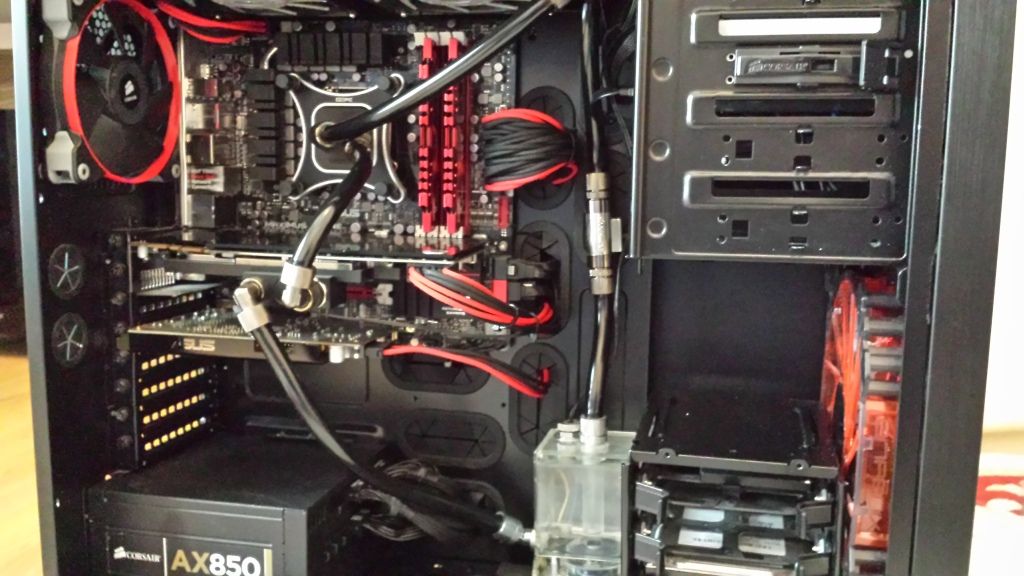
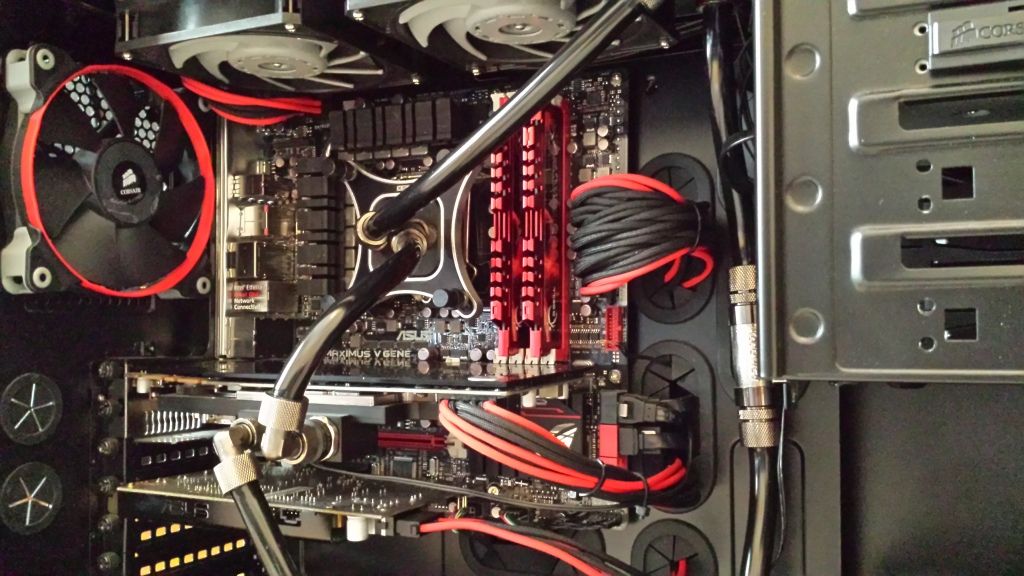
Just wanted to show off my first attempt at watercooling - just been put back together and am now testing temps.

PICTURES:

Before Cable's Being Put Back In:
http://img.photobucket.com/albums/v603/postie/IMAG0063.jpg[/ IMG]

Without Side Panel Once All Connected:
[IMG]http://img.photobucket.com/albums/v603/postie/IMAG0071.jpg[/ IMG]

With Side Panel Once All Connected:
[IMG]http://img.photobucket.com/albums/v603/postie/IMAG0069.jpg[/ IMG]

Kind of surprised by how well all of this went (being my first build and all).

Very proud of my new setup :-)[/QUOTE]


Looking good so far and almost exactly what I've been thinking of doing for my first custom loop, moving beyond the H100i.

Could you tell me what screws you used to mount the 120mm rad in the front.

Cheers.
 
Associate
Joined
7 Feb 2012
Posts
131
Looking good so far and almost exactly what I've been thinking of doing for my first custom loop, moving beyond the H100i.

Could you tell me what screws you used to mount the 120mm rad in the front.

Cheers.

I used the screws (longer ones) that came with the rad - was just long enough to go through the fan and the case and still bite into the rad.

The holes in the case are however tapped, so hold the rad tight to the case when you screw it on!


As a side note, the mayhems UV fluid looks rather nice under UV tubes :)

My next adventure is to attempt to mod the side panel to give a full height window!
 
Soldato
Joined
10 Mar 2012
Posts
3,595
Location
unstated.assortment.union
I used the screws (longer ones) that came with the rad - was just long enough to go through the fan and the case and still bite into the rad.

The holes in the case are however tapped, so hold the rad tight to the case when you screw it on!


As a side note, the mayhems UV fluid looks rather nice under UV tubes :)

My next adventure is to attempt to mod the side panel to give a full height window!

Thanks for that.

BTW full height window panels are available to purchase. I just can't link you because of the rules regarding competitor linking.
 
Associate
Joined
7 Feb 2012
Posts
131
Thanks for that.

BTW full height window panels are available to purchase. I just can't link you because of the rules regarding competitor linking.

For the phantom 410 I could only find one place that I had to send my side panel to them, it would then be modded.

Will keep a look out, would appear the case isn't common enough for off the shelf panels :(
 
Soldato
Joined
10 Mar 2012
Posts
3,595
Location
unstated.assortment.union
For the phantom 410 I could only find one place that I had to send my side panel to them, it would then be modded.

Will keep a look out, would appear the case isn't common enough for off the shelf panels :(

Yeah, after reading more into it the place I found was one that modded it for you. However I did ask for more info on their modding procedure and they use a 'template controlled router' to make the cut which sounds better than someone just dremelling it in their front room.
 
Associate
Joined
18 Oct 2002
Posts
2,030
Location
Lincolnshire
a lot of 800d love in the last few posts :D

heres mine updated recently. a bit of a mess in this pic i know.
a 780 will be going in soon to replace the dodgy 580.
p1060073m.jpg

Very nice clean setup you have there :cool:

I am just thinking about building my first watercooled setup and would like to achieve this clean look, what are the specs of your WC setup?
 
Associate
Joined
6 Jun 2006
Posts
282
Location
Leeds
A bit more bling in my setup - only 2 things missing. One of the new EVGA SLI bridges and a couple of silver fittings for the GFX block - then I'm calling it quits for now :) (Yeah right!)

20130804_230735_LLS.jpg
 
Associate
Joined
7 Jul 2009
Posts
84
Location
Norwich
100% Done for good


no less than perfection as always :D verry nice and that liquid looks tasty hehe

Very nice clean setup you have there :cool:

I am just thinking about building my first watercooled setup and would like to achieve this clean look, what are the specs of your WC setup?

WC SPECS:
CPU BLOCK: ek supreme HF
GPU BLOCK: EK-FC Titan - Acetal+Nickel + EK-FC Titan Backplate (installed since that photo)
TOP RAD: EK XTX 360
BOTTOM RAD: EK XTX 240
PUMP: Laing 10W DDC-Pump 12V and an EK TOP (personally i'd go with a D5 if i could do this again)
FITTINGS: Bitspower (Bitspower Stop Fitting G1/4 - Crystal Lighting 3Pin - UV in the bottom of the res)
TUBING: XSPC UV Blue 1/2" ID 1/4"OD (13mm-19mm)
COOLANT: Mayhems x1 clear + x1 uv blue (i'd recommend just going with the x1 premix colour of your choise)
FANS: 5x Gentle typhoon 1450rpm (should have got the 1800rpm in hindsight)
1x Corsair AF140 Quiet Edition
 
Last edited:
Back
Top Bottom