Watercooled Case Gallery

Soldato
Joined
12 Dec 2004
Posts
3,238
Location
the south
looking good Chris, nice and tidy. I know the feeling of water cooling for the first time, its not long since i finished mine.
Its pretty daunting at first but you get a nice sense of achievement when its all done :)

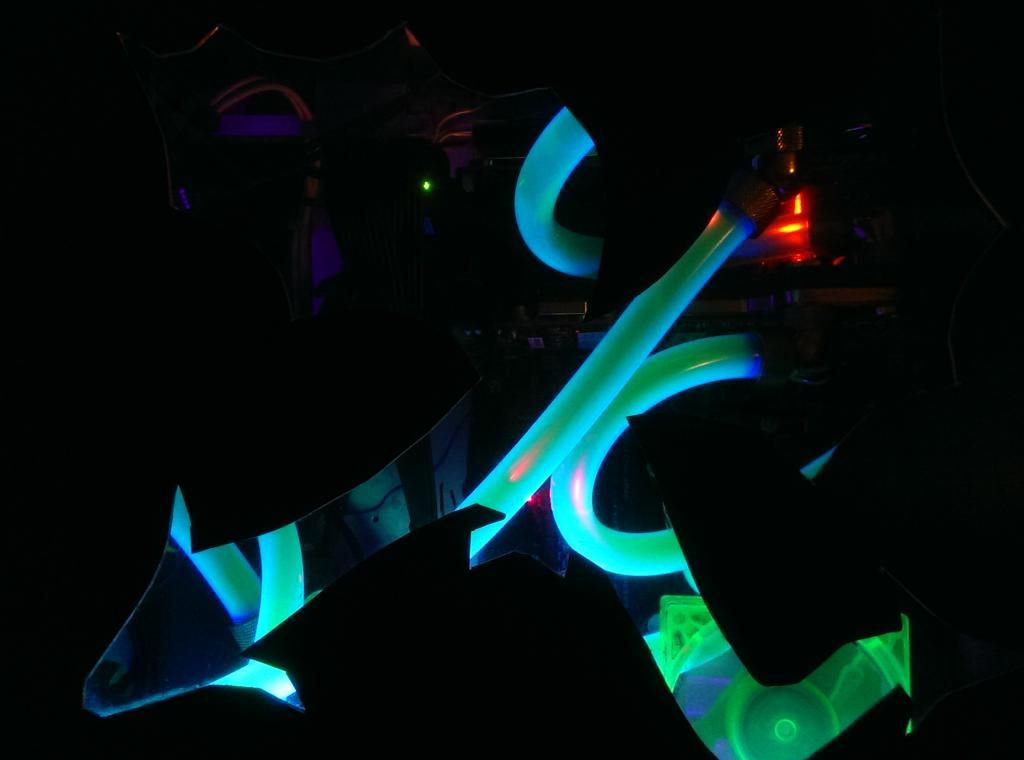
finally got my rig finished.
Added another EK rad, a vrm fan and a gpu support.

5YoWaew.jpg

EA7xY2z.jpg [/IMG]

4ETuo00.jpg

gZh1HbJ.jpg

BSMDdGF.jpg

nYvPA0J.jpg

o6k8EyQ.jpg

UYTlV2c.jpg

qAiwkvQ.jpg

4IkTLdK.jpg

xcbkJI5.jpg

NFy0o50.jpg

SxXJecU.jpg
 
Associate
Joined
16 Sep 2006
Posts
1,641
Location
Cornwall then Norfolk now
I've added a AX480, new fans (more needed) UVgreen tubing with UV Green fluid. Now i can watercool my graphics card. Still need to tidy some bits up like cabling for example.
9ogw.jpg

79lg.jpg
Please keep images to below 1280px wide or post in
tags like I've done for you above - Rilot
 
Associate
Joined
27 Jan 2014
Posts
121
Location
Waterlooville
Some awesome rigs in here. Thought I'd add my latest project to the thread.

The system configuration:
Corsair 550D
Intel i5 2500K with Alphacool NexXxos XP3 Lite Waterblock
MSi Z77A-G43 Gaming
Asus GTX670 DirectCU II with EK Waterblock
256Gb Crucial m4 SSD + 500Gb Toshiba HDD
Enermax Platimax 750W PSU
Swiftech Maelstrom Dual Bay Reservoir + 2x MCP35X PWM Pumps
ST30 140mm and 240mm + UT60 240mm Alphacool NexXxos Radiators with Akasa Viper, Phobya G-Silent Slim and Noctua NF-F12 fans respectively
Primochill PrimoFlex Advanced LRT 10-13mm (ID-OD) Tubing
Koolance QD3 Quick Disconnect Couples
Mayhems Ultra Pure H20
Mayhems Silver Kill Coil


8wjg.jpg


My Workspace:
tdab.jpg
 
Last edited:

Deleted member 66701

D

Deleted member 66701

Just an update on tubing/fluid change:-

IMAG05441_zps392ef05a.jpg


It's XSPC UV blue tubing with Mayhems UV Green fluid in it - gives a pretty unique colour I think.
 
Associate
Joined
10 Dec 2013
Posts
311
is that 3 gpu's and a cpu on 480 worth of rad?

What are your temps like?

560 worth of rads 2x280 only push fans 4x140mm

MB: 45
GPU1: 58 R9 290 @ 1000/1400 full load mining
GPU2: 63 R9 290 @ 1000/1400 full load mining
GPU3: 64 R9 290 @ 1000/1400 full load mining
CPU: 45 Core i7 4770K idle

ambient temp is 24 degrees
 
Associate
Joined
25 Dec 2008
Posts
921
Location
Norwich
Okay folks this was posted over in the project logs but thought i'd show it here too, so below is my WC aerocool DS cube.

12376629783_c6a1272a39_c.jpg

thats black sata cable it now gone replaced with a silverstone ultra slim sata cable that can barely be seen at all. also sorted out the front panel connectors so they are no longer visible only the usb 3 cable is now hanging down.

12376945444_7ced2a0a27_c.jpg


must highlight this isnt completely finished as its my first WC loop its currently limited to just CPU but i do plan on adding a GPU block to it at some point.
 
Last edited:
Soldato
Joined
19 Feb 2012
Posts
4,409
Some awesome rigs in here. Thought I'd add my latest project to the thread.

The system configuration:
Corsair 550D
Intel i5 2500K with Alphacool NexXxos XP3 Lite Waterblock
MSi Z77A-G43 Gaming
Asus GTX670 DirectCU II with EK Waterblock
256Gb Crucial m4 SSD + 500Gb Toshiba HDD
Enermax Platimax 750W PSU
Swiftech Maelstrom Dual Bay Reservoir + 2x MCP35X PWM Pumps
ST30 140mm and 240mm + UT60 240mm Alphacool NexXxos Radiators with Akasa Viper, Phobya G-Silent Slim and Noctua NF-F12 fans respectively
Primochill PrimoFlex Advanced LRT 10-13mm (ID-OD) Tubing
Koolance QD3 Quick Disconnect Couples
Mayhems Ultra Pure H20
Mayhems Silver Kill Coil

Have you should about rearranging the loop to make it neater?

Perhaps going

Res/pump-->front 240-->gpu-->120 rear-->cpu block-->top 240-->res/pump

Obviously if you are happy then ignore me but thought I would suggest it.

560 worth of rads 2x280 only push fans 4x140mm

MB: 45
GPU1: 58 R9 290 @ 1000/1400 full load mining
GPU2: 63 R9 290 @ 1000/1400 full load mining
GPU3: 64 R9 290 @ 1000/1400 full load mining
CPU: 45 Core i7 4770K idle

ambient temp is 24 degrees

Ahh my bad, could only see 4 120mm fans in the pic.

My pc below. Hoping to upgrade the gpu and stick a block on it soon.

B8MN1c3l.jpg.png

More recently looks like this but its a rubbish pic.
JhaF709l.jpg.png
 
Last edited:
Associate
Joined
27 Jan 2014
Posts
121
Location
Waterlooville
Have you should about rearranging the loop to make it neater?

Perhaps going

Res/pump-->front 240-->gpu-->120 rear-->cpu block-->top 240-->res/pump

Obviously if you are happy then ignore me but thought I would suggest it.

My first setup was neater but it was difficult to work with. I couldn't get the CPU block off or get the motherboard out without taking the entire loop apart which is why I have the quick disconnects this time around. The way it is at the moment I can take the front 240 and rear 140 out without removing anything else and still connect the top 240 to run the loop without much hassle. I did that to bleed the system, found it difficult to bleed with three radiators all positioned differently but was quick and simple with 2 radiators taken out of the system.

I can also get to my CPU and GPU for replacement when the time comes. The ability to easily work with the system and isolate sections to replace parts and flush radiators is more important for me than a good looking loop.

Last year I had setup the loop with only the front 240 and back 140 and after spending days working on the system I found that the motherboard had a problem so I had to take the system apart to get that replaced. After sorting that out I broke my GTX580 when overclocking so had to drain the loop a second time to sort that out. When I got a replacement to put in the loop this year, my GTX670, I decided to get the extra 240 radiator at the top to max out the amount of radiators that can fit into this case and put quick disconnects in to make working with the loop much easier.

This is a picture of the loop after I replaced my faulty motherboard:

t0gk.jpg


I had placed the pump+reservoir at the top leaving enough extra pipe to take it out to refill
 
Soldato
Joined
20 Aug 2008
Posts
6,843
When I got a replacement to put in the loop this year, my GTX670, I decided to get the extra 240 radiator at the top to max out the amount of radiators that can fit into this case and put quick disconnects in to make working with the loop much easier./QUOTE]

Where have you put the Quick Dissconnects?
I was looking into doing this for when I re-build my loop next time but I had a couple concerns.

I see that it is easy to unplug everything with QD's and that you only get maybe 1 or 2 drops of spillage. But say that I had QC's on my video card and then I go and change my video card out. I've now lost all the water that was in the VGA waterblock...
 
Back
Top Bottom