Soldato
- Joined
- 27 Mar 2013
- Posts
- 9,348
I've ordered a pump/heating element for my dishwasher. Don't expect it before next weekend lol. First world problems  .
.
 .
. .
.HoHoHo!Sat on the sofa and drank beer while the wife cleaned hahaha
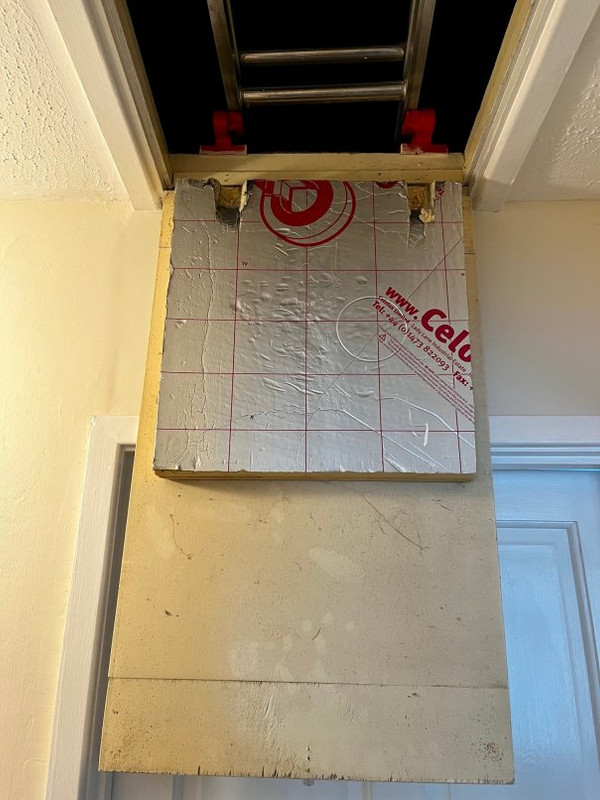
How come you're using that stuff? I believe it costs more? Also are you going 270/300mm or just 200 total?First stage of sorting out my roof insulation was starting with the hatch to replace the random bit of 30mm celotex that was on it and replaced with 100mm recycled insulation (not itchy too!), held in with gorilla tape. This is the stuff I'll be using (two layers to make it 200mm) in the roof in the coming weeks, removing the old insulation which has fallen to bits and is only <100mm.
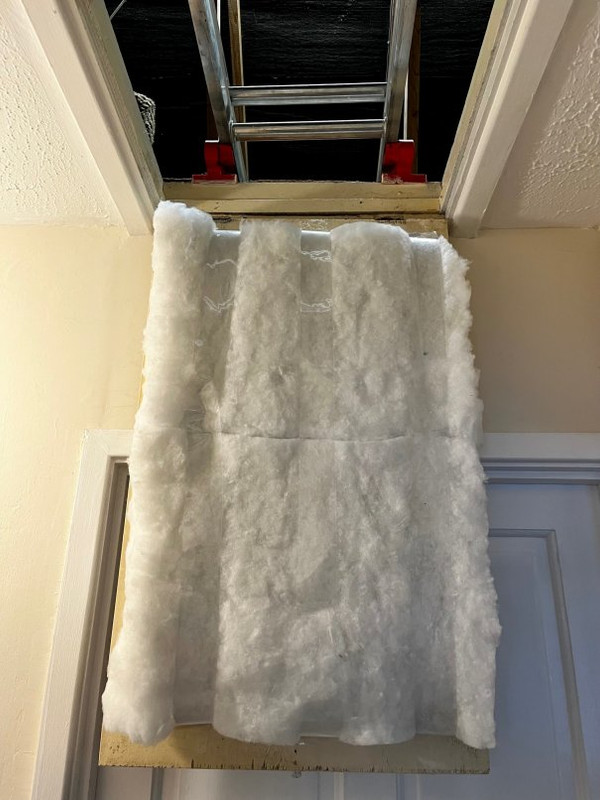
It probably does cost more but is easier to work with. Yes I might leave whats there and go over it the other direction as heard thats a good thing to do, either 200 or 300mm total.How come you're using that stuff? I believe it costs more? Also are you going 270/300mm or just 200 total?
Id roll 100 in the joists and 200 across the joists. Personally I left the existing stuff and rolled 200mm over it as removing the old stuff is the itchiest/worst part.
100 in joists, 170 across - that gives you easy options with loft legs (170 height).How come you're using that stuff? I believe it costs more? Also are you going 270/300mm or just 200 total?
Id roll 100 in the joists and 200 across the joists. Personally I left the existing stuff and rolled 200mm over it as removing the old stuff is the itchiest/worst part.
Stick with the celotex. They offer much more insulation per mm than the wool/fluffy stuff.How come you're using that stuff? I believe it costs more? Also are you going 270/300mm or just 200 total?
Id roll 100 in the joists and 200 across the joists. Personally I left the existing stuff and rolled 200mm over it as removing the old stuff is the itchiest/worst part.
Aye for the loft hatch I'd have kept the celotex. For the rest of the hatch standard insulation wool.Stick with the celotex. They offer much more insulation per mm than the wool/fluffy stuff.
What's the size of your loft hatch
I used that recycled plastic insulation in our attic conversion. Lovely stuff to use, it felt like the insides of a winter jacket. I was especially happy to use it as it was during the heatwave - so I could work in just my shorts.How come you're using that stuff? I believe it costs more? Also are you going 270/300mm or just 200 total?
Id roll 100 in the joists and 200 across the joists. Personally I left the existing stuff and rolled 200mm over it as removing the old stuff is the itchiest/worst part.
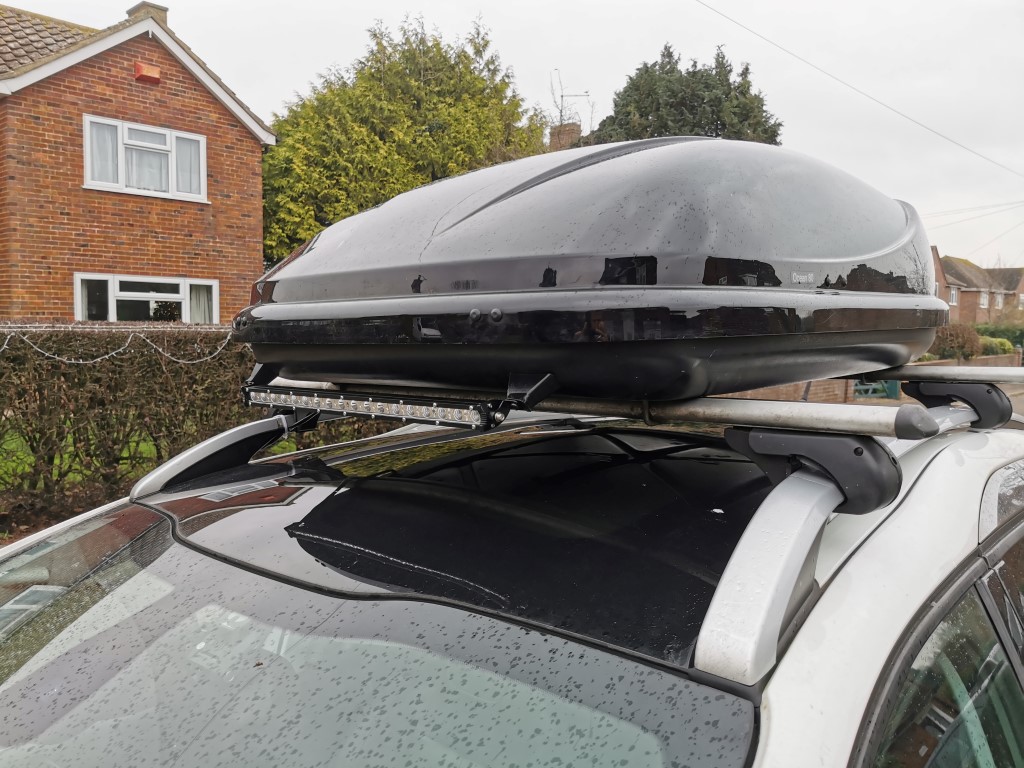
What was it that you used exactly?I used that recycled plastic insulation in our attic conversion. Lovely stuff to use, it felt like the insides of a winter jacket. I was especially happy to use it as it was during the heatwave - so I could work in just my shorts.
Cost more? Perhaps, but worth it not to feel the itch ever again.
What was it that you used exactly?
To be honest I put my standard fibreglass insulation into my loft in shorts and vestv(plus gloves/mask /goggles), as long as youre not removing old stuff which tends to be worse I found it fine.I used that recycled plastic insulation in our attic conversion. Lovely stuff to use, it felt like the insides of a winter jacket. I was especially happy to use it as it was during the heatwave - so I could work in just my shorts.
Cost more? Perhaps, but worth it not to feel the itch ever again.
Ahh right ok I've heard about these before. Any good? One thing I did not like is the colour. It can easily get dirty lol
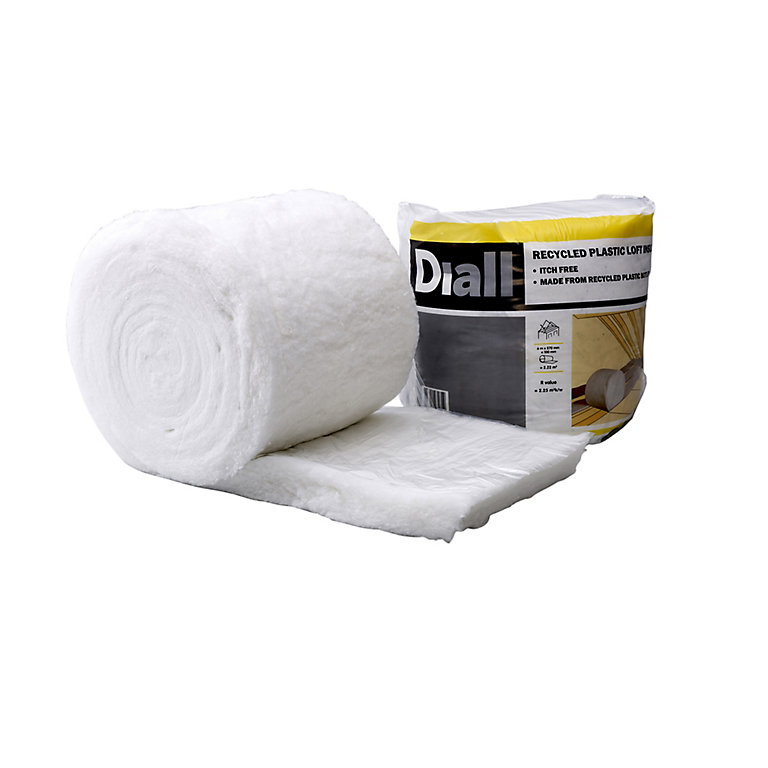
Diall Insulation roll, (L)6m (W)0.37m (T)100mm | DIY at B&Q
An eco-friendly alternative to traditional glass wool insulation, this recycled plastic insulation from Diall is comfortable to work with and is completely itch free. It is extremely easy to lay and comes in handy sized rolls to fit many existing rafter spaces.www.diy.com
Aye for the thick acoustic slabs I won't even bother wearing a mask, it's fine. I'll wear some gloves but it's not really necessaryI used some Knauf acoustic insulation in our ensuite wall and it was much nicer than the old yellow stuff. Still did it wearing a mask, gloves and a long sleeve top.
The plastic I didn't use anything.
 I should have really checked myself but just took his word/markings for it.
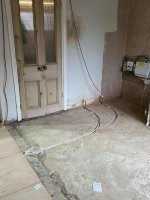
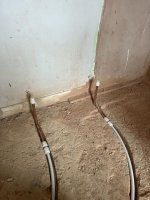
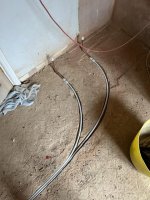
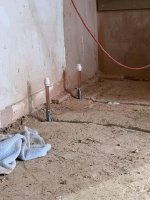
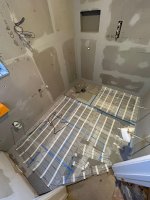
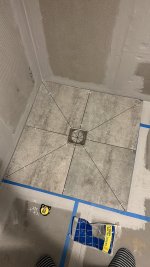
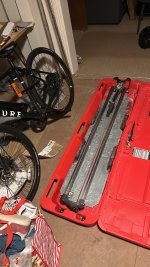
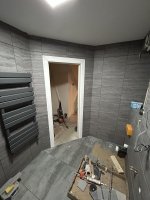
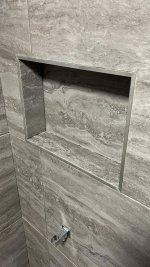
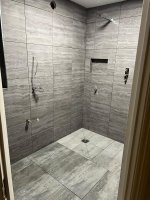
Managed to finish tiling before Xmas but still need to grout. The room met on the door and was only 0.5mm out so I’m please with that.@Simon Interesting pics, looks good. I'd be interested in seeing updates here. I'm building up the impetus to replace our ensuite bathroom and am thinking it will be a wet room style with level shower tray.
On that note, what tray / former / drain are you using?

Out of interest what’s your reasoning for this?I’d 100% be replacing those push fit with compression fit if being set in concrete like that

