What "man jobs" have you done today?

Finally tackled the patio....awful bloody job, on my knees chiseling out the old mortar for hours. The jetwashed it to clean it up give it a good soaking. Such a shoddy job the patio, most of the space under the slabs is void so used loads of jointing compound disappearing down some gaps. Anyway, got it done.

8TUnQHc.png

Bloody cats :mad:

If it wasn't for the hedgehogs I'd put an electric fence up :p
 
Last edited:
Finally tackled the patio....awful bloody job, on my knees chiseling out the old mortar for hours. The jetwashed it to clean it up give it a good soaking. Such a shoddy job the patio, most of the space under the slabs is void so used loads of jointing compound disappearing down some gaps. Anyway, got it done.

8TUnQHc.png

Bloody cats :mad:

If it wasn't for the hedgehogs I'd put an electric fence up :p
I know I have this job coming soon for my rear garden…just a case of chipping out the old crap and then refilling with a jointing compound? I guess if any slabs are loose I’ll need to look at cleaning under and reseating them. Never needed to do something like this before so be all new to me.
 
Just paid £698 delivered for:
8x 6ft fence panels, green, pressure treated
9x 2.7m 100x100mm posts, green, treated
32 panel clips
box of screws
8x 3m gravel boards (no stock of 1.8m).

Ripped? Or seem decent?

What do you folks think about those torch on post protectors? £40 + a blow torch/heat gun?
 
What do you folks think about those torch on post protectors? £40 + a blow torch/heat gun?

I tried one and it didn't bond very easily, but that was using a heat gun. It also looks a bit messy if tar spills out the top, and if any gaps are left there's the potential for water to pool around the post.

Maybe brush on Black Jack paint would be easier/neater.
 
I know I have this job coming soon for my rear garden…just a case of chipping out the old crap and then refilling with a jointing compound? I guess if any slabs are loose I’ll need to look at cleaning under and reseating them. Never needed to do something like this before so be all new to me.
Yeah just a chisel/bolster and lump hammer to knock out the old mortar. Ours was trashed, half of the existing mortar had turned to sand/disappeared, all of it was loose, so decided to clean it all out so the finishing is neat.

A few bits were still fairly solid and resistant to the chisel so I just took off the top cm or so.

Then just used a trowel and brush to dump the jointing compound in....tap it on a bit with the edge of the trowel then brush diagonally to smooth off. Used the 'No nonsense' stuff from Screwfix.

It's started hardening now, but will probably be the rest of the week before I walk on it with this cold damp weather.
 
I insulated my loft hatch with a couple of layers of foil insulation and put a rubber seal around the edge to help stop warm air getting up into the loft space.
This probably won't apply to you but I have a made to measure and insulated metal loft hatch. Base and uprights on edges like a metal cake tin lid.
Being a knowall I decided to put a layer of foil insulation on the top of the loft insulation already fitted.
Next time I opened loft I got soaked by a waterfall of condensation.

Tip is just check for a week or two just in case.
 
I decided I'd like a ceiling light in the garage, had a quick look at some online and then remembered I have a strip of Govee LED lights that I grabbed on offer a while back and never used for anything.

Used a plank from a pallet which I ripped down on the table saw and some plexi glass I had laying around and knocked up a box light type of thing. It's not super bright but works pretty well. Gave me a chance to play with the table saw and try out some new types of cuts, also got to use the new brad nailer to help with glue up.

Light will be more than adequate for quick trips in the garage and for when my wife uses Zwift in there, but I might upgrade later and maybe just use this as an over workbench light. Excuse the messy garage, we are renovating and insulating the house.

52716296503_22b302722b_b.jpg


52715816566_927ae8dc7f_b.jpg


52715302682_da0cb3f62d_b.jpg


52715832866_1bb424e203_b.jpg
 
Last edited:
I really want an excuse to buy/use a nail gun but I've not found a good enough one yet :cry: .

Get an air compressor which is useful for a number of tools, then you can get a decent nail gun for £20.

That's what I'm planning to do in the near future. The battery gun will be good for now and very handy when installing the insulation under floorboards.
 
Would you say an insulated loft hatch makes much difference overall as its such a small area.
I was a bit worried about putting a loft hatch in the master bedroom, but because it is an all-in-one insulated unit, it seals completely. The room holds heat just like any room without a hatch. The bathroom on the other hand which has the old "lift a bit of wood" type hatch gets much colder, much quicker.
 
The reason I ask is that my hatch is on the landing, quite far from rads so not sure if heat loss would matter. Its also one where you lift it up, then bring it down through the hole, the position of the hatch and plumbing and joists make it difficult to hinge it (could hang down, but that's quite a bit of work, but might be a job for the future).
 
The reason I ask is that my hatch is on the landing, quite far from rads so not sure if heat loss would matter. Its also one where you lift it up, then bring it down through the hole, the position of the hatch and plumbing and joists make it difficult to hinge it (could hang down, but that's quite a bit of work, but might be a job for the future).
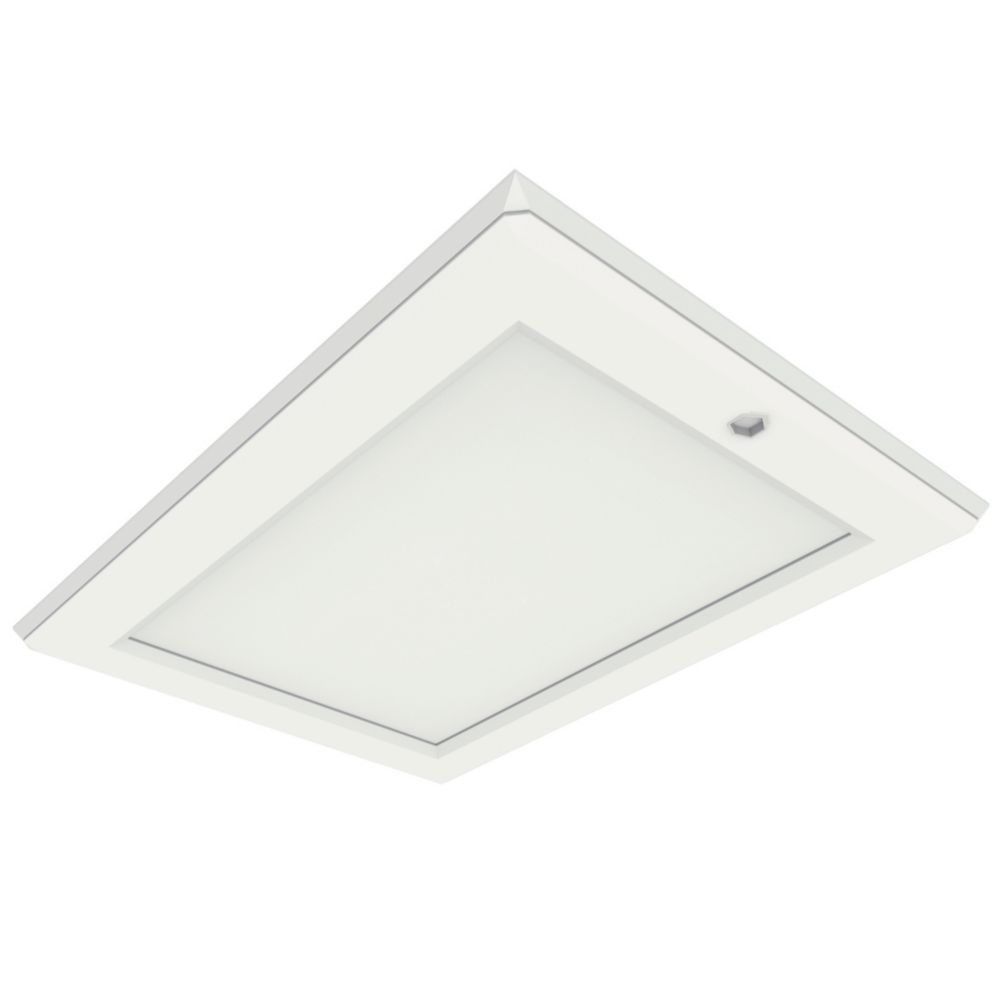
One of those may even just screw into the architrave you have around your existing latch:

Alternatively, just whack a board of PIR on top of your existing latch. It is a bit ***** but you can often find chunks of it by skips where people have had loft conversions done.
 
This probably won't apply to you but I have a made to measure and insulated metal loft hatch. Base and uprights on edges like a metal cake tin lid.
Being a knowall I decided to put a layer of foil insulation on the top of the loft insulation already fitted.
Next time I opened loft I got soaked by a waterfall of condensation.

Tip is just check for a week or two just in case.
That doesn't sound pleasant! Yeah I had some trouble over Christmas when we had that period of almost no wind. I keep a close eye on the humidity in the loft and I've done a few things to prevent warm air getting up there. Fingers crossed.
 
Any thoughts on external gate handles/lock-sets chaps?

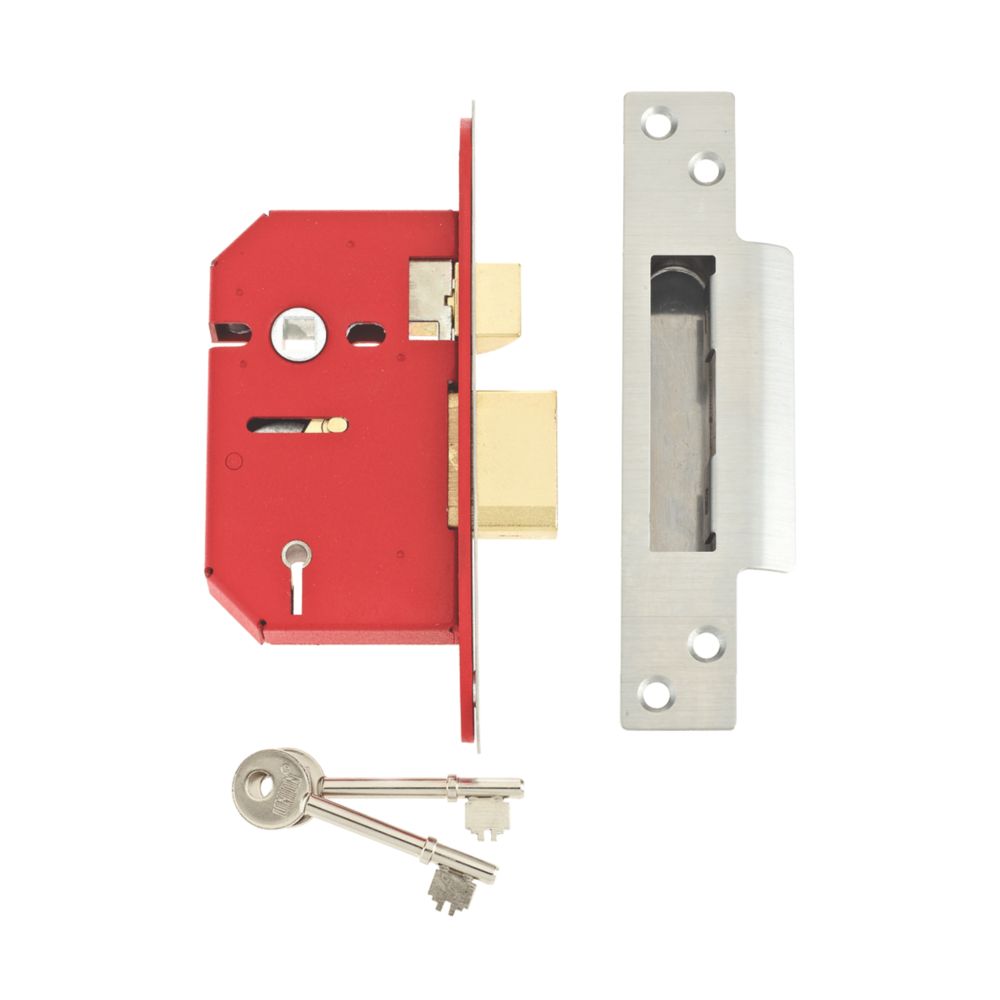
I have a bunch of Union mortice locks that I could use, if you think they stand half a chance of surviving outdoors?

I'm keen to be able to access the rear of the property from outside.
 
Any thoughts on external gate handles/lock-sets chaps?

I have a bunch of Union mortice locks that I could use, if you think they stand half a chance of surviving outdoors?

I'm keen to be able to access the rear of the property from outside.
I've got a couple of the "gatemate" locks. 2 years and no issues. Shame they can't be keyed alike
 
Back
Top Bottom