Xbox 360 mod project log

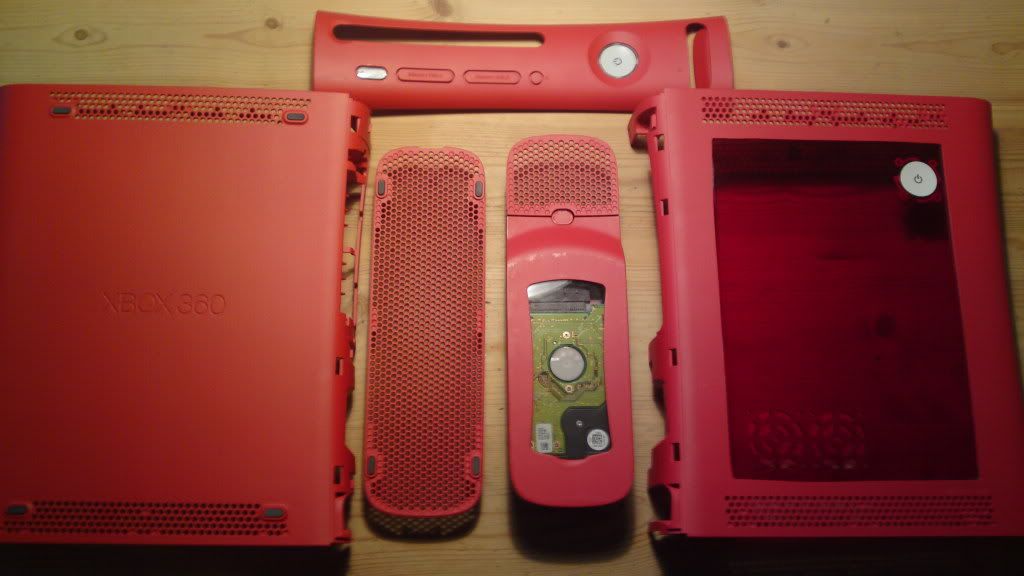
Ok so all the panels are complete now! Ready for the water to go in shortly...

24122010227.jpg


24122010228.jpg


The hard drive has had another coat am waiting for that to dry as I type!
 
Update

Ok. So here is putting the xspc top on the pump...

25122010229.jpg


25122010230.jpg


25122010231.jpg


With 2 5mm uv leds installed....


25122010232.jpg


25122010233.jpg


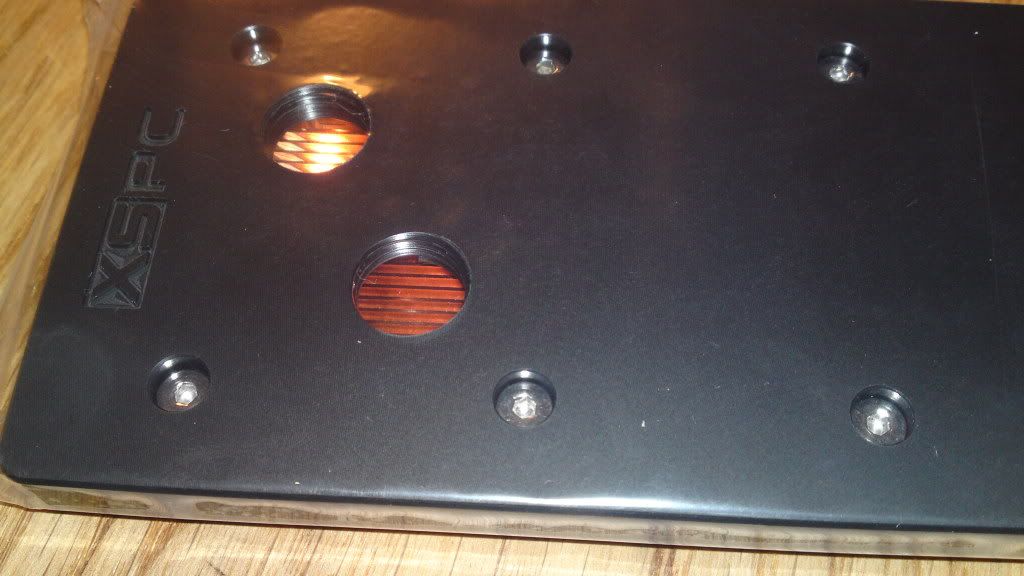
Lovely xspc block.

25122010234.jpg


25122010235.jpg


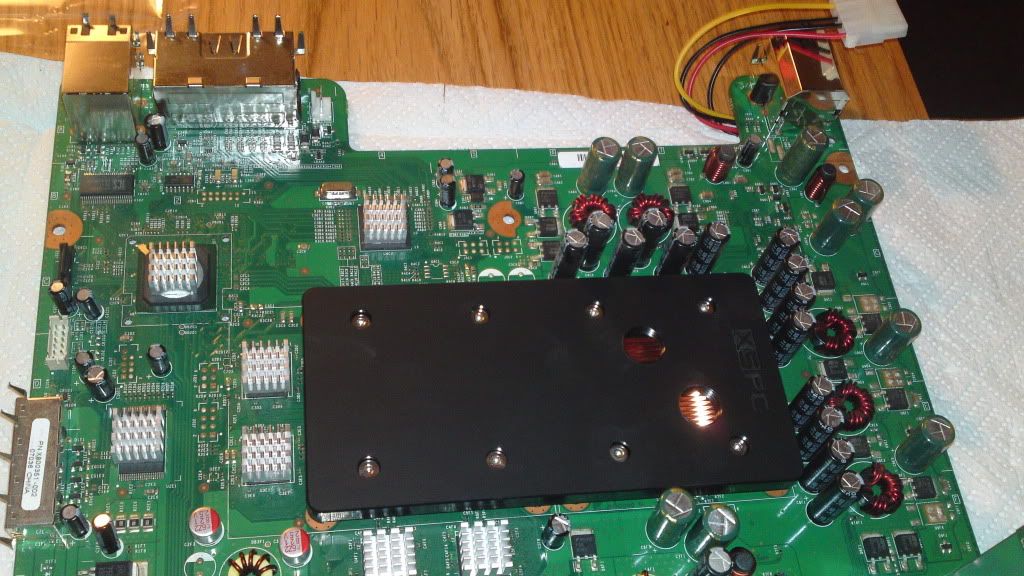
Thermal compound on...

25122010236.jpg


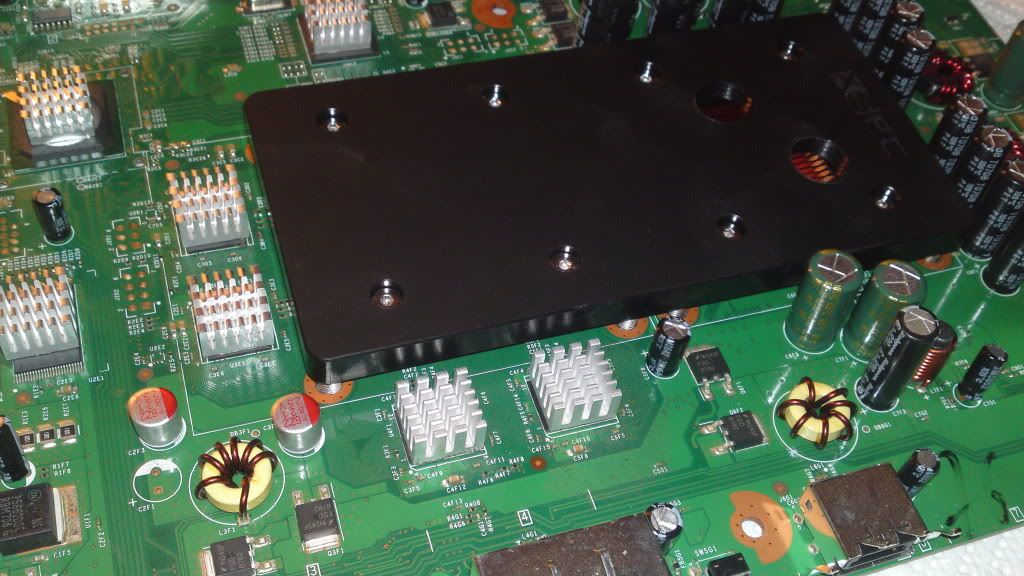
Block installed..

25122010237.jpg


25122010238.jpg


Here is where i will be installing the fillport.... drilling out the holes will be my plan!!

25122010239.jpg


EDIT:
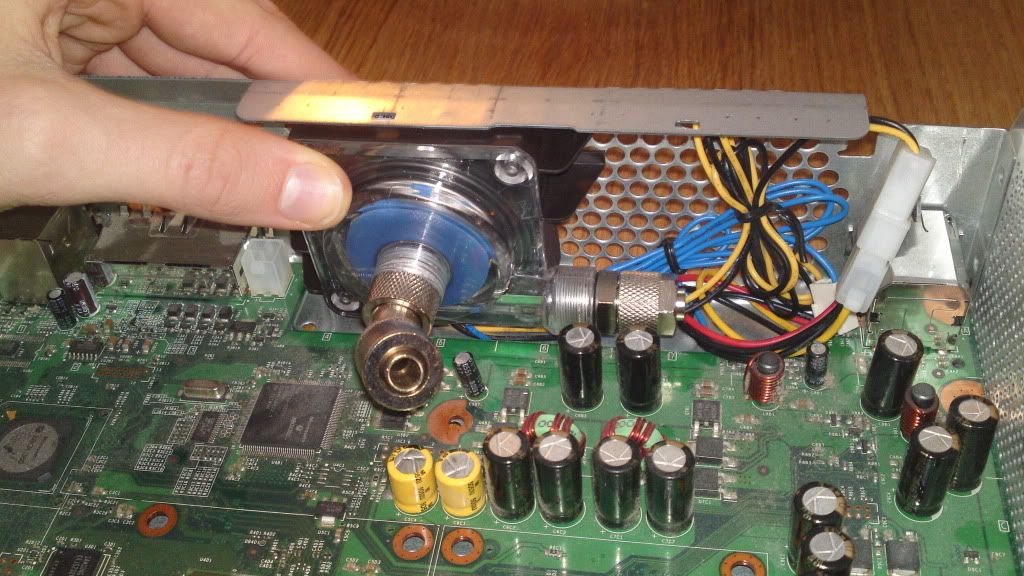
Problem!! The xspc top is too fat to fit in my pump space... will be swapping that for another!!
 
Update

Ok... so I have swapped my xspc top with a much thinner pyobya top with shinester184... special thanks to him for that!!

26122010249.jpg


Here it is in place!!

26122010241.jpg


Here is the flushed radiator with one fan on... Checked the fan noise... and it was increadibly quiet... although 2800rpm... I fear this may be too slow as I saw another kit designed for the xbox 360 that had 4000rpm 40mm fans...

26122010248.jpg


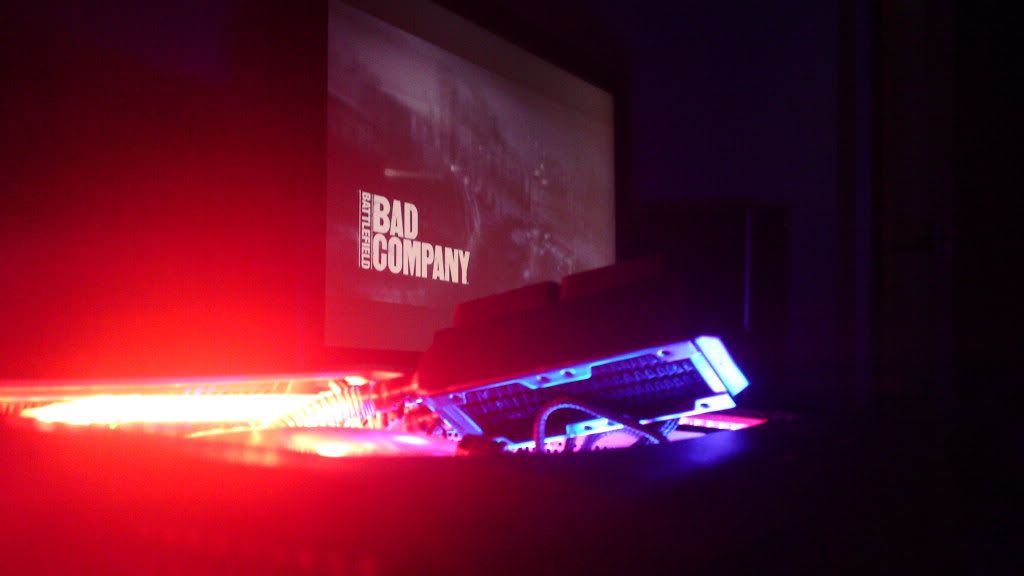
I assembled the case provisionally and had a play with lighting!!! Using a spare, broken motherboard...
The red looks much deeper in real life especially at the xbox 360 light control button..

26122010242.jpg


26122010245.jpg


26122010246.jpg


26122010247.jpg


I have made some big decisions!!

Firstly... I realised the liquid did not really react to the uv lighting, also the tubing doesnt really react much especially when there are bright red lights in the case, and the inverter is too big and can get too hot... So i have decided not to use uv lighting...

Secondly... I have decided not to use red EC6 liquid as, as i said before, it doesnt react much to uv light. Dyes can be annoying as well so Dionised water + PT Nuke is my decision...
 
Update time again!!

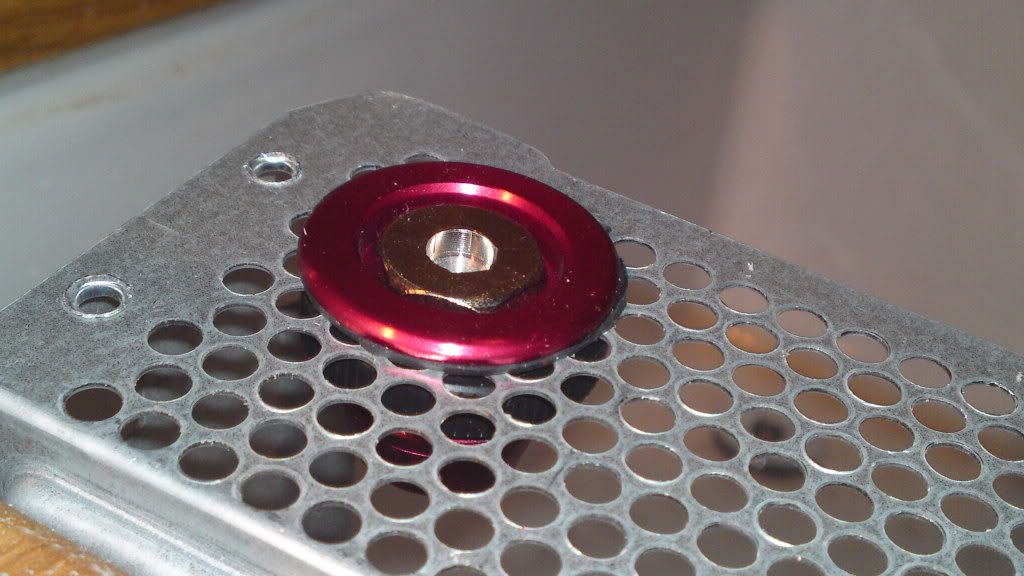
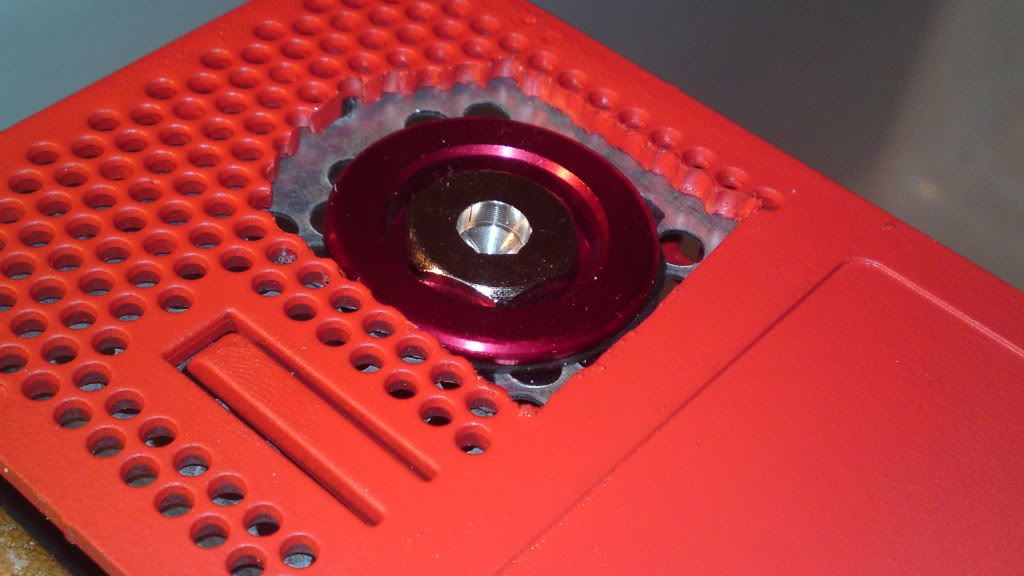
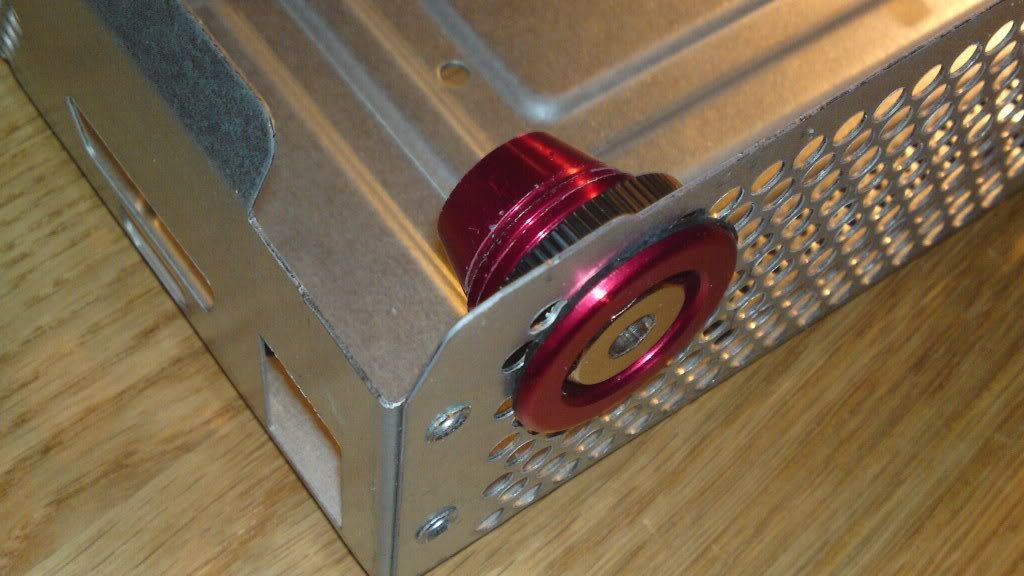
Ok so I have installed the fillport.... cut the hole with a metal drill bit, drilling through each hole that already existed... The fillport literally screws in!! so smoothly!! I wouldnt even need to use the nut on the other side (but i will anyway :) )

26122010250.jpg


26122010251.jpg


Remember!! This is not visible it is covered by the hard drive!!

26122010253.jpg


26122010254.jpg


26122010255.jpg
 
Hey, just wondering what make is your radiator? and was it easy to source it in this country at all? My brother has a spare 360 which sounds like a train and overheats all the time. Might give it a go sometime
 
Hey, just wondering what make is your radiator? and was it easy to source it in this country at all? My brother has a spare 360 which sounds like a train and overheats all the time. Might give it a go sometime

The make is magicool... cant tell you where i got it from though on here as it is a competitor and ill get permabanned :p
 
cheers, think I found it. Just been looking at the cases you can get for them. quite like the clear case (harddrive would look odd) and the smoked one. Looking forward to seeing your 360 completed.
 
Major Update!

wercooling is in and now I just need to cut another window (i scraped the other one)


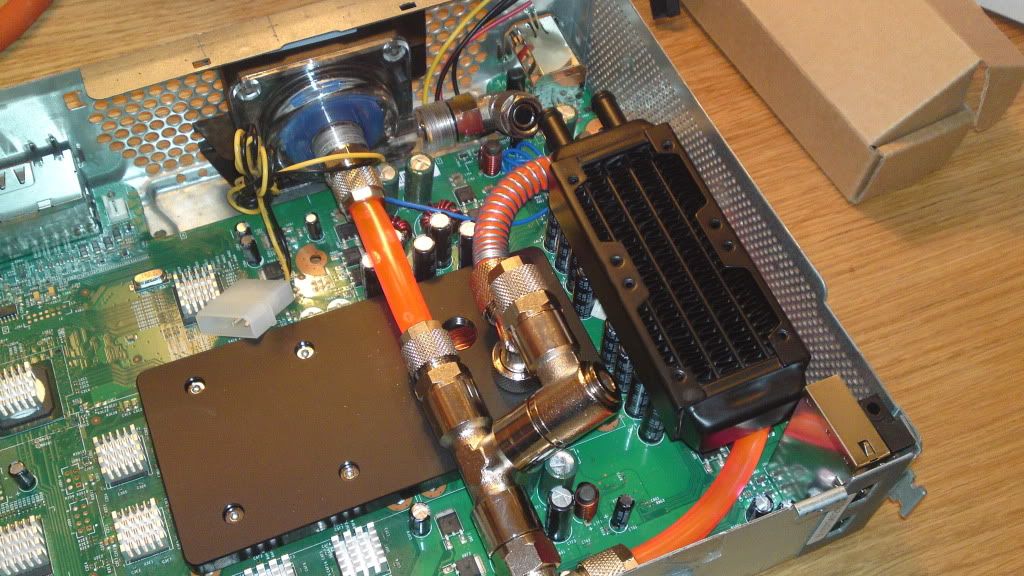
Took ages trying to find a path that would allow the radiator to fit!!

31122010258.jpg


31122010259.jpg


31122010260.jpg


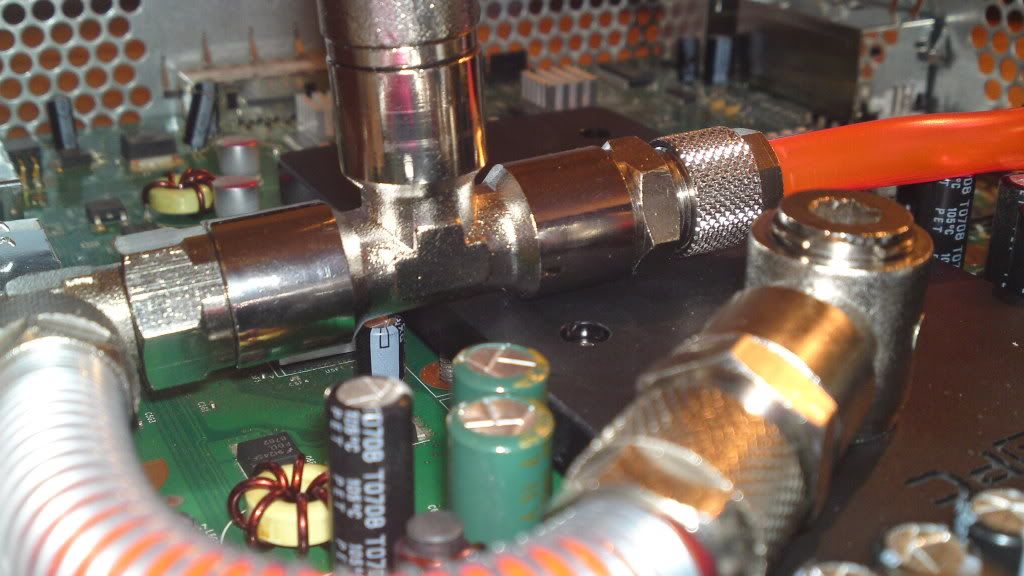
Here is how the T-Line comes off...

31122010261.jpg


31122010262.jpg


Filling and bleeding took hours and hours as the pump was moving the water too quickly to be caught by the T-Line!!

Sneak peak of it on... Better pictures will follow when the project is complete...

01012011263.jpg


01012011264.jpg


Hard drive leds (sorry for the dust will remove later :p

01012011265.jpg


01012011266.jpg


:o BUT THERE IS MORE :o


Completion likely to be on about the 12th - 15th EDIT: Now looking to finish by the 8th

EDIT: Also, I am changing the fans for some fractal design faster rpm ones as it gets too hot as is!!
 
Last edited:
Thats amazing...I mean you actually watercooled an xbox 360 ?

Would this resolve the red ring of death problem ? As in the reapplying of thermal paste and a better cooling solution.
 
Thats amazing...I mean you actually watercooled an xbox 360 ?

Would this resolve the red ring of death problem ? As in the reapplying of thermal paste and a better cooling solution.

The RRoD is caused by a massive design fault by MS. The backplate they use or the 'X Clamp' uses tension on the PCB motherboard to create the pressure for the heatsink instead of spring screws. However, when the PCB heats up due to use it becomes more flexible causing the tension produced by the backplate to bend the motherboard so much that the solder cracks causing bad solder joints. All you need to do to stop it is to throw away the backplate and use some nuts and bolts and a springed screw!

If you get the RRoD you should remove the motherboard and do the old fashioned oven trick that we used to do on graphics cards to melt and reseat the solder joints. Some console jokers think that a good idea to fix it is to cover all the vents with towels and play some games to make it so hot inside the solder melts while it is turned on! Not only does that risk components falling of, destroying ICs and fatally overheating the chips it does not fix the root cause which is the backplate.
 
Back
Top Bottom