You are using an out of date browser. It may not display this or other websites correctly.
You should upgrade or use an alternative browser.
You should upgrade or use an alternative browser.
Hand made Infill plane (woodwork)
- Thread starter famas
- Start date
More options
View all postsLoving the use of a plane to make a plane.
Makes you wonder how they made the first plane

Really cool! I hadn't caught up with progress of this as it's been put into the Home and Garden subforum - not sure why?
Thank you.
I asked a mod to move the thread here as there are people from a lot of different trades that might find it interesting.
I didn't want to keep bumping the thread in GD incase people got sick of it.
Another update for any one still following.
Part 8 has just gone up. In this part I start to make the blade, cutting it from a blank of tool steel, shaping and finally heat treating it.
I'm coming to the end of the build and video footage now, just got to edit the next few parts when I get time.
Part 8 has just gone up. In this part I start to make the blade, cutting it from a blank of tool steel, shaping and finally heat treating it.
I'm coming to the end of the build and video footage now, just got to edit the next few parts when I get time.
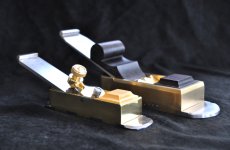
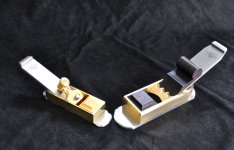
With this project coming to an end and that I enjoyed making it so much I've started on another Mitre plane.
Very similar to the current one only half it's size. Depending on how it turns out I might put it up for sale if I'm happy with it, though depending how attached I get while making it I may not
Once bent the body will be about 4" long
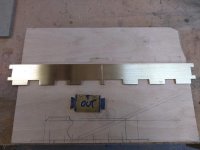
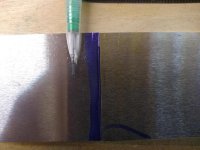
Going for as tight a mouth opening as possible. To give it some perspective that's a 0.7mm pencil lead.
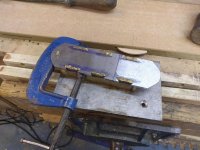
While it was the same grade brass as before it seems to be peening a lot nicer, it is 1mm thinner though.
Lastly a sneaky shot of the current plane. Think I have one more video to make and that will complete the series.
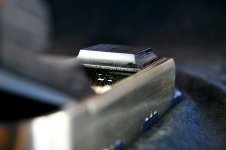
I've just uploaded video 9 as well.
cheers.
Very similar to the current one only half it's size. Depending on how it turns out I might put it up for sale if I'm happy with it, though depending how attached I get while making it I may not

Once bent the body will be about 4" long

Going for as tight a mouth opening as possible. To give it some perspective that's a 0.7mm pencil lead.

While it was the same grade brass as before it seems to be peening a lot nicer, it is 1mm thinner though.

Lastly a sneaky shot of the current plane. Think I have one more video to make and that will complete the series.

I've just uploaded video 9 as well.
cheers.
I've had some spare time to my self today so finally managed to finish the last video in the series.
It's a long one to finish so I'll start with the pictures.
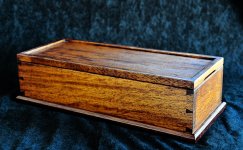
I made the box from Iroko and finished it with a dark mahogany stain. I lined the box with Tulip wood.
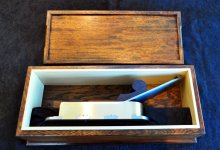
I added a suede liner to the box to hold the plane in position.
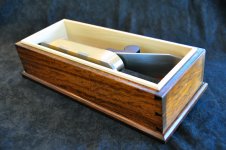
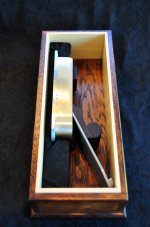
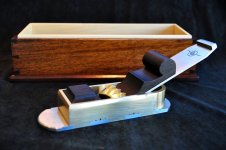
The dark Wenge contrasts the brass nicely I think.
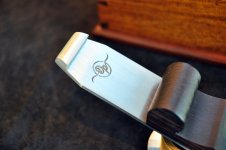
Thankfully my makers mark came out well, I was a little concerned it being a lot smaller this time.
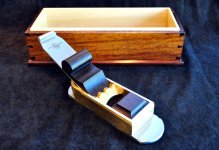
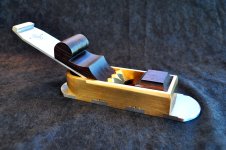
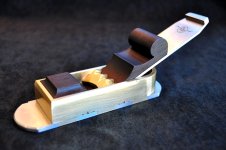
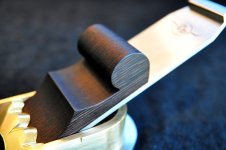
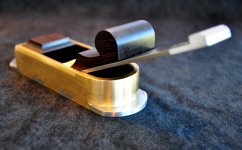
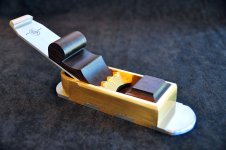
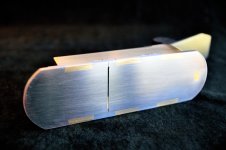
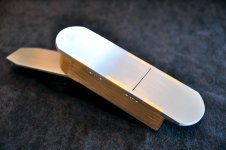
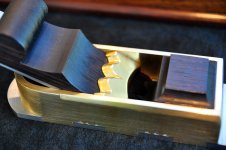
I was pleased with the peening of the sole dovetails, there where a couple of imperfections but on the whole it went really well.
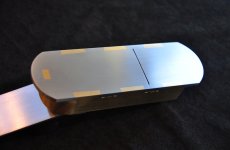
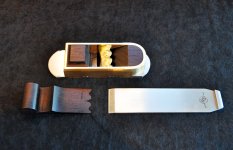
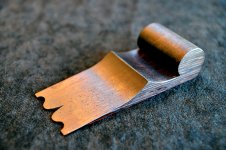
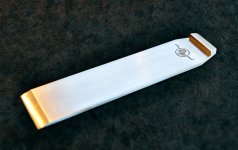
I also added my initials to the underside of the front infill, Makes it hard to remove that way.
And the final video is here.
Out of curiosity to any woodworkers out there, or any one else. How much would you pay for a similar plane to this with box, Taking into account it's all hand made?
I understand I have no pedigree to my work so can't compare to known plane makers but just interested to know.
Cheers.
It's a long one to finish so I'll start with the pictures.
I made the box from Iroko and finished it with a dark mahogany stain. I lined the box with Tulip wood.

I added a suede liner to the box to hold the plane in position.


The dark Wenge contrasts the brass nicely I think.

Thankfully my makers mark came out well, I was a little concerned it being a lot smaller this time.


I was pleased with the peening of the sole dovetails, there where a couple of imperfections but on the whole it went really well.


I also added my initials to the underside of the front infill, Makes it hard to remove that way.

And the final video is here.
Out of curiosity to any woodworkers out there, or any one else. How much would you pay for a similar plane to this with box, Taking into account it's all hand made?
I understand I have no pedigree to my work so can't compare to known plane makers but just interested to know.
Cheers.
Getting towards the end of my next plane.
Another mitre plane which is a little smaller than the last and I've had a go at making a brass lever cap as well.
Not the easiest thing to make, lots of hand work involved but the hardest part was drilling the centre hole square through it.
I made a wooden template to start before cutting the brass.
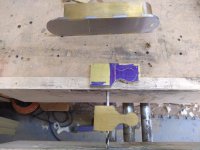
Lots of hand filing to define the shape.
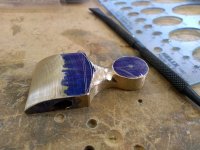
Then lots of sanding to clean it up.
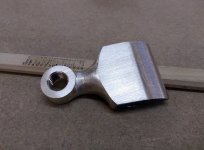
I then polished it to a mirror finish.
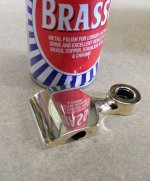
I also made the thumb screw but I might make another one as I think it wants to be a little larger. Quite pleased with how this turned out though, it was my first attempt at shaping the head of the screw.
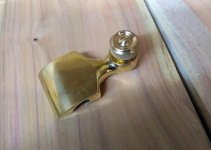
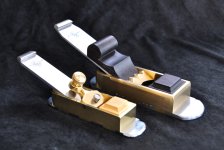
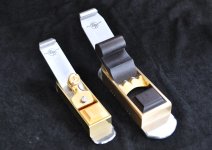
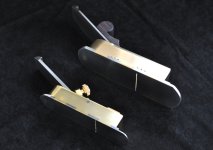
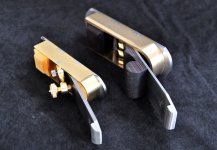
Here's a size comparison to the last plane.
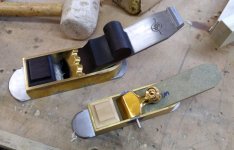
First dry assembly of the plane, just need to work on the blade now.
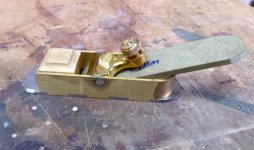
I'm really pleased with the peening on this plane, it's the best I've achieved so far.
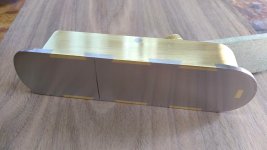
I'm going for a high polish on this plane so lastly I spent a lot time sanding and polishing the body.
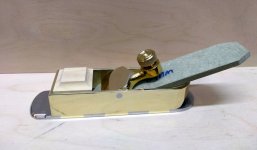
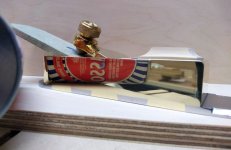
I'm going for a 6mm thick blade on this plane which is going to be a lot of work, cutting, shaping and then hardening the blade is going to be a challenge.
Typical blade thickness on a cheaper commercial plane is 2-2.5mm
I don't think our wood burner is going to work so well on 6mm so next I'm going to make a simple forge and give that a try.
Still a fair bit of work to do yet.
Also a little video of the lever cap.
Another mitre plane which is a little smaller than the last and I've had a go at making a brass lever cap as well.
Not the easiest thing to make, lots of hand work involved but the hardest part was drilling the centre hole square through it.
I made a wooden template to start before cutting the brass.

Lots of hand filing to define the shape.

Then lots of sanding to clean it up.

I then polished it to a mirror finish.

I also made the thumb screw but I might make another one as I think it wants to be a little larger. Quite pleased with how this turned out though, it was my first attempt at shaping the head of the screw.

Here's a size comparison to the last plane.

First dry assembly of the plane, just need to work on the blade now.

I'm really pleased with the peening on this plane, it's the best I've achieved so far.

I'm going for a high polish on this plane so lastly I spent a lot time sanding and polishing the body.


I'm going for a 6mm thick blade on this plane which is going to be a lot of work, cutting, shaping and then hardening the blade is going to be a challenge.
Typical blade thickness on a cheaper commercial plane is 2-2.5mm
I don't think our wood burner is going to work so well on 6mm so next I'm going to make a simple forge and give that a try.
Still a fair bit of work to do yet.
Also a little video of the lever cap.
Your work just gets better and better!
Have you thought about adding any engraving to them, or would that make them look a bit ott?
Thanks Mark very kind of you to say.
I had thought about engraving a plane but much like wood carving it require a certain level of artistry which sadly I do not posses. Metal engraving is a skill set all of its own but I wouldn't mind giving it a go.
Uri Tuchman Does some amazing work on youtube.
Whilst i imagine most here wouldn't be the target audience, and i know i'm throwing your question back at you, but what kind of price would you be expecting?
I went off googling and came across this guy and some of his planes are £4000, which seems insane to me!
I don't know really, As you've seen known plane makers can charge into the thousands, I couldn't dream of getting any where near those prices.
I guess the best way of looking at it is it's worth what someone is willing to pay. I might put one up for sale on e-bay or something but I'd need to be 100% satisfied with it before even thinking of selling it.
I think a lot of these bespoke planes go to tool collectors and enthusiast. A £4000 pound plane may cut slightly better than a cheap plane but is it 4000X better, probably not but its more to do with the heritage of where the plane has come from and who's made it. I know Bill carter planes are becoming collectors pieces now but he's been making them for 25+ years.
In other news I started work on the forge today.
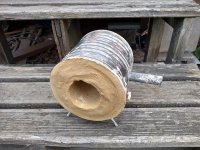
Just got to wait for it to fully dry for a week or so which is okay as I haven't even started on the blade yet.
Last edited:
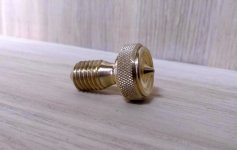
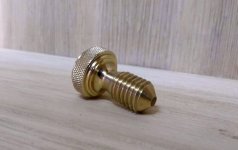
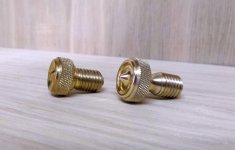
I had some time to make a new thumb screw for the lever cap, while I liked the first one I thought it maybe a little to small as I wanted the screw to be a dominant feature.
Really pleased with how the second one came out.
managed to accentuate the dome and point more on this one.
And also added a round from the thread into the cap.
Side by side comparison of the two.
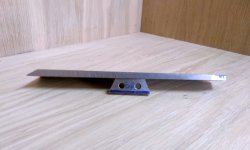
I've also made a start on the blade.
I'm using 6mm 01 tool steel which should massively help to reduce "chatter" but it looks quite chunky for a smaller plane.
I've managed to taper the blade from 6mm at the cutting edge to 4mm at the heel, not only does this help with aesthetics but it also aids comfort.
And a short video explaining it all.
Really pleased with how the second one came out.
managed to accentuate the dome and point more on this one.

And also added a round from the thread into the cap.

Side by side comparison of the two.

I've also made a start on the blade.
I'm using 6mm 01 tool steel which should massively help to reduce "chatter" but it looks quite chunky for a smaller plane.
I've managed to taper the blade from 6mm at the cutting edge to 4mm at the heel, not only does this help with aesthetics but it also aids comfort.

And a short video explaining it all.
Last edited:
I've nearly finished this plane now, just the finishing details to do. Pleased to say I've tested the plane and it's working wonderfully.
I might make a box for it yet too and I'm still umming and ahhing whether to put it up for sale.
Just a quick video on how I heat treated the blade for this one.
I might make a box for it yet too and I'm still umming and ahhing whether to put it up for sale.
Just a quick video on how I heat treated the blade for this one.
Last edited:
I was really surprised at how well the forge worked, it heated the blade quickly and evenly. It was much easier than how I was doing it before in an open fire.
Definitely worth while making one and for knife blades it would be perfect.
Funnily enough I'm not a member on any woodwork forums, I don't really know of any good UK ones?
Definitely worth while making one and for knife blades it would be perfect.
Funnily enough I'm not a member on any woodwork forums, I don't really know of any good UK ones?
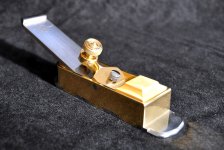
I finished the mitre plane a week or so ago and have been using it to make the box for it to live in.
I'm really happy with how this plane has turned out and the mouth is exceptionally fine, I need to find my feeler gauges to measure it properly.
I've been working on part two of the blade video but not had time to finish it yet.
I'll also make a video of the plane in action which I've got a few clips of.
Once the the box is finished I'm planning to make a start on a brass marking gauge or a shoulder plane.
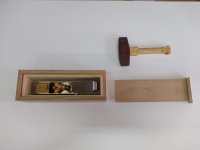
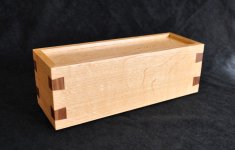
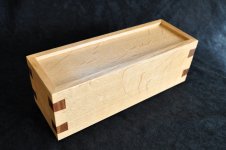
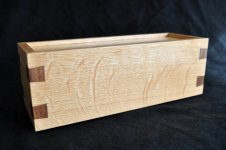
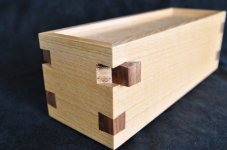
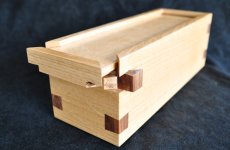
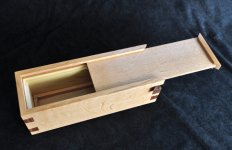
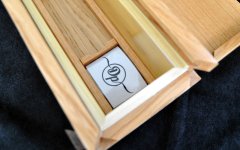
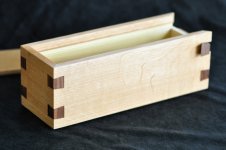
Here's the box in the early stages. I'm using some nice European white Oak with beautiful figuring of medullary rays which should show up nicely once polished.
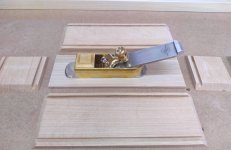

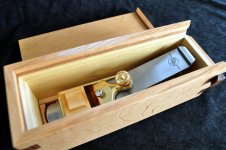
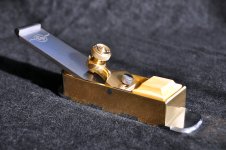
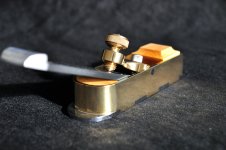
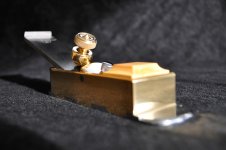
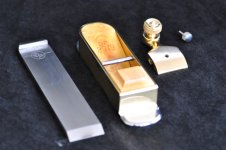
Finally I finished the Mitre plane and box on Friday.
I spent a couple of hours today taking some photos and video.
I've been going through the photos this evening so will try to upload them in the next few days, there's a lot to go through!
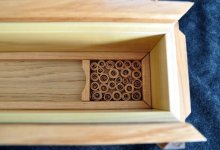
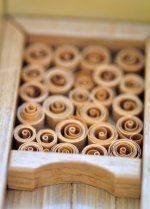
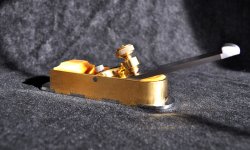
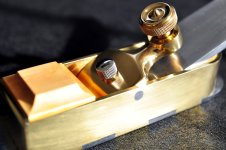
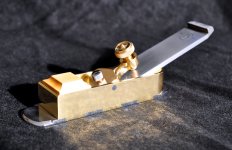
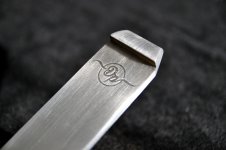
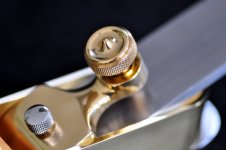
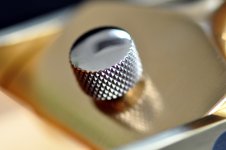
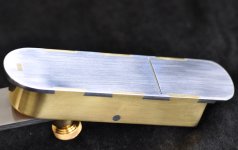
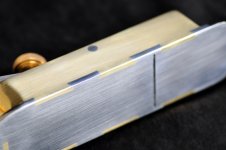
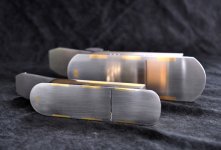
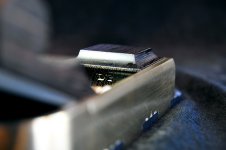
I was trying to do something "arty" with this one, not sure I pulled it off
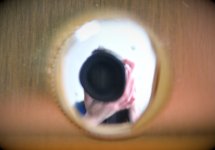
And for context as to what the picture was of
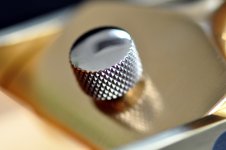
I've got a couple of videos to make as well showing the plane in action and how it works but I wont get round to them for a few more days.
I'll keep you posted.
I spent a couple of hours today taking some photos and video.
I've been going through the photos this evening so will try to upload them in the next few days, there's a lot to go through!
I was trying to do something "arty" with this one, not sure I pulled it off


And for context as to what the picture was of

I've got a couple of videos to make as well showing the plane in action and how it works but I wont get round to them for a few more days.
I'll keep you posted.


