OcUK & Cutters Rolling Road Day 19 @ Powerstation (Tewksbury) - Saturday April 25th 2015!!

Here it is, I've previously said this is the only accessible part of this engine. I was wrong, it's not fun getting the intake off at all, but it possible is the only accessible part of the engine while it's in the car.

However, as I suspected, you can leave one fuel pump in place. Found you can also leave the impossible to get to fuel pipes on, and the engine lift points. All of which the manual says to remove, also the radiator can stay on, lol.

tvZUA6e.jpg

Here's #1 and #6 clockwiseley, the ones at the back seem to be worse.

XWDjD2p.jpg

UfwnqxX.jpg

Here's the solvent I'm using, it does seem to turn the stuff into sludge you can scrape and wipe off.

Cs6tQ5s.jpg

AUDI Part code 13A:

KlrSHA5.jpg

Here's #1 again, I'm not going spotlessly clean as some have done, just after the airflow.

DkwA7eP.jpg

I started at 1pm and I've removed the intake and cleaned 5 ports. Should leave time to do the other 5 and re-assemble if I start at dawn tomorrow.

I can clean the intake itself and theese doo-daas from each port indoors after I have my tea.

F1H3Yw7.jpg

PS:
You definitely do need to disconnect the battery, it periodically primes the fuel system with the tank pumps, spilled a little fuel on a hot engine working that out.
 
Last edited:
Looks a fiddly job, props for doing it yourself :cool:

Engine looks so tight in the bay, suppose its to be expected given the configuration, but jesus do they start with the engine and assemble the rest of the car around it? :D
 
I'd need to put the catch bottle after the recovery thingy if I don't want it to just fill really quickly. That line is on the separator where it bolts to the intake, rather than a hose, so it's pretty fiddly to do.
 
The ties are a method of shifting the grime the the U.S. DIYers recommend. It seems to work in combination with a toothbrush and some tough thin rags.

All done now, back together & tested, started at 10:30 today and finished at 15:30. So 13 hours overall for me. I'm never doing that again.

It took a short journey & an ignition cycle for the electronics to be happy after putting the battery back on, it forgot what kind of parking system it had and thought the ESP was broken. But all fine now.

Can I feel the difference? All my butt dyno says is it's a really fast car still, will need another RR day to make a real judgement, I'm not the sort to fall into the placebo effect. In other words, hurry up Andy.


Mate blame customs, goods arrived into UK last Saturday and they are still awaiting customs clearance.

I even rang HMRC to ask what the issue was, the response was they have a huge backlog and hope to clear my parcel sometime next week. An absolute joke that it takes nearly two weeks for customs to clear an item. My response was if your backlog is so high maybe you should be employing more staff to help with UK employment statistics. Overall they were not that interested, it will be cleared when its cleared.

Done as much as I can do now and all of next week I am in Berlin, so I then have one week to sort this after that otherwise looking at mid-end June as first week of June I am off to Taiwan for over a week.

Customs ruined my plans, I HATE CUSTOMS! :(
 
Hi there


OK even though I am still awaiting for customs to clear my parts (yes taken them over a week), I decided today to remove the oil pan so I was not going in blind when it comes to actually doing it.

Glad I did this as I discovered I did need to remove power steering pump, well I did it actually by just removing one bolt to the PS pump and slackening the other so then the pump was still help up so no stress on PS lines but it was able to rotate giving enough clearance for the oil pan to drop down. Had to dash to Halfords though and buy a TX50 to slacken of the drive belt to be able to remove belt from PS pump.

Any some pictures, oil pan removed:

IMG_2603.jpg


IMG_2604.jpg


Looked real hard into the pan, cannot find any debris at all, no glitter or nothing, the black bits you can see are bits of RTV/Gasket.


I removed the oil pickup lines to give access to the rod bearings and I removed *ONE* end cap to see how easy it was to do and check condition of the shell:

IMG_2613.jpg


IMG_2613.jpg


On this one end cap I removed bearing looked worn but fine, the crank also looks unmarked and is a work of art.


To remove the oil pump you have to first of all remove this 17mm reversed threaded nut and must push the plastic, yes plastic chain tensioner out the way otherwise you will snap it:

IMG_2614.jpg


Gave the oil pan a good cleaning inside and out:

IMG_2616.jpg


IMG_2618.jpg


If one thing will come of this and that is my car is damn clean on the underside:

IMG_2620.jpg


For those interested here is a picture of the shell / end cap I removed, only taken one out as you have to do them one at a time, as Andy (Fuzz) keeps telling me. ;)

IMG_2622.jpg


Progress so far is good, taking my time and doing bit by day has essentially pretty much allowed me to remove the entire front-end of the car and every item removed completely clean it up and re-fit. I must also say a big thanks to Fuzz who has being very helpful in answering my text and sending me some good how to videos.

So now once the shells and new bolts arrive I can very quickly get the car back up in the air, subframe off, oil pan off in literally 20 minutes I've done it that many times. Still doing this kind of trainee session has helped a lot because now I know the perfect and quick way of putting the oil pan back on as it was fiddly, not an issue when your not in a race against setting RTV. ;)
 
All looks very clean for that age of car, I must say. Also looks like they use snapped off caps, which I love the idea of. With how light a tap that was I'd be surprised if you see anything telling, which is really a good thing.
 
All looks very clean for that age of car, I must say. Also looks like they use snapped off caps, which I love the idea of. With how light a tap that was I'd be surprised if you see anything telling, which is really a good thing.

Yeah there is no up and down play in any of them, no burn marks anywhere and no debris or sludge in the engine at all, exceptionally clean but it has had frequent oil changes and only Vpower in my ownership and also by it's previous owner as well who also tracked it and maintained it very well.

Hopefully with new shells and bolts all will be good and I'll sort a revisit to Powerstation so I can get mine on dyno for a health check once run in and you can see if your clean up has gained you the lost horses. :)
 
I'm possibly not going to see gains to the full factory as I've not been at the valve seats and it's not had new plugs and air-filters until I buy a rubber stamp in the book from AUDI later this year, but I'd be happy if it now dynos over 400.
 
Hi there

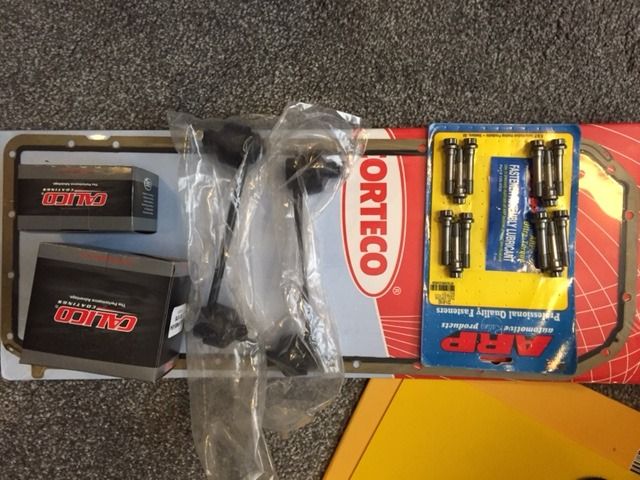
New parts arrived finally, took customs nearly two weeks:
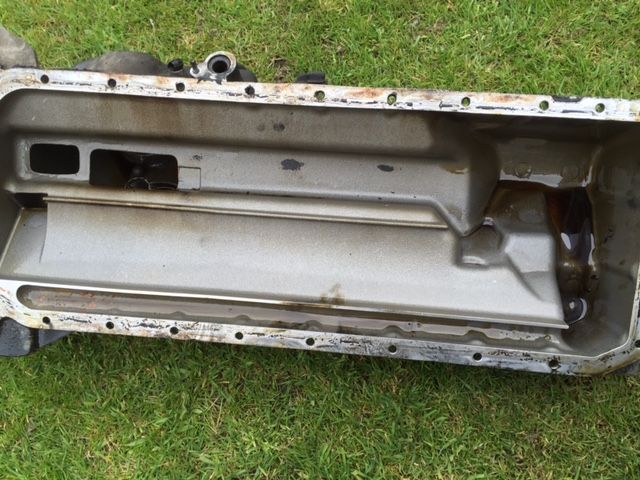
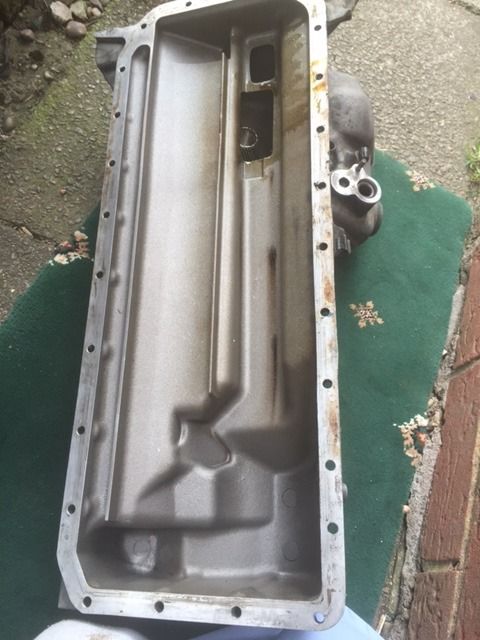
IMG_2627.jpg


Sump gasket
Rod bearings
Main bearings
ARP Bolts
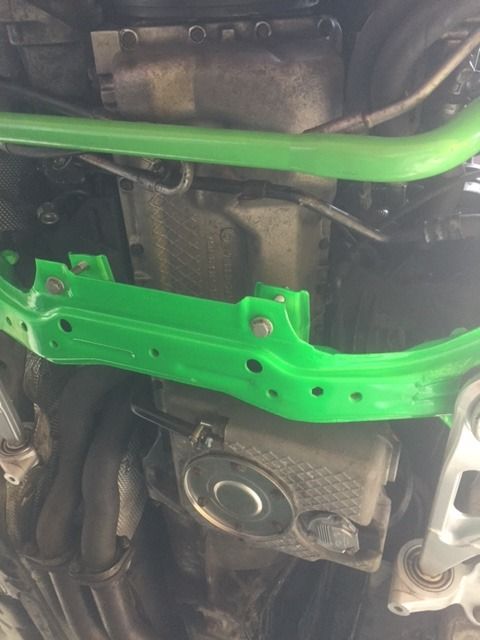
KW front drop links (old ones had to much play)

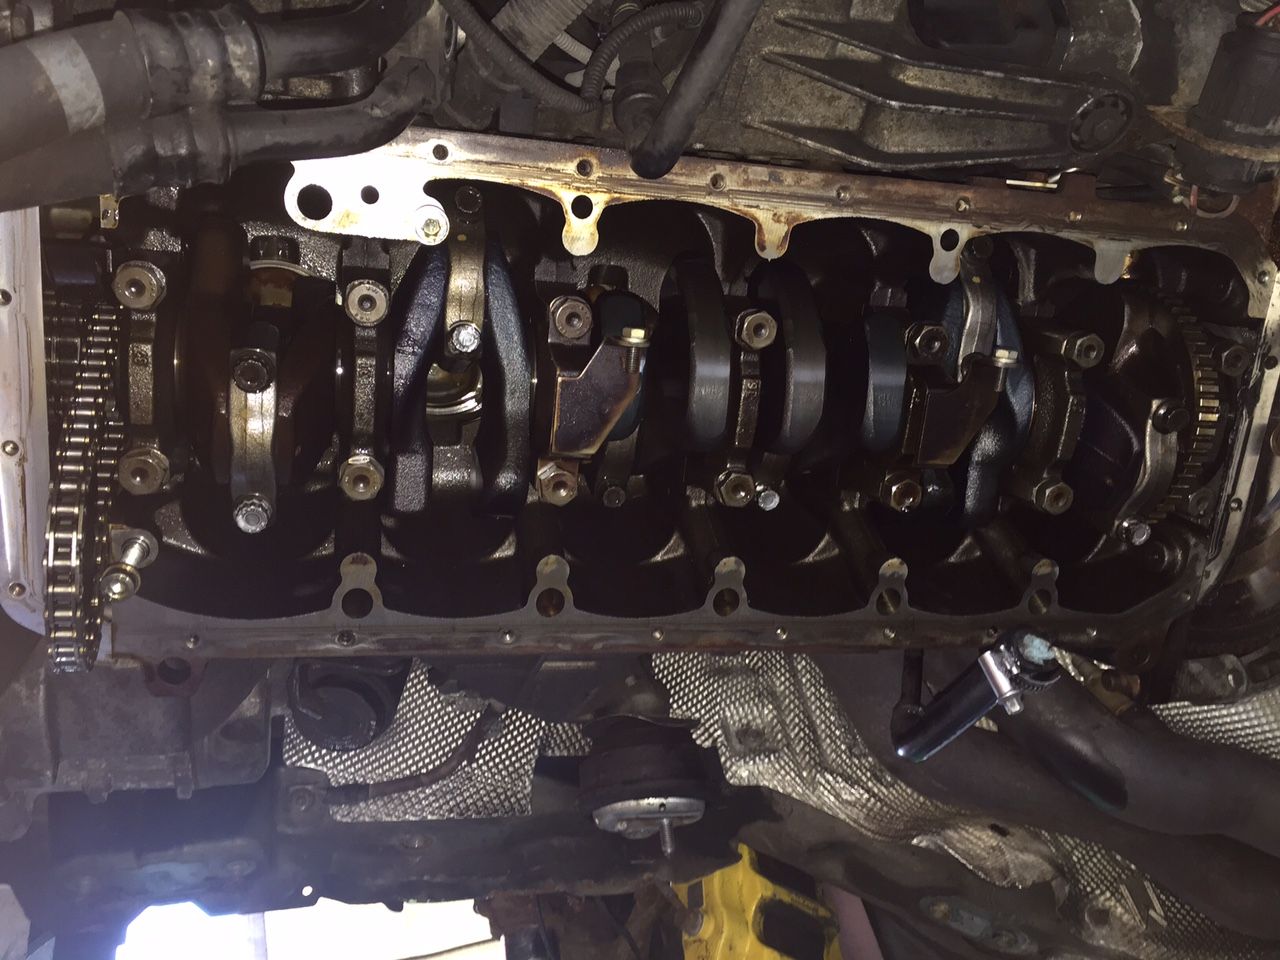
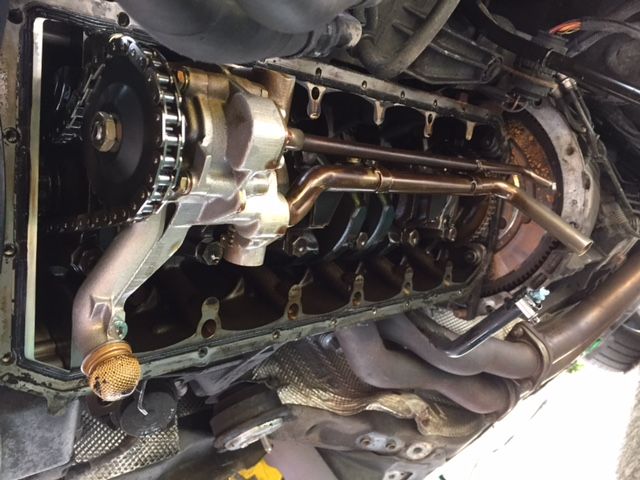
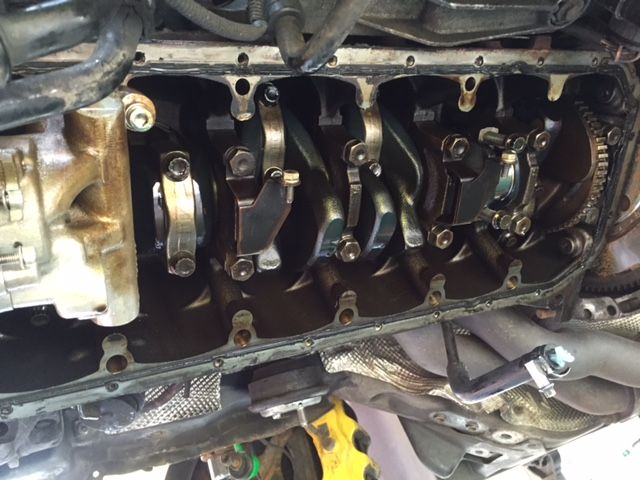
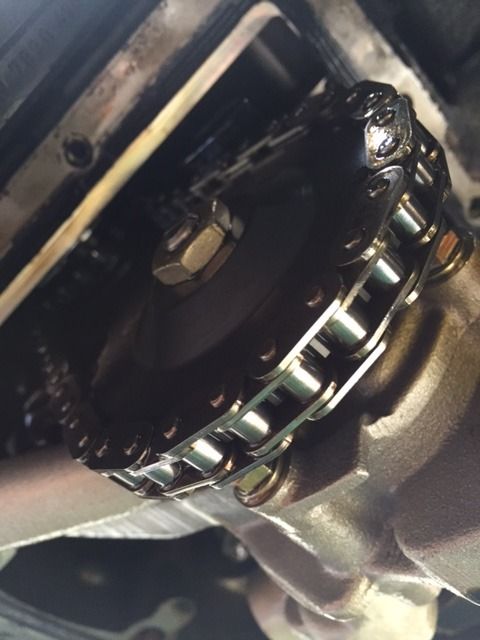
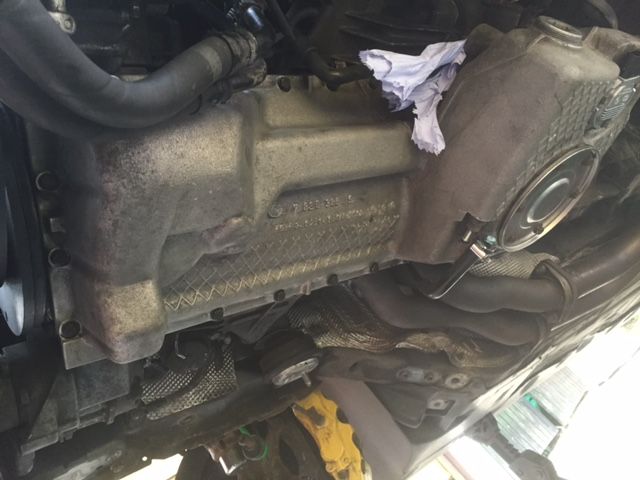
Got the oil pump removed, used a cable tie to pull the chain together and then pushed the plastic tensioner out the way, it is reversed threaded but then the nut came off easily, also got myself some HEX sockets as the oil pump hex bolts are super tight. Oil pump and all return lines out the way:

IMG_2639.jpg


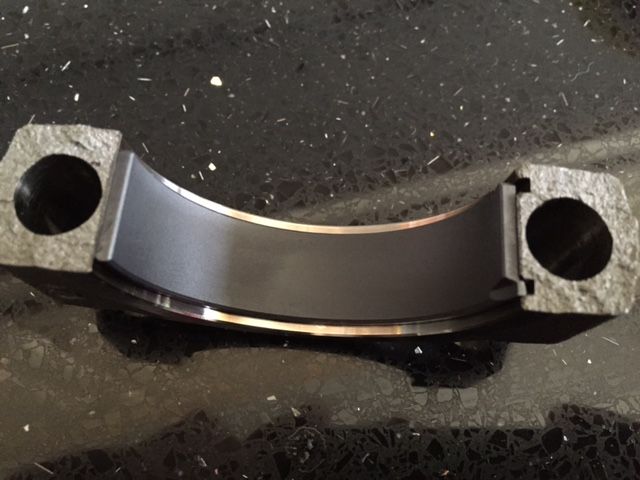
The new bearings are coated and clearly packaged as lower and upper, a picture of a new bearing in end cap, you can clearly see the coating:

IMG_2628.jpg


Now the fun started, first of all the upper bearings are so fiddly, not much room to get your hands up there, so takes a few attempts, luckily both the bearings and crank survived as I made sure to not touch them.

Plus Andy gave me an excellent idea of when end-cap is removed to then crank the engine until the piston is at the top and to then crank other direction bringing crank back down but leaving the piston dangling in the air, this worked very well.


ARP BOLT ISSUE!!

So all was good, I went to put the ARP bolts in and even though I have the larger 11mm ARP bolts (10mm is other size) they do not seem to torque up. They tighten up by hand just fine (only tried one) but when trying to torque up to the 50lb/ft as per instructions the bolt comes lose again.

Trust me when this happened I absolutely pooed myself as I thought I had stripped the threads. But the ARP bolt came out look fine, again it hand tightens but comes lose when trying to torque up. So one of two things is wrong, either the ARP bolts has stripped some of the thread in the rod end or they are too small. The stock bolts which are actually a 12mm bolt head go in and torque up just fine, no issues.

Tomorrow I am going to buy a new smaller range torque wrench as the wrench I was using was a Halfords big unit with a range of 50lb/ft - 150+ lb/ft so maybe it is not working quite so well and was trying to apply a lot more than 50lb/ft. Though the stock bolts were in extremely tight, took plenty of leverage to undo them.

So will give the ARP's one last try tomorrow with a smaller torque wrench but if that fails then I guess I will just stick with the BMW OEM bolts, BMW TIS says to re-use the bolts but I think I shall order new ones as you simply do not know if they are stretched or not?


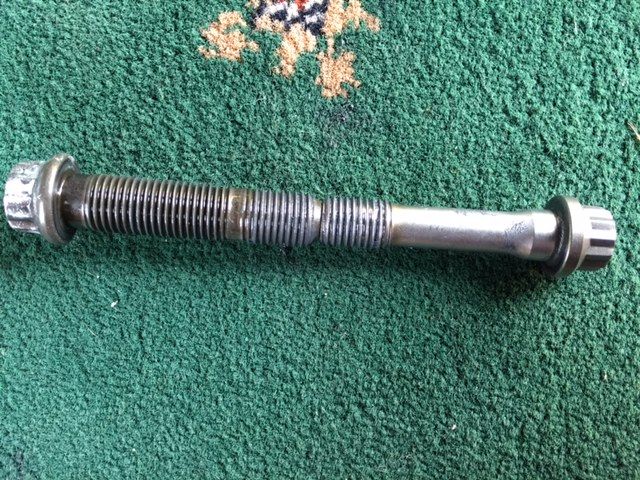
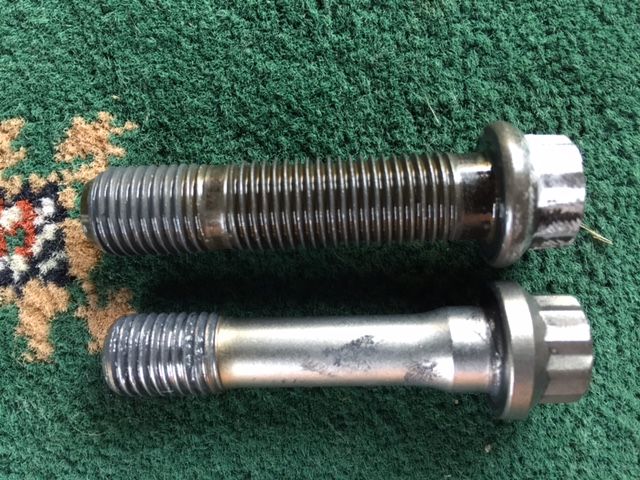
A picture comparing the stock M12 bolt (left) to the ARP M11 bolt (right).

IMG_2633.jpg


IMG_2632.jpg


So you can see ARP use less threads and BMW use more, so it could have maybe stripped some threads in the ROD end but as the BMW uses more threads and has a lower tightening torque the stock bolt torques up fine.

Question is as I cannot really tell do you guys reckon the ARP bolts shaft/thread is actually 1mm less in diameter compared to stock or they both the same and only the head is different in size?


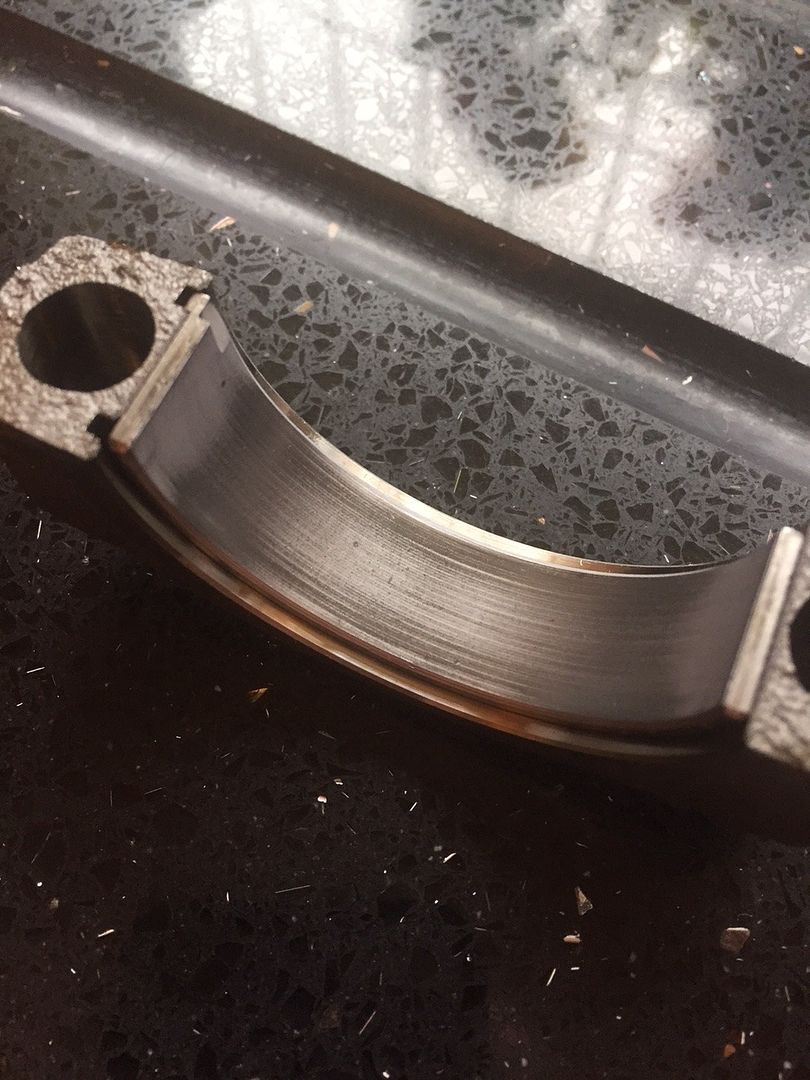
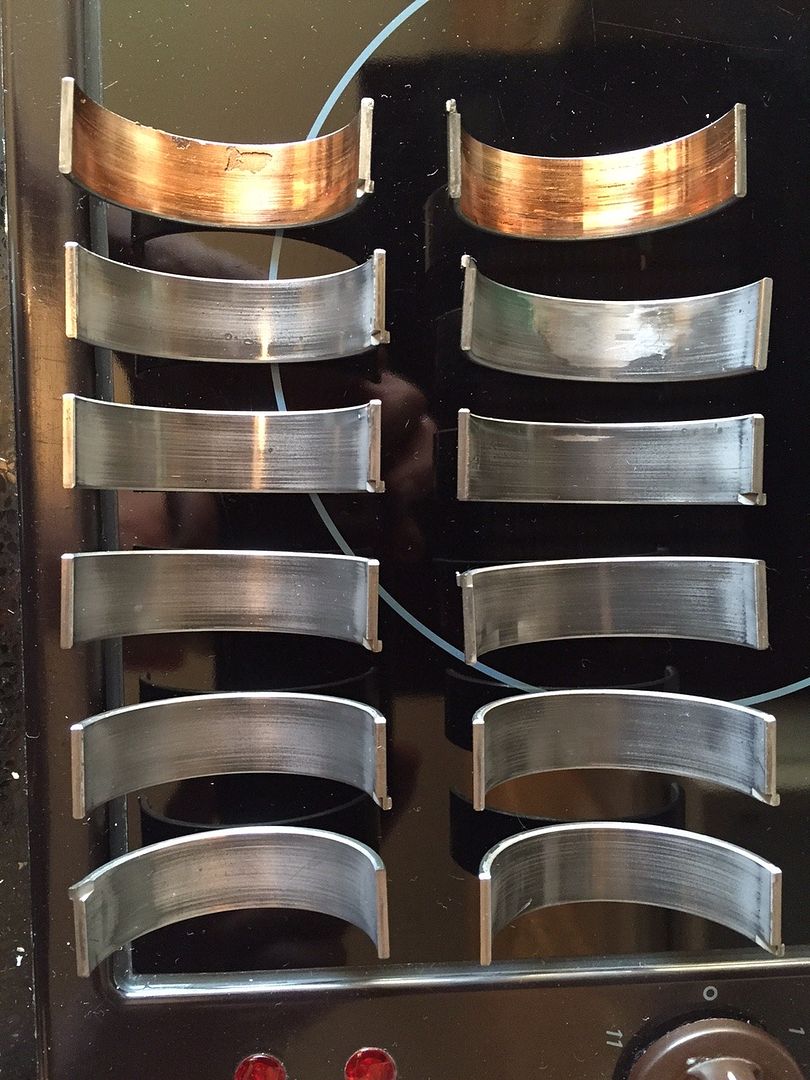
OLD Bearings VS NEW!


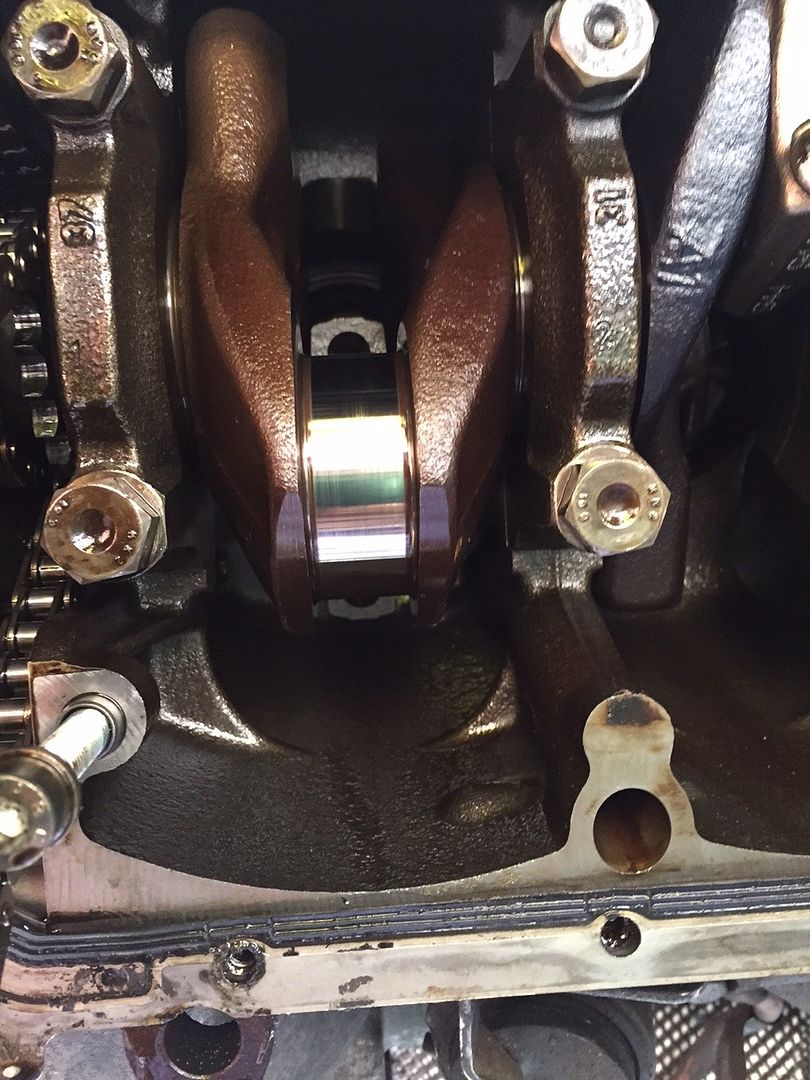
Anyway all the bearings were coming out and were all looking fine, I was beginning to worry that maybe I had another issue. But the last cylinder I did was number ONE.

As soon as I took the end cap of I noticed an issue, which was the end cap was quite a bit hard to get off and when it did come off the shell remained on the crank as did the rod side as well. :(

At this stage I though none of the others did this and feared they were maybe welded to the crank but I touched them and they did move they just seem hydrolocked to the crank with oil, yes oil another good sign.

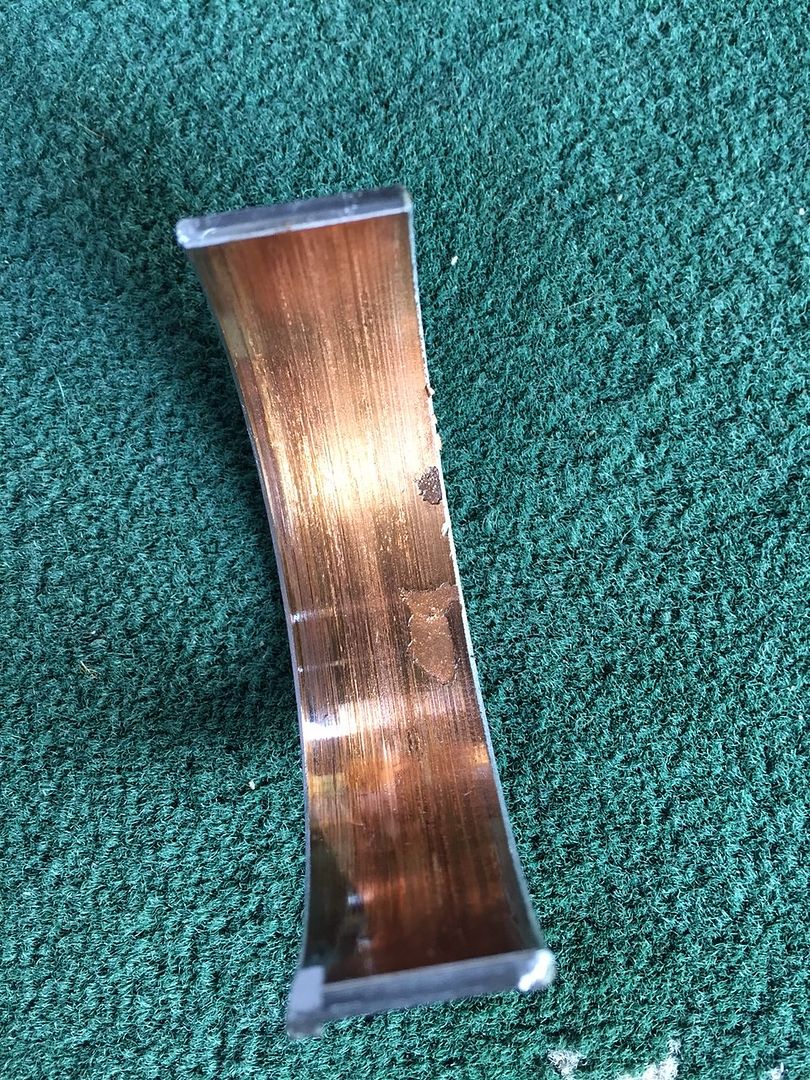
I got them off and well they tell a story:

IMG_2636.jpg


IMG_2637.jpg


This was close, very close!!!! :eek:


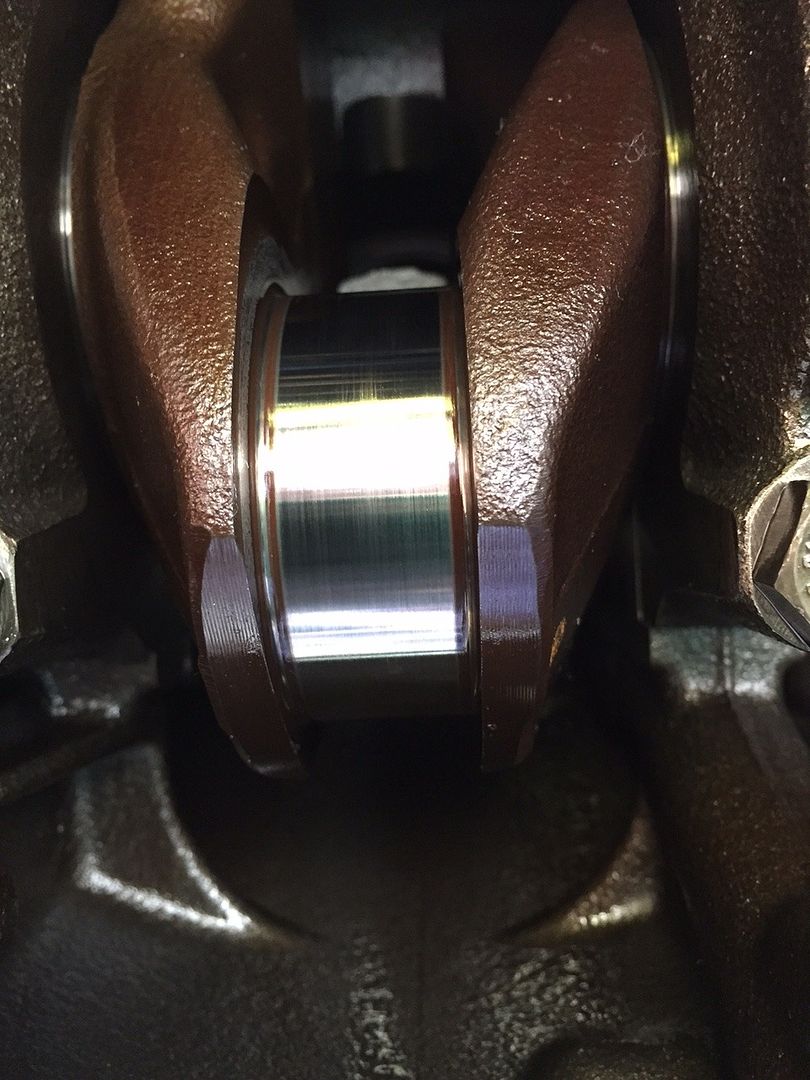
I inspected the crank and much to my relief it looked identical to how the crank looked at all the other cylinders, nice and shiny with no marks, scratches, pitting:

IMG_2635.jpg


IMG_2634.jpg


That's a relief!! :)


So for now I've put it all back together, I am gonna buy a smaller range torque wrench from Halfords tomorrow and give the ARP's another shot, if they still just spin or if anyone here is 100% sure the ARP bolts do look smaller then I shall just stick the BMW bolts, but shall re-order some fresh ones from BMW as I have no idea if any of the stock bolts are stretched or not so don't particular want to chance re-using them, just to have a repeat of this issue down the road.

Based on getting new bolts it is just one more days work to get them tightened, sump back on and rest of the car put all back together. :)
 
The ARP looks smaller to me, but could be an illusion

Yeah gonna take them to garage tomorrow when they have an accurate ability to measure them.

Because if the ARP thread/shaft is also 1mm smaller in diameter and not just the head then they will never fit. Which leaves either re-using the BMW bolts or buying new from BMW, buying new is the only option just means more waiting until car is back on road.
 
Back
Top Bottom