Small Update:
After leaving the paint to fully harden on the PSU for 48 hours, I re-assembled it.
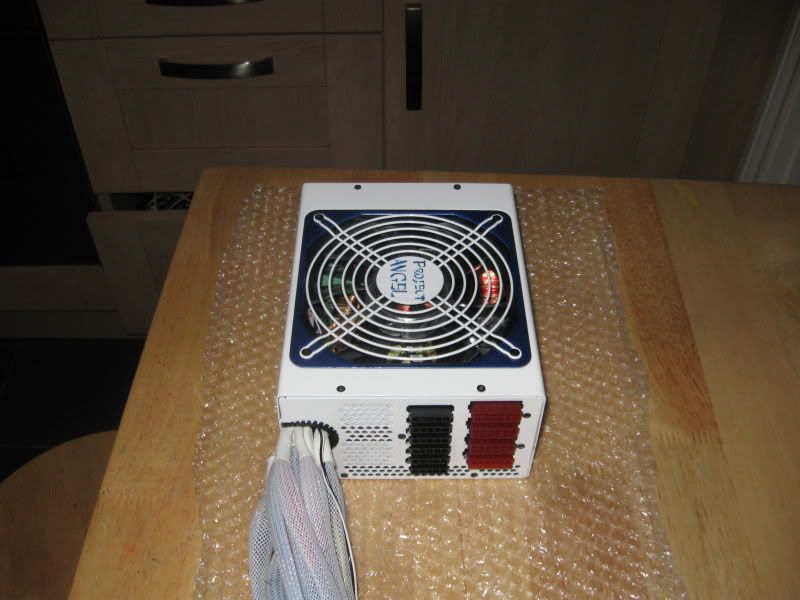
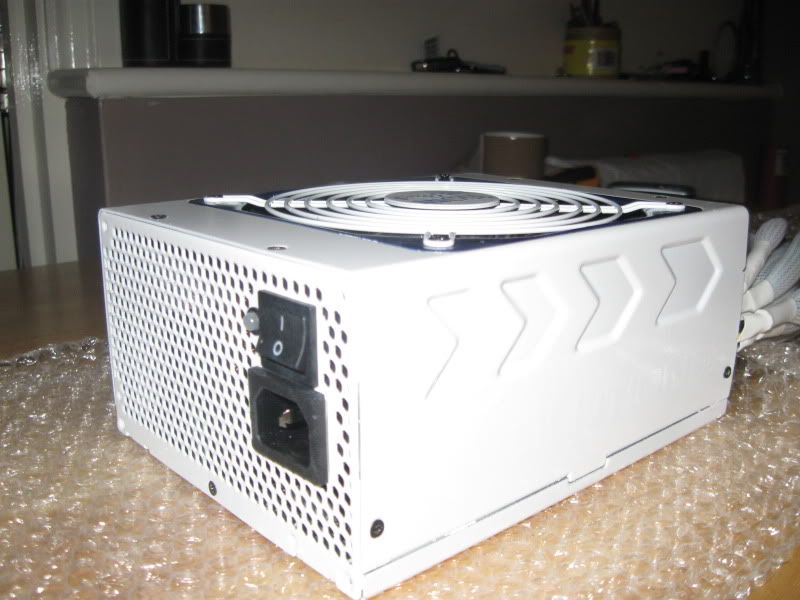
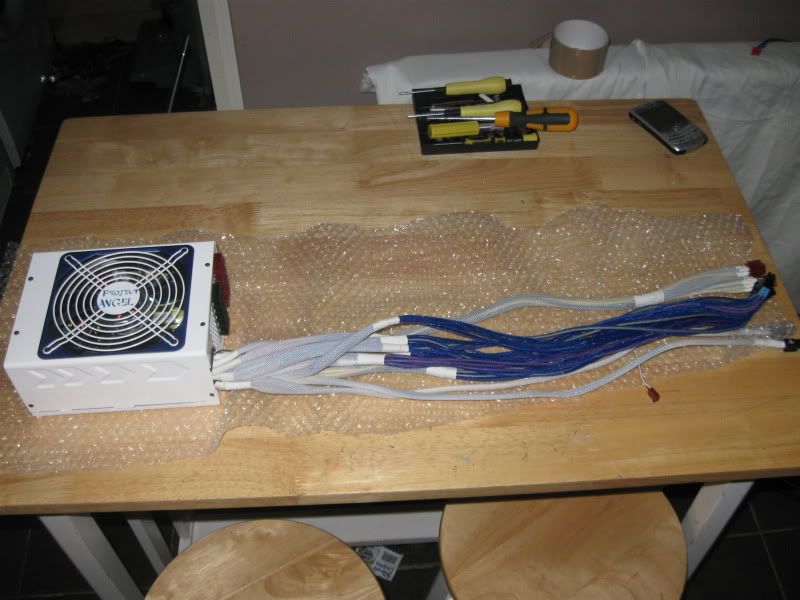
Quite pleased with the results") . I might do a bit more detailing on it (Project Angel on the sides perhaps?) but I don't want to over do it and spoil the effect. The grill surround was sprayed cobalt metalic blue, matching the board. It appears a little dark in the photos though
. I might do a bit more detailing on it (Project Angel on the sides perhaps?) but I don't want to over do it and spoil the effect. The grill surround was sprayed cobalt metalic blue, matching the board. It appears a little dark in the photos though  .
.
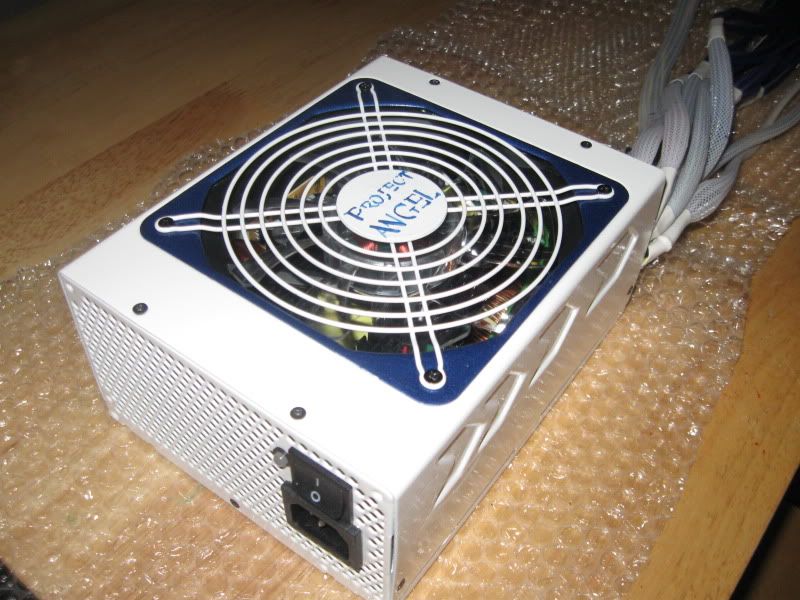
After leaving the paint to fully harden on the PSU for 48 hours, I re-assembled it.
Quite pleased with the results
. I might do a bit more detailing on it (Project Angel on the sides perhaps?) but I don't want to over do it and spoil the effect. The grill surround was sprayed cobalt metalic blue, matching the board. It appears a little dark in the photos though .")