You are using an out of date browser. It may not display this or other websites correctly.
You should upgrade or use an alternative browser.
You should upgrade or use an alternative browser.
Project Cobra/Sharks mouth
- Thread starter G-Dubs
- Start date
More options
Thread starter's postsSorry for the wait, have decided to upgrade my current set up to windows7 and it now refuses to talk to my samsung toco phone so still working on how to get the photos off. It won't even see the mem card as a mass storage device!!!!
I'm about half way through the spraying and have to restock on paint on Monday.
Try the USB driver from here. I know its for Vista, but apparently it will work with 7 too.
Try the USB driver from here. I know its for Vista, but apparently it will work with 7 too.
Didn't seem to get the link showing, If you still have it to hand could you re post it.
Cheers.
I'm currently going via laptop which is vista so will play with my phone. PITA but it works well enough.
OK so a bit of an update on things.
I've been quite busy over the lasty few days.
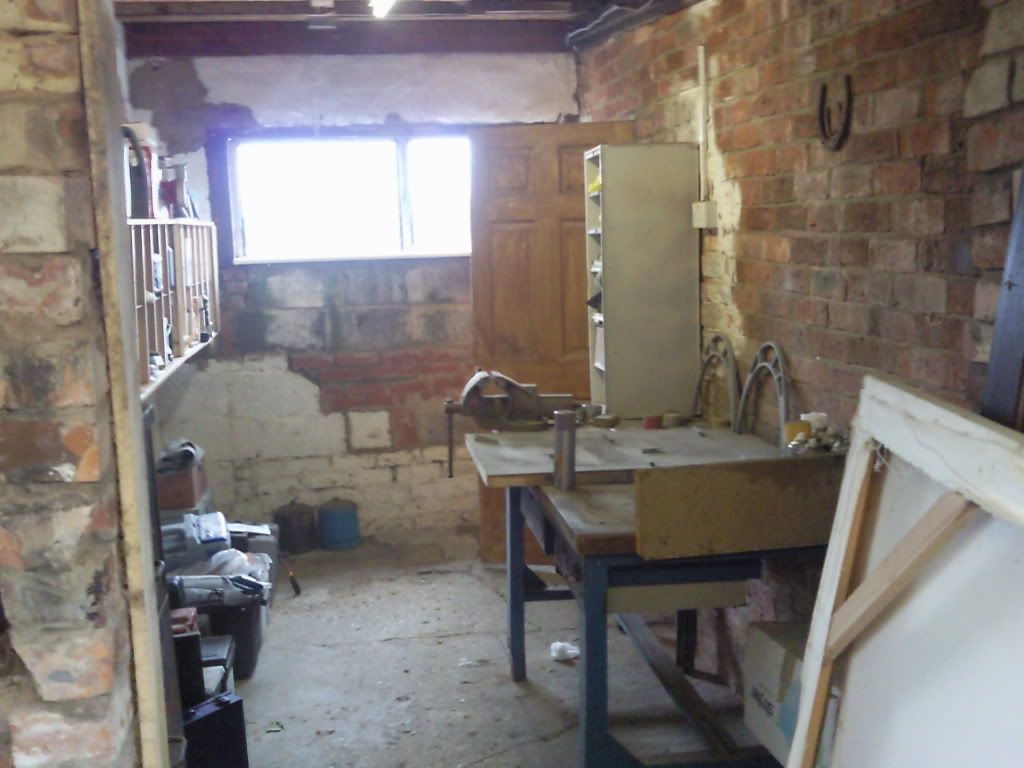
Piccy of the workshop at the back of the garage.
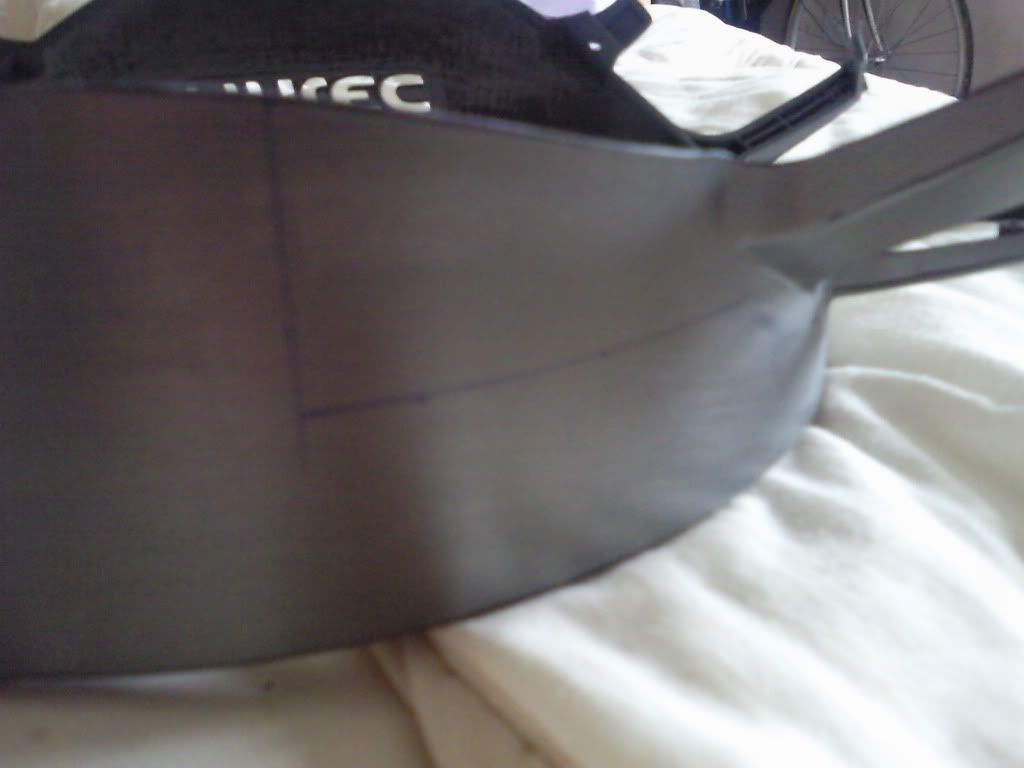
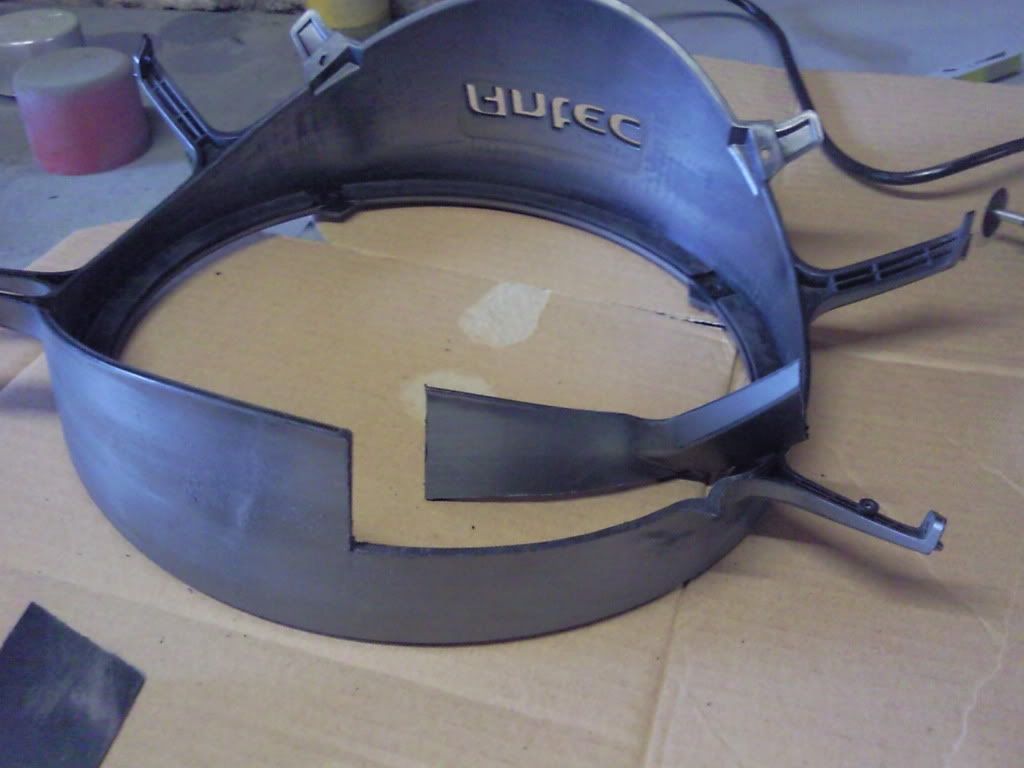
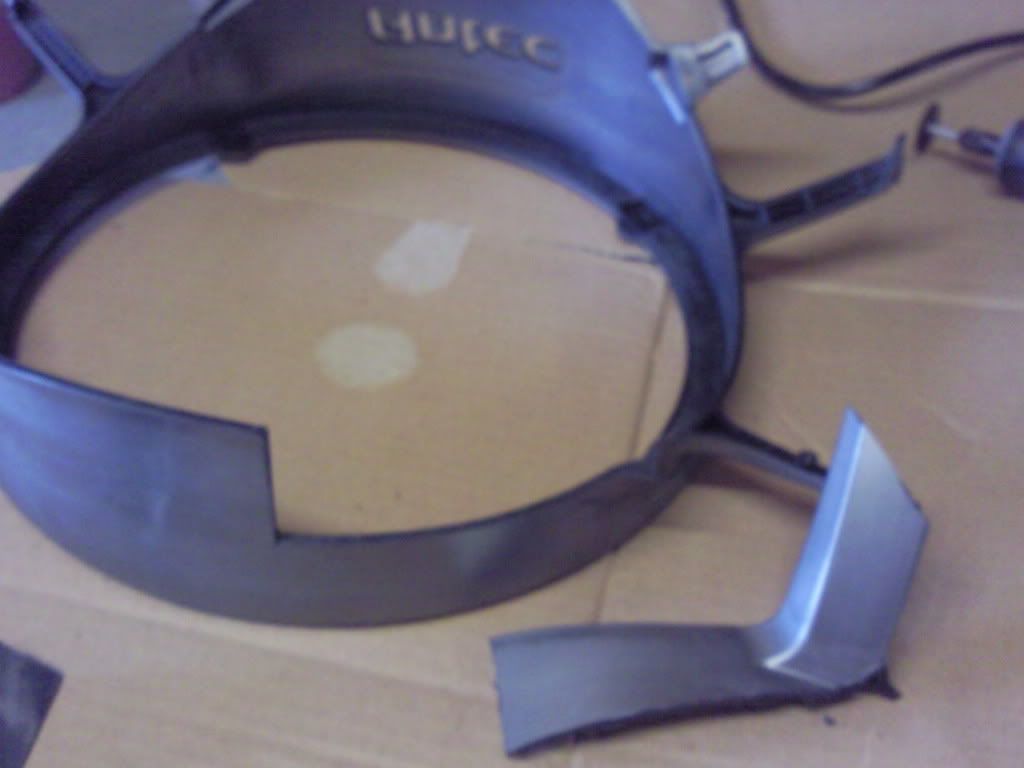
Cutting the cowling for the Fenrir. I didn't originally want to do this, but really like the cooling offered by the Fenrir.
Front panel sanded and then undercoated. Then the back of it top coated
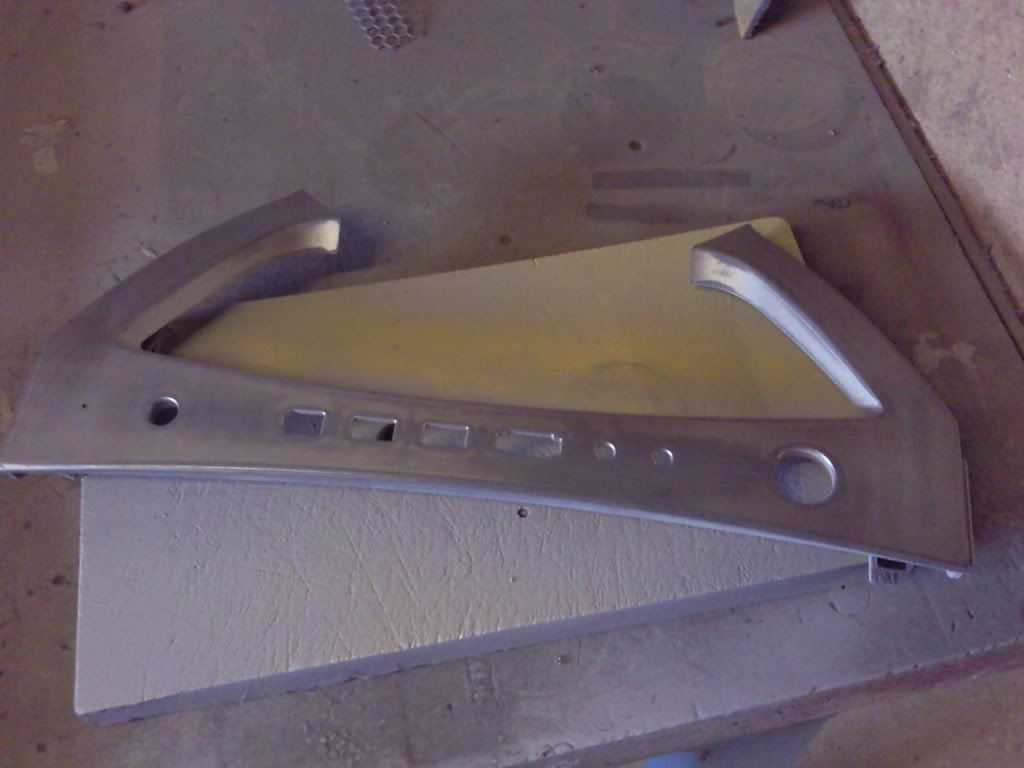
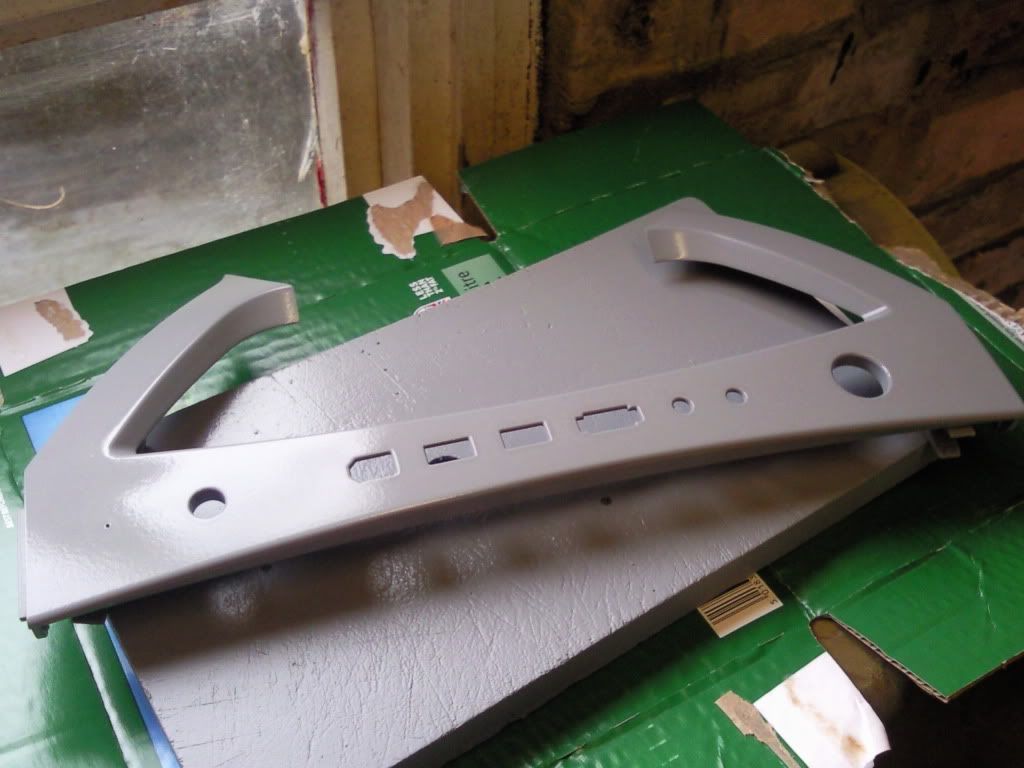
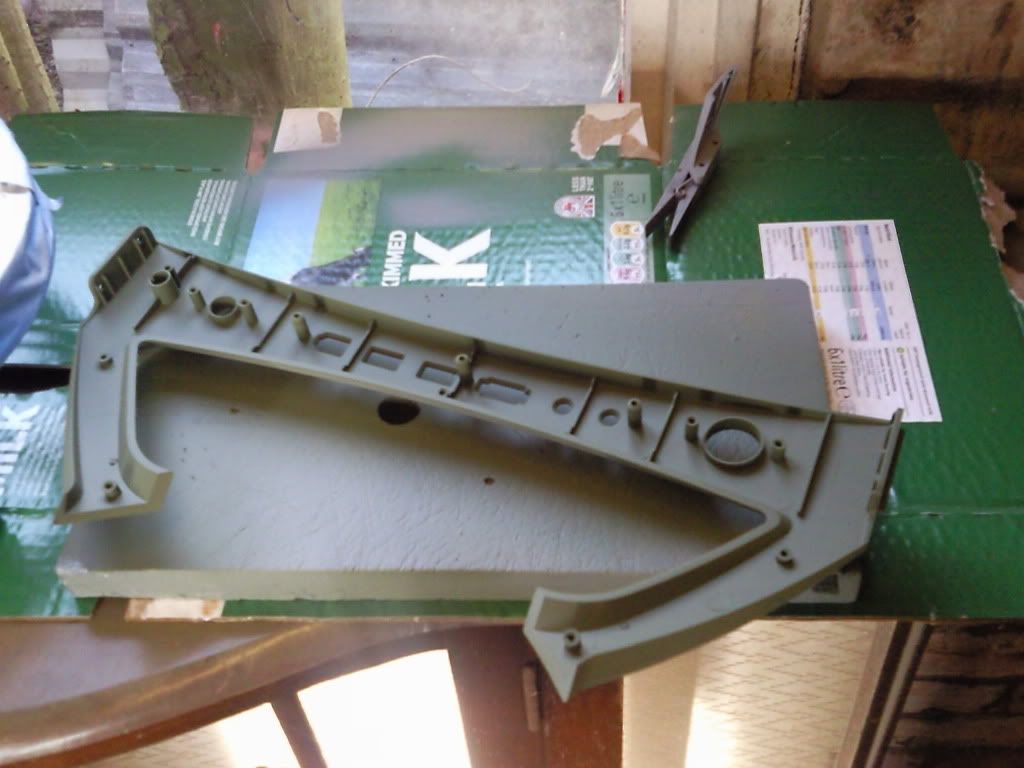
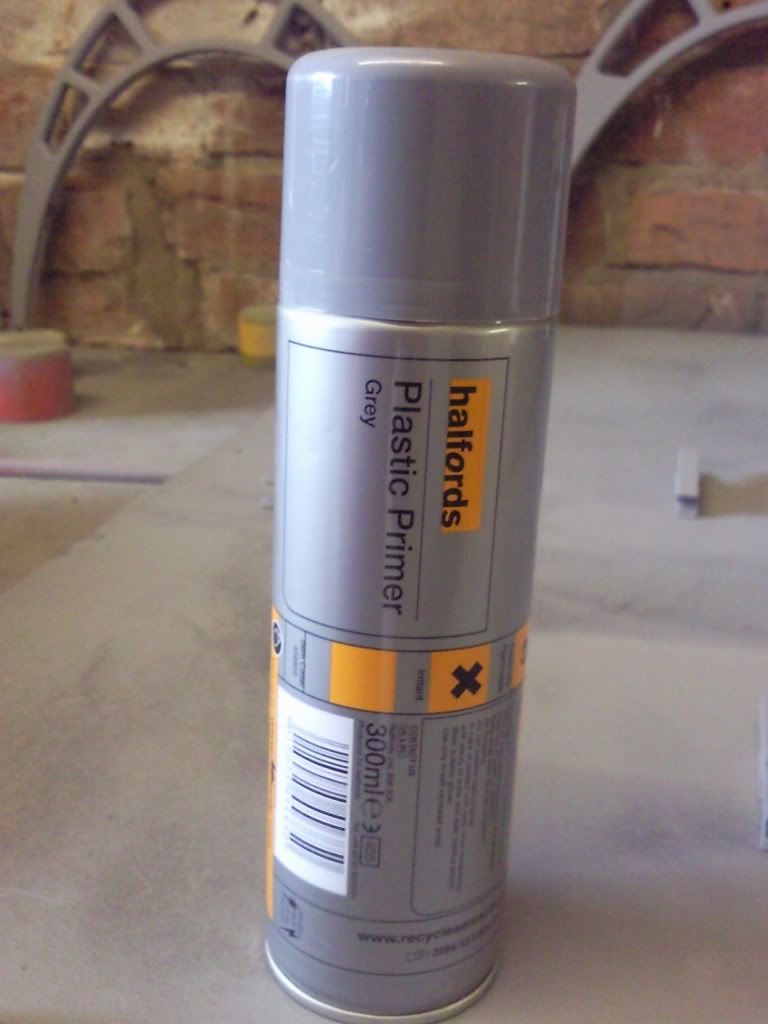
I'm using this as undercoat. I've tried quite a few but have found this to be the best for my needs.
I've been pleasantly surprised by its tolerance of the low temps (no heating in workshop)
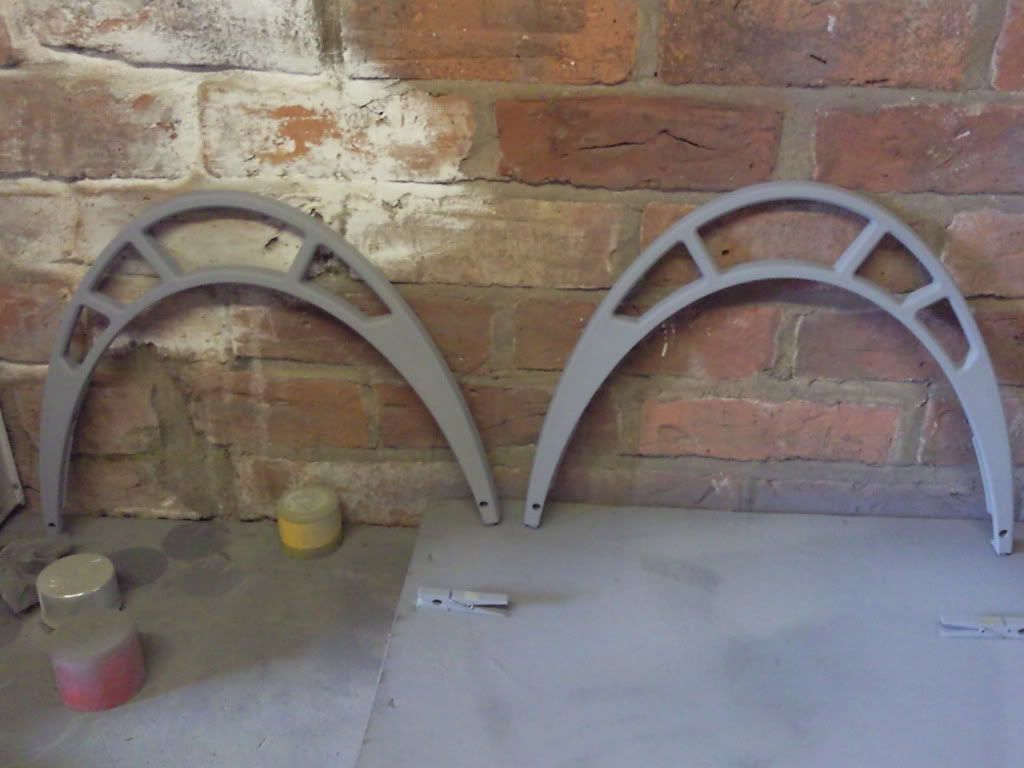
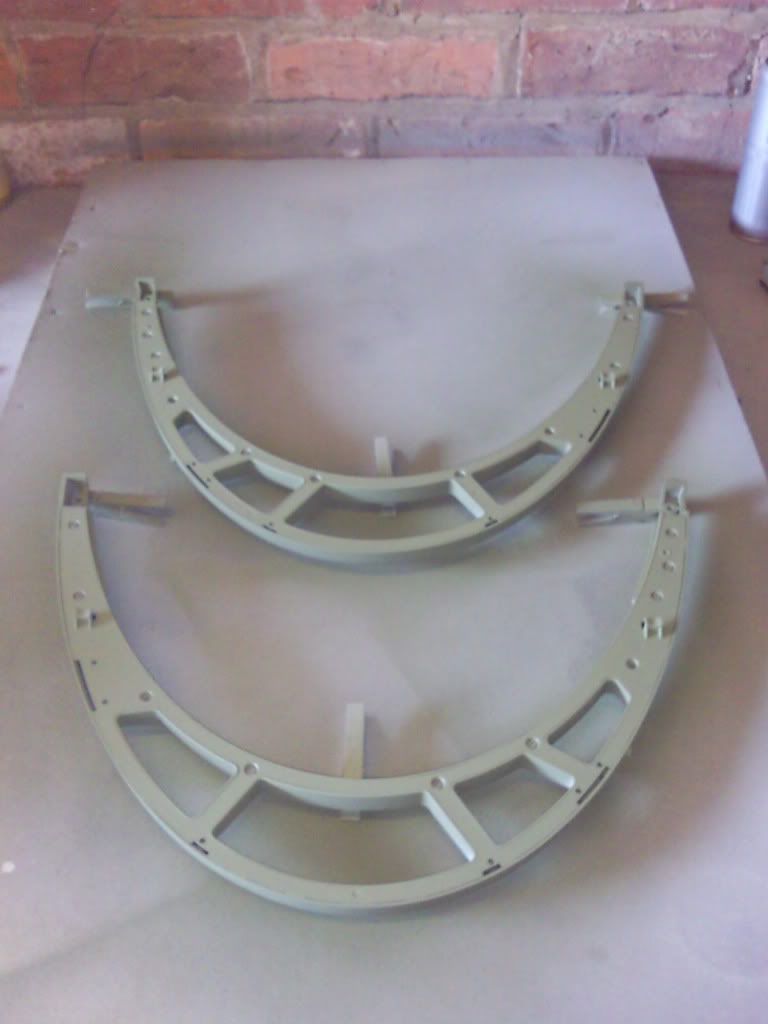
Side arches undercoated ant then top coated
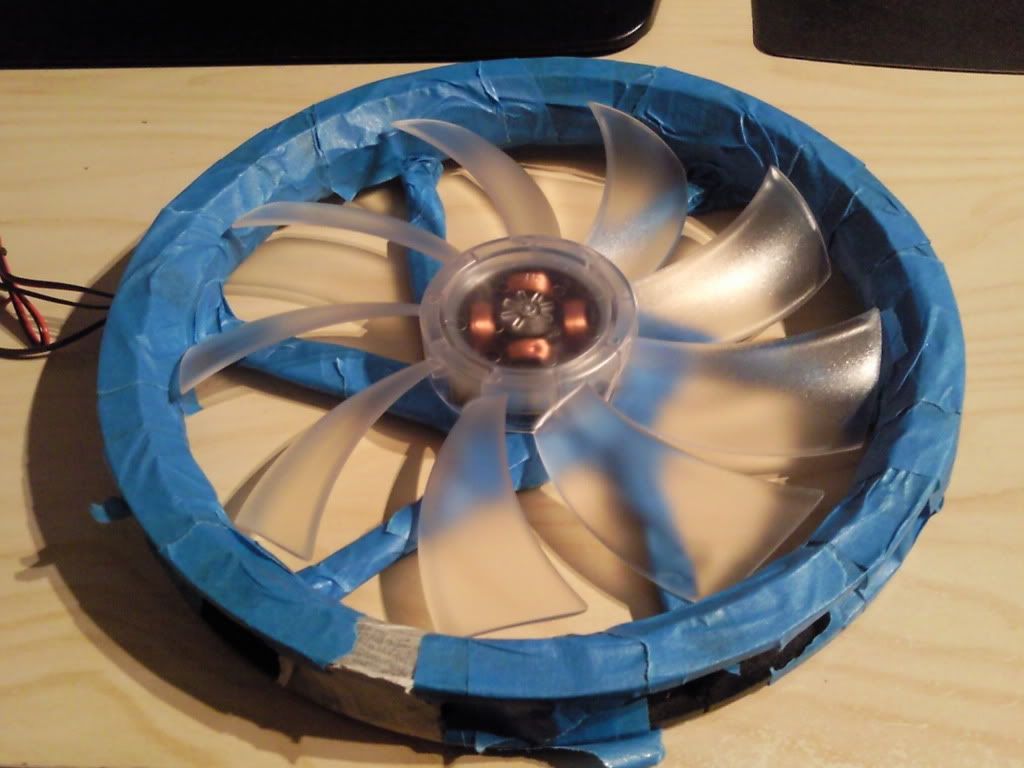
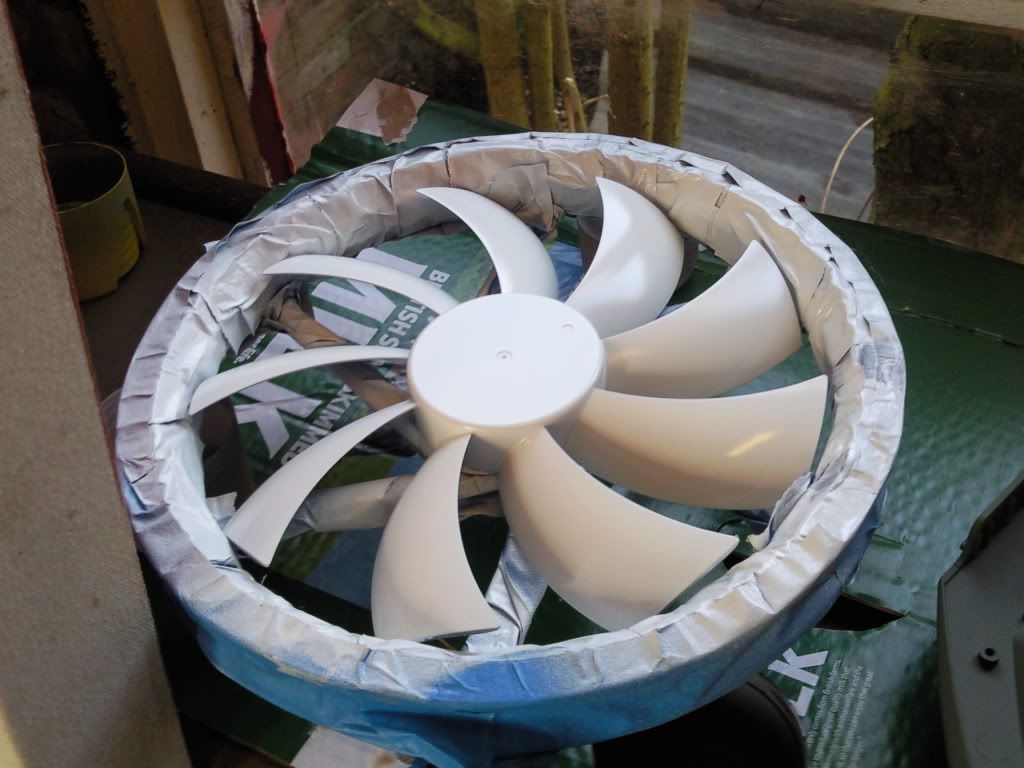
Bigboy top fan masked (you can't take the blades out as you can on other fans)
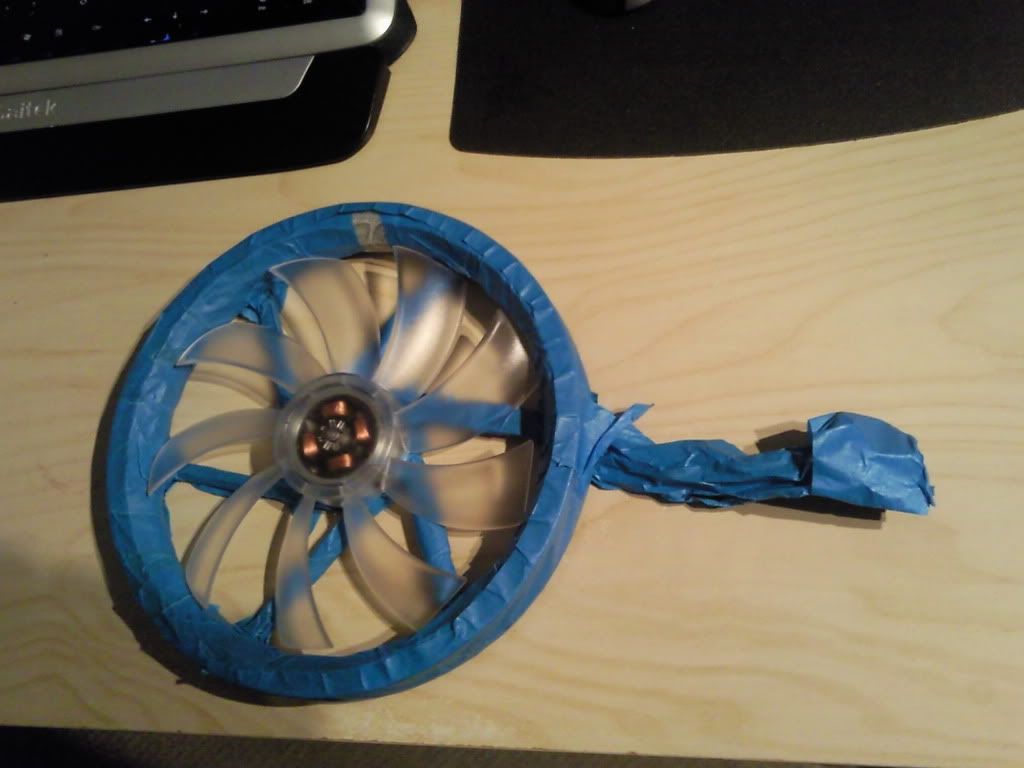
And then painted with High gloss white.
I've been quite busy over the lasty few days.
Piccy of the workshop at the back of the garage.

Cutting the cowling for the Fenrir. I didn't originally want to do this, but really like the cooling offered by the Fenrir.


Front panel sanded and then undercoated. Then the back of it top coated


I'm using this as undercoat. I've tried quite a few but have found this to be the best for my needs.
I've been pleasantly surprised by its tolerance of the low temps (no heating in workshop)

Side arches undercoated ant then top coated


Bigboy top fan masked (you can't take the blades out as you can on other fans)


And then painted with High gloss white.

Last edited:
Didn't seem to get the link showing, If you still have it to hand could you re post it.
Cheers.
I'm currently going via laptop which is vista so will play with my phone. PITA but it works well enough.
Hmm, maybe I forgot to copy it
 ...
...http://www.samsung.com/uk/support/d...U&prd_mdl_name=SGH-F480&prd_ia_sub_class_cd=P
Associate
- Joined
- 18 Feb 2009
- Posts
- 2,492
- Location
- Behind you
are you sure them blades dont come out?
i got one of them asaka white led fans, and resession where the removable washer usually is was covered by a push fit plug that wouldnt come out ... so i took the dremel to it .
.
5 minutes later, one half was powderised and the other half fell out, and it was business as usual with removing the washer and taking the blades off.
i got one of them asaka white led fans, and resession where the removable washer usually is was covered by a push fit plug that wouldnt come out ... so i took the dremel to it
 .
.5 minutes later, one half was powderised and the other half fell out, and it was business as usual with removing the washer and taking the blades off.
are you sure them blades dont come out?
i got one of them asaka white led fans, and resession where the removable washer usually is was covered by a push fit plug that wouldnt come out ... so i took the dremel to it.
5 minutes later, one half was powderised and the other half fell out, and it was business as usual with removing the washer and taking the blades off.
Sure as I can be, I took the rubber bung out the back and carefully scooped out shed loads of grease. What I then found was a sort of sealed circlip. When I tried to remove it it became very obvious that the thing was crying out "go on, just try it and i'll break, and then what'r'ya gonna do". So i thought cowardice is the better part of valour and chickened out.
Largely accedemic now as it's all masked and sprayed, and I don't like being defeated by a fan !!!!!
Associate
- Joined
- 15 Dec 2009
- Posts
- 57
G-Dubs,
I am seriously impressed with your previous work on the Skeleton. This is going to be just awesome.
Can't wait for the rest....
*Watches Huey scene from Apocalypse now

I am seriously impressed with your previous work on the Skeleton. This is going to be just awesome.
Can't wait for the rest....
*Watches Huey scene from Apocalypse now

Associate
- Joined
- 15 Dec 2009
- Posts
- 57
for inspiration


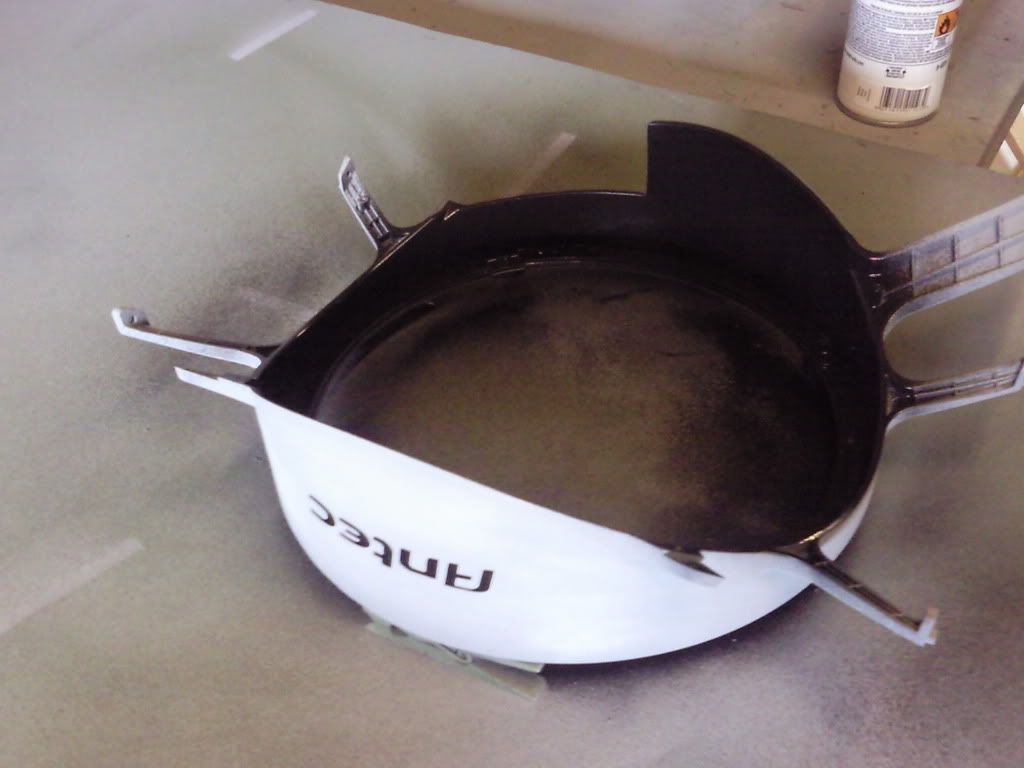
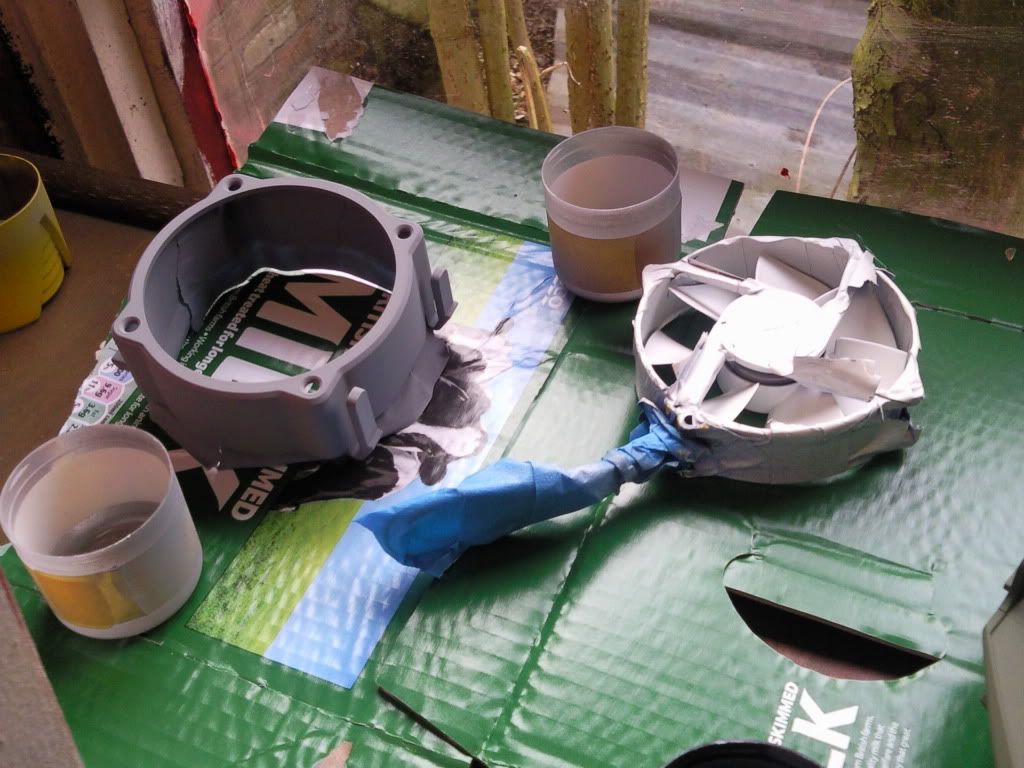
Bit more spraying today, this time the inside of the cowling and the HDD cooler fan cowling and fan, again in gloss white.
Not worried about the overspray on the cowling as the overspray area will be covered in another colour soon.
 .
.
Also started to get the PC itself build. One of the advantages to this case is that you can mod the frame while actually building and then using the PC itself. So you get to mod and game at the same time
BONUS!!!
Not worried about the overspray on the cowling as the overspray area will be covered in another colour soon.


Also started to get the PC itself build. One of the advantages to this case is that you can mod the frame while actually building and then using the PC itself. So you get to mod and game at the same time
BONUS!!!
wow, this is seeming very tedious but fun for you
Hope it turns out just as planned
You hit the nail on the head mate. the prepping and spraying is a kinda love hate thing. I love to get a good end result so it's a necessary evil. In a strange way it's very rewarding actually applying the spray paint and seeing it change (hope I haven't gone a bit too weird there).
Well managed to nip into town at lunch and got some more of the matt Light olive. So should be some piccys to follow, along with the build itself.
yay <3 piccys.
Am now tempted to pic one of these cases up, I got a spare mATX board and in need of a nice media PC for the front room.
Seems like this case will be a quiet idle/load case since its very open spaced.
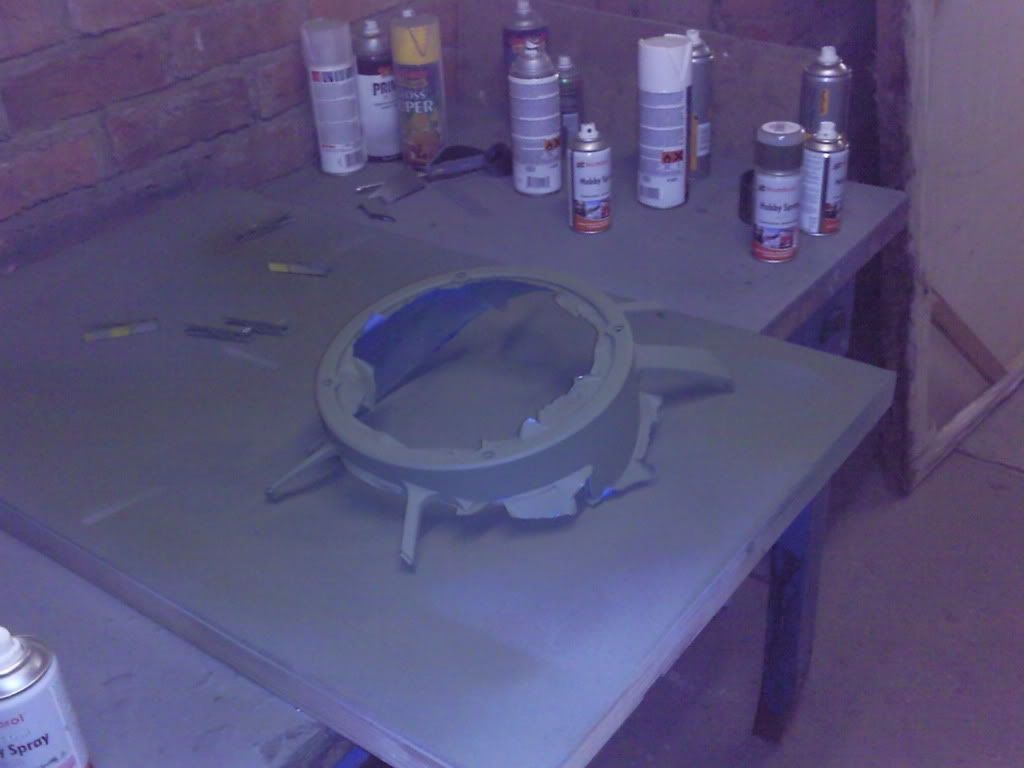
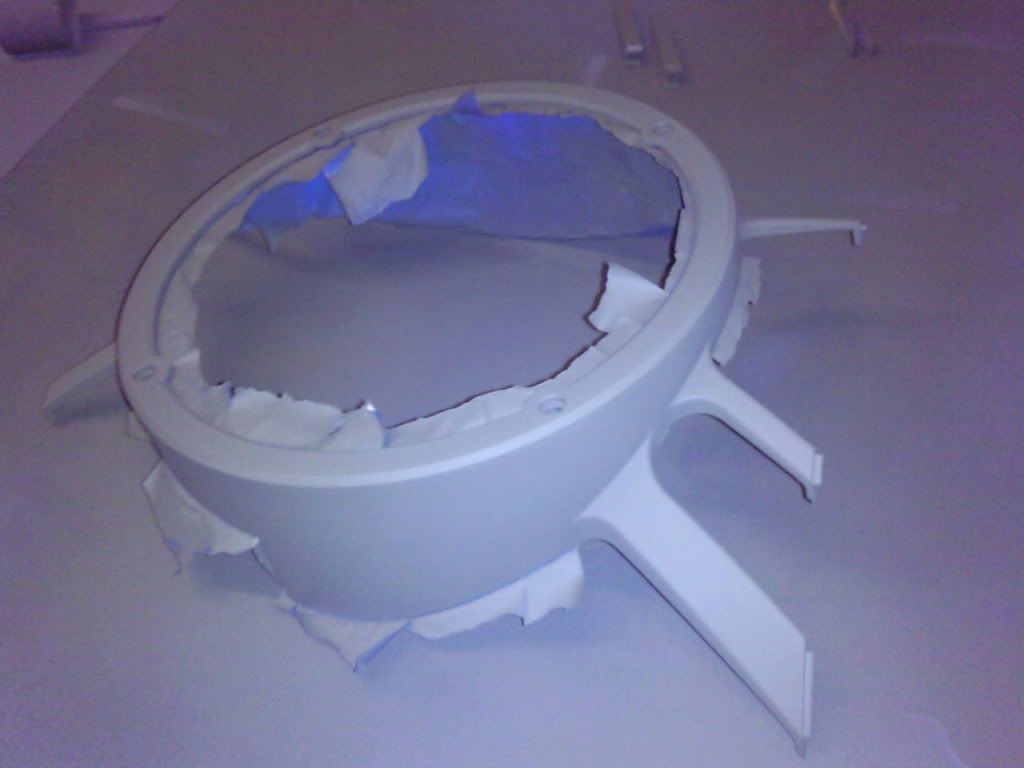
Bit more painting done.
Really nice to see this case stimulating a bit of interrest. And thanks for all the feedback and encouragment.
Work has been a bit busy of late so I must apologise for the lackof activity on the build, and thank you for your patience.
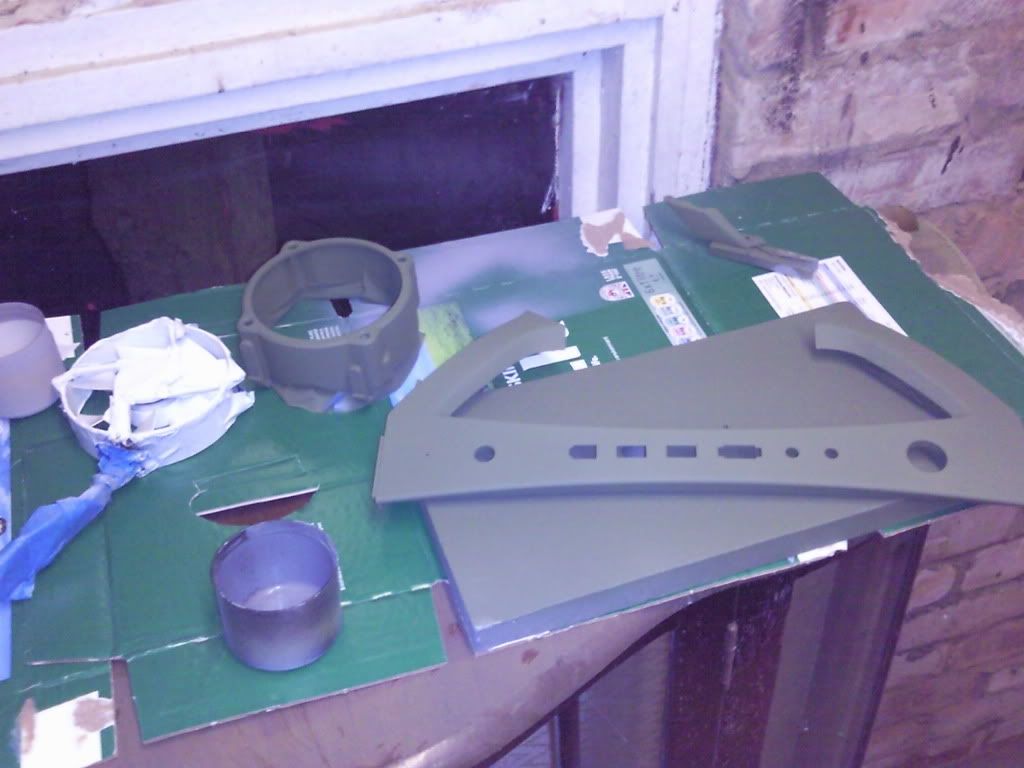
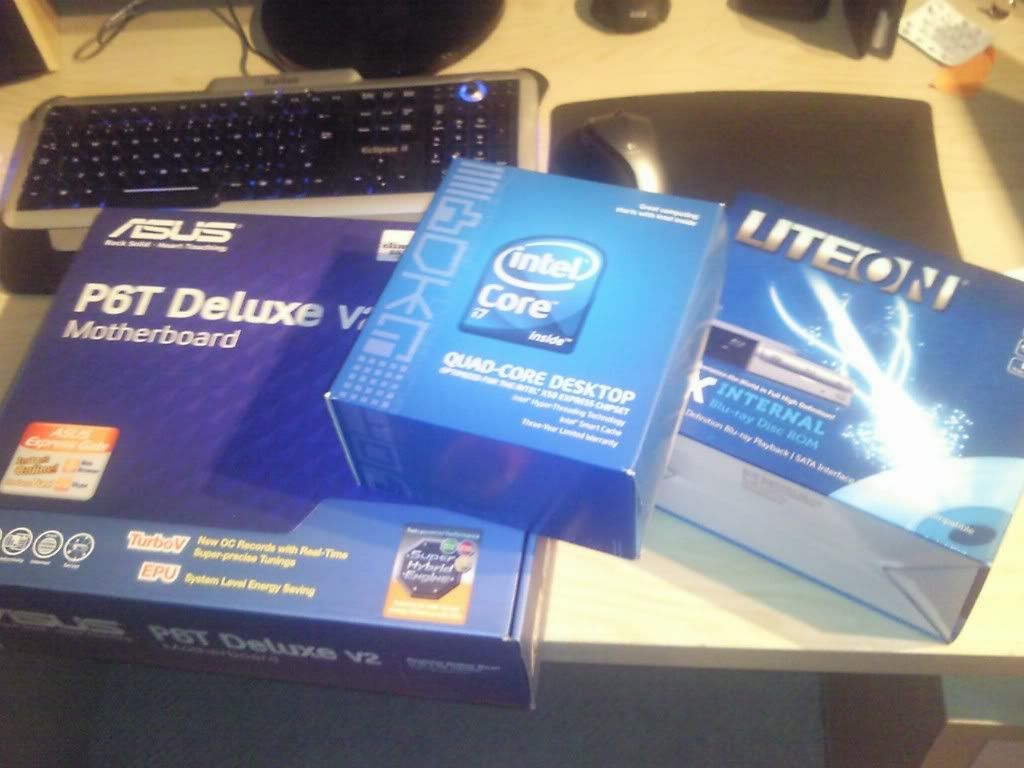
And a few of the goodies that are going into the build
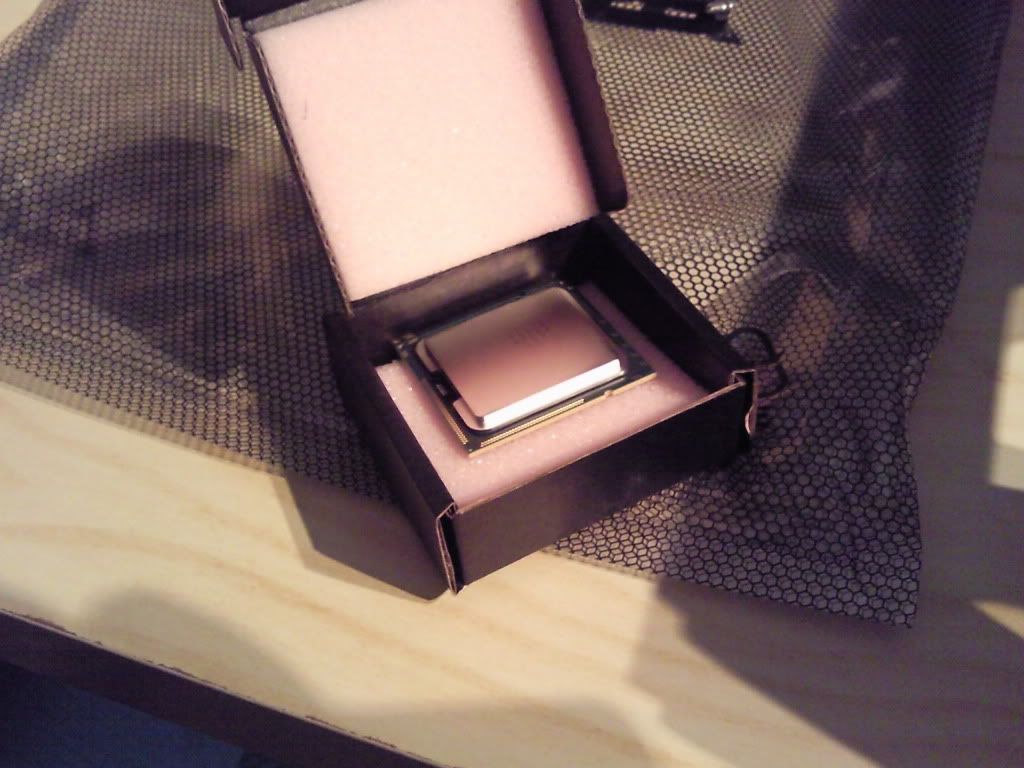
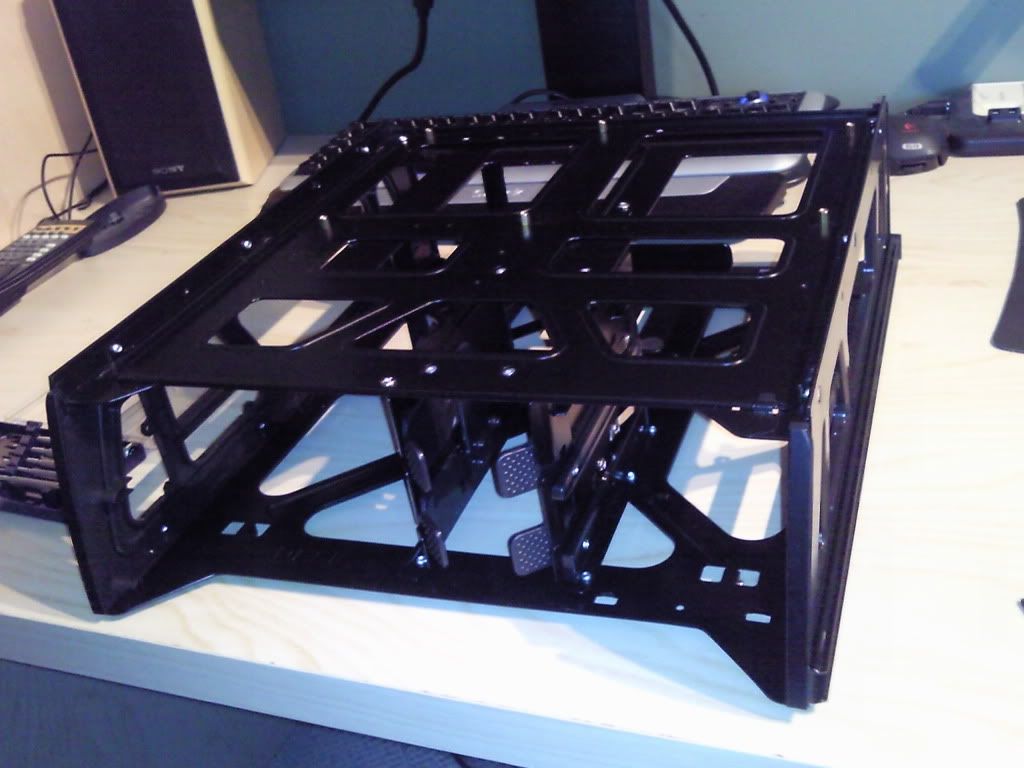
And the lower section of the case ready to accept the build
Really nice to see this case stimulating a bit of interrest. And thanks for all the feedback and encouragment.
Work has been a bit busy of late so I must apologise for the lackof activity on the build, and thank you for your patience.


And a few of the goodies that are going into the build


And the lower section of the case ready to accept the build

The packaging of that intel chip is so lame and bland XD
Atleast AMD make theirs look cool and you know that it won't be bouncing about inside.
But looking good, good choice on the p6t board And the saitek keyboard
Atleast AMD make theirs look cool and you know that it won't be bouncing about inside.
But looking good, good choice on the p6t board
 And the saitek keyboard
I've started the hardware aspect of the build.
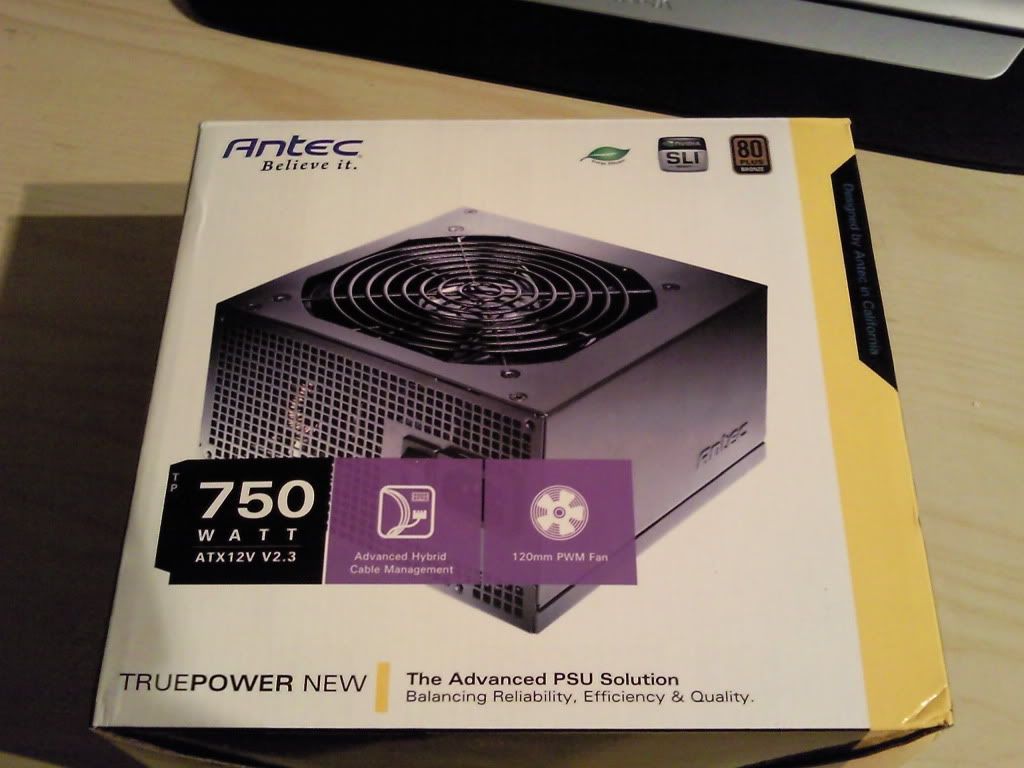
Went for an Antec power supply, this model comes highly recommended, having used it other builds I can say that it's really quiet even at full load and never misses a beat.
It's a semi modular design, having the absolute essentials hard wired in with additional PCI-E, sata and molex power connections available to be added. Having the main cables hard wired in with the ability to add the extras if needed strikes a nice balance between flexibility and cost.
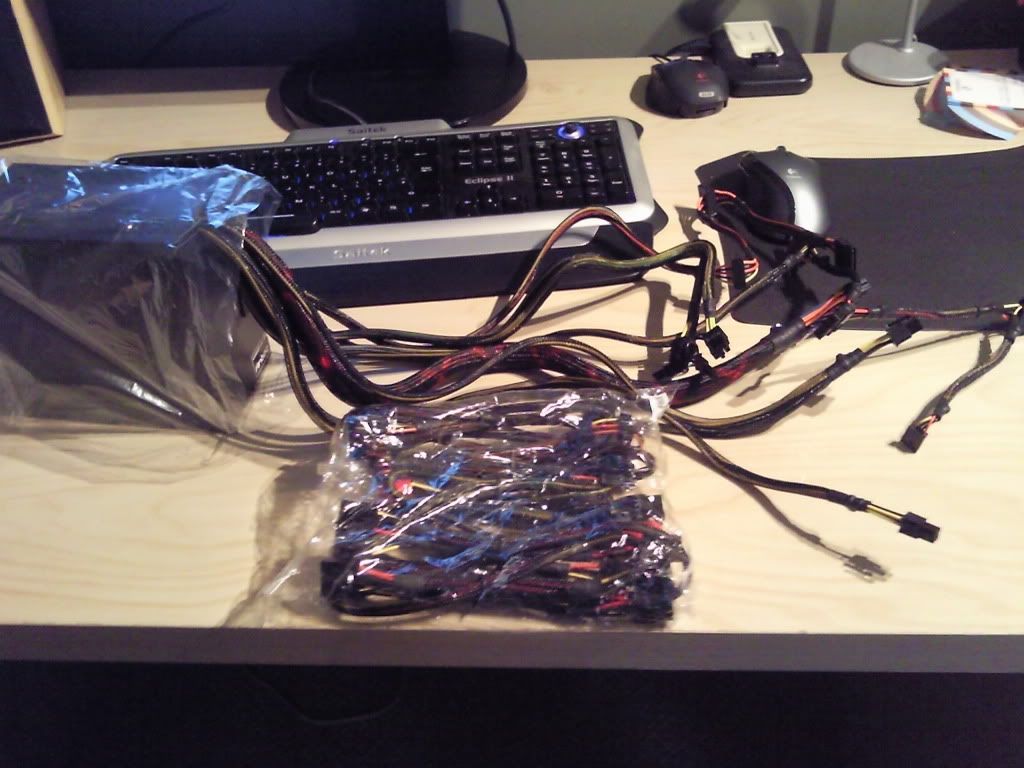
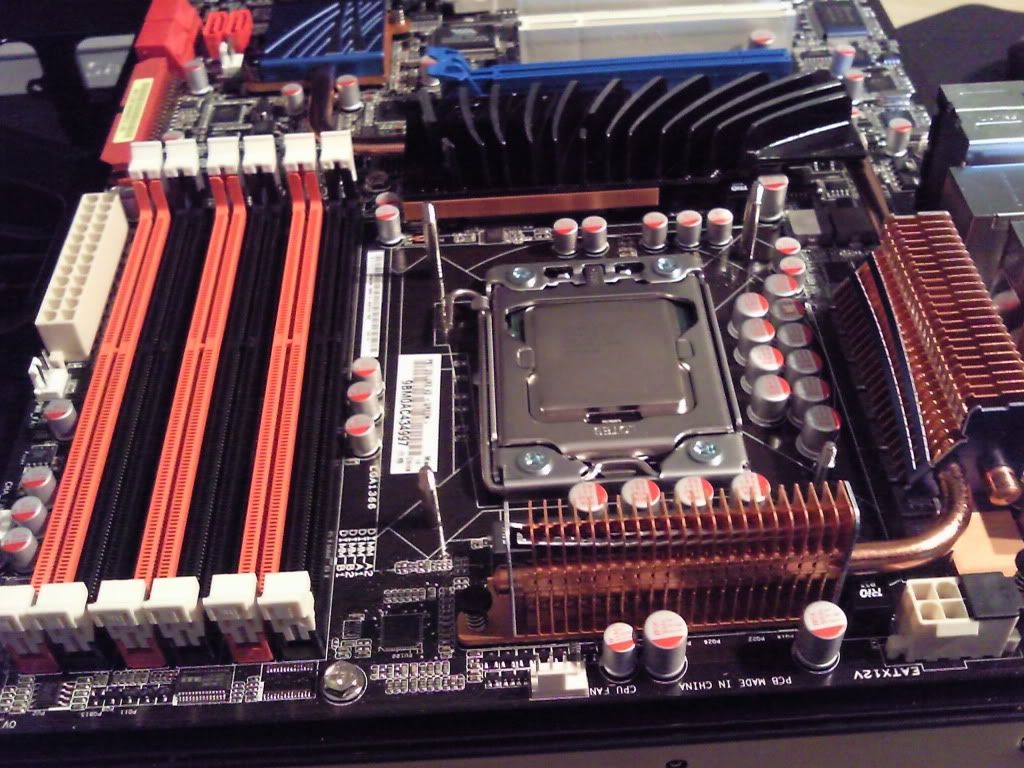
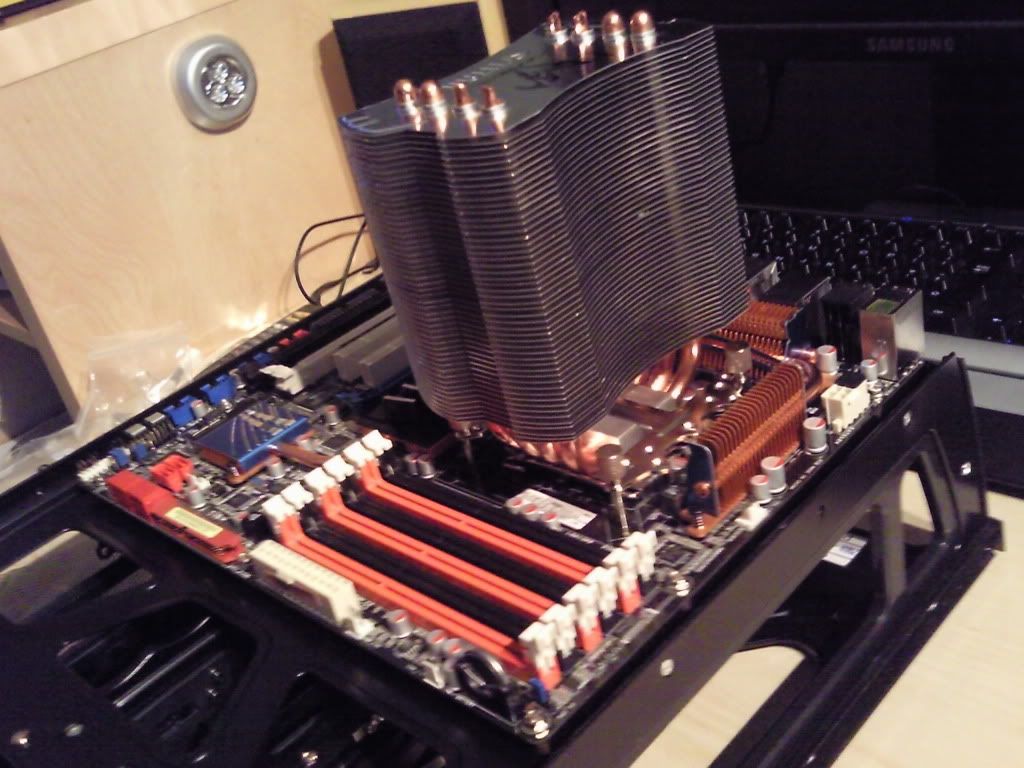
A few pictures of the build in a sort of step by step. If I hadn't stopped to take piccys this lot would take about 30 mins to put together. from start to finish. I'm not taking the credit for this, most of it is down to the open nature of the case making it very easy to build into.
Imagine no sharp edges or little crevices to cut and trap your hands and fingers!!!
Build quality of the base unit is very high, made from rolled edge steel. It feels sturdy, with a nice weight to it. It does actually have a removable motherboard tray but it's not essential as the access to the rear of the mobo is easily gained through the underside of the base unit.
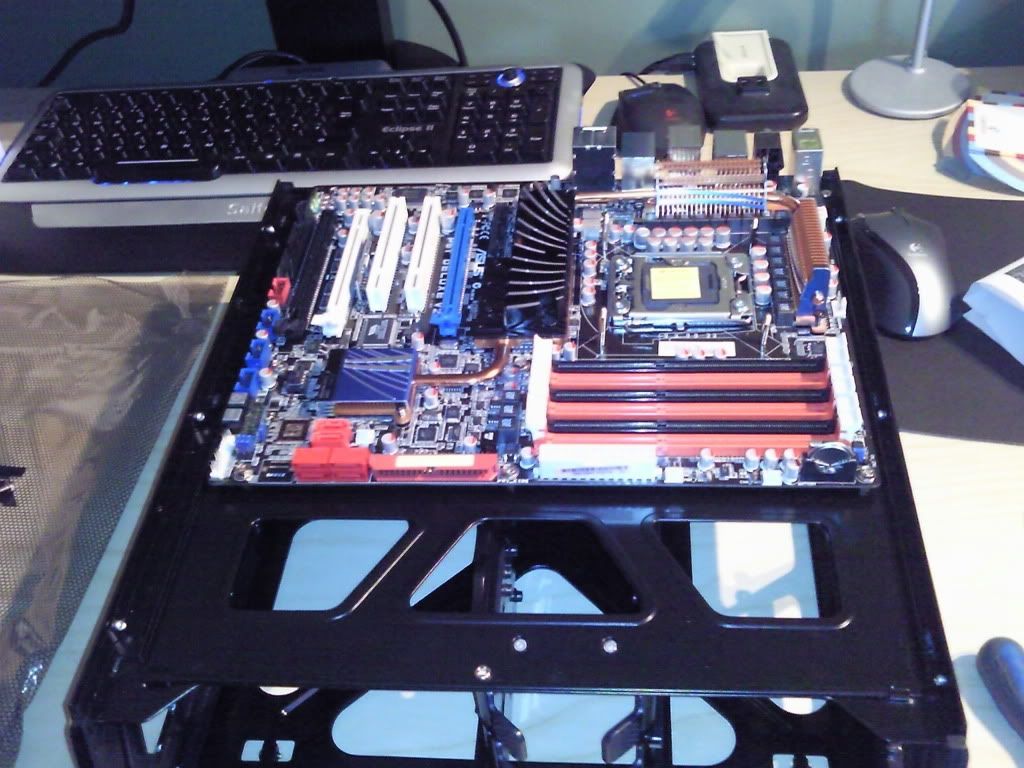
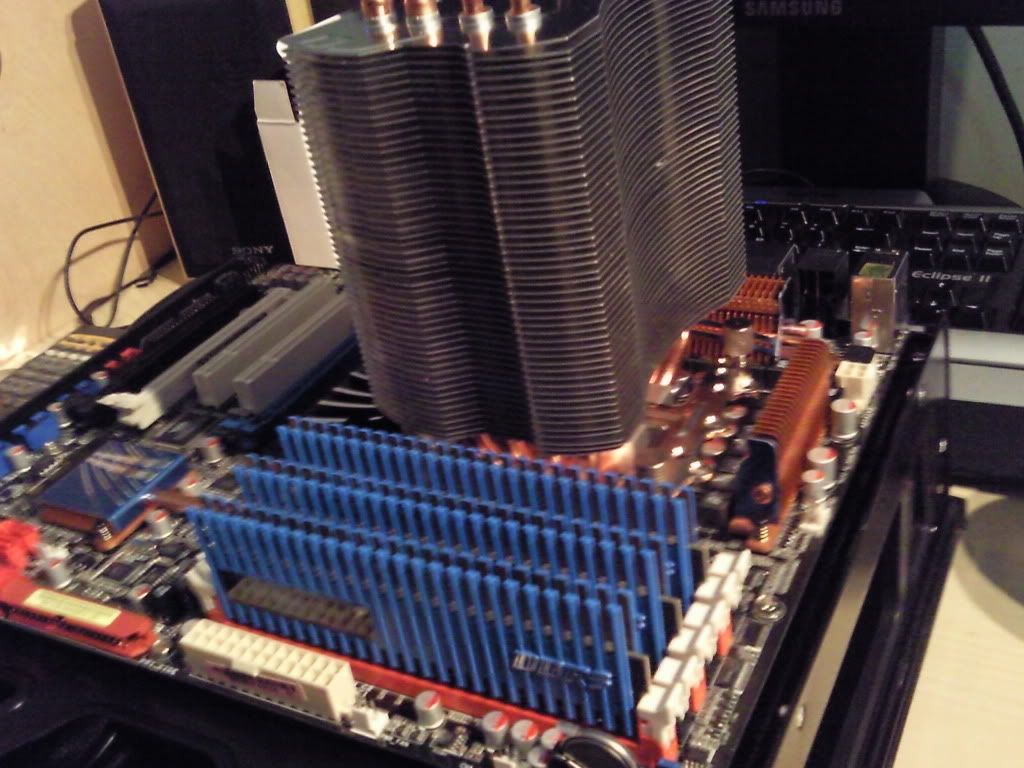
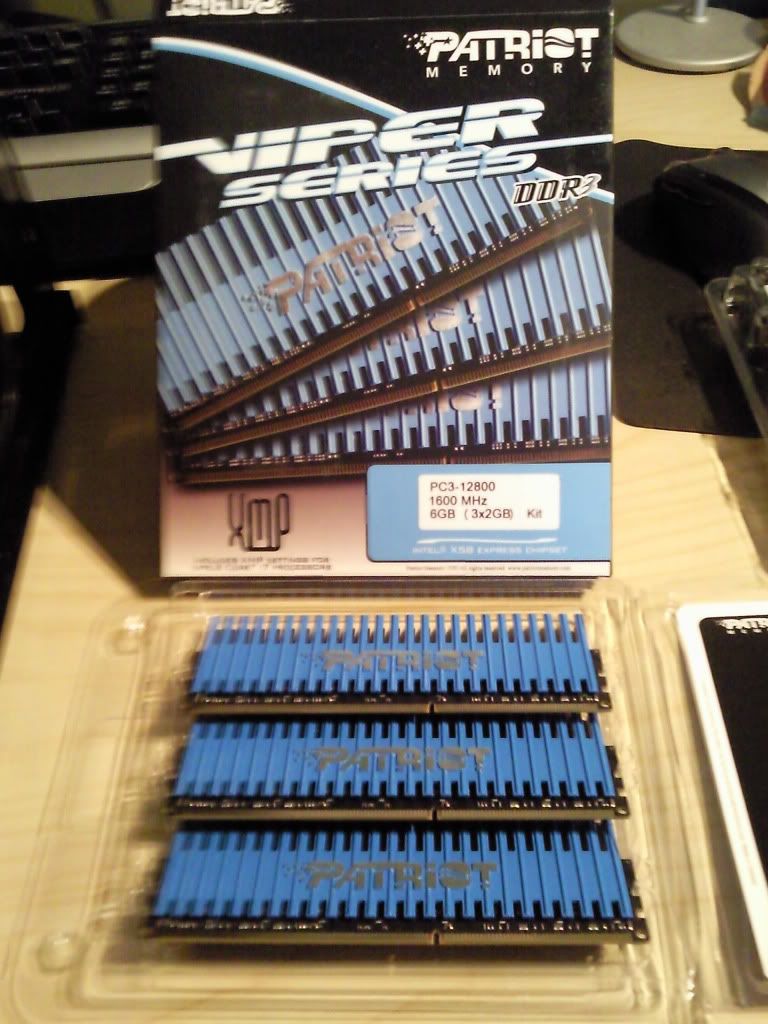
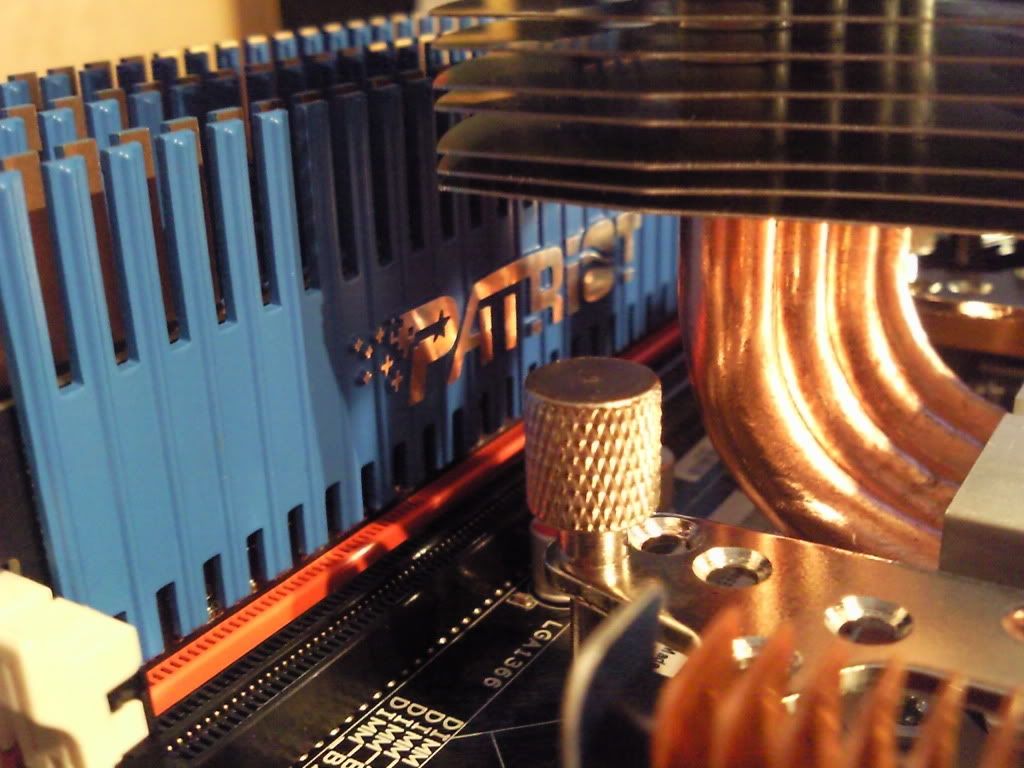
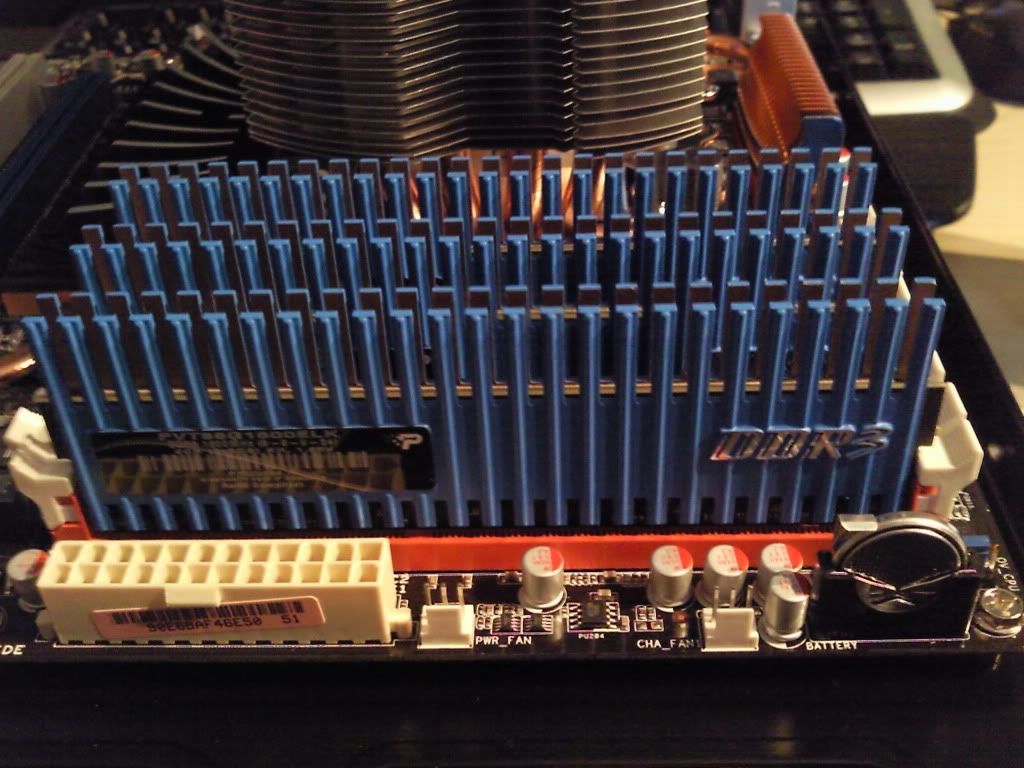
I went for Patriot RAM with this build. Never used it before but have to say i'm very impressed. And of course the Patriot brand is kinda in keping with the theme of the build. It not only does the job but it looks the part aswell!!
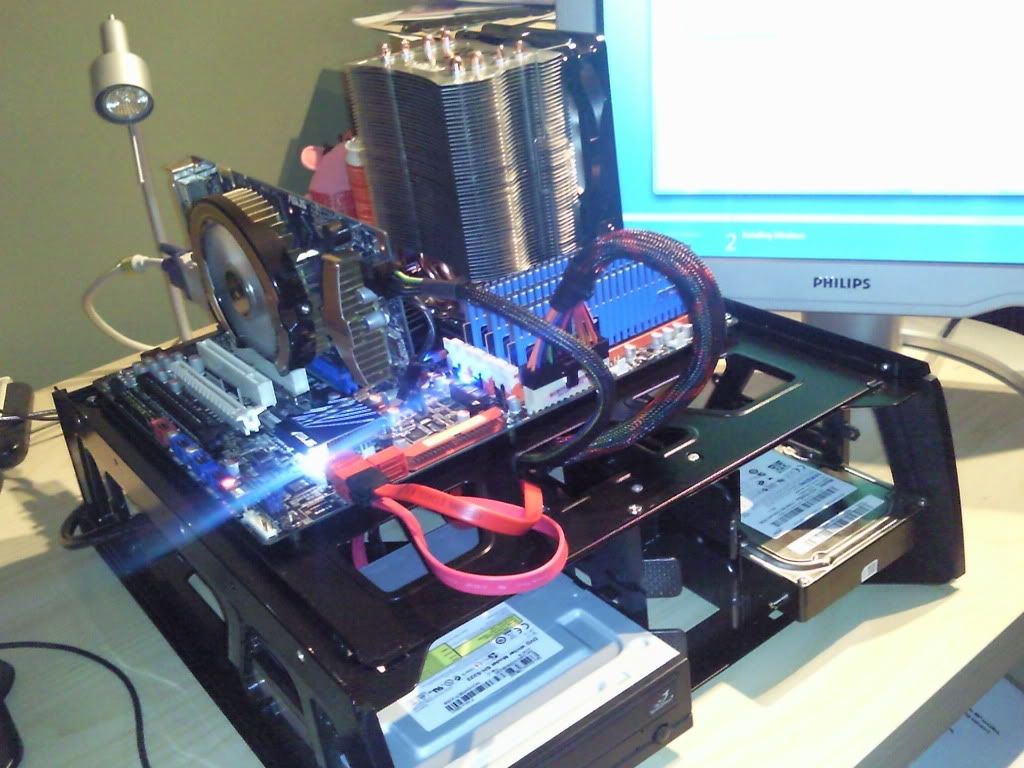
Well just to prove it all works.
Still a lot of work to do, lots of cable braiding etc.
But as I've said already, the advantage of this case is that you can use it as your PC while your moding it.
best of both worlds then.
Went for an Antec power supply, this model comes highly recommended, having used it other builds I can say that it's really quiet even at full load and never misses a beat.
It's a semi modular design, having the absolute essentials hard wired in with additional PCI-E, sata and molex power connections available to be added. Having the main cables hard wired in with the ability to add the extras if needed strikes a nice balance between flexibility and cost.


A few pictures of the build in a sort of step by step. If I hadn't stopped to take piccys this lot would take about 30 mins to put together. from start to finish. I'm not taking the credit for this, most of it is down to the open nature of the case making it very easy to build into.
Imagine no sharp edges or little crevices to cut and trap your hands and fingers!!!
Build quality of the base unit is very high, made from rolled edge steel. It feels sturdy, with a nice weight to it. It does actually have a removable motherboard tray but it's not essential as the access to the rear of the mobo is easily gained through the underside of the base unit.


I went for Patriot RAM with this build. Never used it before but have to say i'm very impressed. And of course the Patriot brand is kinda in keping with the theme of the build. It not only does the job but it looks the part aswell!!


Well just to prove it all works.
Still a lot of work to do, lots of cable braiding etc.
But as I've said already, the advantage of this case is that you can use it as your PC while your moding it.
best of both worlds then.


 .
.