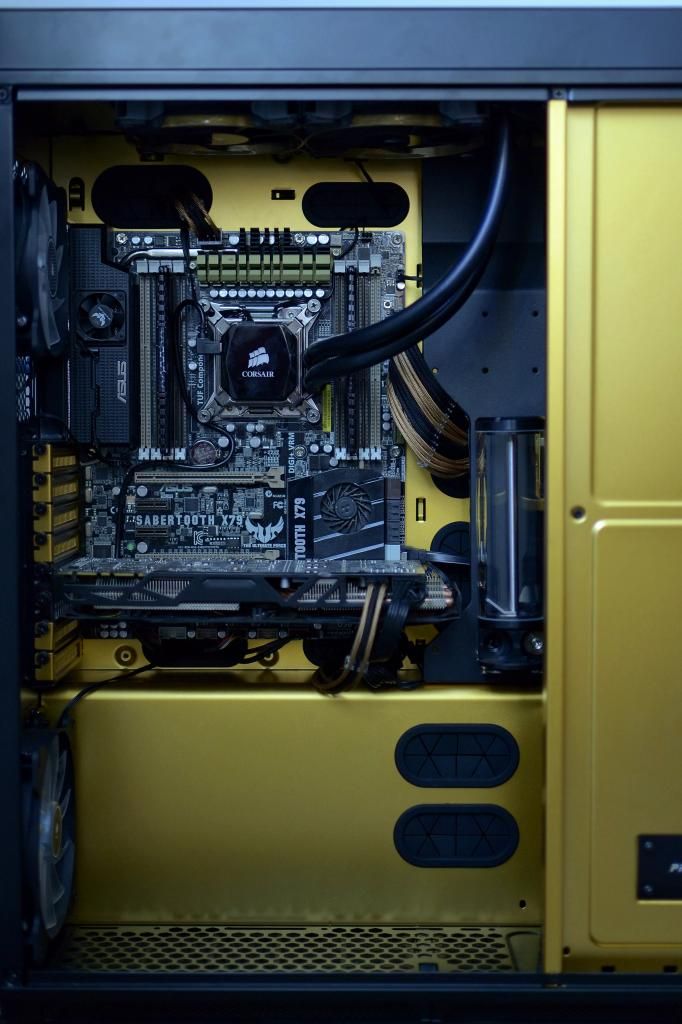
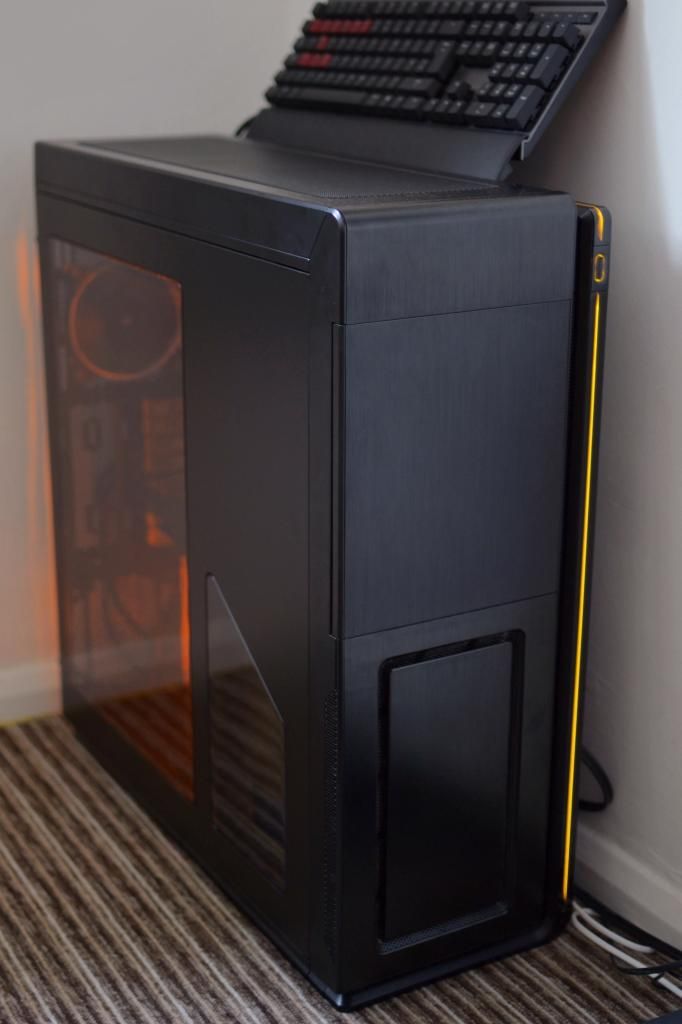
Project: Molten Gold

Quick question to anyone really, hardline tubing or soft? I've never water cooled a pc before let alone attempted acrylic tube bending, so I'd like peoples advice & thoughts on what I should do. I'll be going over to acrylic eventually anyway, but as this is my first time is it recommended I use softline tubing first to get some practice before entering the world of acrylic or should I just go for it straight away?
 
My Midas build was first WC one I'd done and my advice is stick to soft tubing for your initial layout. It'll save you time, money and frustration. You can move over to hardline in time.

I haven't plucked up the courage yet to start bending hardline, but its something that will happen eventually. Of course there is the option not to bend the pipe and just use elbows etc, but the cost increases quite a bit.

I know how frustrating it can get when you are trying things for the first time, sleeving, wiring, wc all at the same time and you feel under pressure as you know folk are following your thread. It all looks great in the images but there was a few very bad days, particularly sleeving for me and I ended up getting Davido to do mine.

As in most things practise makes perfect, so in time it all comes together eventually. The good thing about these Forums is there is always someone willing to help and advise.

Hope it goes smoothly and let us know how you go.
 
Thanks for the advice, man. I think I'll stick with soft tubing at first then (: I may also purchase the hardline tools & tubing too, so whilst I have it up and running on a soft tubing loop, I can crack on with the hardline stuff without worrying about rushing it, we'll see!

On another note, I may take the plunge & buy a few small things this morning...
 
Very nice, so much space in that case, guess that's for all that liquid cooling you got planned.

Like I was saying in the other thread, you might want to consider a fan controller, use up some of those 5.25" drive bays! I had my fans all wired into the motherboard and controlled by the BIOS but they were still quite noisy and not very intelligent. If you're just web browsing you can afford to turn down the push fans on the rads for less noise. I often turn everything off except one exhaust when I'm not gaming.

Maybe something like this would suit you? Couldn't see any in gold! http://www.overclockers.co.uk/showproduct.php?prodid=CM-000-NX&groupid=701&catid=2331&subcat=189
 
Yeah the case is rather large but that means space for some great loops in the future. Might even model some loops to show what I have planned when I get round to the hard tubing later on in the year (:

Yeah, I've wanted a fan controller for a while now just never fancied the look of many of their interfaces. They look so old! On the plus side, I have a door hiding my bays so I will only see the LCD screen when adjusting fan speeds (:
 
Got some kind of paint job planned for friday/saturday this week, guys! Might try something new if I'm feeling brave enough, we shall see. Might be buying some custom cables & some fans & lights tonight if I can settle on which ones I'll be buying. Will have a picture soon too of my future acrylic tubing route. All good things coming soon!
 
It was a very painful decision to make, but I just spent (including shipping costs) £120 on lights, cables, cable combs & fans. I really didn't want to do it but I couldn't resist! I might have to trickle the pictures onto this thread, spread the updates out until I can afford anything else. The first batch of pictures will be up this weekend!
 
It was a very painful decision to make, but I just spent (including shipping costs) £120 on lights, cables, cable combs & fans. I really didn't want to do it but I couldn't resist! I might have to trickle the pictures onto this thread, spread the updates out until I can afford anything else. The first batch of pictures will be up this weekend!

I know the feeling! had to do the same last week. it's all worth it though.
looking forward to the pictures! I've got the same case so I might steal a few ideas haha
 
Did you need to drill those mounting holes for the tube res, or where they already there?

They're already there. There's two mounting points for tube res', one at the rear of the case & one just infront of the gpu on a special mounting plate which can be removed if unused.

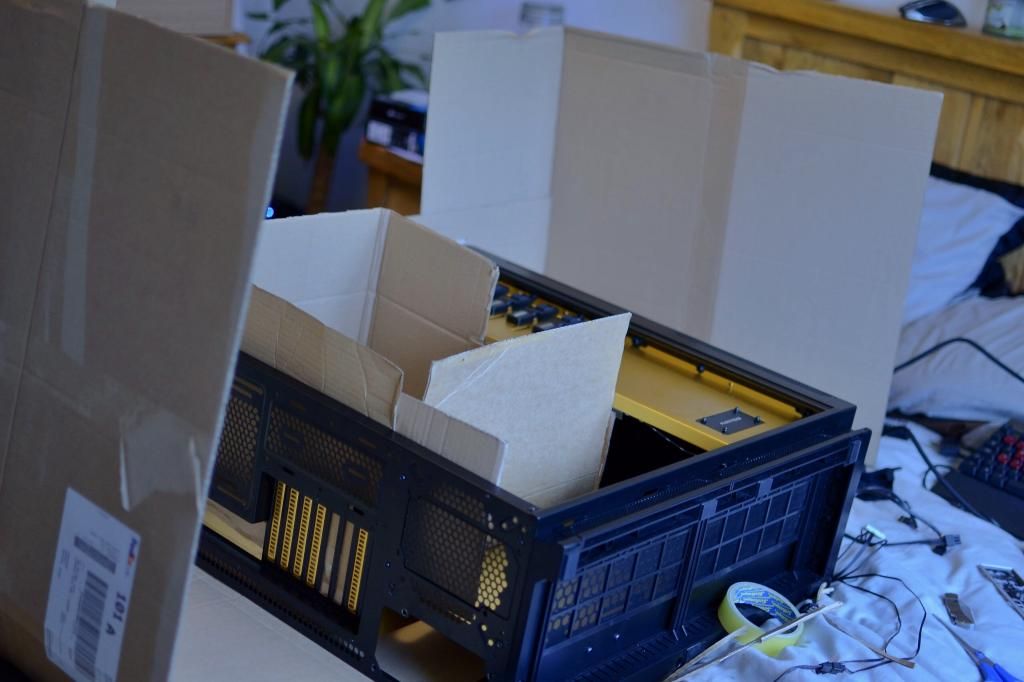
I've brought some big boxes home from work so I can spray the case inside them whilst indoors as we don't have a shed or garage to shelter from the wind. So I'll make a cardboard spray booth tonight & spray the case when I'm off work on Friday.
 
Minor update: New black & gold cables for ATX Power, EPS Power & 6 Pin GPU. 8pin GPU cable isn't in stock so I'm stuck with the ugly stock 6+2 pin for now :(

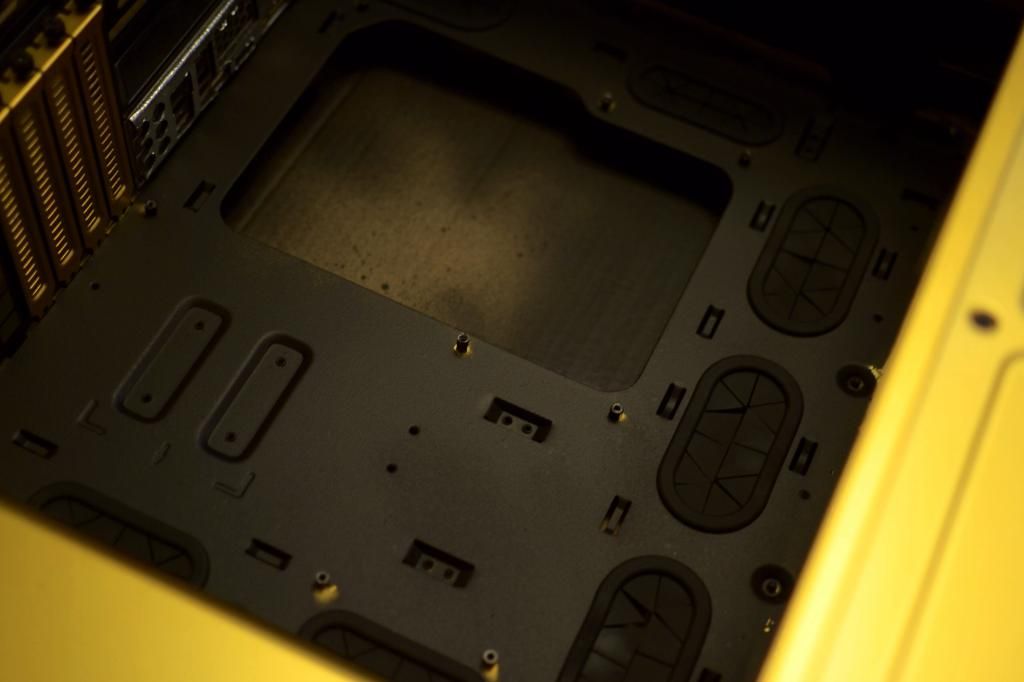
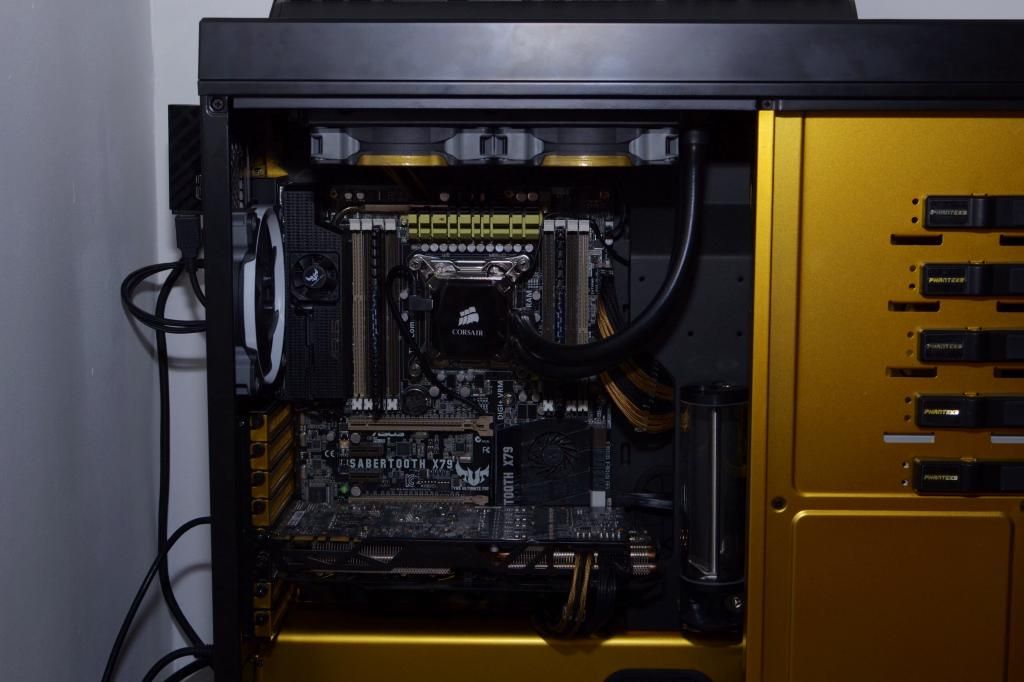
Also sprayed the res bracket black. More to come soon, so hold tight! In the mean time, this is how it currently looks...
image.jpg1_zpskf7gll0t.jpg
 
Well, I guess I've kept everyone waiting long enough. Here's another small update to how things are looking. Last friday I took home from work some large boxes to make an indoor spray booth for the case. This is how it turned out...
image.jpg2_zpskliucofp.jpg


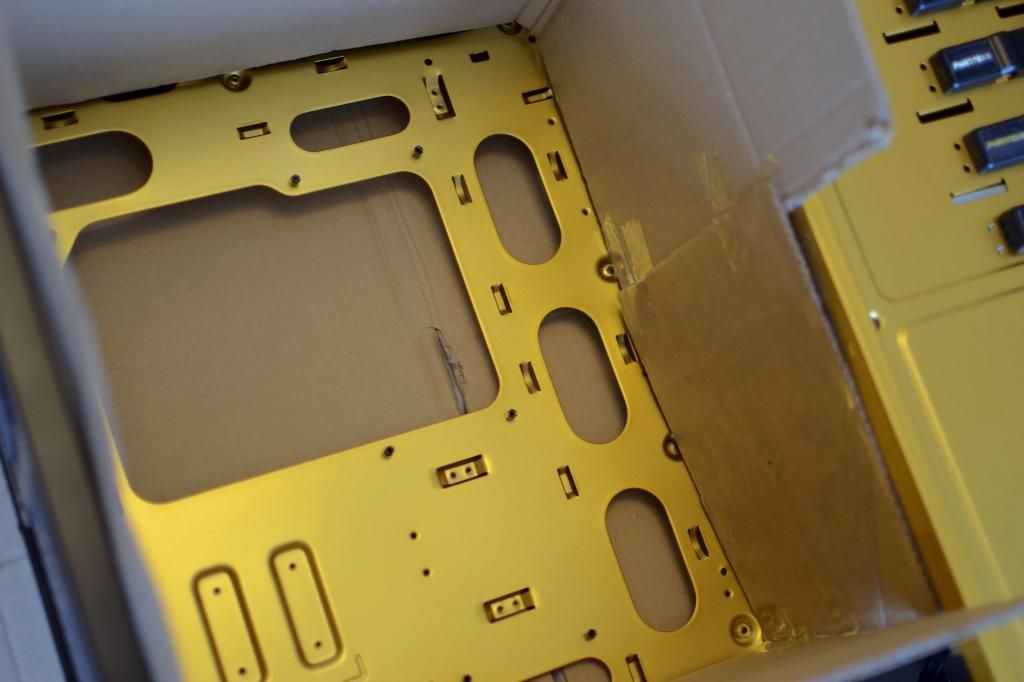
Masking off the case & using cardboard to block off big areas was a pain in the butt! If I had masking tape, I'd definitely have used that. Will next time for sure.
image.jpg3_zpsssfggyf4.jpg


Came out rather well actually. Missed a few spots, but you can't see most of them once the motherboard etc is all in. I'll touch it up down the line but for now, it'll do!
image.jpg4_zpsvhorms3b.jpg


The part I'm least happy with, is the top left corner. Missed a huge chunk out. But you can't really see it in normal conditions unless you're looking for it.
image.jpg8_zpstep73fdi.jpg
 
Yo dude, saw this and I must say - looks bloomin' amazing! Like it so much that I thought I'd share it with our FaceBook!

Oh wow!! Seriously, that's caught me so off guard & I'm honoured to have you share my build log on your Facebook page. Thank you guys (: There's more pictures on the way, the final ones until the parts for the first loop can get purchased.
 
So, I don't think much is going to happen to this build for a little while now, at least not anything major like watercooling. Maybe some smaller things such as custom cables, case modding & paint touch ups, but for now I shall post some final pictures of how the build currently looks. Please note, this is NOT the end of the log & will continue until I announce on the first post it's finished.

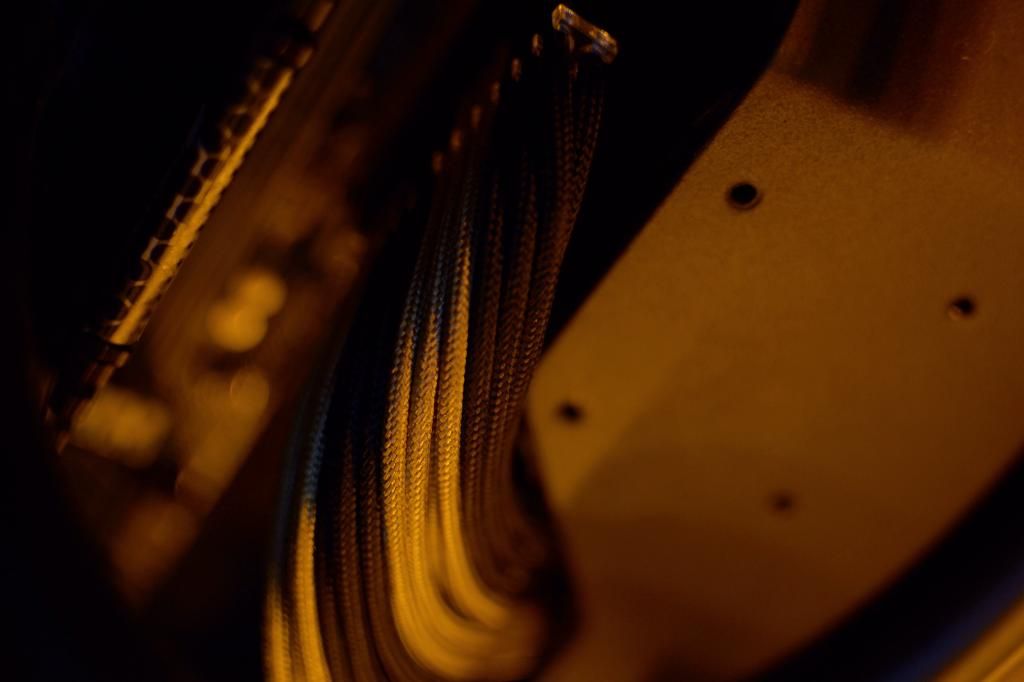
24pin extention, tidied up with clear cable combs. First time using them things & accidently snapped both in multiple places! They still hold things in place, but I'll buy more to make it stronger
image.jpg7_zpsoyicuafy.jpg


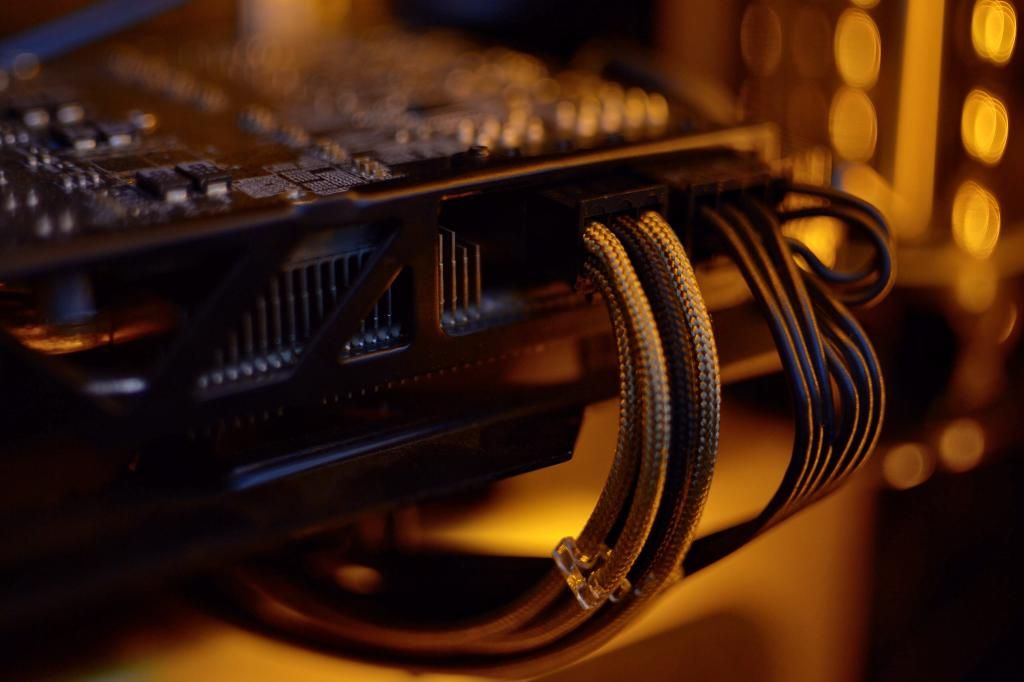
6pin pci-e extention, tidied up with clear cable combs. When I get the 8pin pci-e extention, I plan to cable comb that then use a couple of 14 slot cable combs to bring the two together. Tidiness is a key aspect to this build
image.jpg6_zpsn2hdtytc.jpg


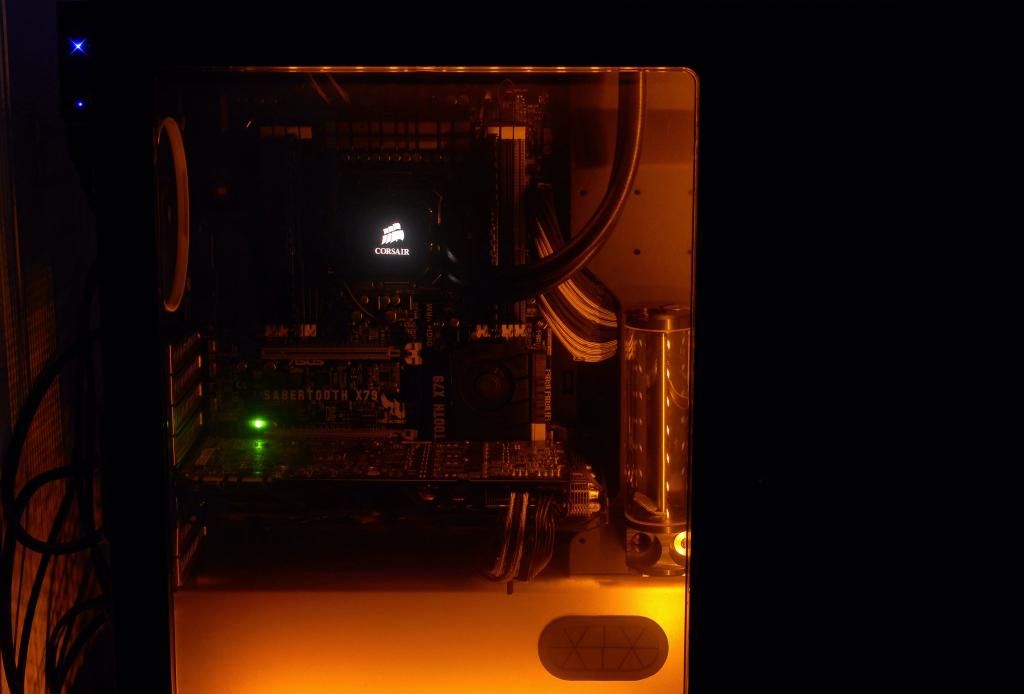
So, I'm not sure about the lighting. Feels a little too orange & needs balancing with white maybe? Orange on the top & bottom & white on the sides? Opinions would be great!
image.jpg1_zpszfrrxuin.jpg


And the final image. Slightly annoying the leds in the case don't match the strip on the front & top, but maybe I'll change them another day, we'll see.
image.jpg5_zpsh66q8qcv.jpg


But for now, that's the last of the major updates. Feedback on how it's looking so far would be great. Anything you don't like or how I could've done it differently? Tips & tricks are also welcome, especially with painting!
 
I think painting the tray black was a good move. The only advice about the LED's is maybe white is a safer bet for internals.
Nice cabling also, I saw them also but thought the gold wasn't quite right for my build.
I wish I had your version of the case though, I'd kill for that front led.
 
Back
Top Bottom