Tabletop Warhammer?

Associate
Joined
12 Sep 2009
Posts
1,600
To add, I have two, one is a cheap one from Amazon for £20, comes with various needles 0.2/0.3/0.4. I got it as an airhose was about a tenner and this came with it so thought it would be a good one for just priming (although you can absolutely do it with more expensive ones). My other is a Cult of Paint Infinity which is a 0.4mm needle, I would not suggest using a more expensive one until you are comfortable with cleaning and breaking down a cheaper one (although they do have a few differences in parts).

Depending on your environment I would strongly suggest a respirator mask, I didn't use one for one session and had a massive headache. I also have a very cheap extractor unit which I don't actually use the extraction on, just have the box to spray in to currently. Note the fan is actually very good for the job but it is very loud.

Compressor wise, I started with a Sparmax...something that @roman59 has, but it had some cosmetic damage, which was significant enough I felt I should return. In the meantime I got a cheap one from Amazon, it had an issue with the pressure but I realised it was because the gauge thing with the numbers was a bit warped and that stopped the needle going past a certain point (it was working fine), I sorted that and actually it's really good so I am sticking with it for now.

I was actually put off airbrushing because I started with a cheap one (weighed a lot), so if you do go for a cheap one (not sure on any cheap but light ones) and its the ergonomics that put you off, bear in mind that ones like the Infinity are much more pleasant.

If budgeting do not forget the additional that add up:

Airbrush thinner (advisable even if using airbrush paints just in case), airbrush cleaner, little pot thing to hold your airbrush and can spray in to, flow improver.
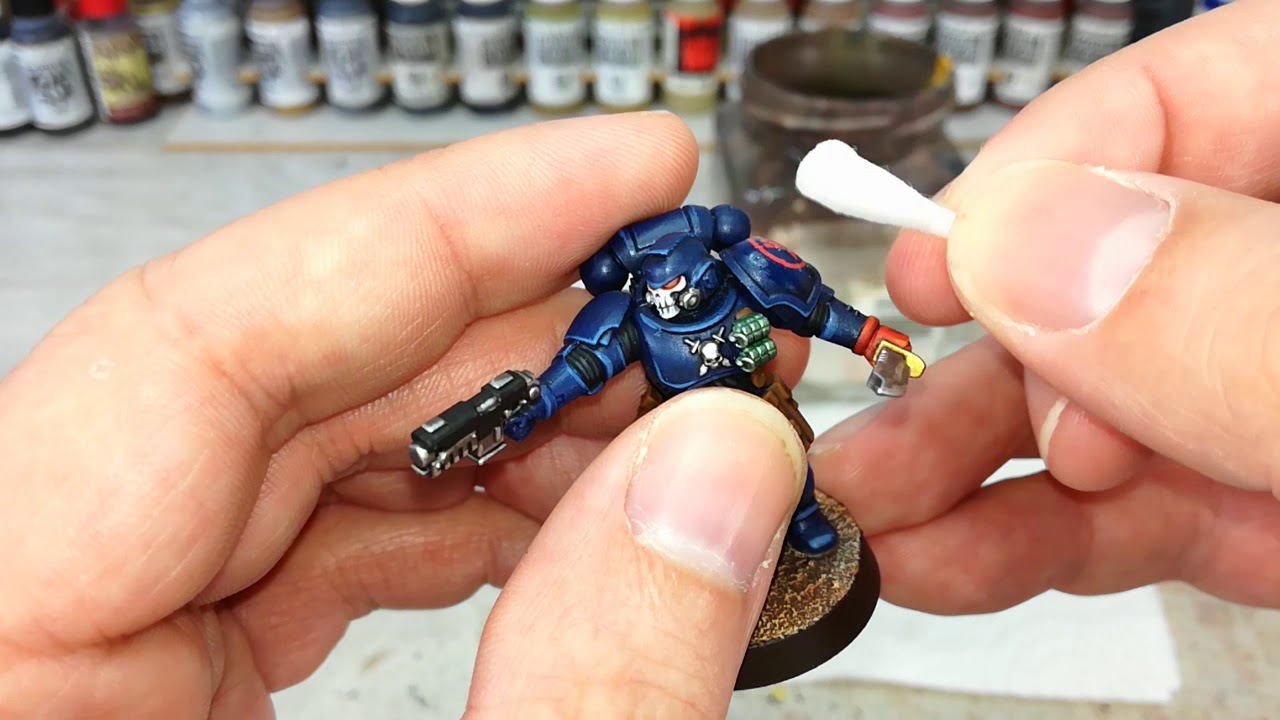
Then there are things not essential but make life easier like the bottles with the necks so you can easily squirt stuff into the airbrush, small pointy cotton buds (that don't leave strands/fluff), one of the little pokey/pipe cleaner type kits.
Here we go again just been recommended an app called Impcat which looks quite interesting for different colour schemes ;)

Cheers All
 
Soldato
Joined
26 Aug 2003
Posts
24,267
What would you say your set up cost? I could look for myself but I know what will happen :o

Thanks for the extra info @Noxia !

My actual setup is pretty expensive but it doesn't need to be.

Sil Air 15d £420
Cult of Paint Infinity £212
Extractor booth about £90 I think these seem to be slightly more expensive now but they all have little LED lights in them which is nice.
Hose £10 or so
Extra connectors you'll probably end up getting another £10

But if you're looking to get started I'd probably go for something along the lines of

AS186 compressor with tank £91 here they're literally all the same, brand doesn't really matter, if it looks like that, that's what it is and they're absolutely fine.
2024 Ultra £85 or the Evolution if you're feeling fancy, looks pretty rad tbh.
And get some sort of cleaning kit that comes with the little pot, you get brushes and a needle thing for cleaning your nozzle with but do yourself a favour and don't use it, it's so easy to ream the nozzle out and ruin it. You really just want the pot because they're dead handy.
Hose is like a tenner or like Noxia said, get a really cheap brush with a hose for literally £20 and you can use the other brush for if you ever want to spray anything like enamels or anything else horrible.
Worth getting the booth. Mine isn't hooked up to the actual vent, no paint comes out the back so I just use it as is. I used to stand a piece of cardboard against the back and it never got paint on it, it all just gets caught in the filter. I don't wear a mask, but I'm famously not very bright so I wouldn't necessarily take my advice on that.

And then like another £20-30 for cleaners, thinners and stuff. I tried this airbrush cleaner lately and it's really good. Cheaper than Vallejo and you get more and it's squirty.
 
Soldato
Joined
30 Dec 2010
Posts
14,616
Location
Over here
should rename this thread to how to spend your paycheck!!

I just spotted these
AK ink range

I was also looking at inks but then I realised I have no idea what they're used for, I just liked the look of the bottles :D

Re decals, if I'm understanding this right: Gloss varnish on shoulder pads, then use my Mig decal set (says use over surface previously varnished in gloss but not sure if it means whilst it's still wet), plop me decal on the shoulder, get it in place then gently apply the Mig Decal Fix. Leave overnight, do any weathering or whatever then use matte varnish to get rid of shine.
 
Last edited:
Caporegime
Joined
5 Apr 2009
Posts
25,007
Re decals, if I'm understanding this right: Gloss varnish on shoulder pads, then use my Mig decal set (says use over surface previously varnished in gloss but not sure if it means whilst it's still wet), plop me decal on the shoulder, get it in place then gently apply the Mig Decal Fix. Leave overnight, do any weathering or whatever then use matte varnish to get rid of shine.


I think these are both decent examples of decal application

I've not really found it necessary to gloss varnish beforehand when using micro set / micro sol (or an equivalent), those products give you enough control of the decal without it sticking/grabbing anywhere
 
Soldato
Joined
30 Dec 2010
Posts
14,616
Location
Over here
I've not really found it necessary to gloss varnish beforehand when using micro set / micro sol (or an equivalent), those products give you enough control of the decal without it sticking/grabbing anywhere

Thanks.I did wonder exactly what was in these decal sets that are not already in the gloss, but I'm not a chemist.

I'm a bit stuck what to do with the base for this dread. It still has the what was black rocks from when it was a salamander. I'm thinking because the texture is there Perhaps I could dry brush it like dark red or something I don't know. I'm not really fussed about it matching the rest of the units. It can be different. Not like it will match with the table theme anyway.
 
Soldato
Joined
12 Oct 2006
Posts
10,528
Location
Tatooine
Pigments pigments pigments. If I wasn’t having snow I would be all over pigments.

Texture paste and pigments to match. Wee bit up the legs/boots to tie them to the base
 
Soldato
Joined
26 Aug 2003
Posts
24,267
Thanks.I did wonder exactly what was in these decal sets that are not already in the gloss, but I'm not a chemist.

I can only assume that the Mig ones are similar to if not the same as micro set and micro sol. Micro set softens the decal up a bit and more importantly makes it slide around easily on the model.

Micro sol is a solvent and it dissolves the clear part of the decal and also softens the printed part even more BUT the decal will break apart if you’re too rough with it and it will also remove paint and varnish if you’re not careful, I found that out the hard way.

My process is:

Paint.

Gloss varnish.

Blast it with the hairdryer until it’s dry, ideally leave it alone for a bit. Overnight probably best but I am impatient.

Decal into water for about 30 sec or a bit less, whenever you can move it on the sheet is fine.

Micro set on target area, it should be wet.

Decal onto model with brush, tweezers, knife, whatever really. I usually use a brush. Get it in place.

Use a bit of kitchen roll, the end of a cotton bud or similar to press it into place. It may or may not be totally flat against the surface now, doesn’t matter if it’s not.

Another bit to dry it. Just pat it or press it carefully. No sideways movement at all.

Then put a bit of micro sol onto it with a brush, rub it in, and then prod it with the end of a cotton bud until it conforms properly to the shape of the model. Be careful and don’t apply any sideways movement as you can still move the decal at this point but it won’t be easy to move back and may tear. You’ll see the clear part of the decal fade away.

Pat it dry.

Do any oil washes, streaking grime, recess wash, anything that needs the gloss varnish like oils or enamels.

Let it dry and then matte varnish it.

GW decals are really nice, very thin, and go on easily, you only really need the solvent for anything as round or rounder than a space marine shoulder pad sort of shape. On flats you can go without it but it does help get rid of the clear more so I tend to use a bit of solvent even on flat ones now.

My blood ravens decals are quite a lot thicker and take a lot of teasing to lay flat on shoulder pads. It takes me about 5 minutes or more to do the solvent step on them, and I ruined probably 4 or 5 before I got the hang of it. I went back on YouTube and found some more tutorials, and I basically wasn’t doing it quite in the right order, that’s how I arrived at the process above which I’ve found to be spot on. Pretty sure it was cult of paint, surprise surprise.


As far as skipping the gloss goes, I mostly use AK and Pro Acryl paints at the moment which are quite matte, GW paints are kind of satin so I think you can often go straight onto them.
 
Last edited:
Soldato
Joined
30 Dec 2010
Posts
14,616
Location
Over here
@PardonTheWait Thanks for the detailed steps, I am not too worried, my Salamander ones were ok but definately had silvering, so hopefully I avoid that with this method.
@Kenai It does need to be yellow/red I think for the contrast.

Normally last step I do but had some green out so did the eyes, makes me think I could do with one of those magnifying lense things and a 000, I used a 00.. All annoying bits left really, purity seals, edges aren't too bad on these, the bloody rockets in the launcher and try to something fancy with the power sword. Oh and the camera lenses too.

Then the dread, the rocket pod and other weapon needs to be based etc as I did it all in subs and forgot to do them.

 
Last edited:
Associate
Joined
12 Sep 2009
Posts
1,600
Another tip for you if you really want a good shine on your metallics is to run pledge liquid floor polish through your airbrush.

I did a 12th scale mandalorian and I really wanted the silver beskar armour and helmet to pop and the pledge really did the trick, loads in a bottle too plus its self levelling.

A lot of scale modellers use it on aircraft canopies to give the plastic a nice shine.


Not the price I paid for it though ;)

Cheers All
 
Last edited:
Soldato
Joined
12 Oct 2006
Posts
10,528
Location
Tatooine
But I realllllllllllllllllly hate basing :(
Your latest models are great. Just need to finish them off with a nice simple base. A texture paste or a ready base mix with pigments should be easy and quick. The hardest part should be picking a nice contrasting colour to suit your scheme.

If it’s a ready made mix make sure it has different sizes of grains.
 
Soldato
Joined
30 Dec 2010
Posts
14,616
Location
Over here
Your latest models are great. Just need to finish them off with a nice simple base. A texture paste or a ready base mix with pigments should be easy and quick. The hardest part should be picking a nice contrasting colour to suit your scheme.

If it’s a ready made mix make sure it has different sizes of grains.

Seen a few using like orange dust, that could work. Could mix pigment with my existing urban gravel for the texture maybe.

Btw got a business idea, you could launch your own range called .. .Bigpigments
 
Associate
Joined
12 Sep 2009
Posts
1,600
Well I have just ordered a 10 bottle set of Army Painter Speedpaint 2.0 metallics, thought I would give them a try, Hoplite Gold was the colour that really caught my eye.

I have got a load of Stormcast Eternals to paint and hopefully it will speed up the painting process.

Cheers All
 
Soldato
Joined
26 Aug 2003
Posts
24,267
But I realllllllllllllllllly hate basing :(
There's a secret to quick and easy basing. Just don't do a good job of it. Texture paste, contrast or wash, drybrush, it's the easiest thing ever.

If you get texture paste on their feet, first of all it doesn't really matter because people do get dirty feet, also just get a wet brush and swoosh it off. Won't hurt the base, can always top it up once it's dry anyway.

I don't really love basing either, definitely not one for doing these really great bases you see sometimes, especially for an army. But a 'good' base is easy and quick.

I might treat mine to some tufts at some point. If I can be bothered
 
Soldato
Joined
30 Dec 2010
Posts
14,616
Location
Over here
There's a secret to quick and easy basing. Just don't do a good job of it. Texture paste, contrast or wash, drybrush, it's the easiest thing ever.

If you get texture paste on their feet, first of all it doesn't really matter because people do get dirty feet, also just get a wet brush and swoosh it off. Won't hurt the base, can always top it up once it's dry anyway.

I don't really love basing either, definitely not one for doing these really great bases you see sometimes, especially for an army. But a 'good' base is easy and quick.

I might treat mine to some tufts at some point. If I can be bothered

I have a pot of aggrelen earth or something that's supposed to go crackly. I could just use that and try dry brush I guess.
If I recall I have to apply it quite thick, otherwise it doesn't go crackly
 
Soldato
Joined
26 Aug 2003
Posts
24,267
I have a pot of aggrelen earth or something that's supposed to go crackly. I could just use that and try dry brush I guess.
If I recall I have to apply it quite thick, otherwise it doesn't go crackly

You get bigger cracks when it’s thicker with crackle pastes usually. I’ve tried some new AK stuff on those eradicators, put it on quite thick and it’s made very small cracks, found out that AK actually say you should glue a bit of paper to the base and put it over that to make it crack properly which is a mild pain but I’ll give that a go.

I’ve got some mars red greenstuffworld crackle paste as well and that cracks up lovely just over paint.

I like using them along with normal texture paste for a bit of variety and also to keep the crackle stuff away from the edges because it’s really easy for it to get flicked off.
 
Associate
Joined
12 Sep 2009
Posts
1,600
I have a pot of aggrelen earth or something that's supposed to go crackly. I could just use that and try dry brush I guess.
If I recall I have to apply it quite thick, otherwise it doesn't go crackly
Before you add your aggrelen earth, paint a dark colour all over your base, then coat all of the base with pva glue brushed on, once that's dry apply the aggrelen earth.

The pva will form a layer for the texture paint to stick to and once the cracks appear you will see the dark paint that you first applied ;)

Cheers All
 
Back
Top Bottom