

You are using an out of date browser. It may not display this or other websites correctly.
You should upgrade or use an alternative browser.
You should upgrade or use an alternative browser.
Victorian renovation build log
- Thread starter eviled
- Start date
More options
View all posts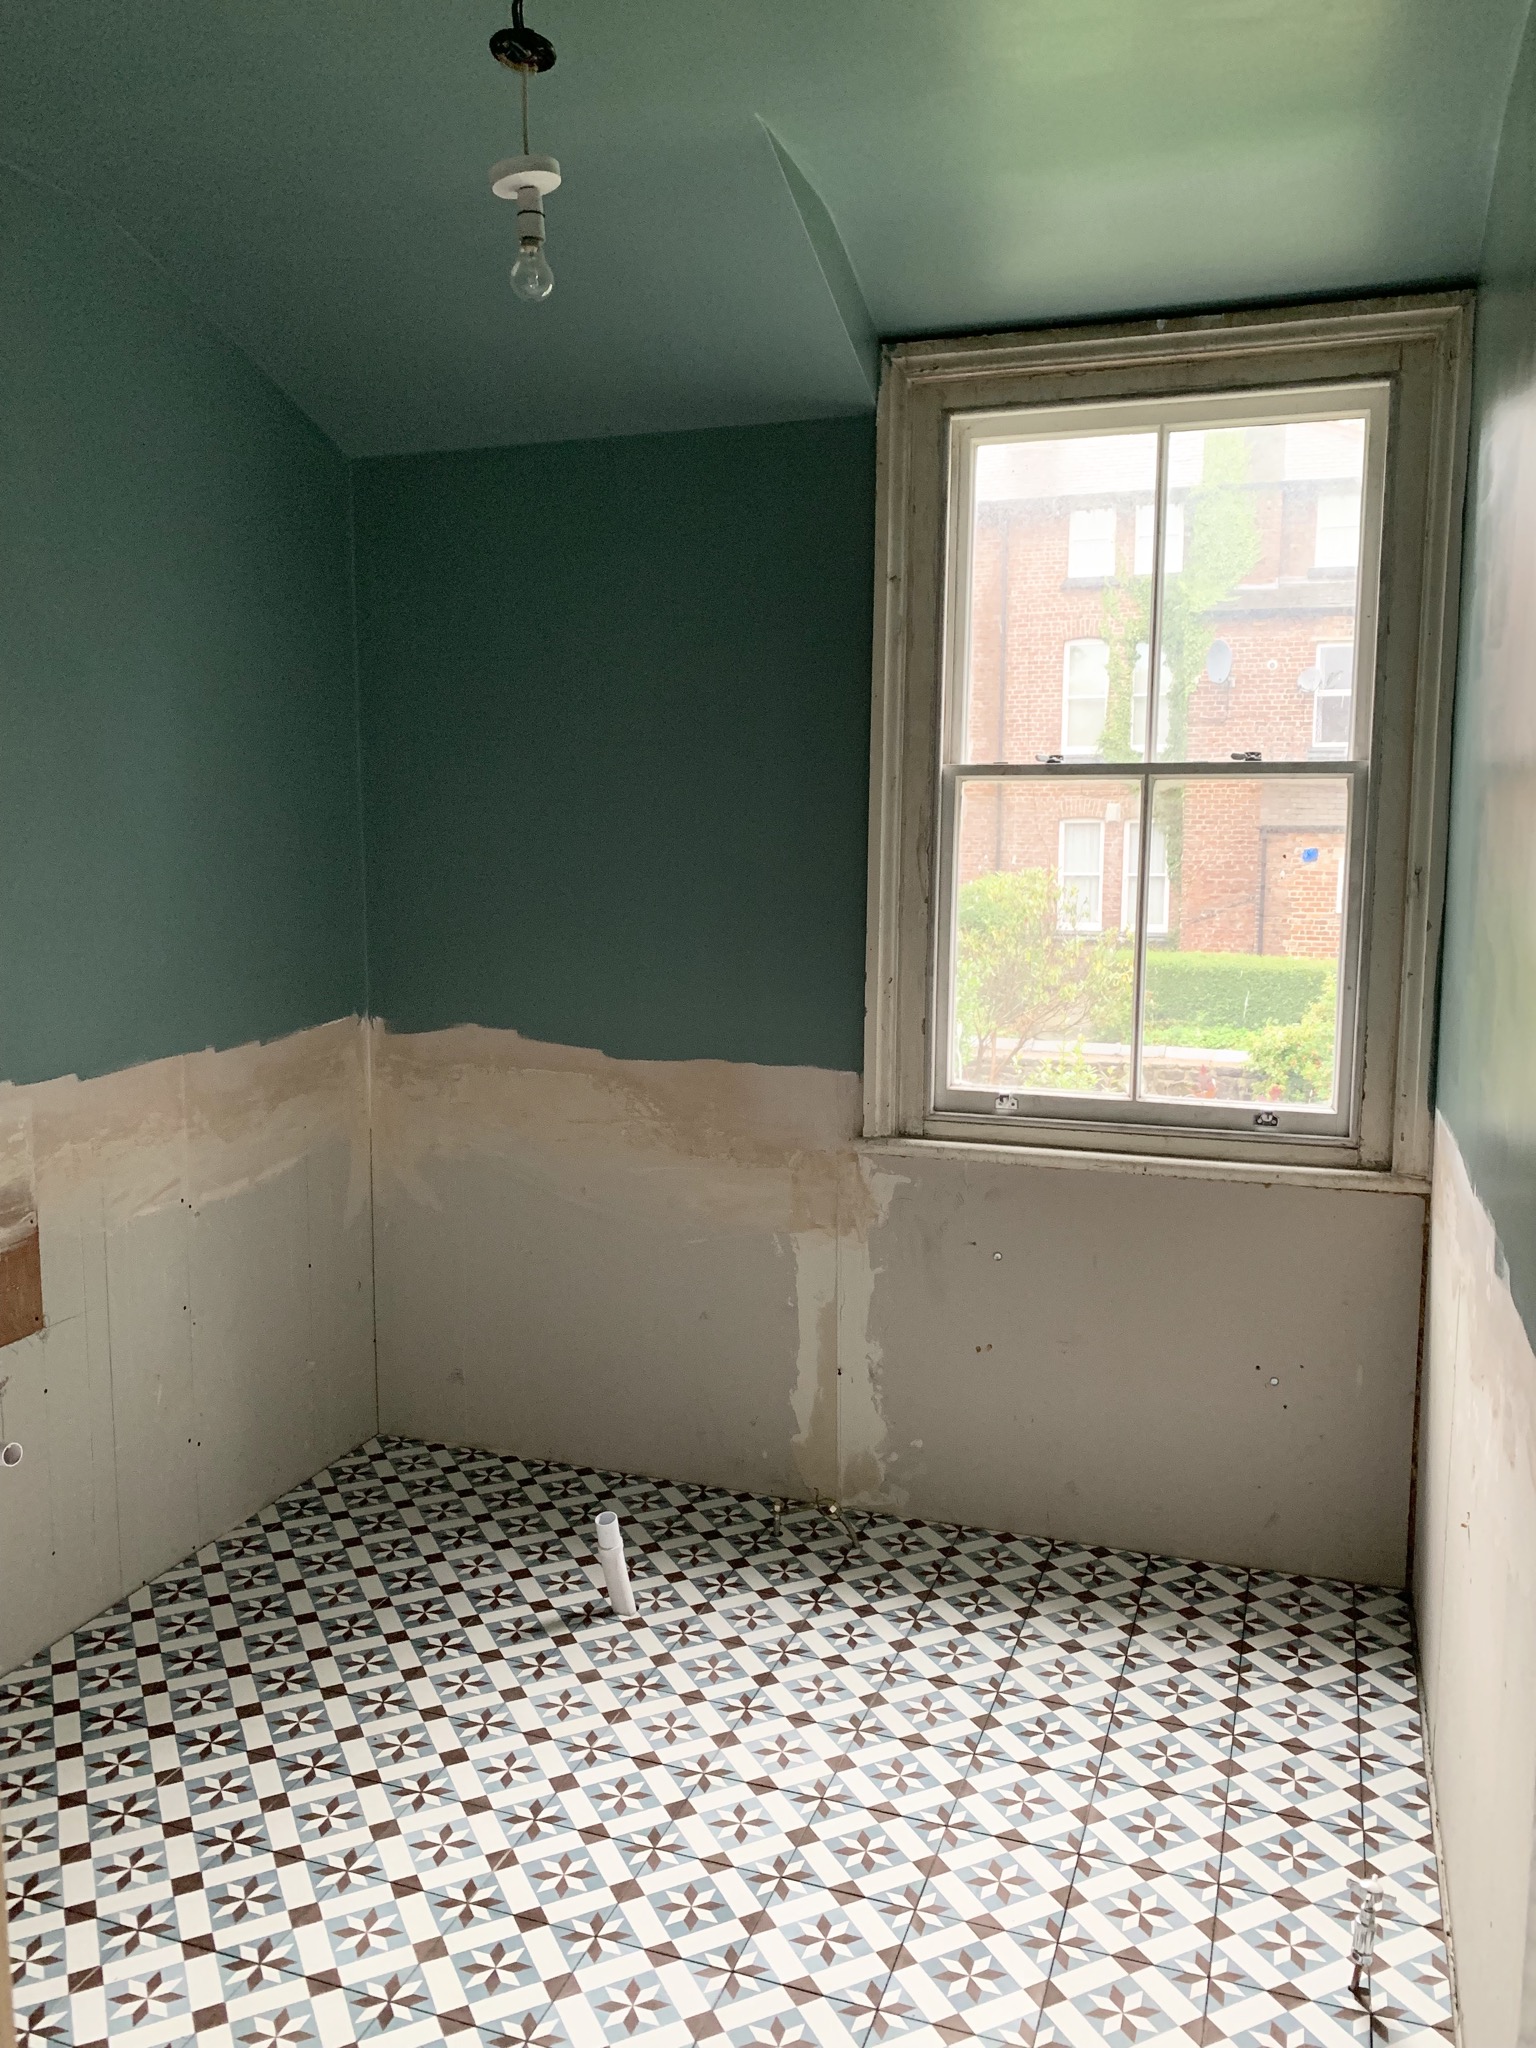
The beast is alive!
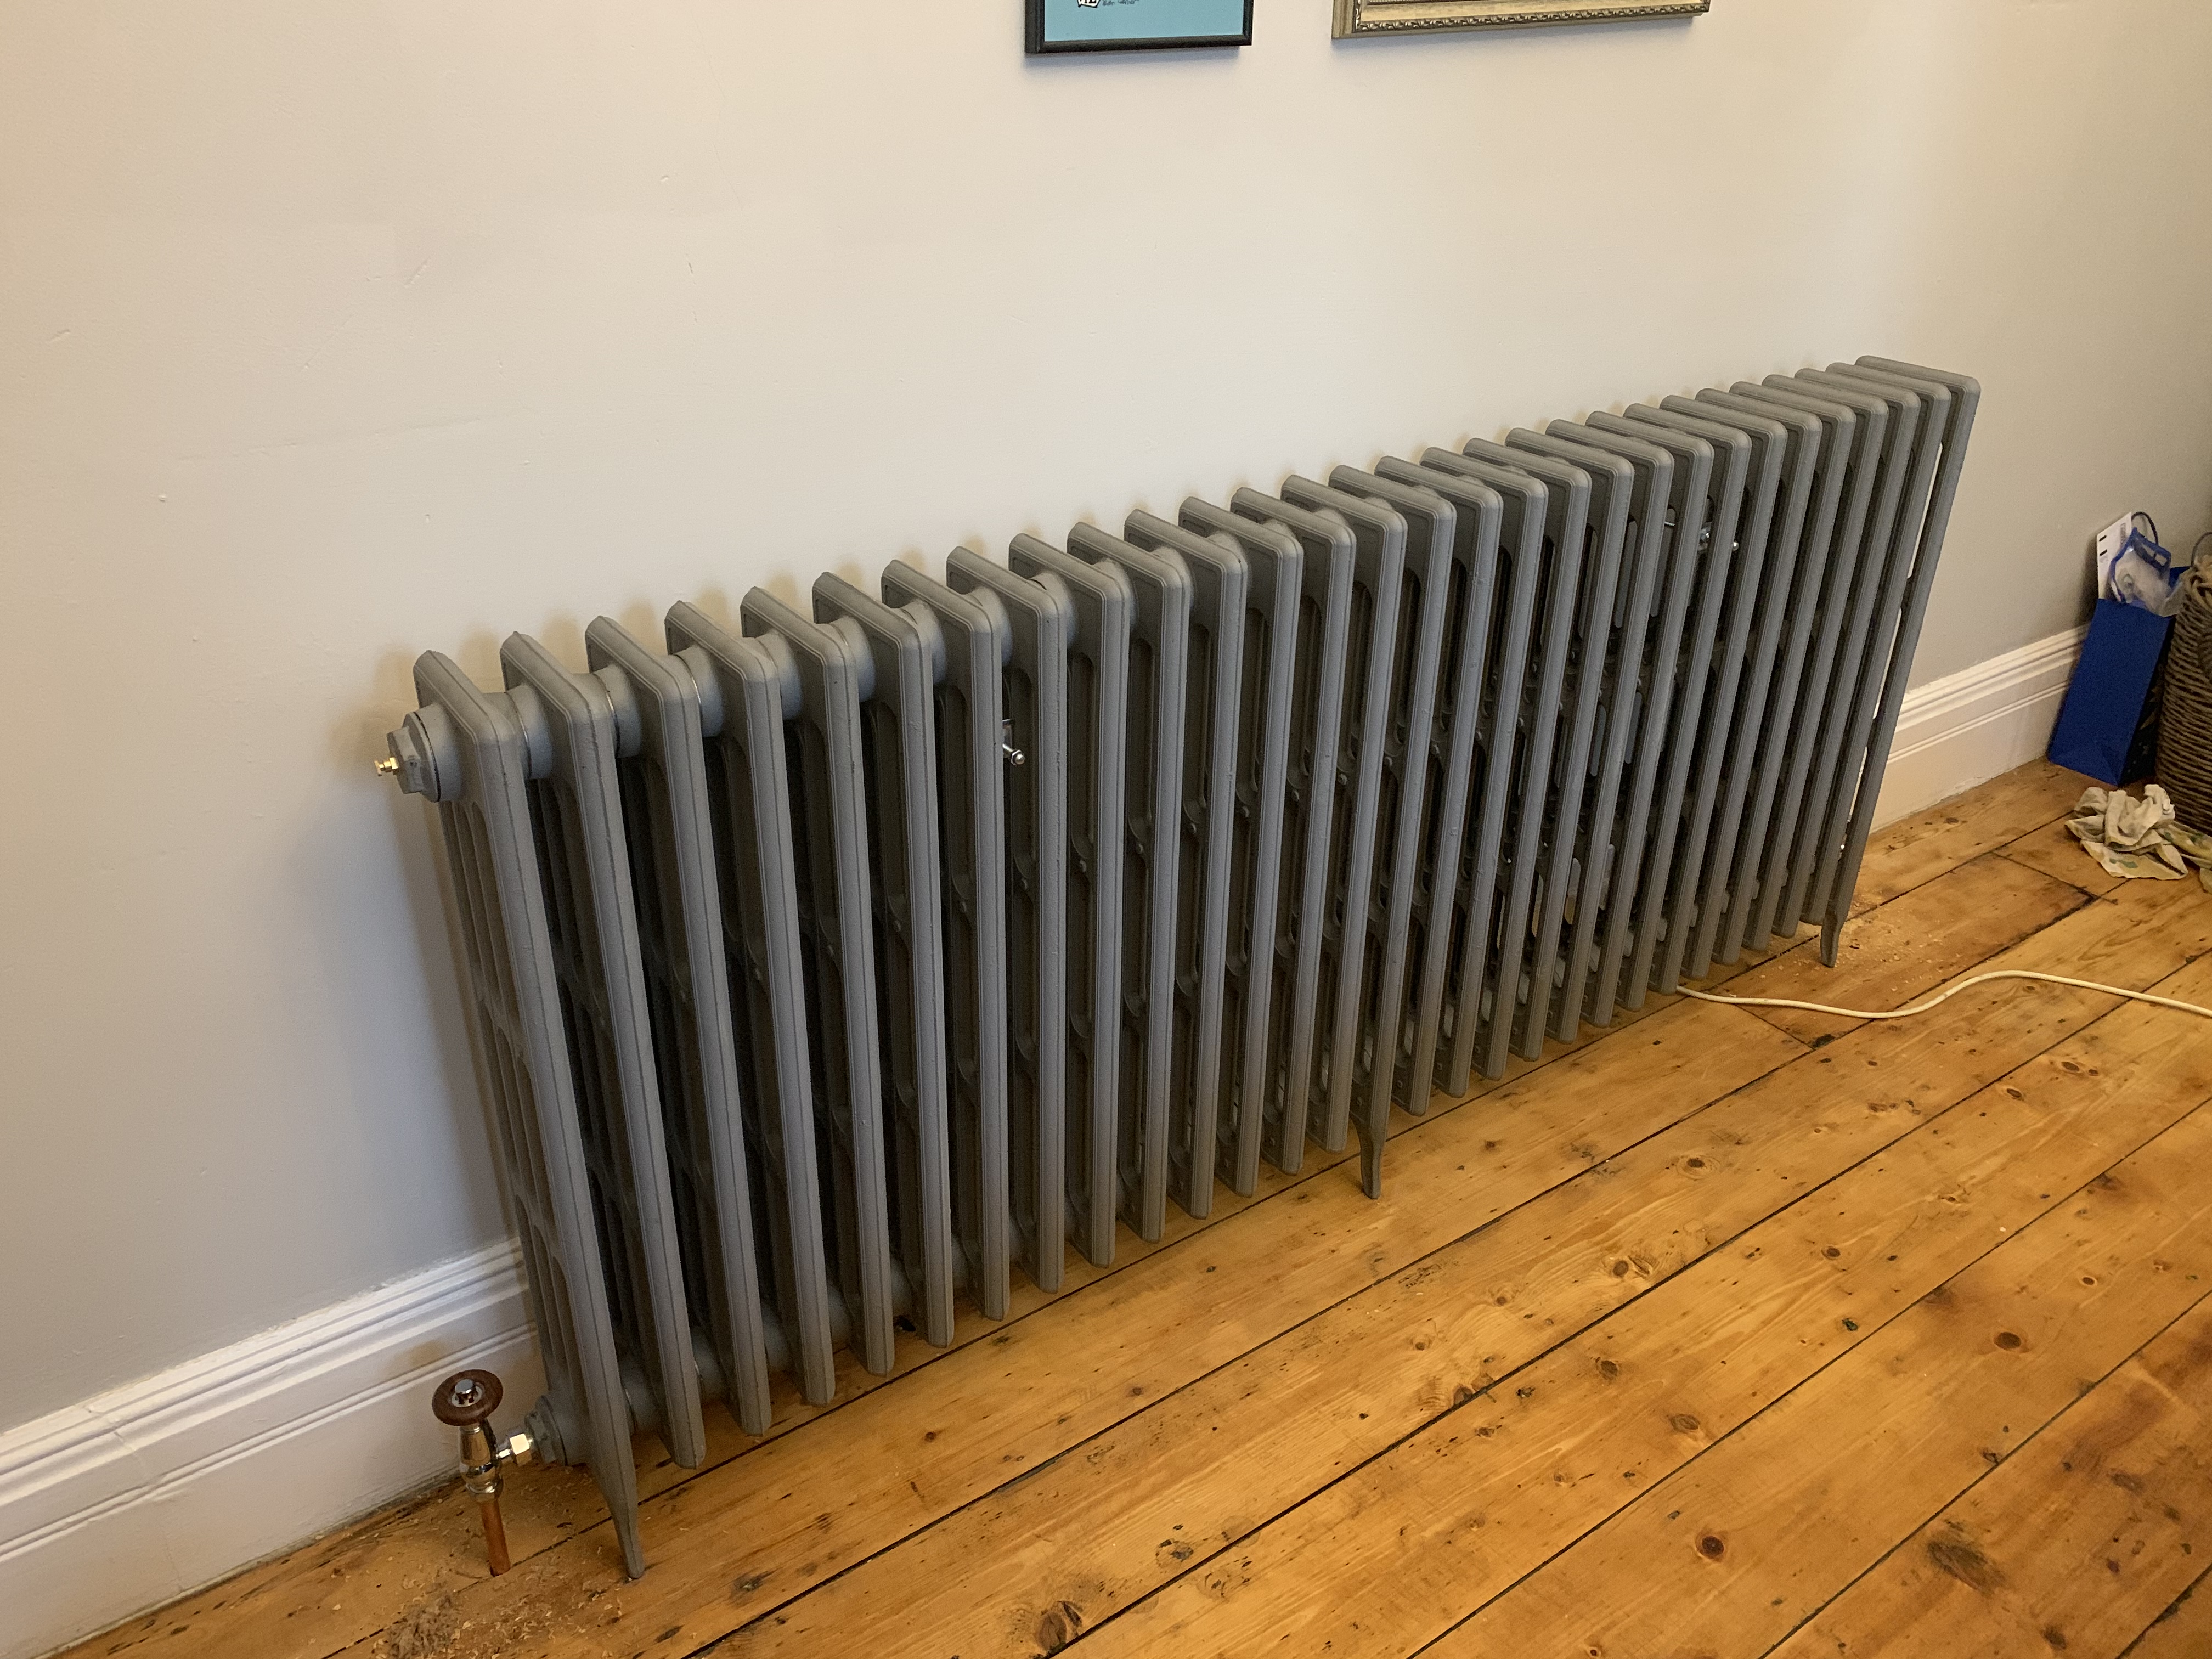
took 3 of us just to stand it up
A friend of a friend did the plumbing for us so out heating is back up and running for a couple of hundred.
The big cast radiators got switched to 15mm coming off the 22mm, the smaller hall radiators stayed on 10mm - but their runs are very short off the 22mm.
All fired up and only 2 small leaks - radiator tail needed tightening, and a casting imperfection around a bleed valve needed extra PTFE and jointing compound
These things are deadly thought as the first think our toddler did was try and climb it, being his height and 230kg would easily crush him to death.
Its now bolted to the wall with 2 stays, I wasnt impressed with the expanding brass brass rawl plugs so ended up glueing them into the wall with epoxy resin before screwing them in.
Rock solid now
Well the radiator leaked in the middle section, had to get a custom 1metre long key made up at a local steel works - £10, bargain!
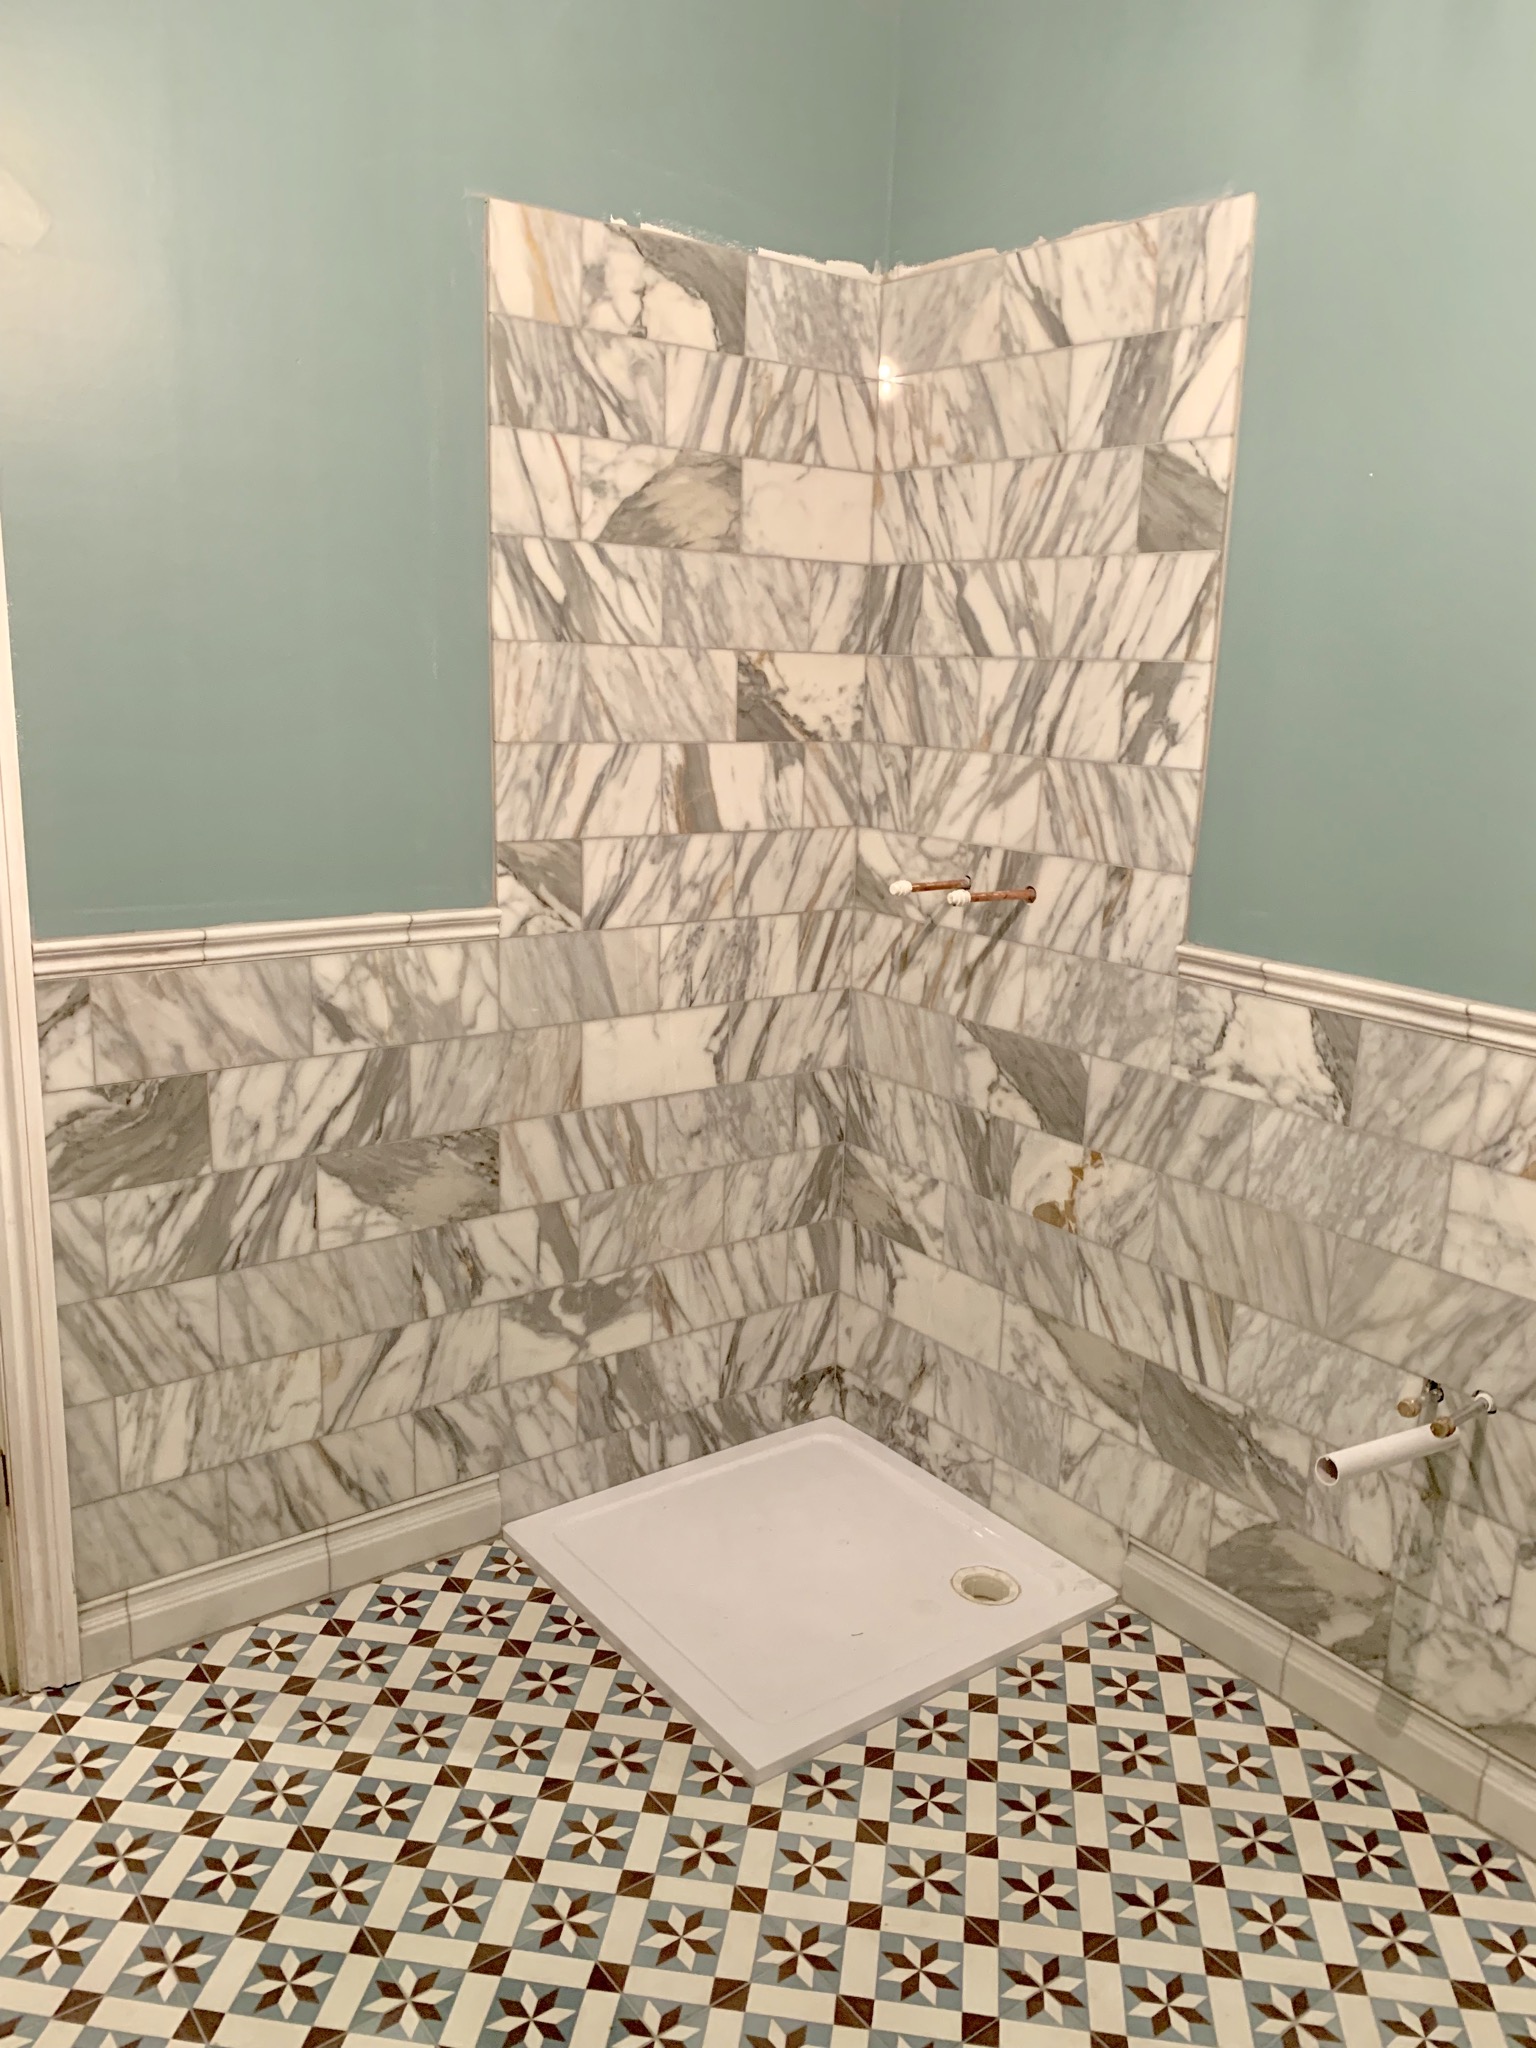
Anyway back to the bathroom
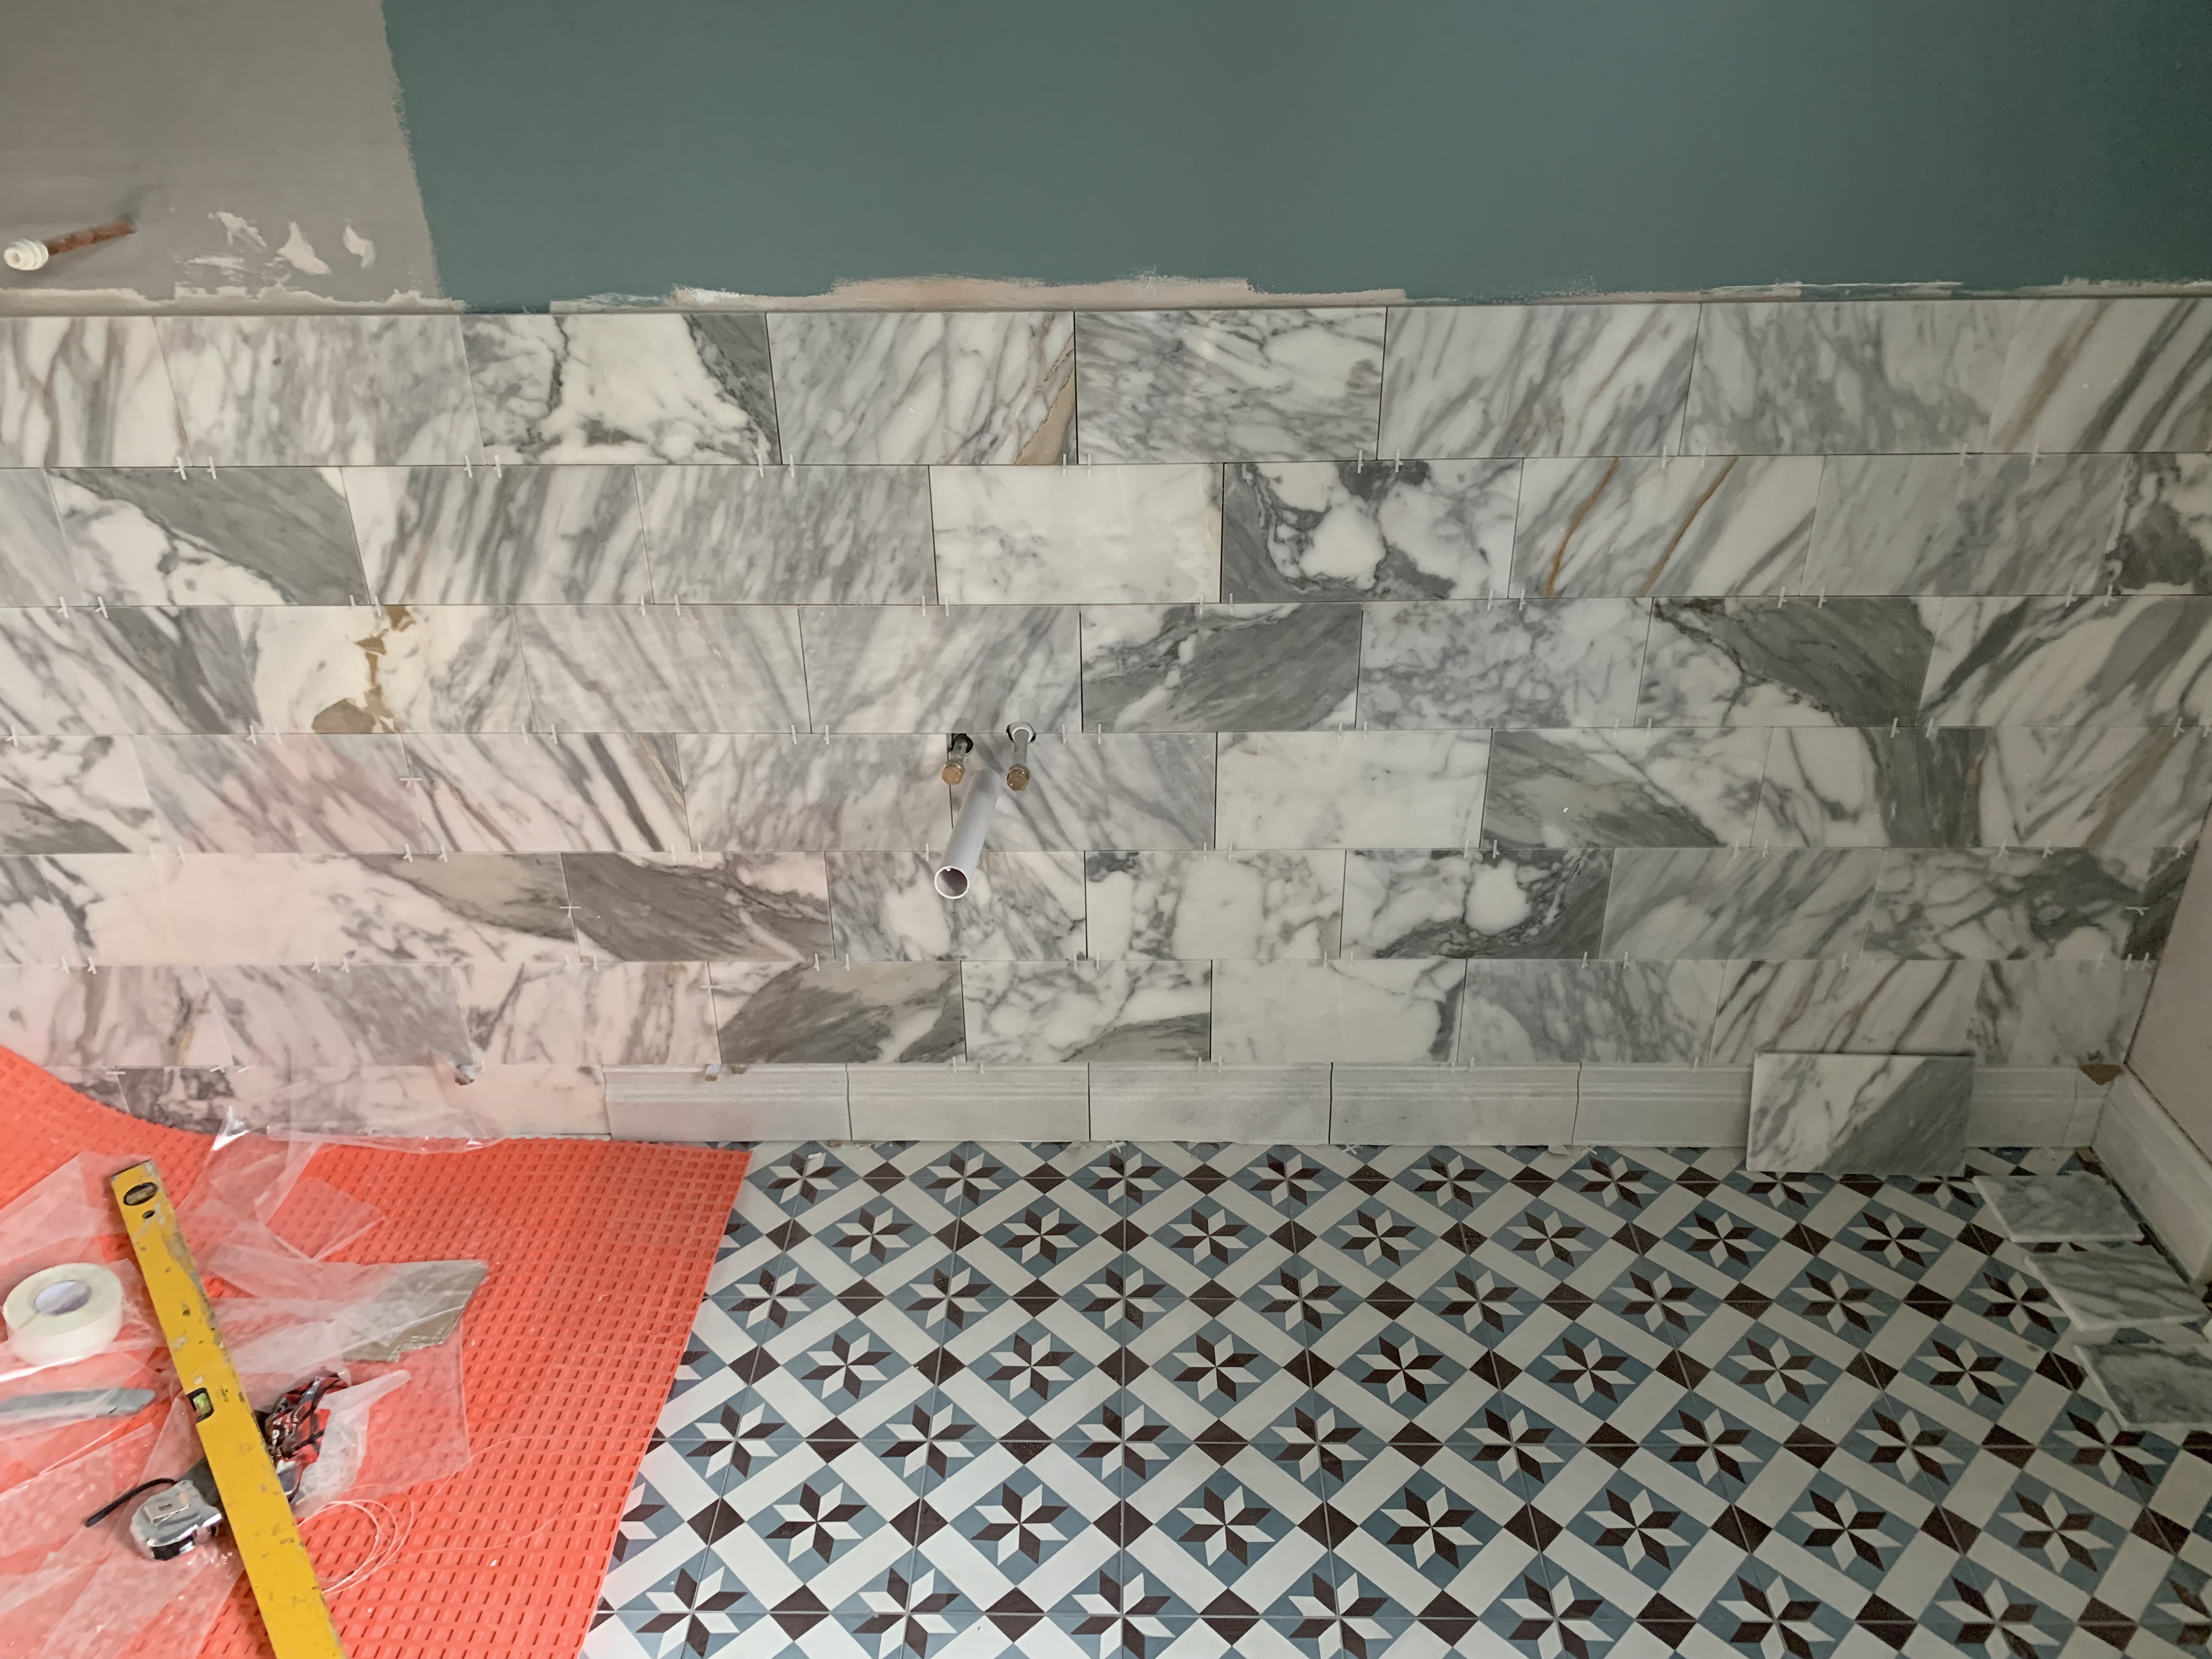
Marble is much fussier than the sample pack was, I hope it looks ok when all the bathroom furniture is in
Anyway back to the bathroom
Marble is much fussier than the sample pack was, I hope it looks ok when all the bathroom furniture is in
Last edited:
Got myself a 5mm wax filled diamond bit for £8 off amazon, never used one for small holes is stone before but its been great
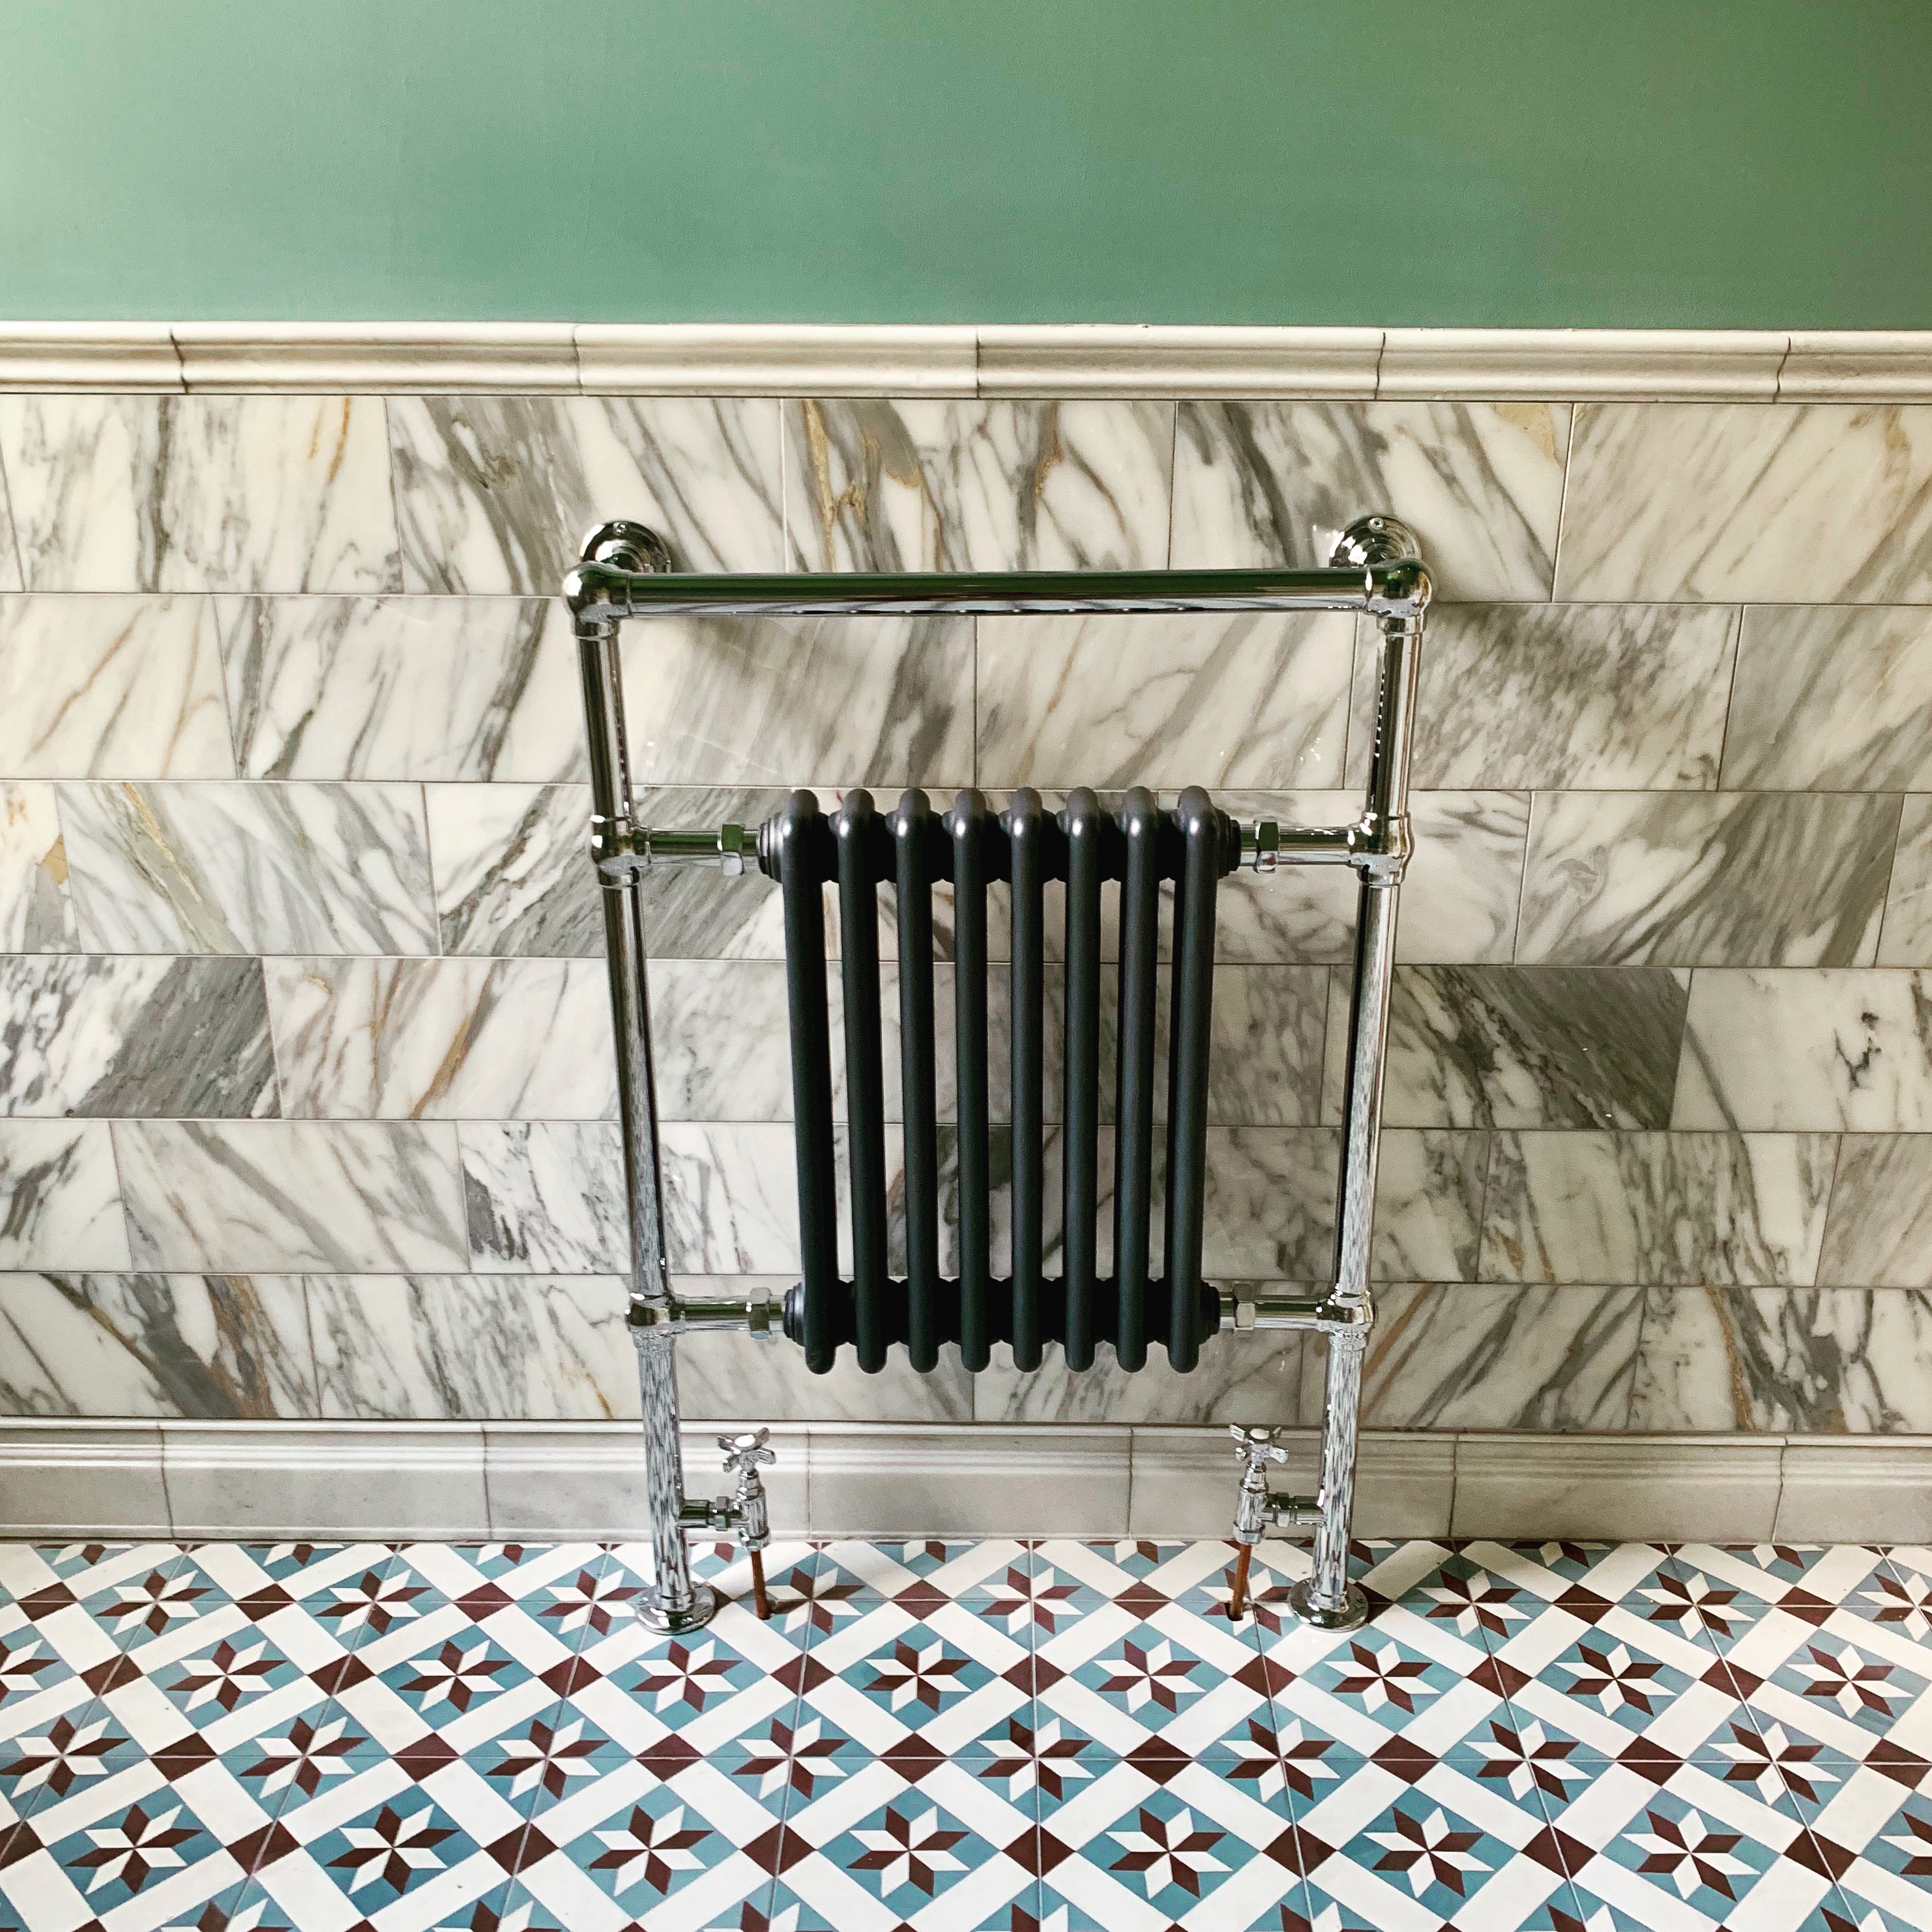
radiator plumbed and fixed, no leaks, just need to but some chrome shrouds for the feed/return pipes.
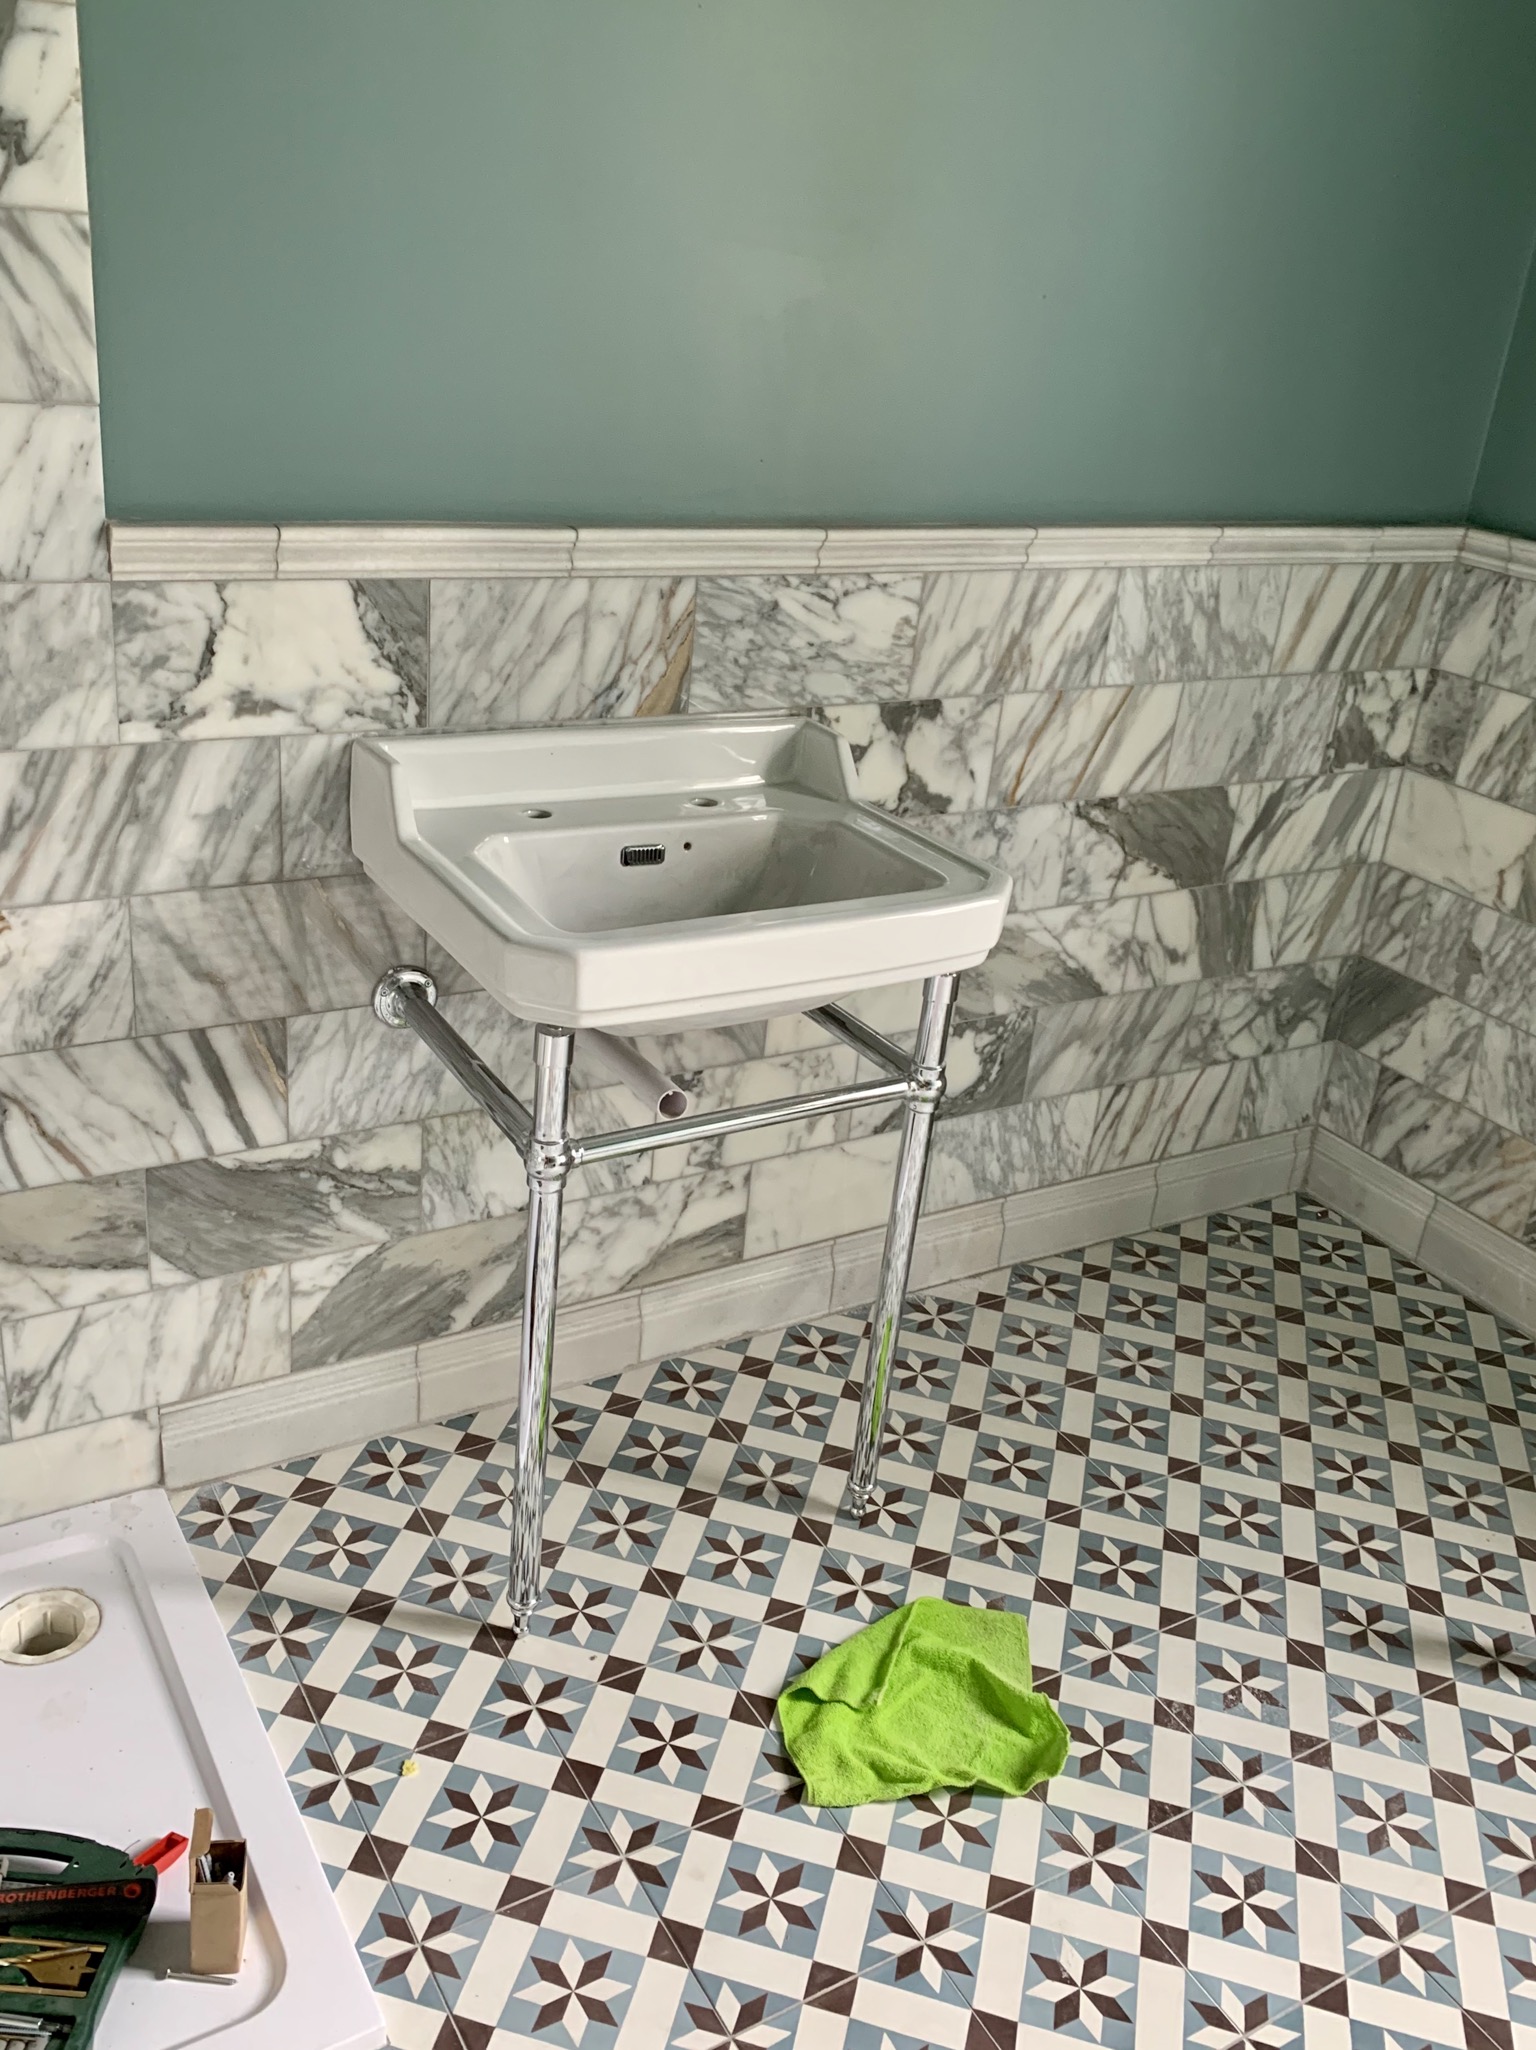
sink has been a pain in the arse, wobbly legs that are hard to get square, and the basin weighs a lot! Had to lie on my back taking the weight on the basin with my feet while drilling pilot holes through the mounting holes into the wall.
After all that I decided the mounting holes look pretty flimsy so picking up some grip fill tomorrow to glue it to the wall as well!
Tomorrow I will (try to) mount the tap stands, fix the bath, and plumb/mount the shower..... wish me luck!!
radiator plumbed and fixed, no leaks, just need to but some chrome shrouds for the feed/return pipes.
sink has been a pain in the arse, wobbly legs that are hard to get square, and the basin weighs a lot! Had to lie on my back taking the weight on the basin with my feet while drilling pilot holes through the mounting holes into the wall.
After all that I decided the mounting holes look pretty flimsy so picking up some grip fill tomorrow to glue it to the wall as well!
Tomorrow I will (try to) mount the tap stands, fix the bath, and plumb/mount the shower..... wish me luck!!
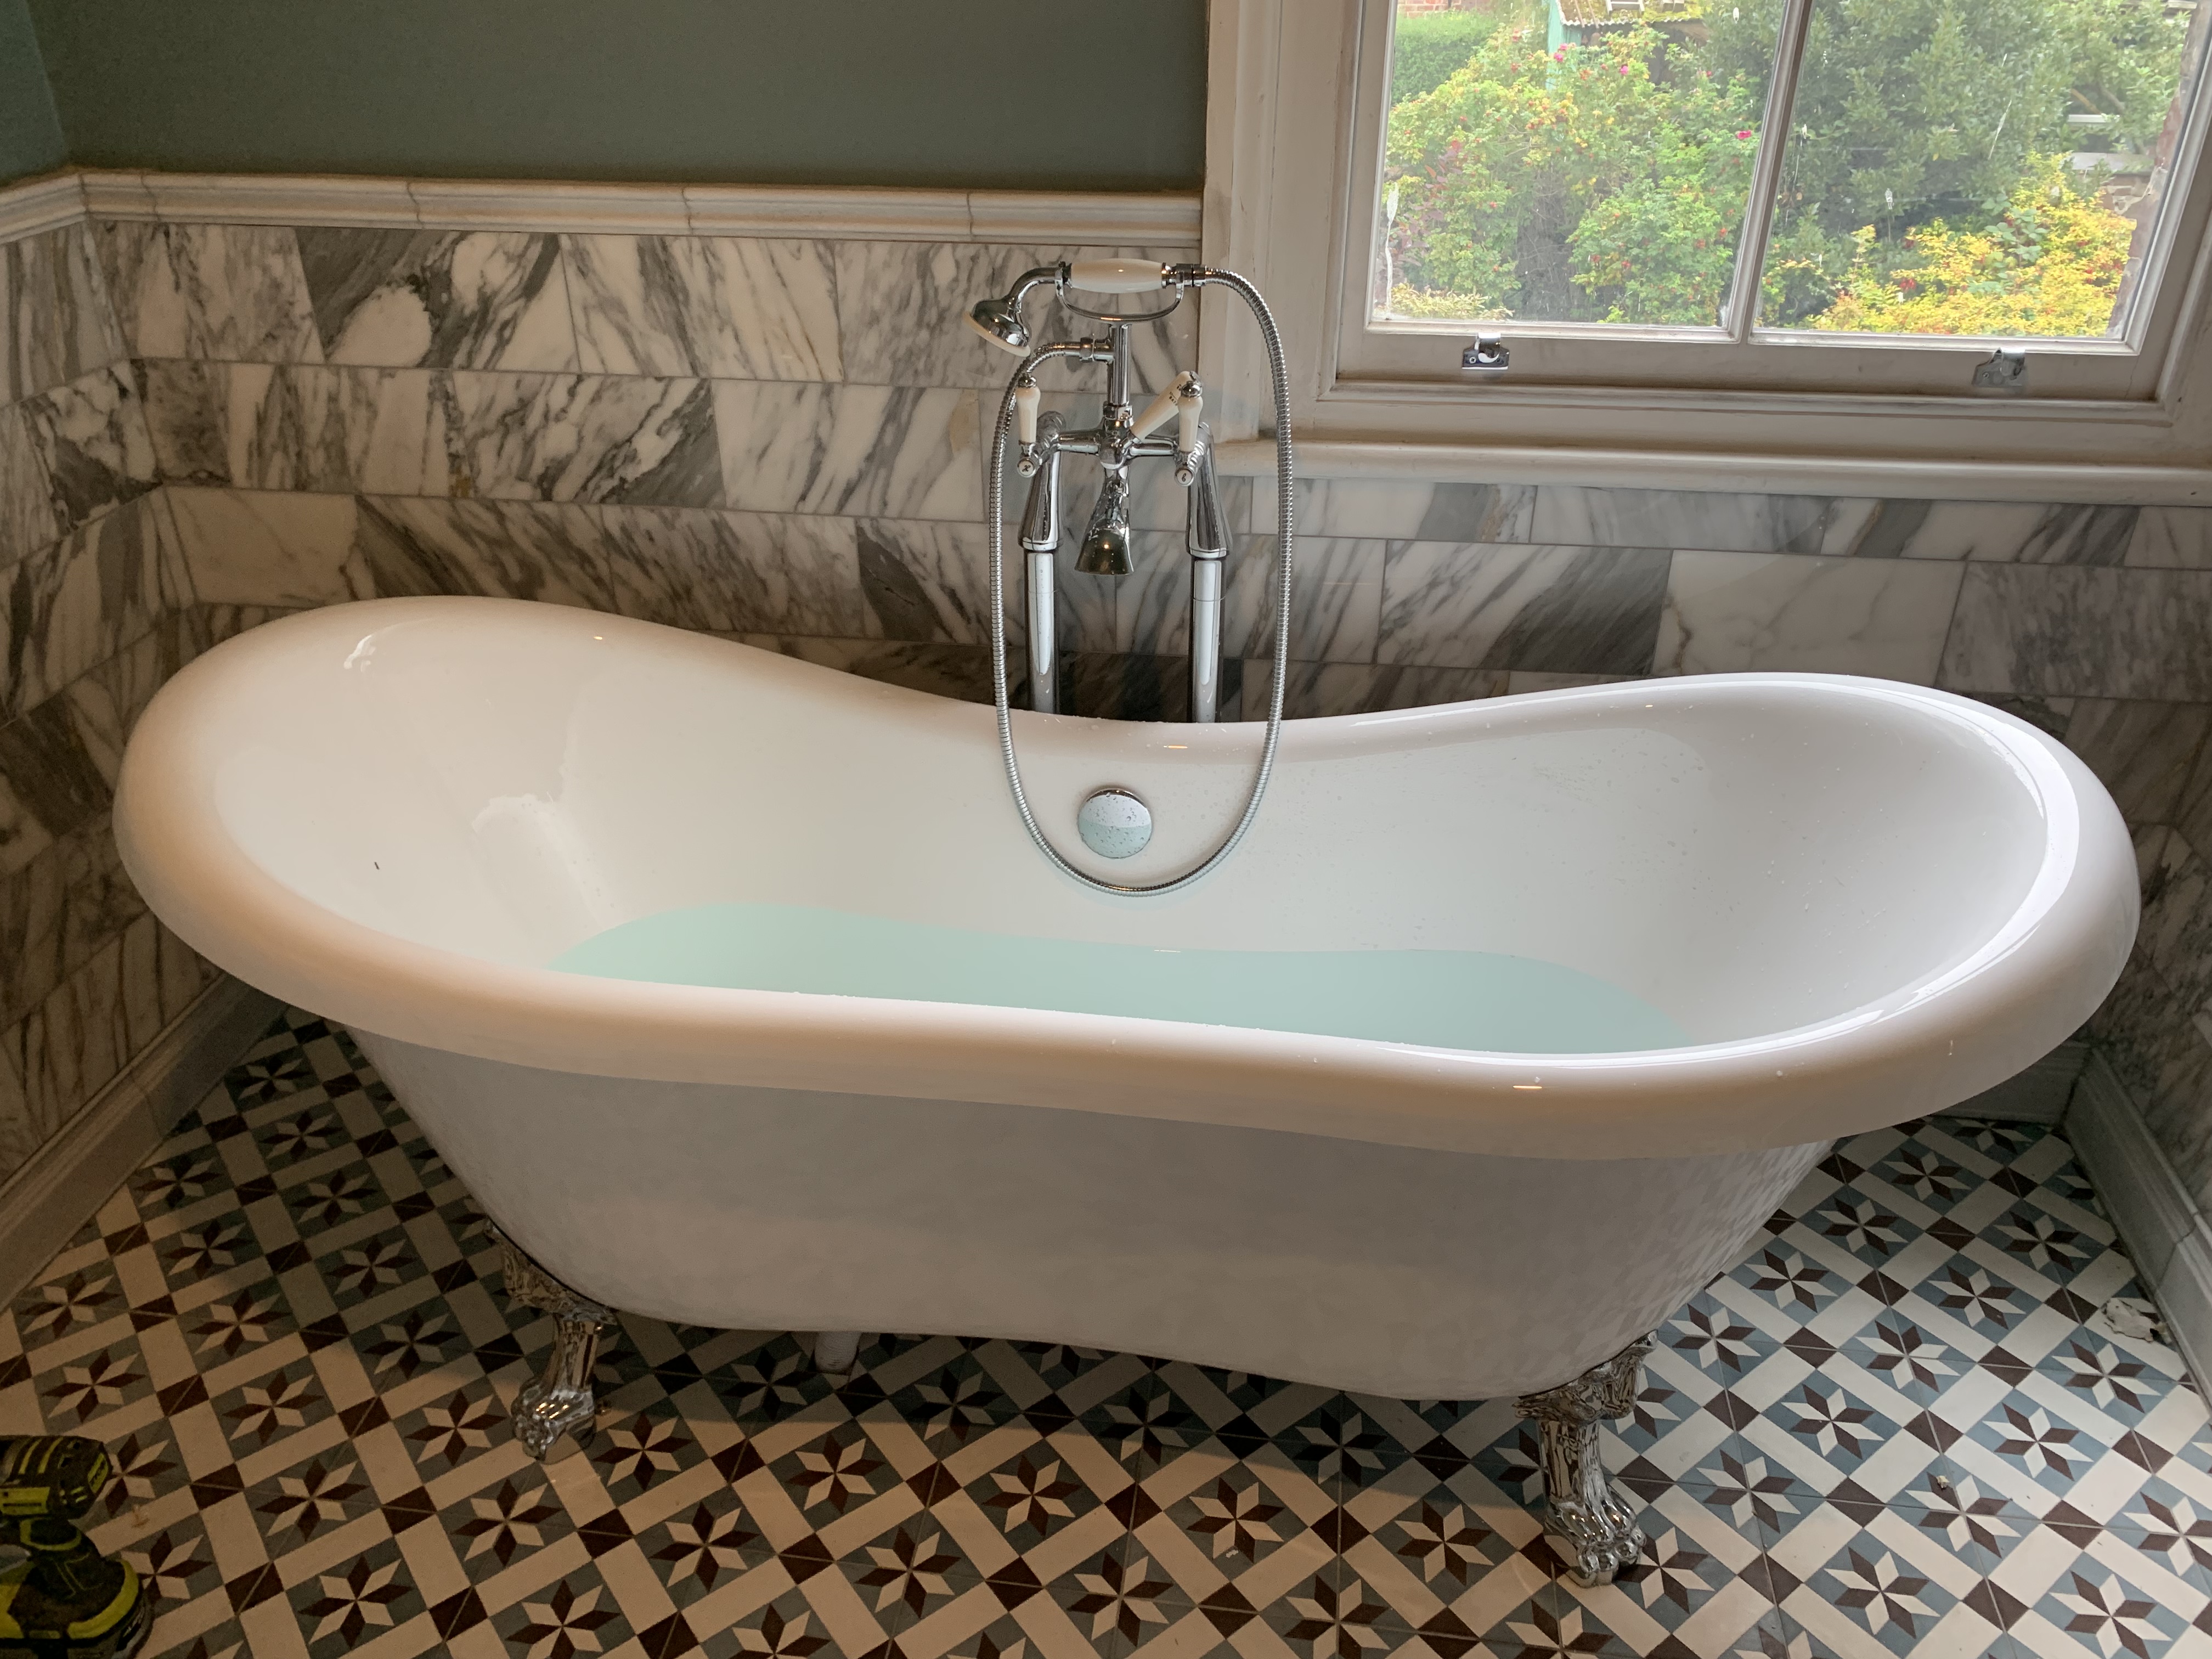
Bath taps and bath went in surprisingly straight forward, filled to weigh it down as the grab adhesive for the feet sets
went from this....
to this....
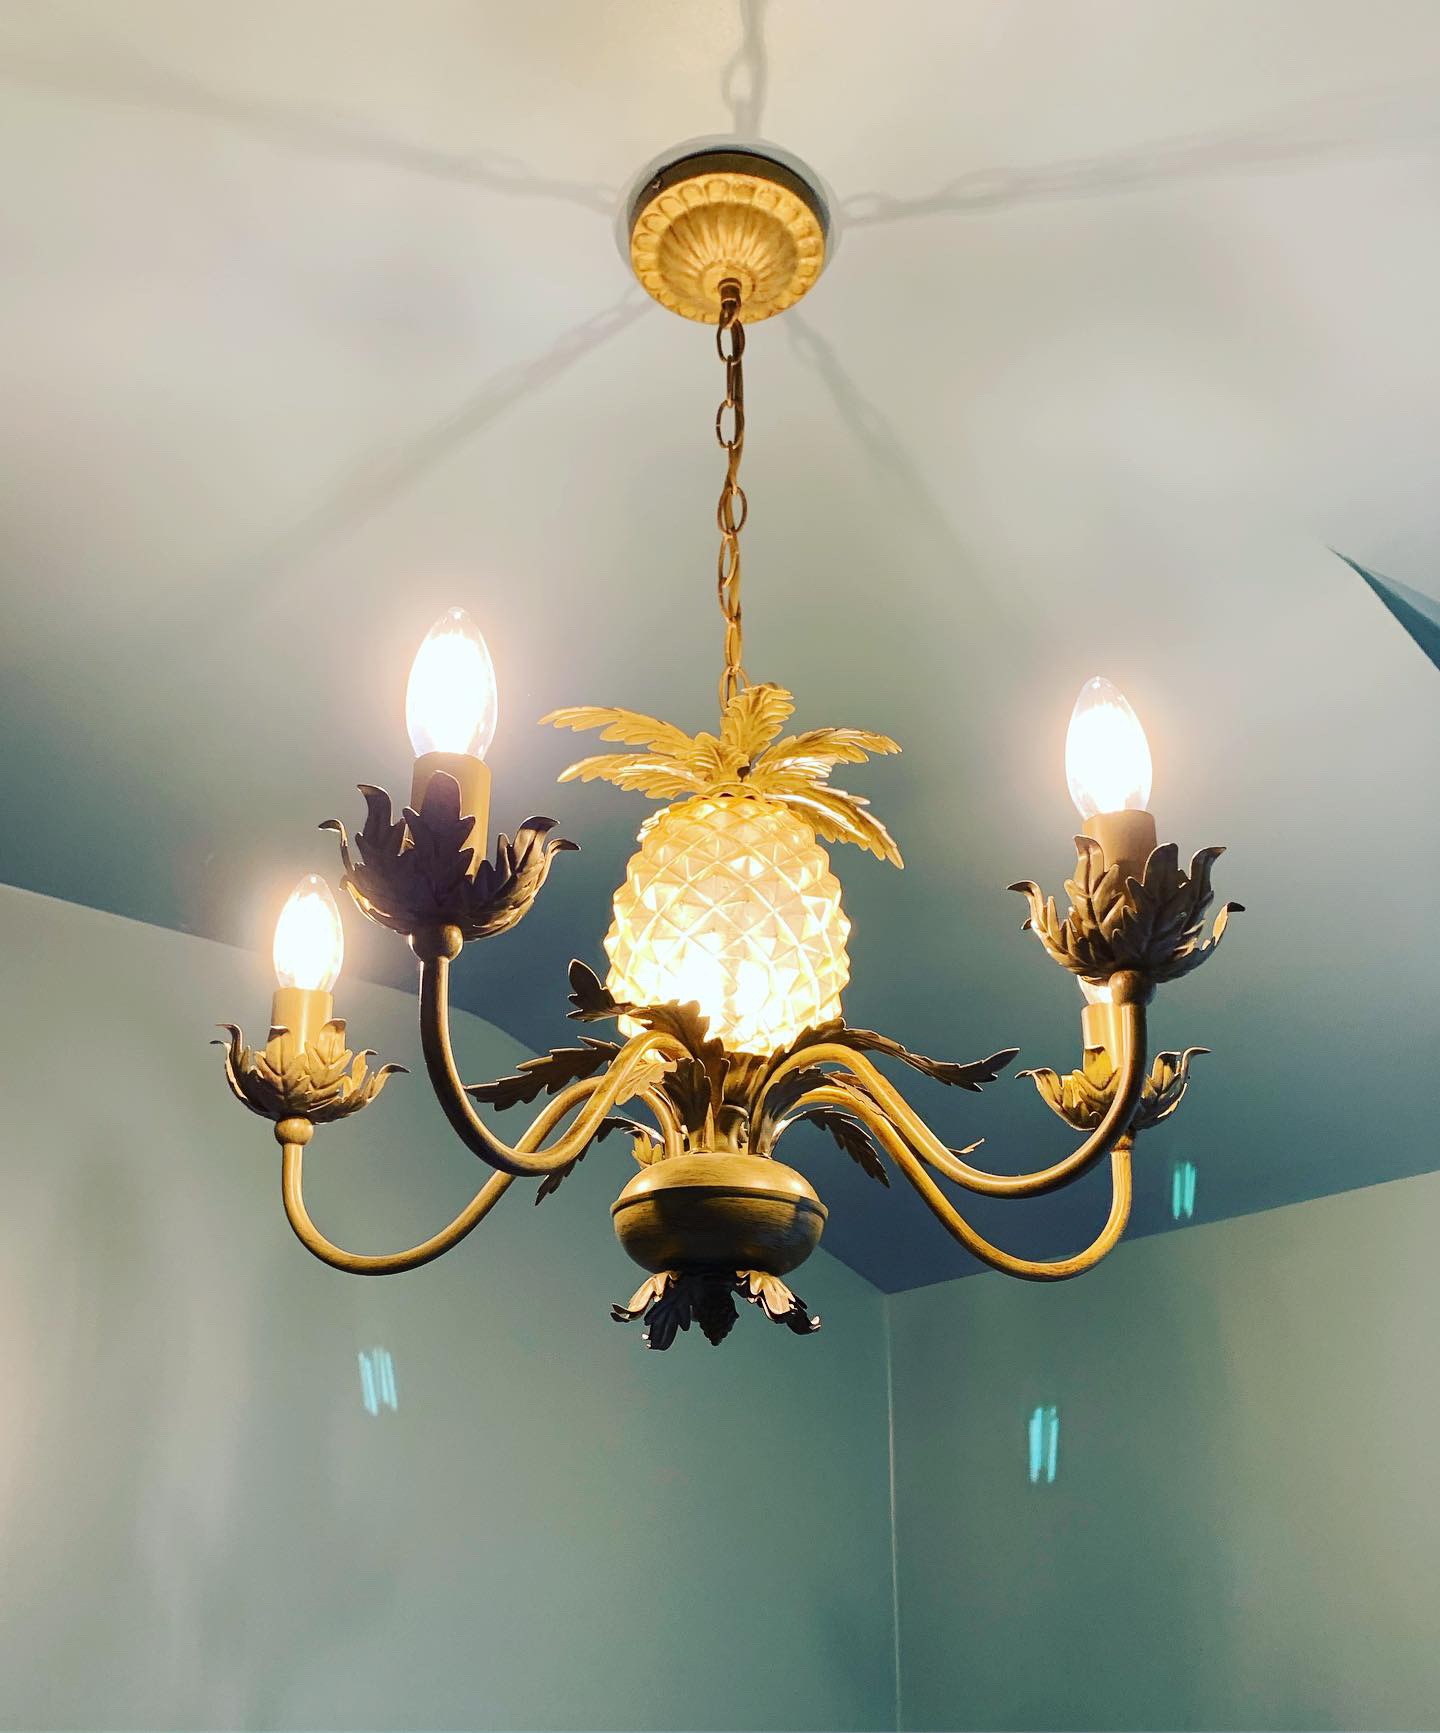
And hung a rather large brass mirror on 150mm screws
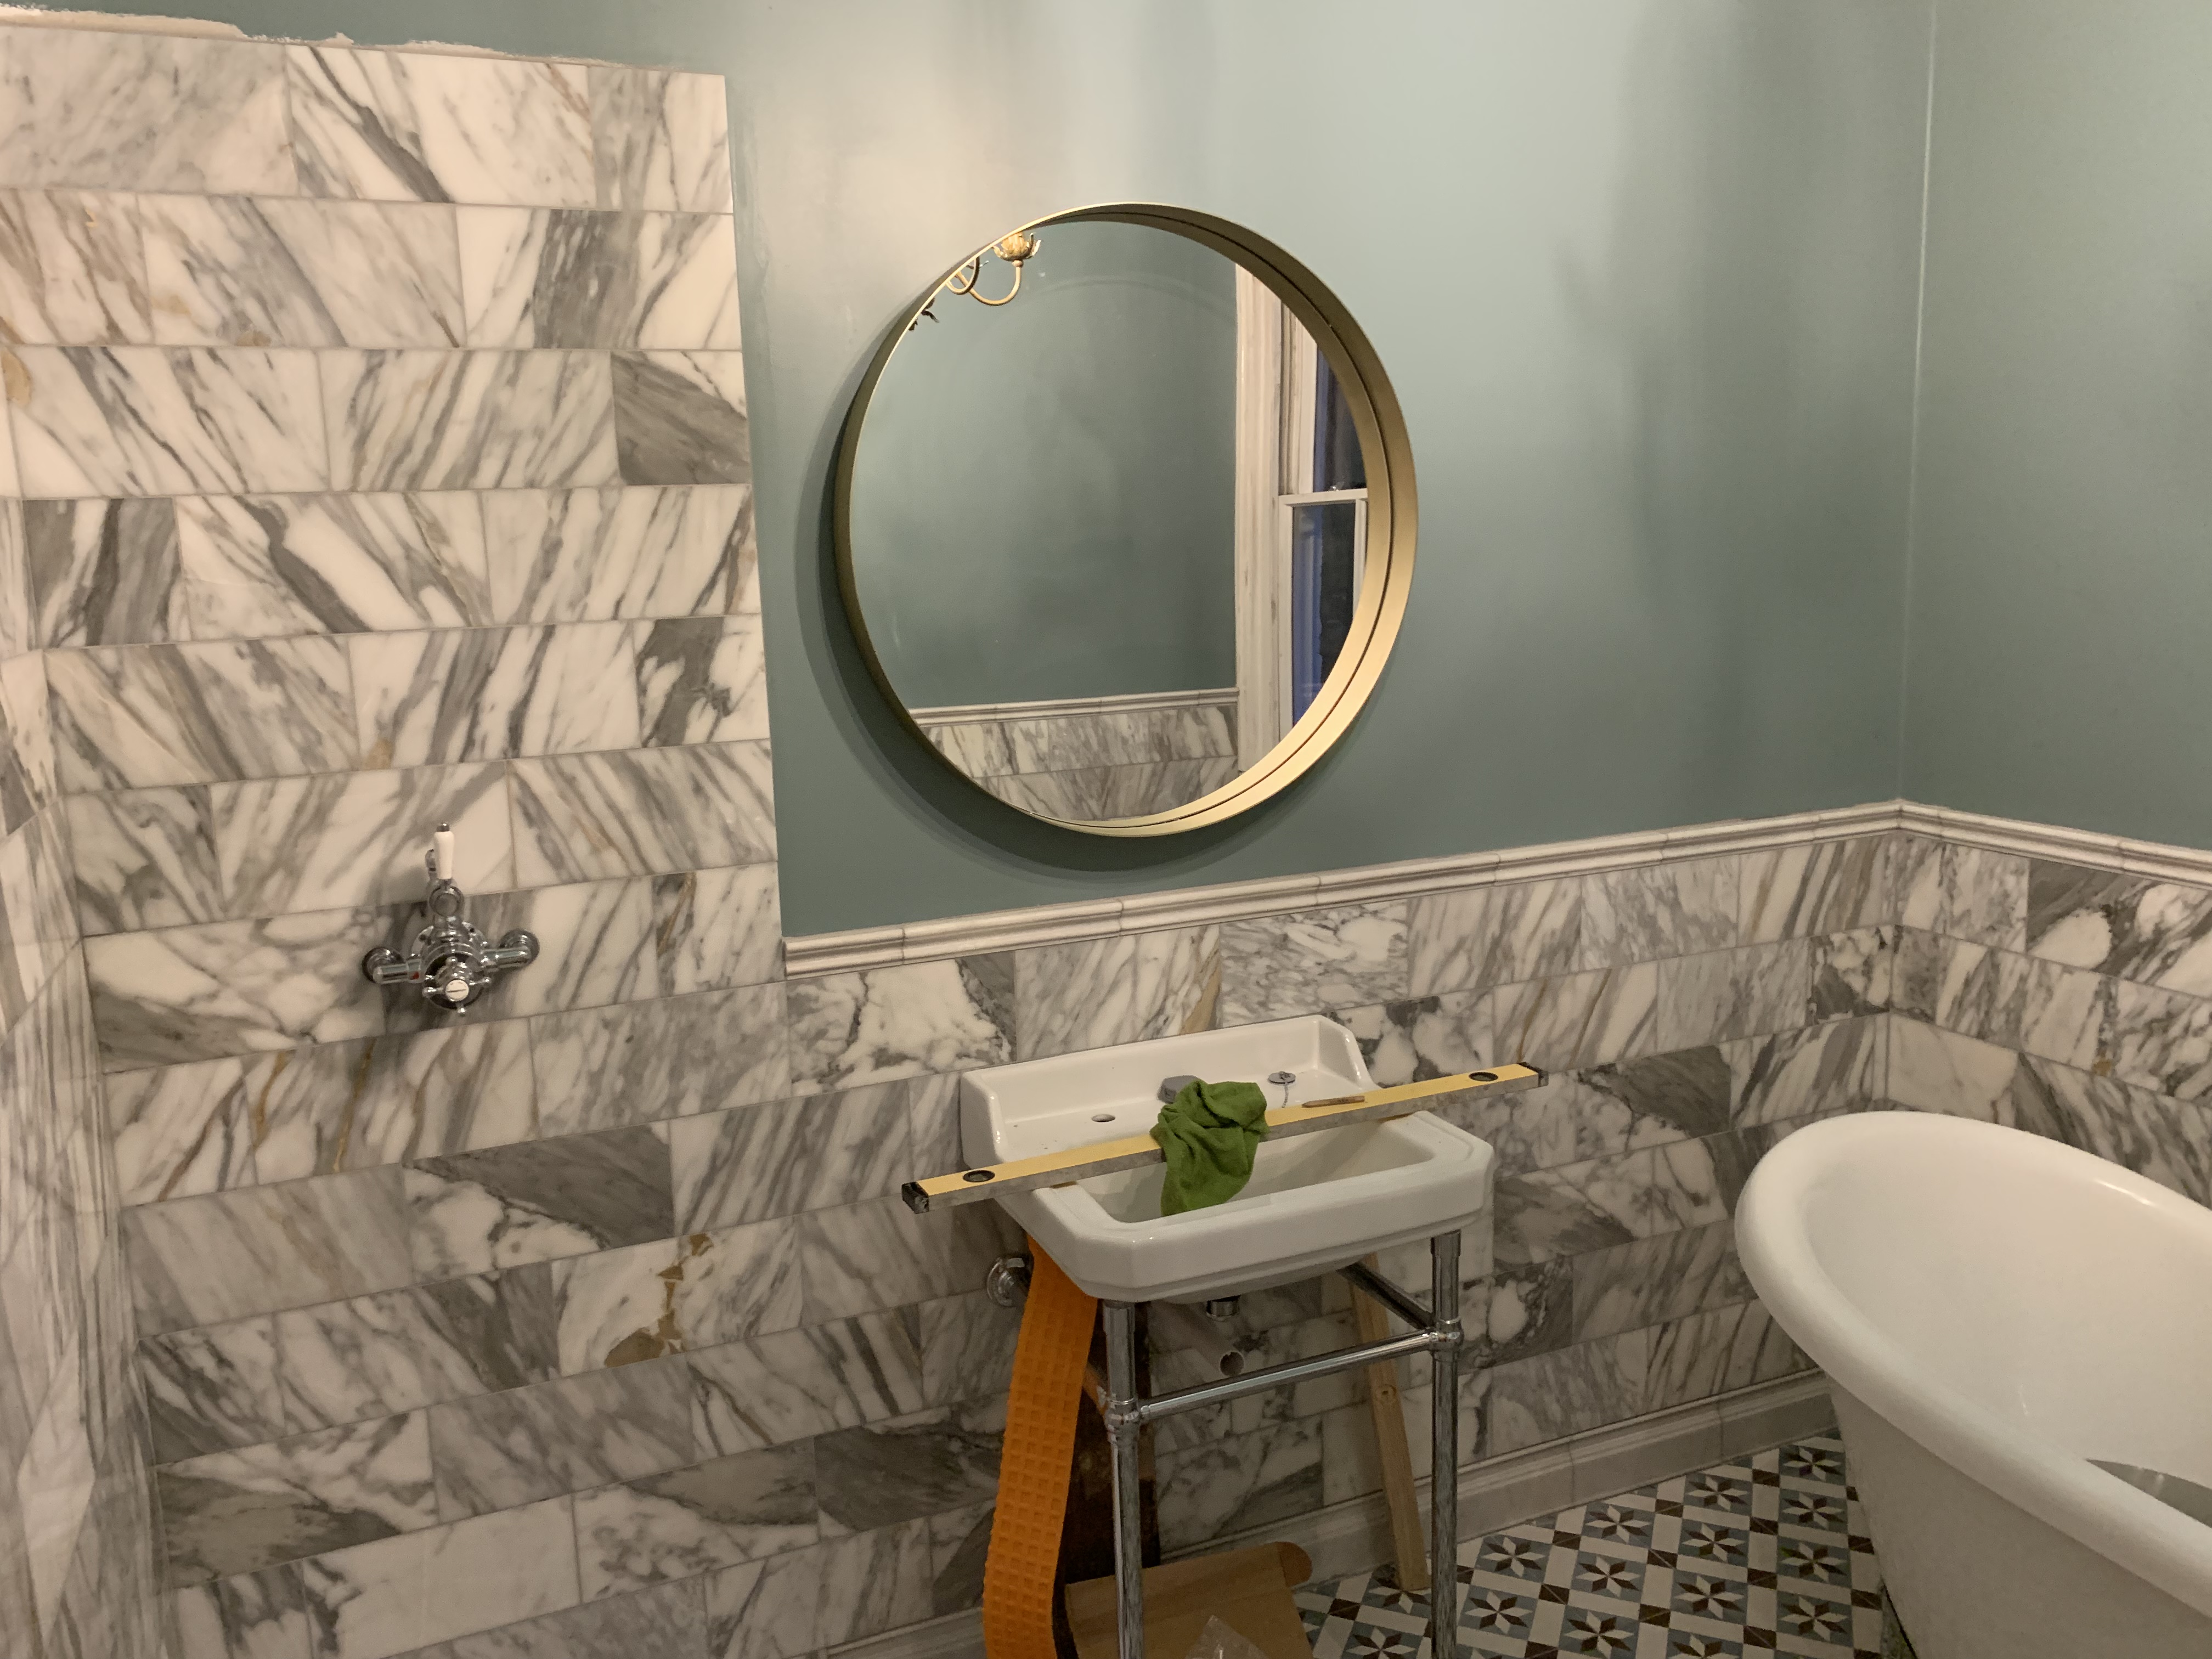
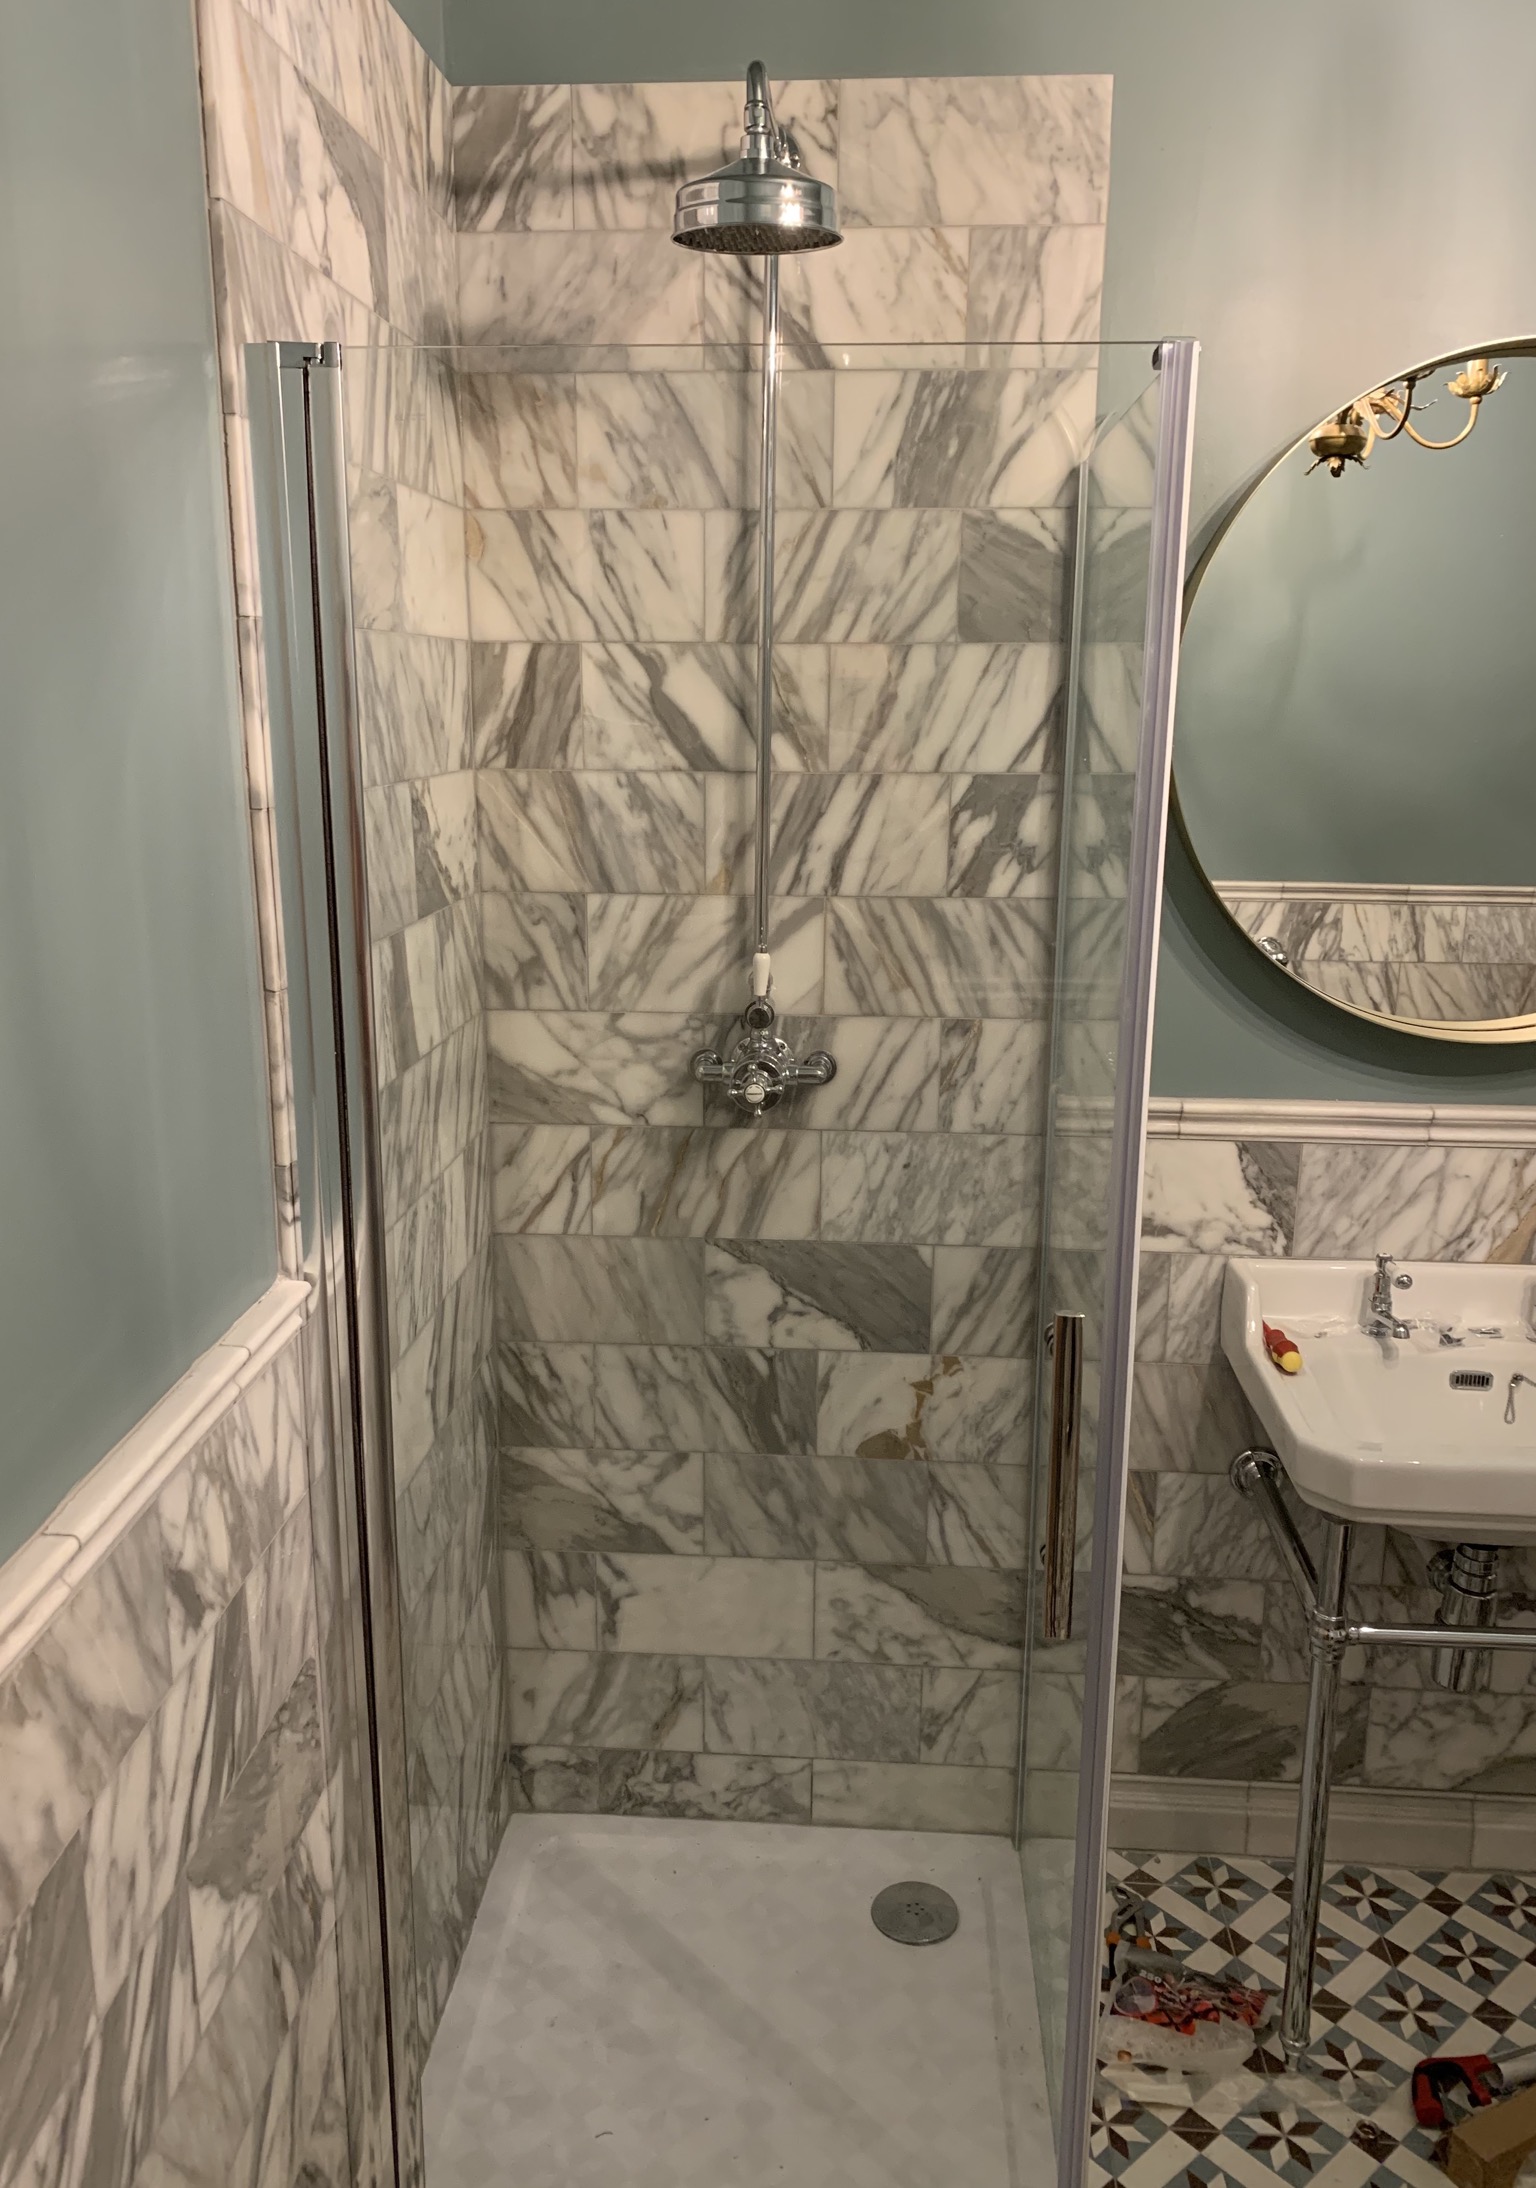
Didn't get the shower finished as I hadn't realised the tiler hadn't gone high enough - demonstrated by the un-painted strip!
went from this....
to this....
And hung a rather large brass mirror on 150mm screws
Didn't get the shower finished as I hadn't realised the tiler hadn't gone high enough - demonstrated by the un-painted strip!
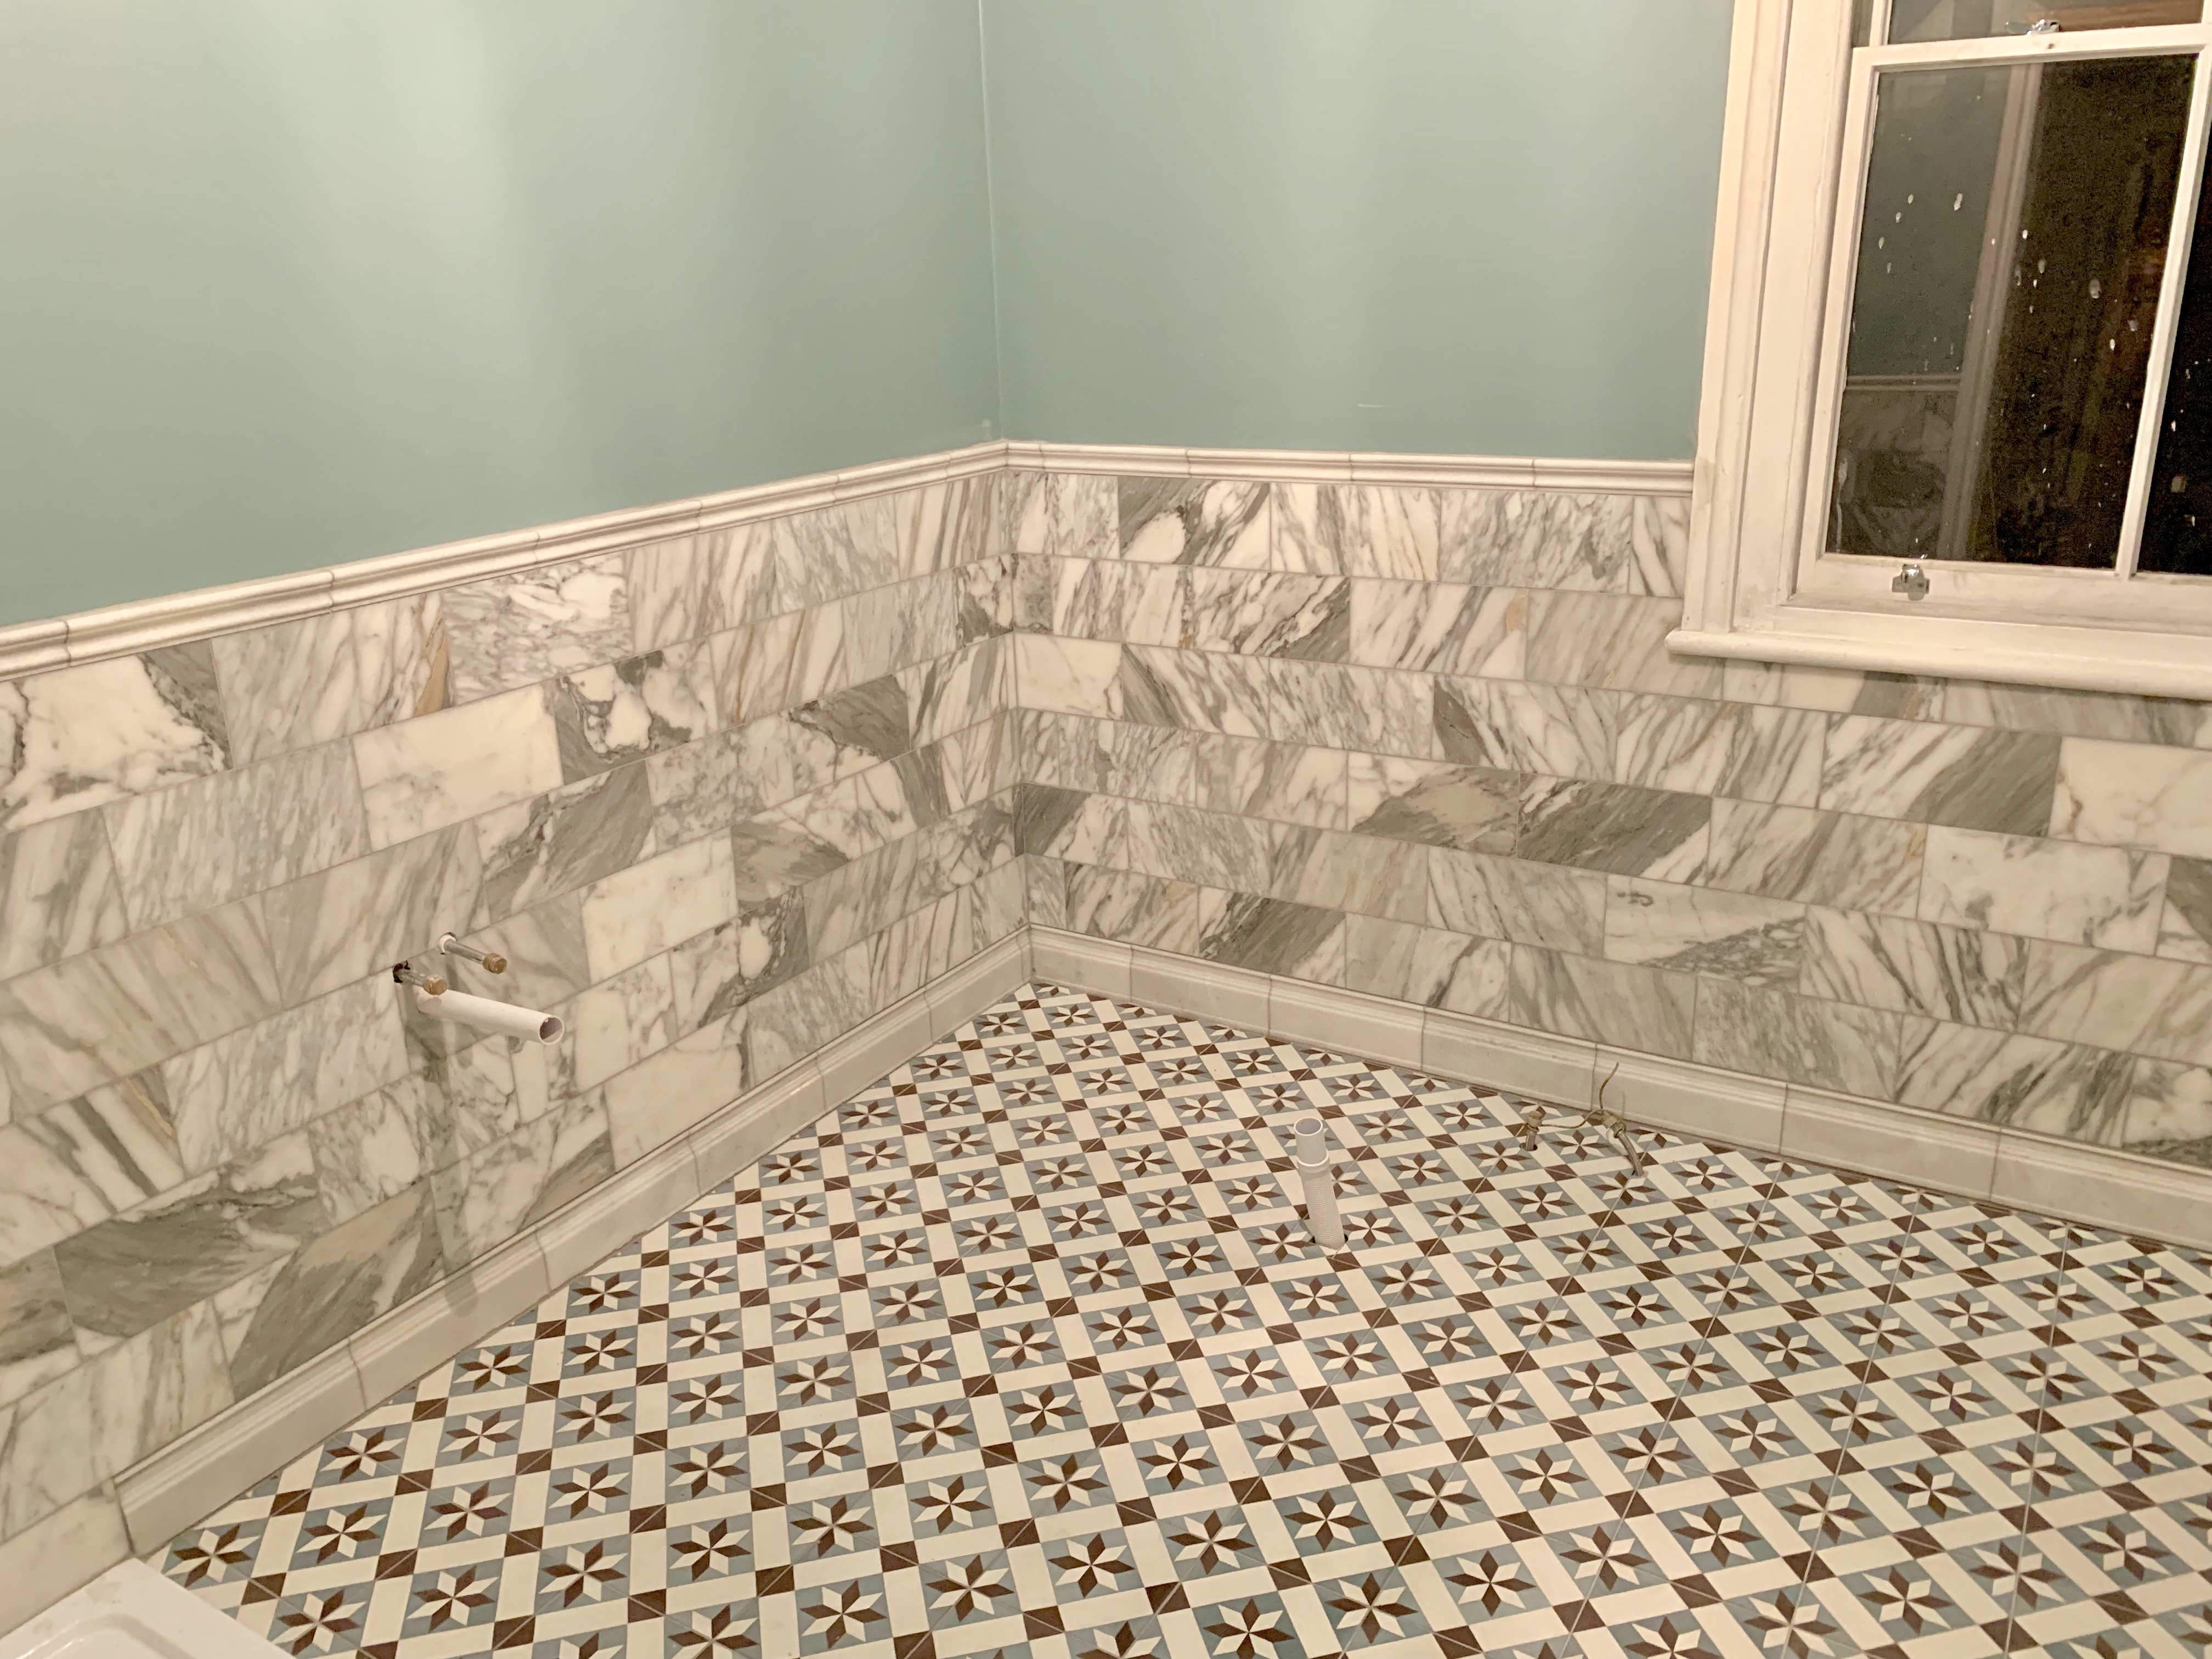
Is that a pattern on the tile or has a tiny piece of tile been cut to fill the gap?
Its a 3cm piece of the marble skirting mitred into the corner.
Everything in this house is actually much bigger than it appears on the pictures, the tiles are 30x15cm and the mirror is nearly a metre
Another baby has been born and really slowed me down 
Managed to fit the taps and sink waste and the shower and frameless enclosure.
This was a cheapo eBay shower cubicle and I’m actually pretty impressed, decent fixings and magnetic seals on the door
Also I’m now employing a friend of a friend as a labourer to help crack on with wall paper stripping, clearing, sanding and, well, labouring
had the bedroom plastered before Christmas

and mounted and plumbed in a radiator, room is toasty with 15mm PIR behind the plaster board

Ignore the mess I'm a very messy DIYer! I'm working my way through doing the skirting which is 9" victorian reproduction stuff.
And just to live up to the wifes expectations I've started excavating the basement before finishing the bedroom! I'll put some pics up at some point
and mounted and plumbed in a radiator, room is toasty with 15mm PIR behind the plaster board
Ignore the mess I'm a very messy DIYer! I'm working my way through doing the skirting which is 9" victorian reproduction stuff.
And just to live up to the wifes expectations I've started excavating the basement before finishing the bedroom! I'll put some pics up at some point
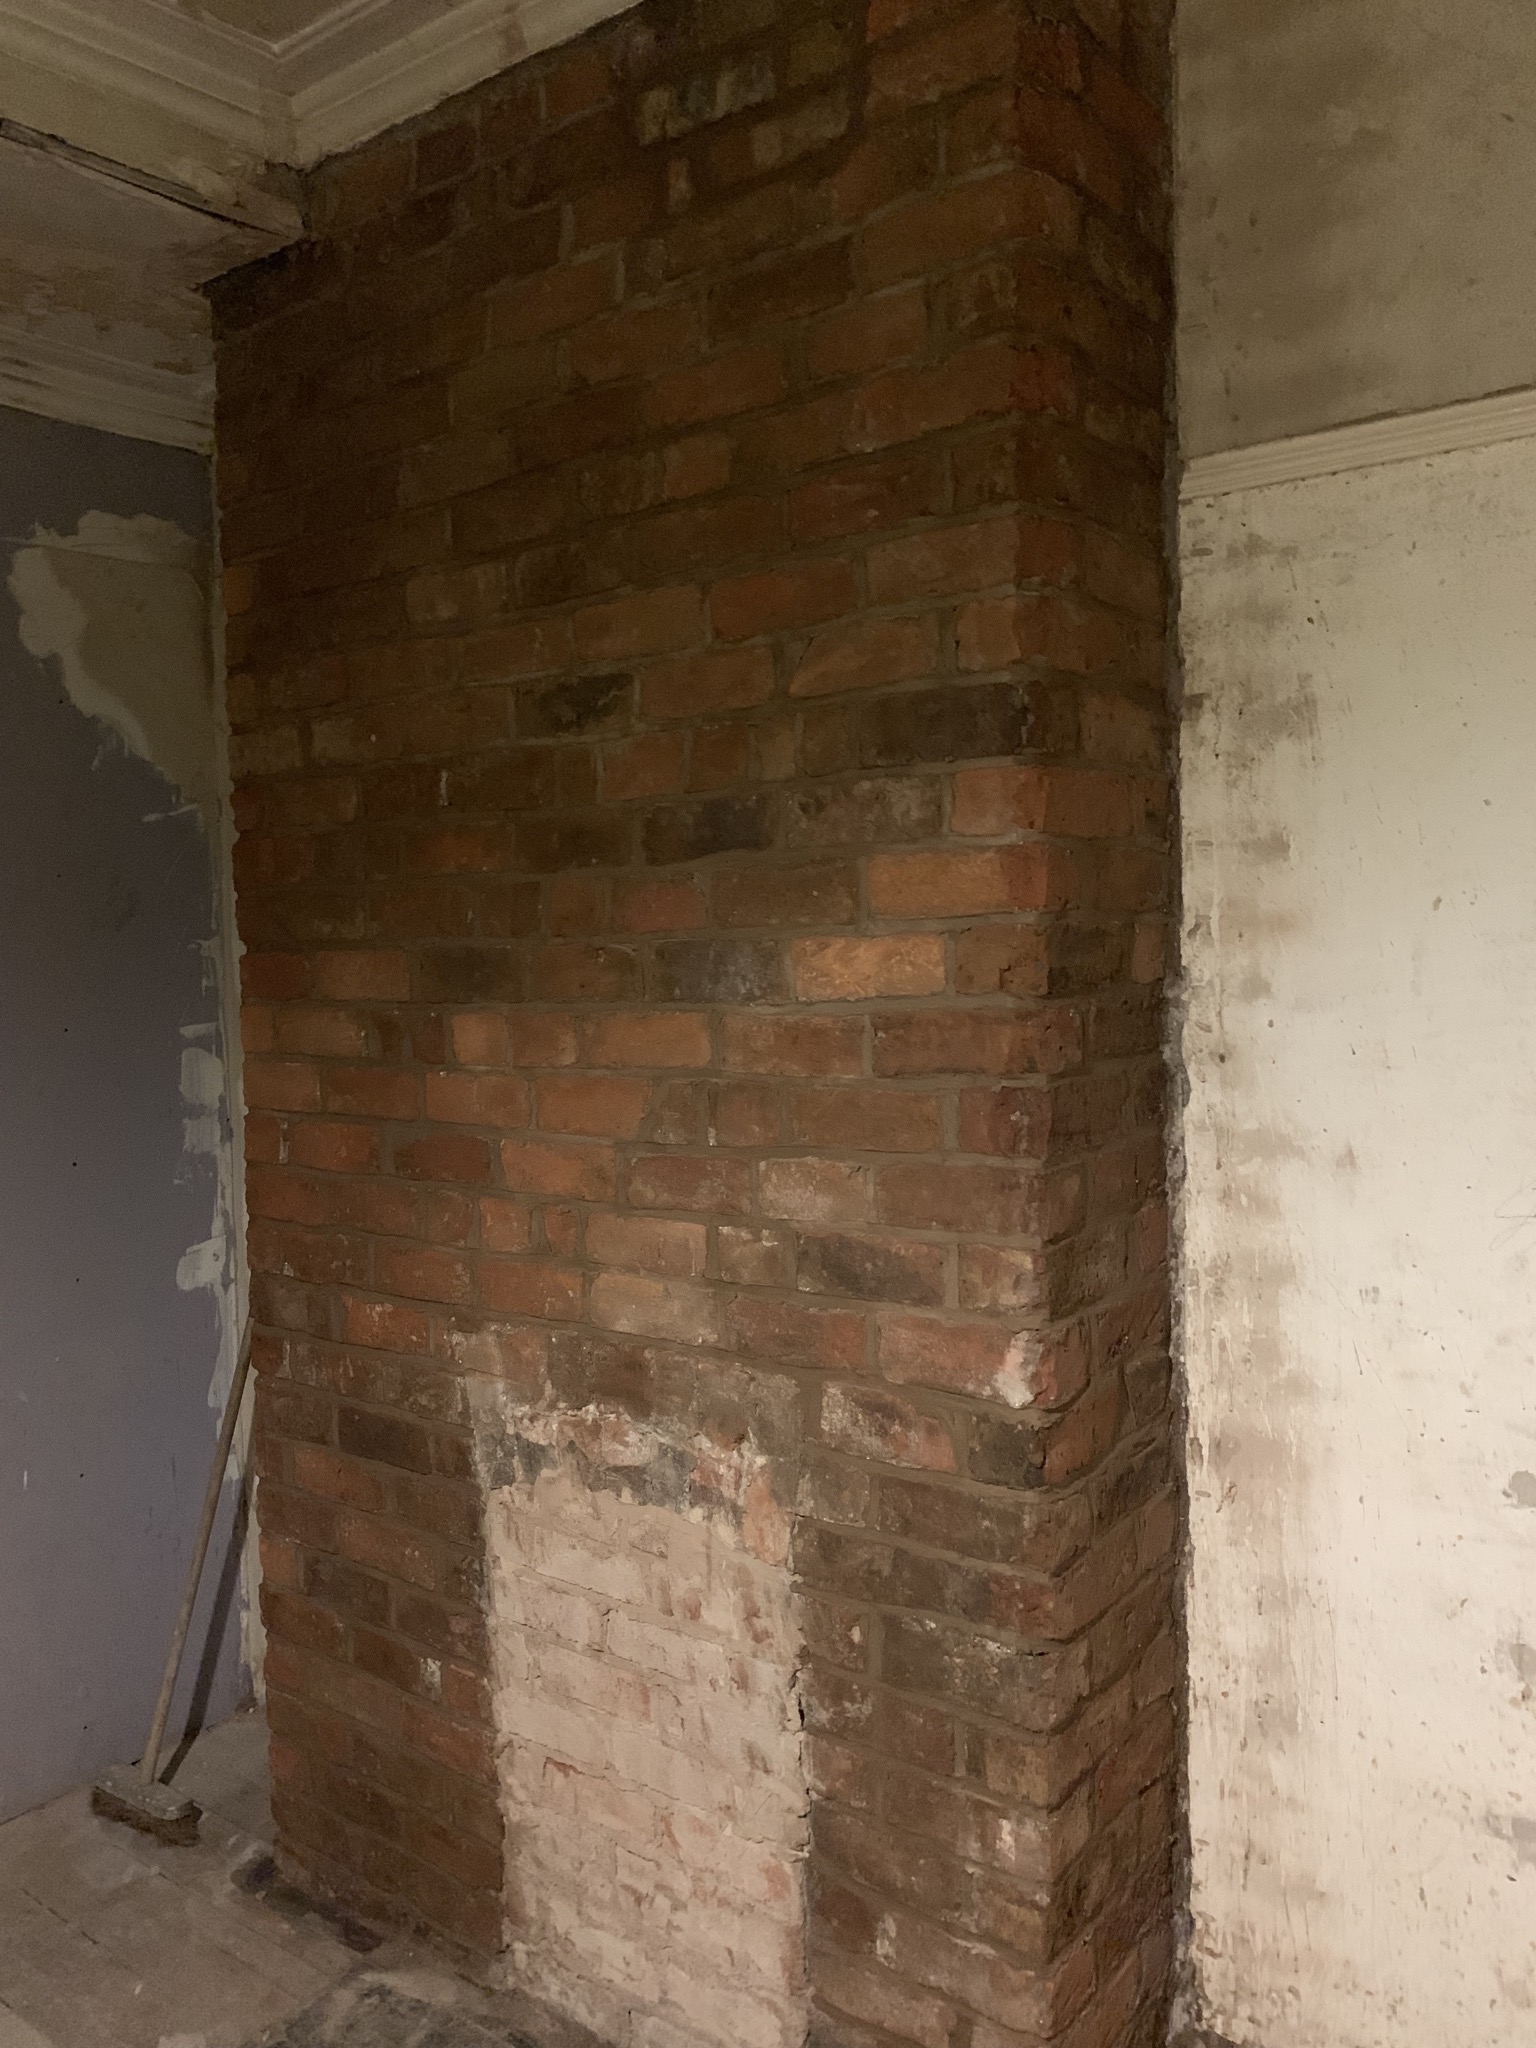
@Slade2 all advice appreciated! the central chimney has been the same for the past 6 years with no issues, and having seen some of the internal brick work, I wouldn't trust the flues not to leak into each other, not a risk I'll take when dealing with bedrooms. Plan is to get a flue liner down for both the open fire + kitchen extractor.
Either way, any issues and it will be very easy to add an air brick given it will remain exposed
Either way, any issues and it will be very easy to add an air brick given it will remain exposed
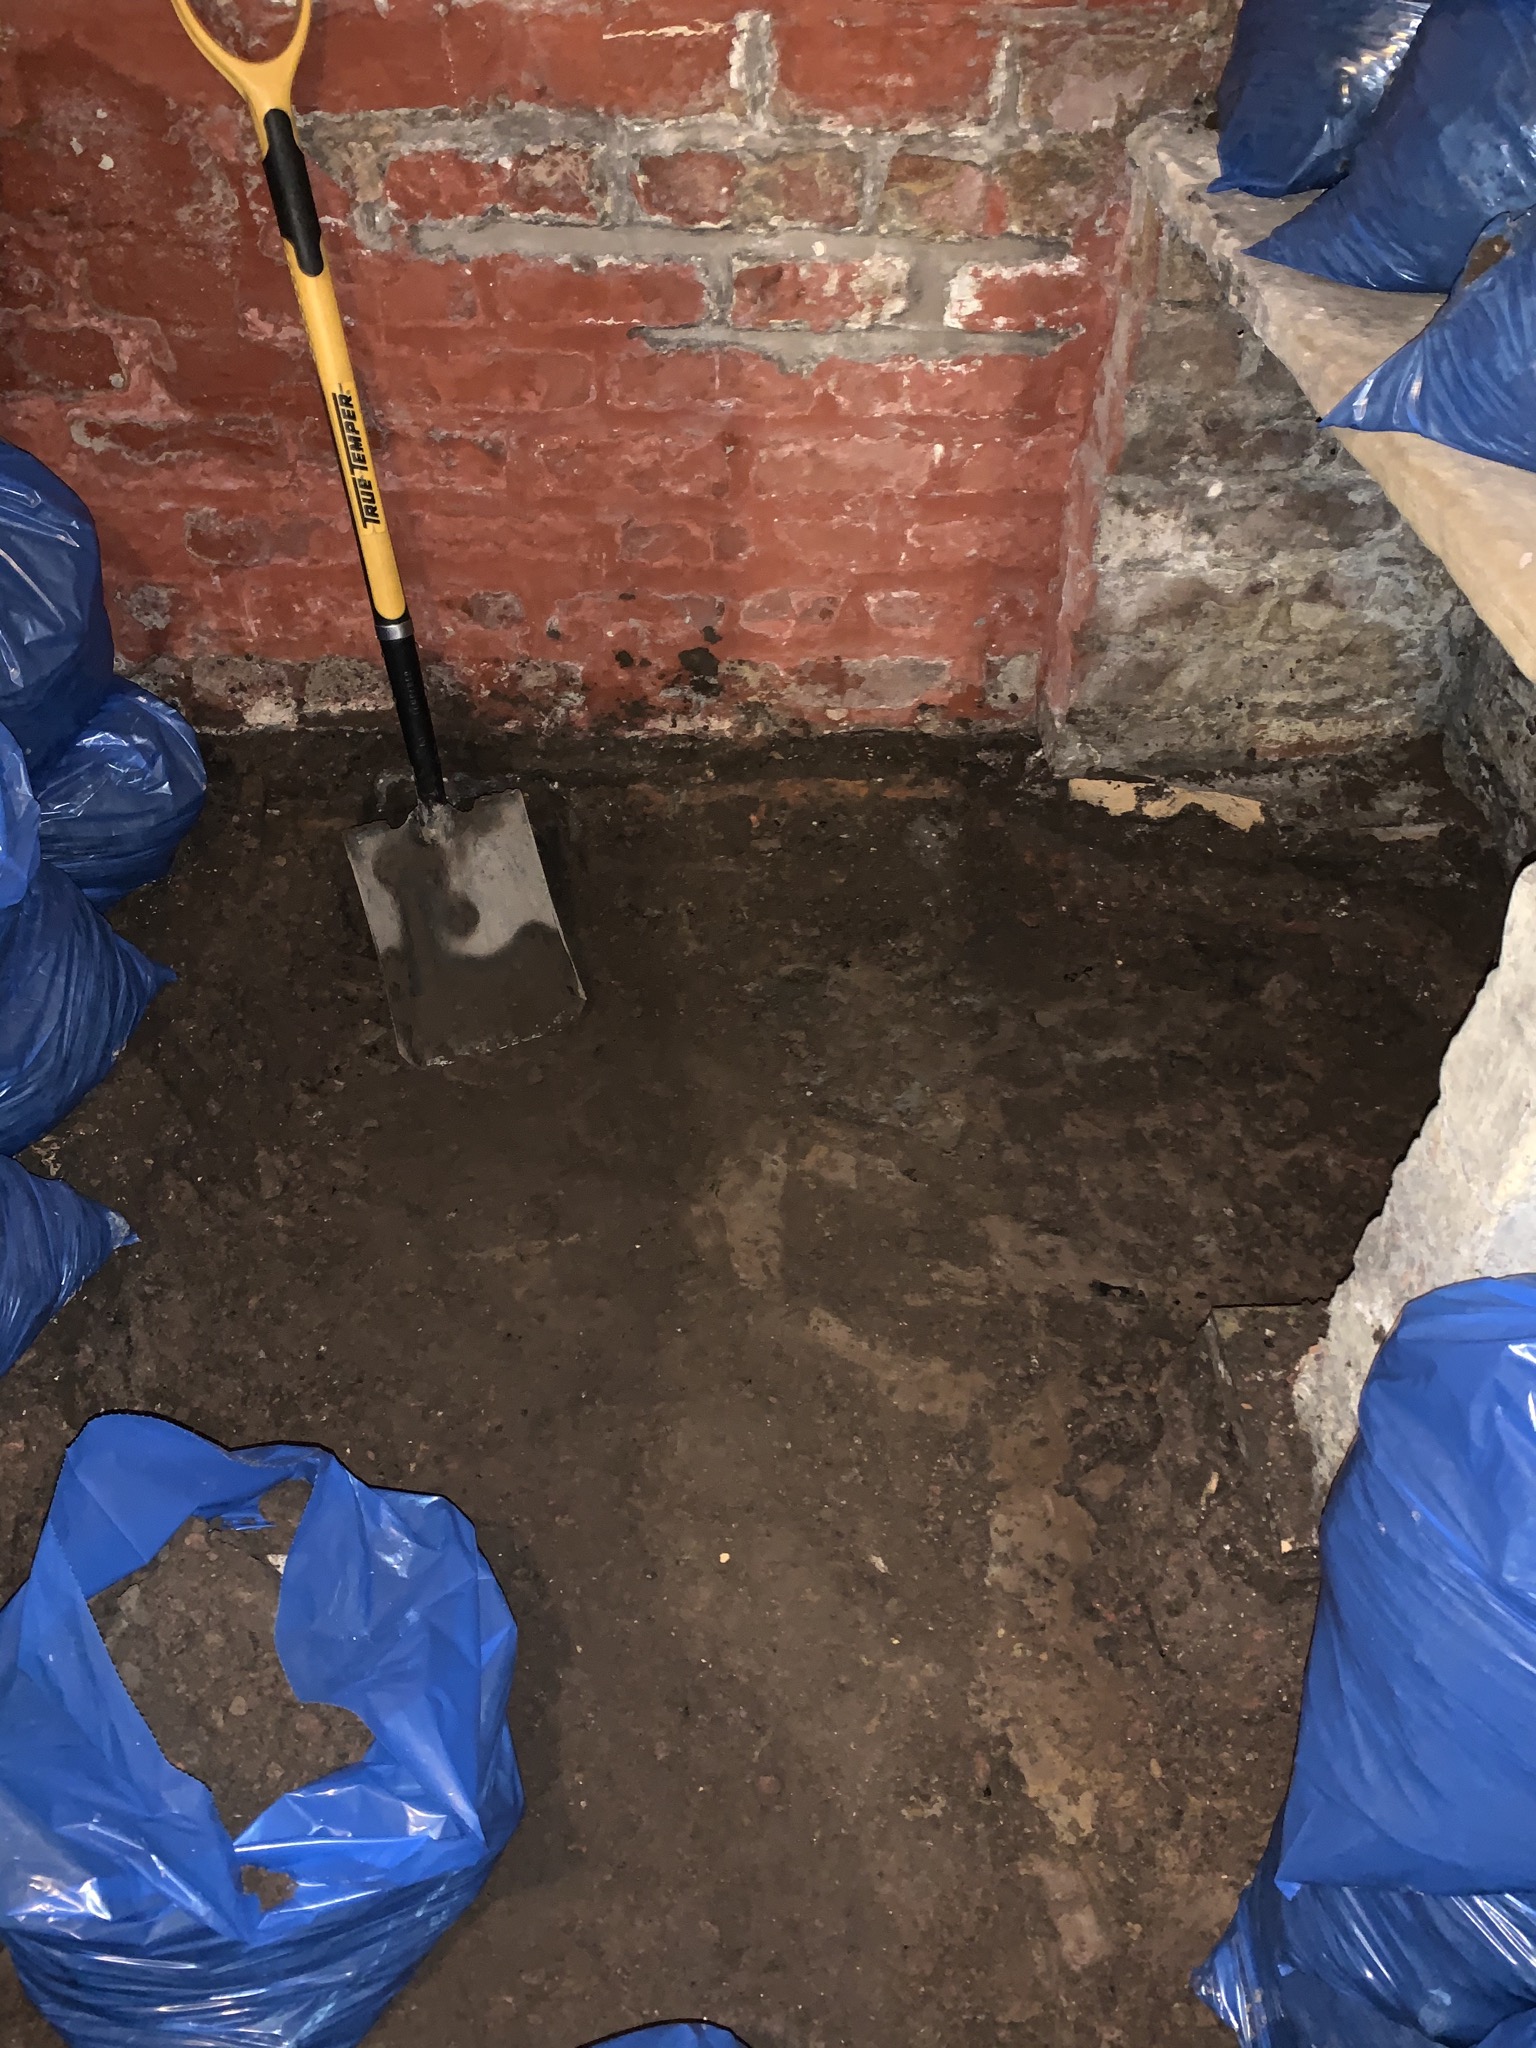
While I mess around with skirting in my odd evenings off, a family friend has dug out the basement!
It was just tiles laid on earth, most of which were broken. Digging 30cm down for a new insulated slab.
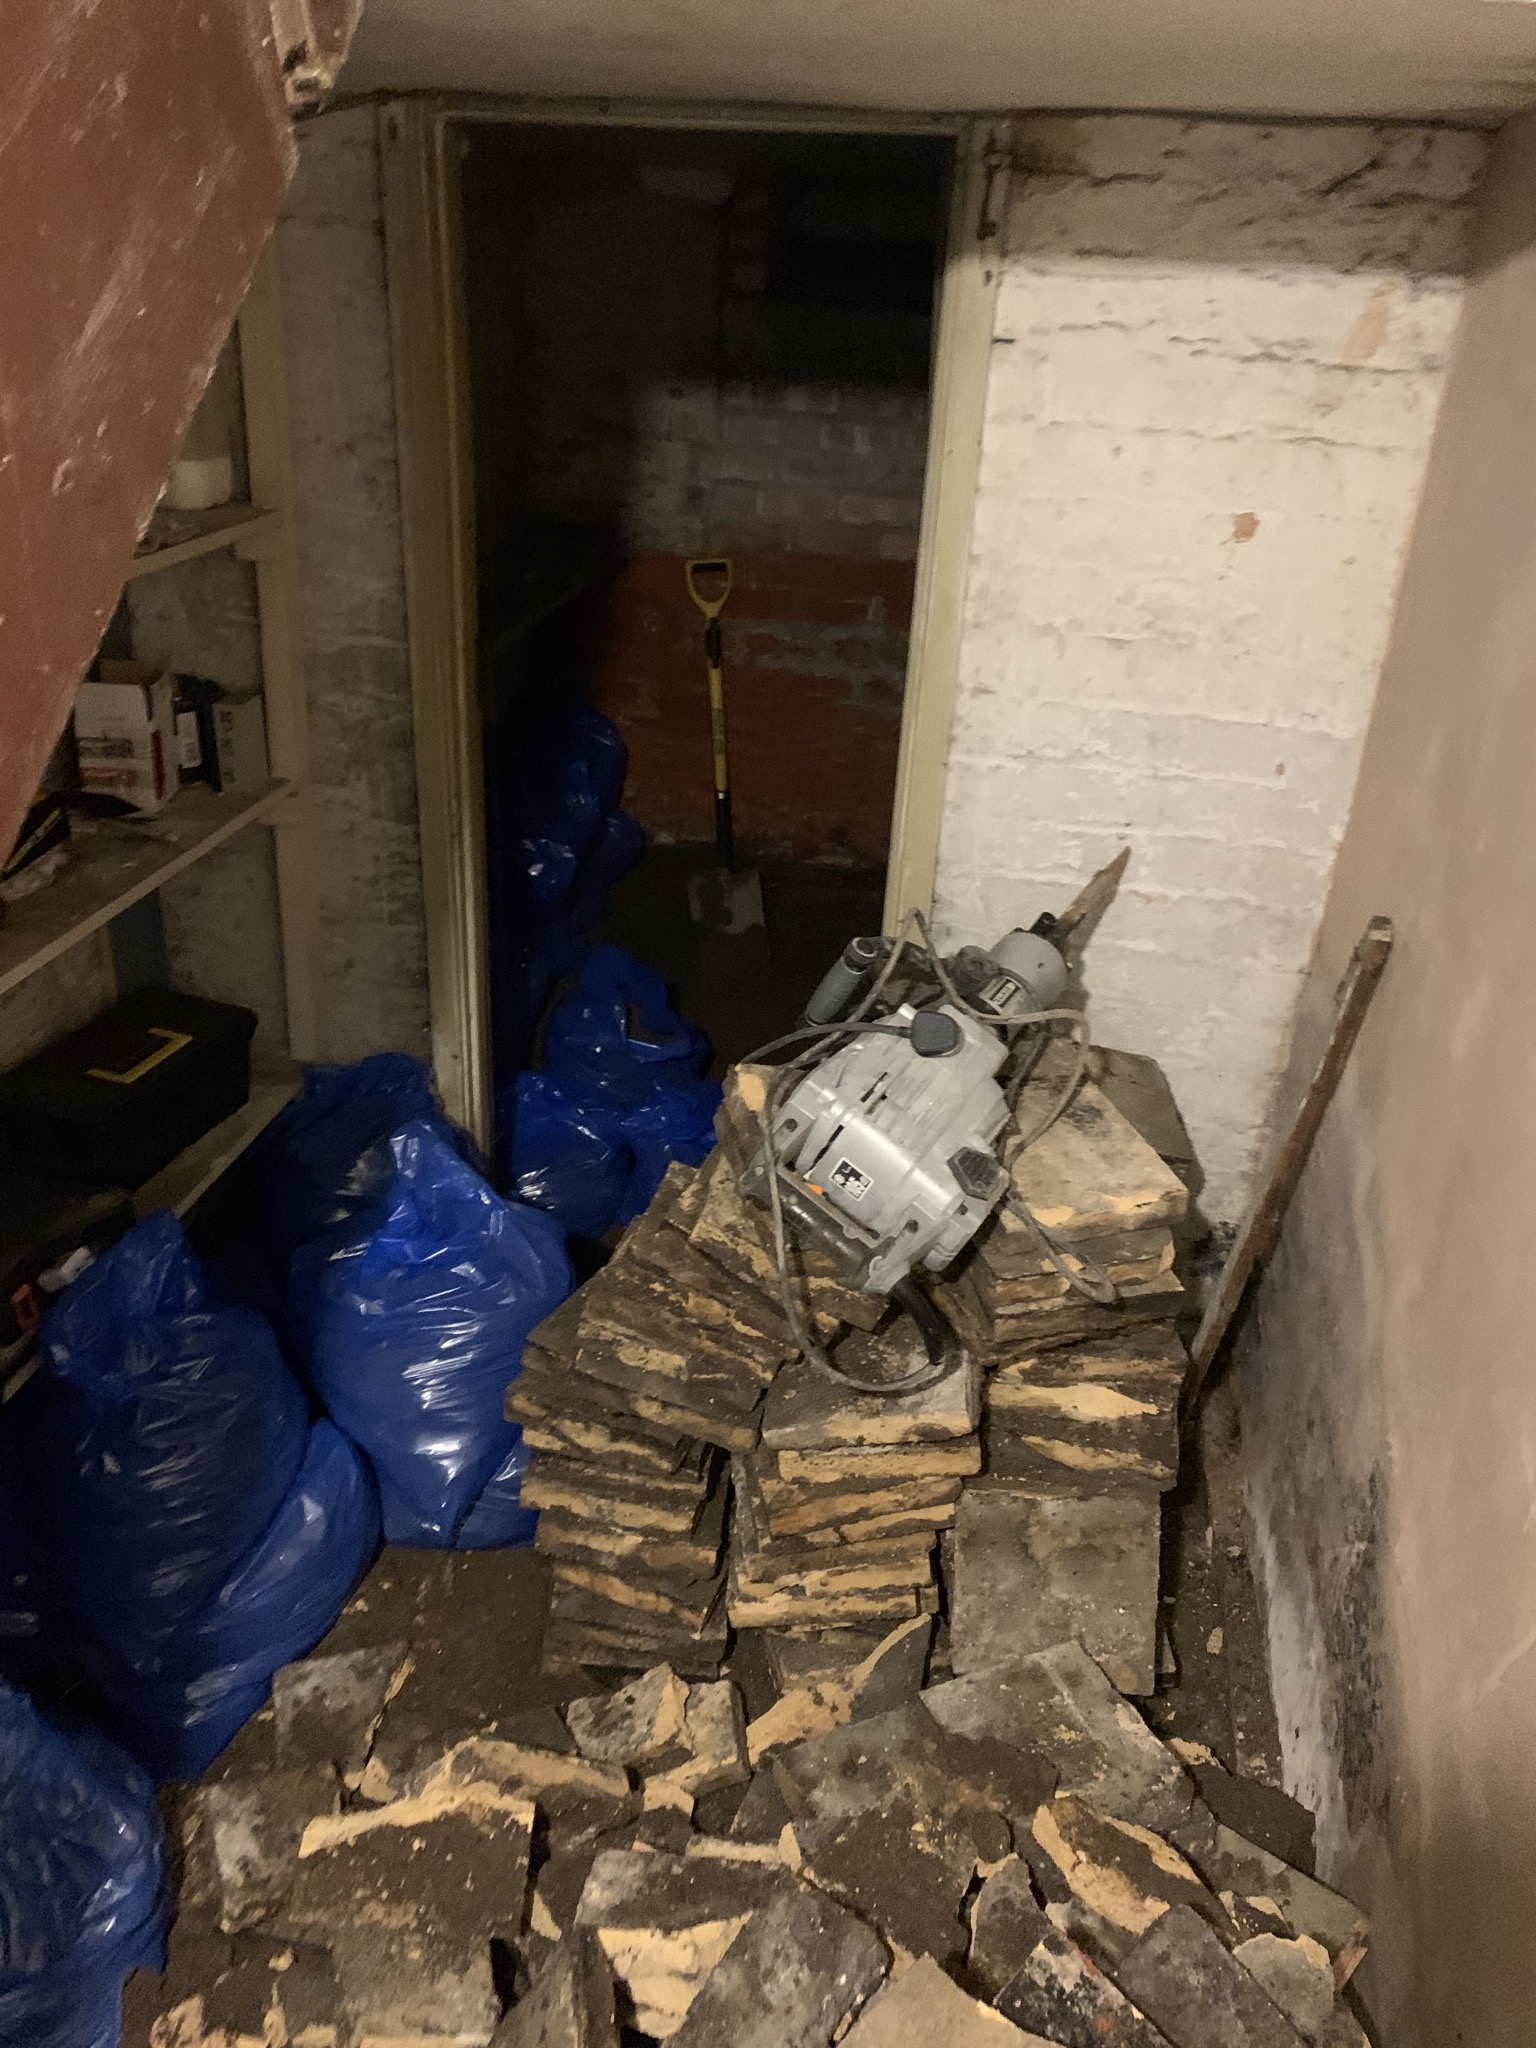
Not 100% what to use the space for yet.
The corridor and under the stair will probably be a boot room as it has direct access to the garage, the room at the end I was thinking maybe a little workshop/hobby room for me
It was just tiles laid on earth, most of which were broken. Digging 30cm down for a new insulated slab.
Not 100% what to use the space for yet.
The corridor and under the stair will probably be a boot room as it has direct access to the garage, the room at the end I was thinking maybe a little workshop/hobby room for me
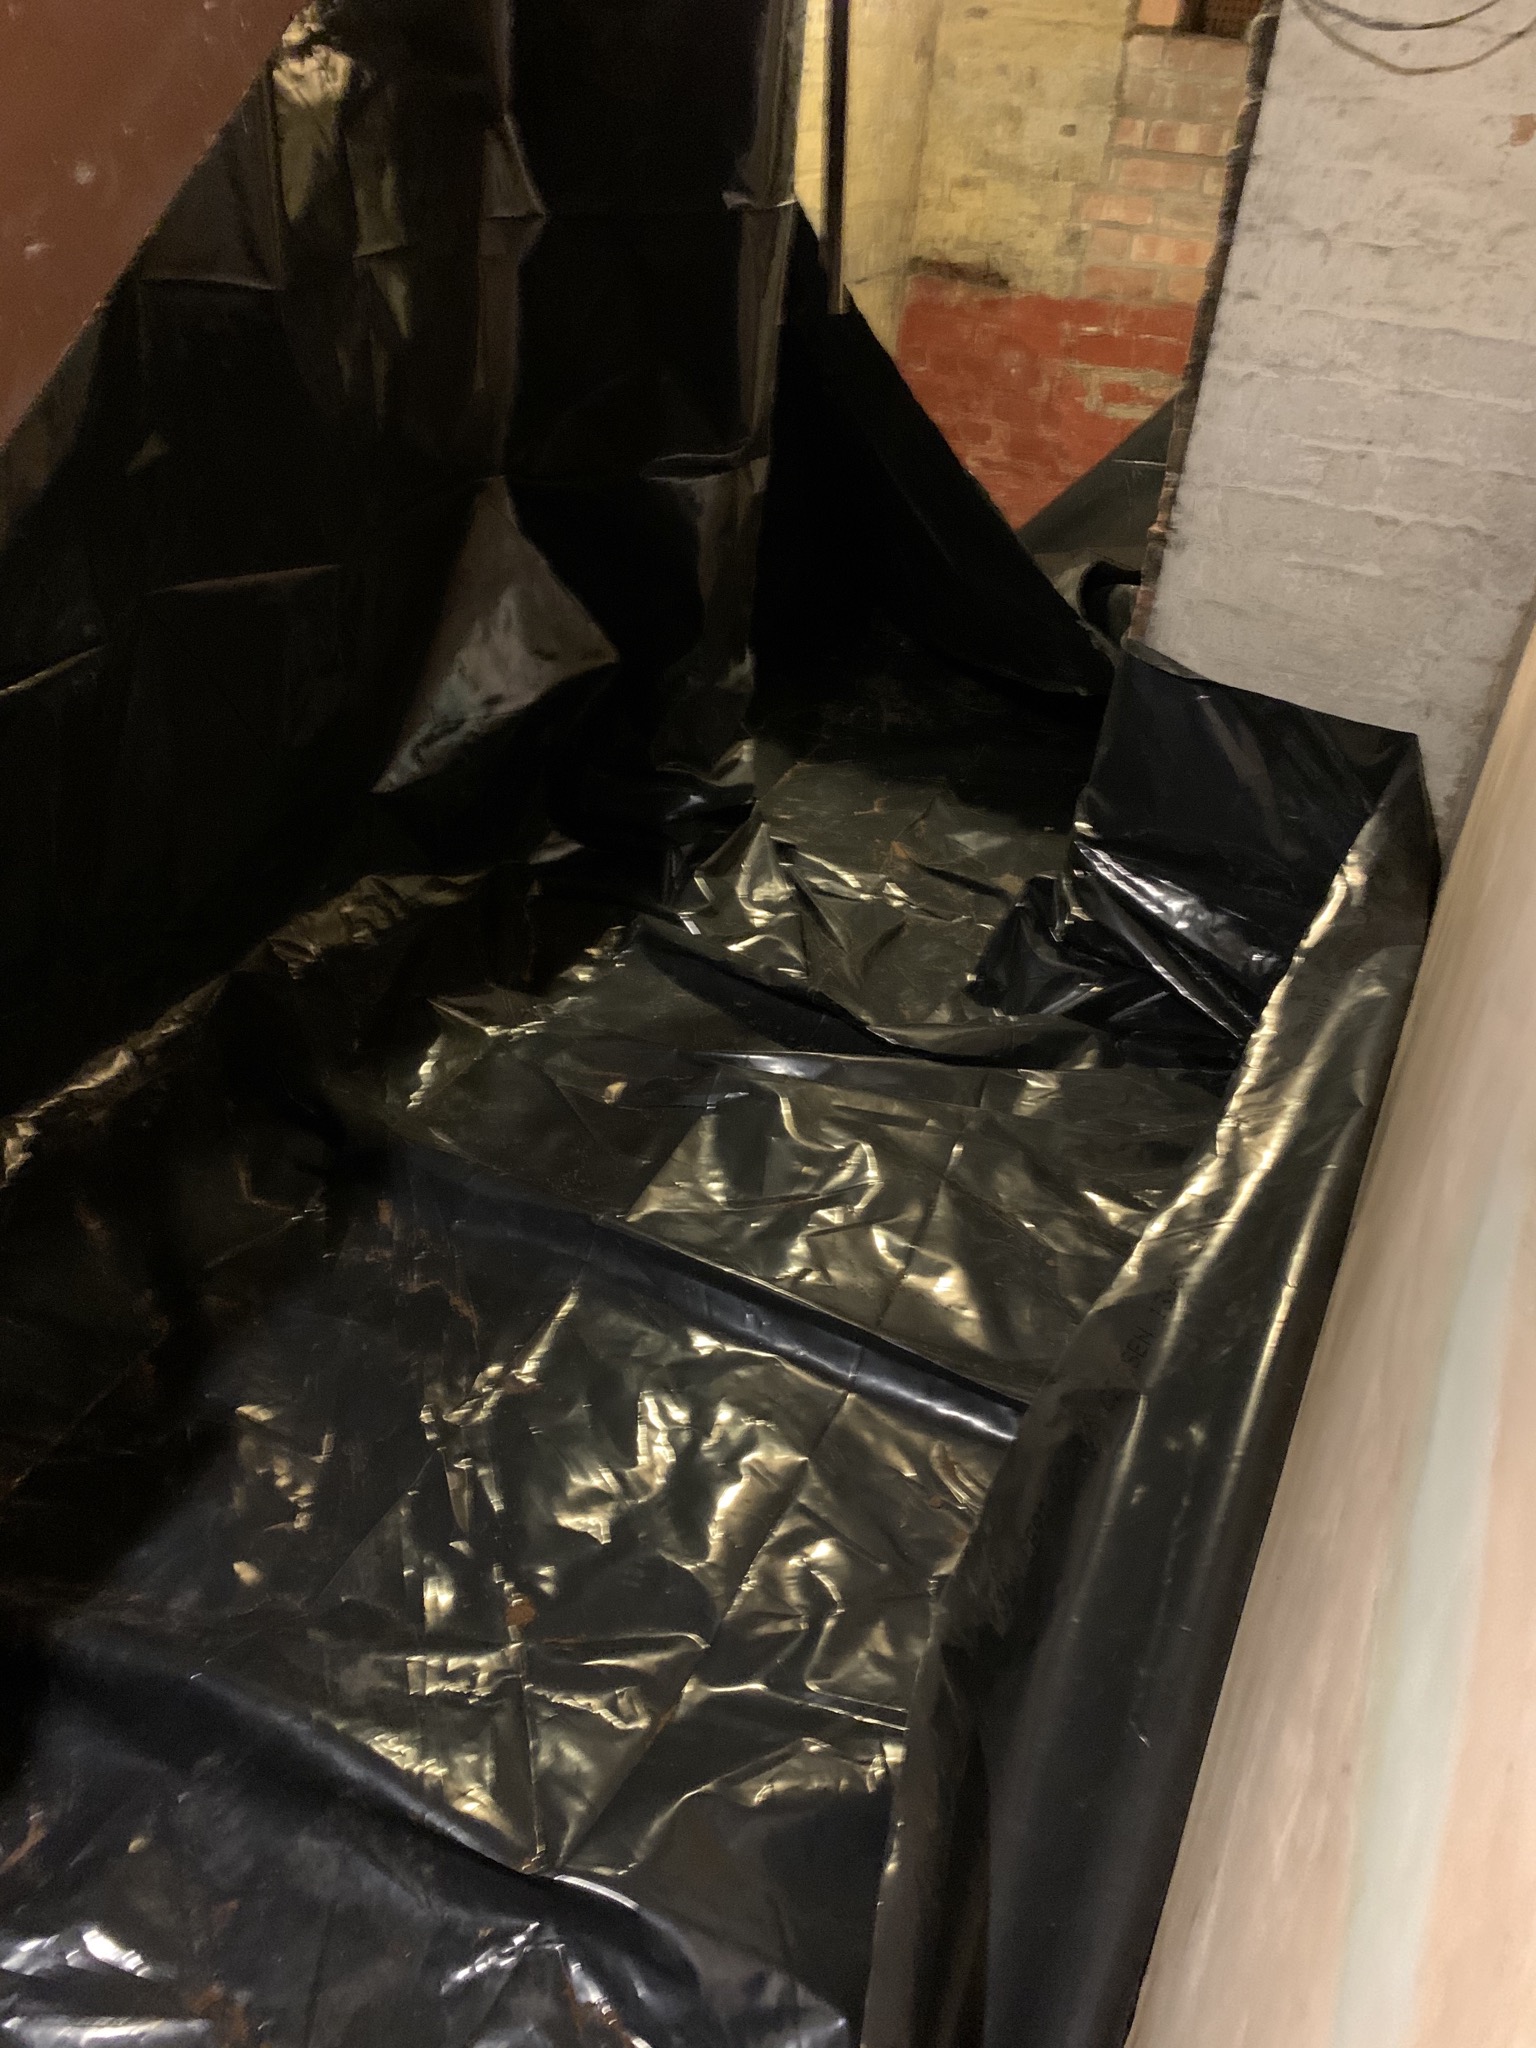
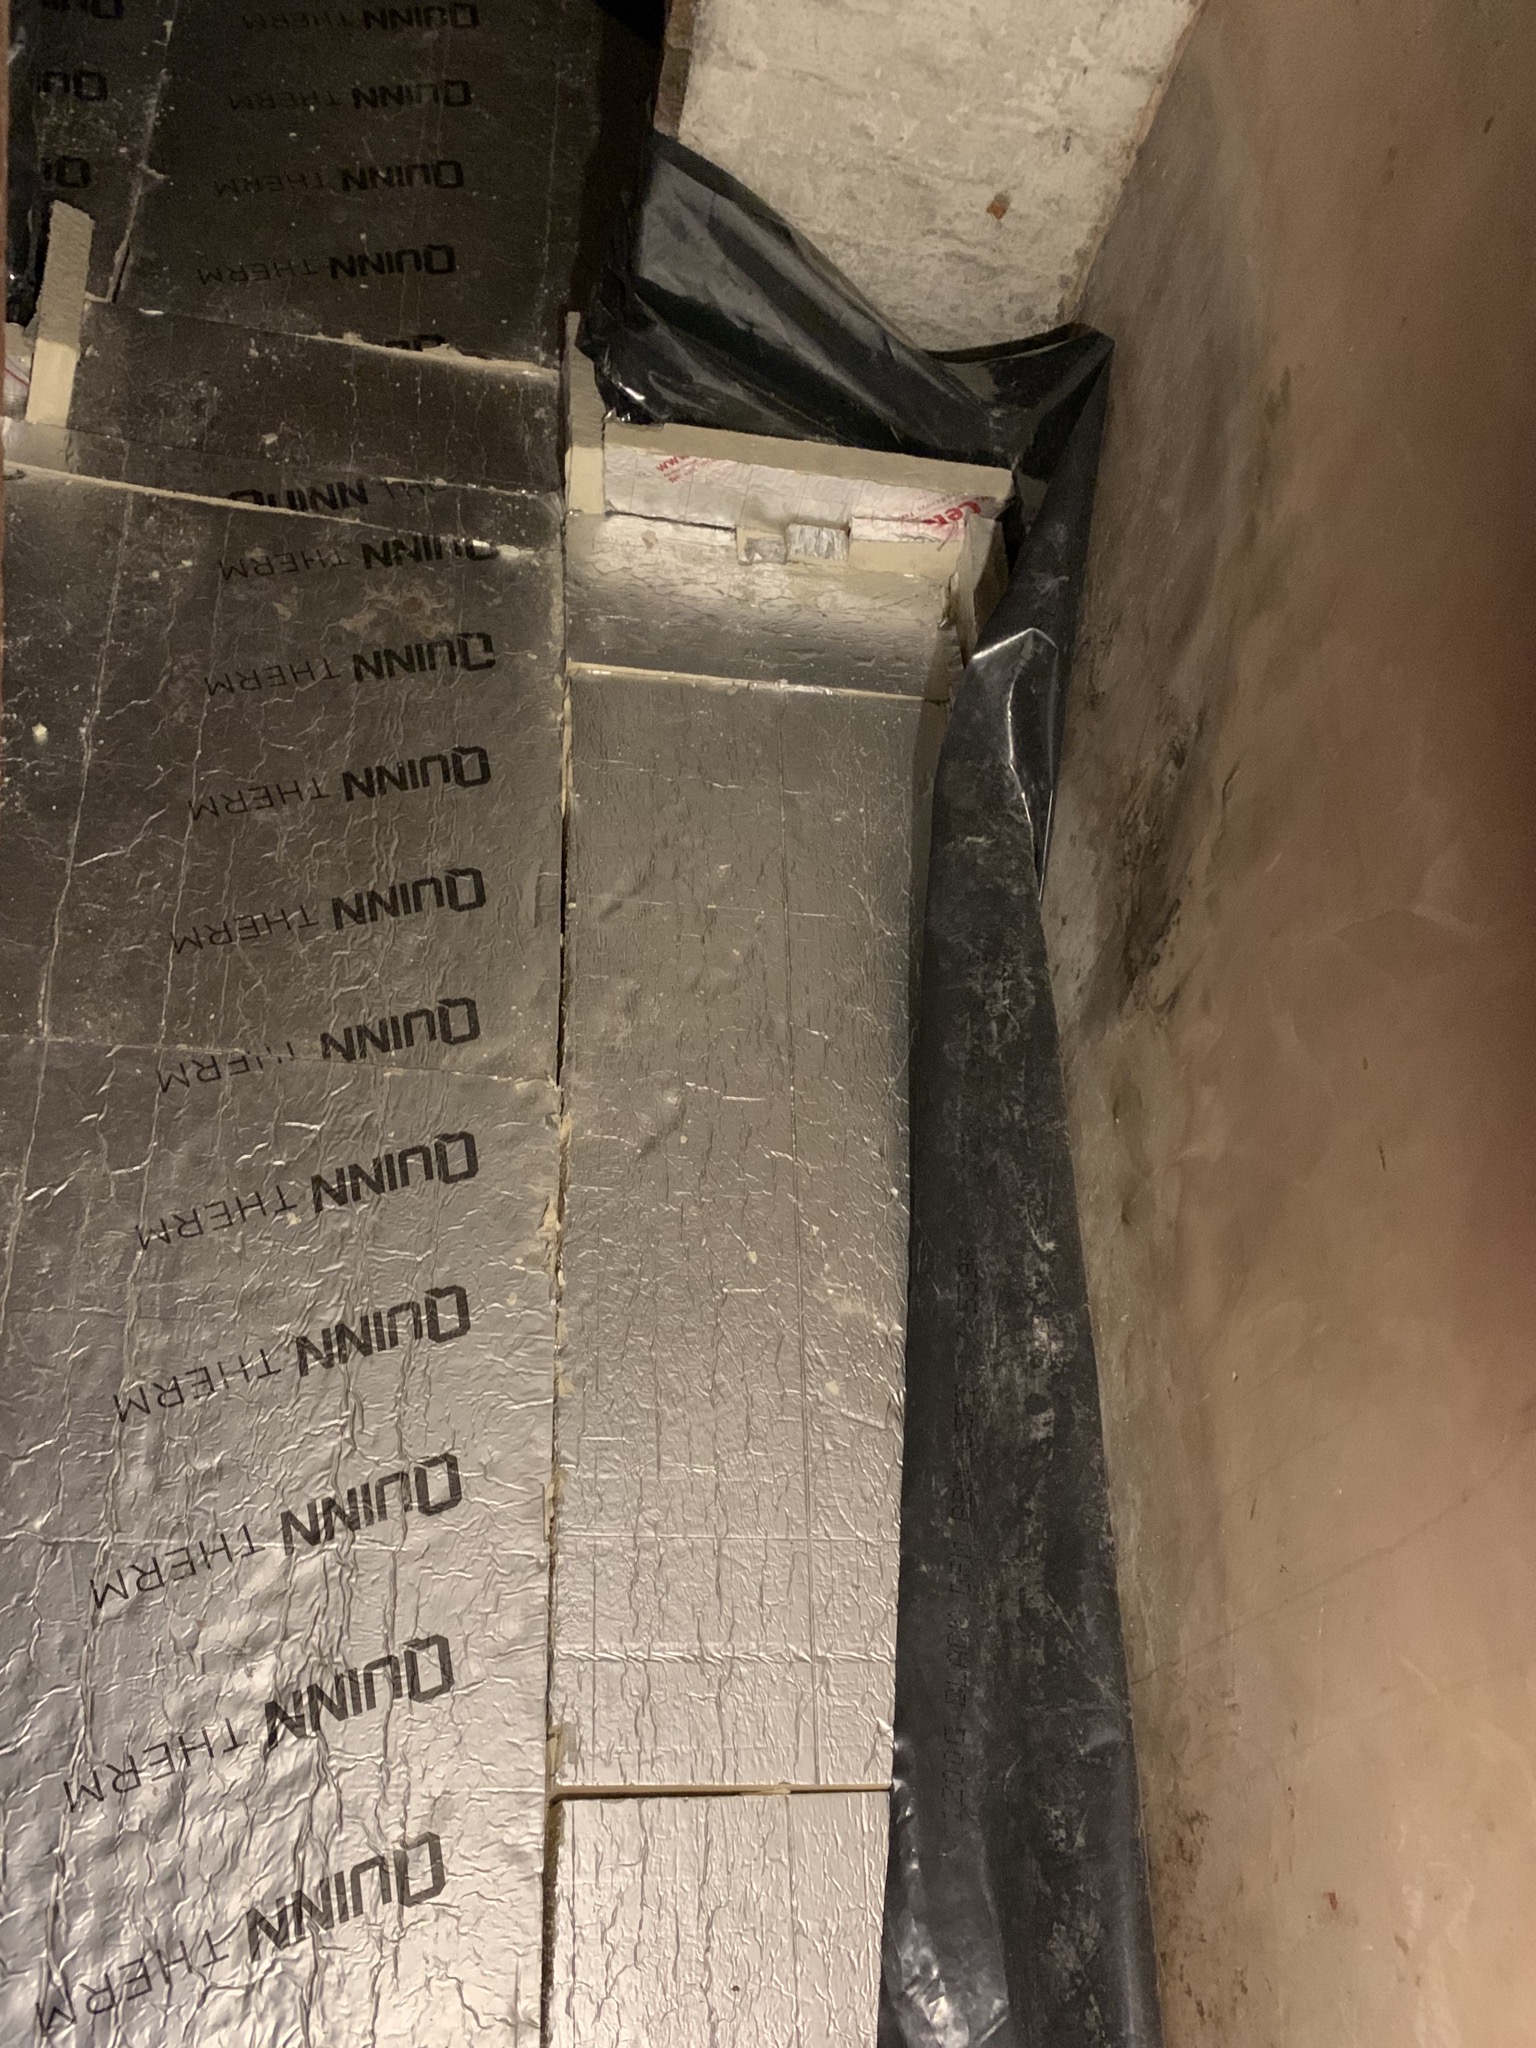
The 'murder room' as its now known has been fully dug out, layered with hardcore and sand and DPM membrane put down. Membrane is full height on the left due to the soil level, wall on the right is the garage at the same level.
Tomorrow the floor insulation will go down ready for the screed next week.
While waiting for the screed the garage walls will be slurried and some drains put into retaining walls to help divert the water away.
Sorry photobucket seems to have died taking the early hosted pics with it and cubeupload seems to have been black listed by lots of web security so block the images.
Insulation down for the big (for me) pour next Monday. Got a quote for floor screed - £360 delivered dry onto the drive! Concrete suitable for indoor floor slabs mixed on arrival and barrowed in for me £140.
Now to work out what to do when it arrives
Insulation down for the big (for me) pour next Monday. Got a quote for floor screed - £360 delivered dry onto the drive! Concrete suitable for indoor floor slabs mixed on arrival and barrowed in for me £140.
Now to work out what to do when it arrives
Amazing to see this progress, have been enjoying looking through this thread.
thanks a lot, its been a long journey and not finished yet!
1.8tons of concrete arrives tomorrow, absolutely crapping myself

100mm average thickness for the slab
Ive got the hall, dining room, and 2 bedrooms to finish. It will take as long as it takes, we are in no rush, much more concerned about the finishes.
11hrs in work, 2 kids to bed and then on my knees floating the slab before it goes off

Ive got the hall, dining room, and 2 bedrooms to finish. It will take as long as it takes, we are in no rush, much more concerned about the finishes.
11hrs in work, 2 kids to bed and then on my knees floating the slab before it goes off
