Sounds good man, defo sounds like a. Investment I need to doAh man you need a scope like this in your life. Honestly I found it for 50 on ebay and now I think I have 99% of what I need for proper in depth dives into stuff. Without some sort of scope on data lines it's almost impossible to tell if something is working exactly like it should. Now though I can say with complete certainty that's asic b on this board is fully functioning.
You are using an out of date browser. It may not display this or other websites correctly.
You should upgrade or use an alternative browser.
You should upgrade or use an alternative browser.
Vince's Repair Thread - (Console Repairs & Mods)
- Thread starter Vince
- Start date
-
- Tags
- lets repair things
More options
Thread starter's postsSounds good man, defo sounds like a. Investment I need to do
Bar the initial software fight its been superb!! Highly recommended for the sort of basic ish repairs we are doing. Certainly good enough to get an idea if things are working.
I've spent now hours testing the game gear and have fixed some data lines one with a jumper and another by bending a pin in the cart slot. It's really interesting using the scope for this as I can see the signals being generated out of the cart and as I trace those signals back through the cart slot then to ram/vram I can see exactly where the signal breaks. It's a long and tedious process but I am getting there. Basically the process goes something like this, this is the GG cart slot pinout:
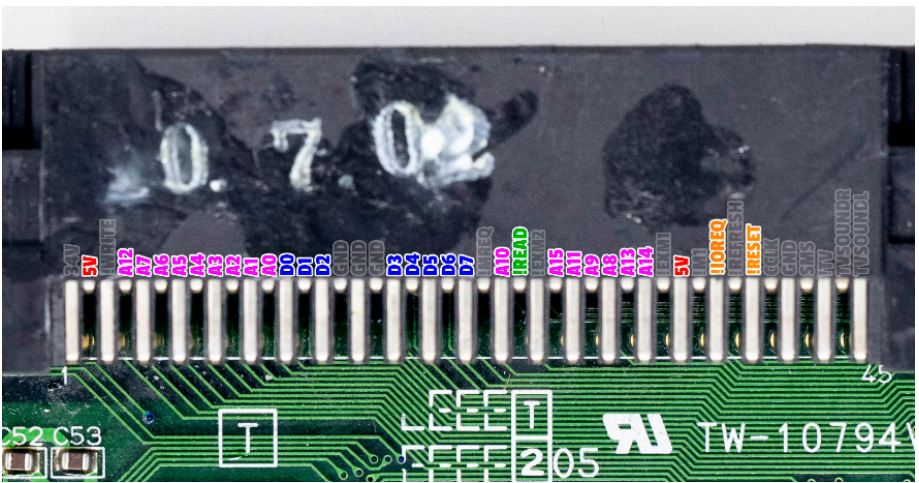
You trace every pin from there and test to every pin back to the asics and the vram... you can see how this might take a while...
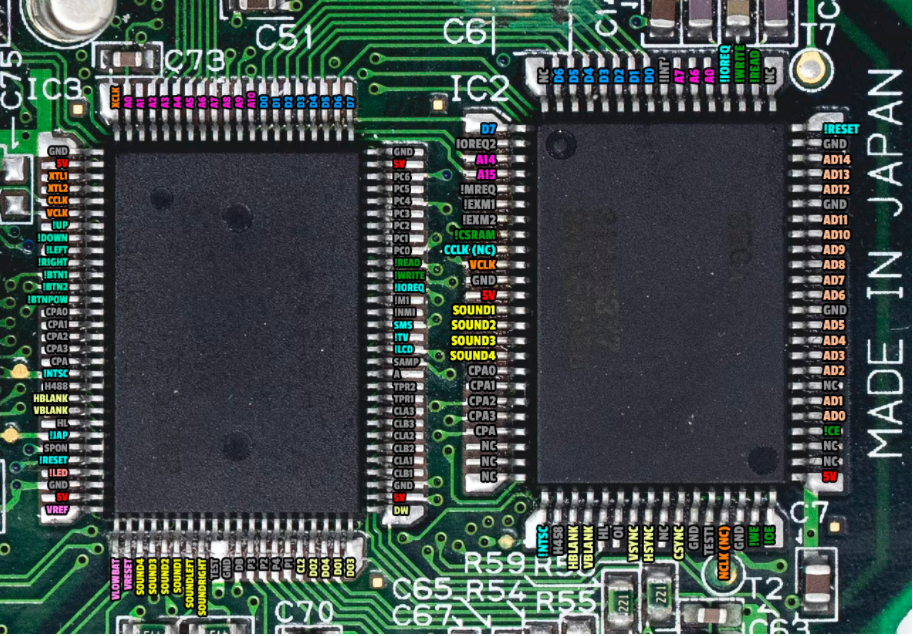
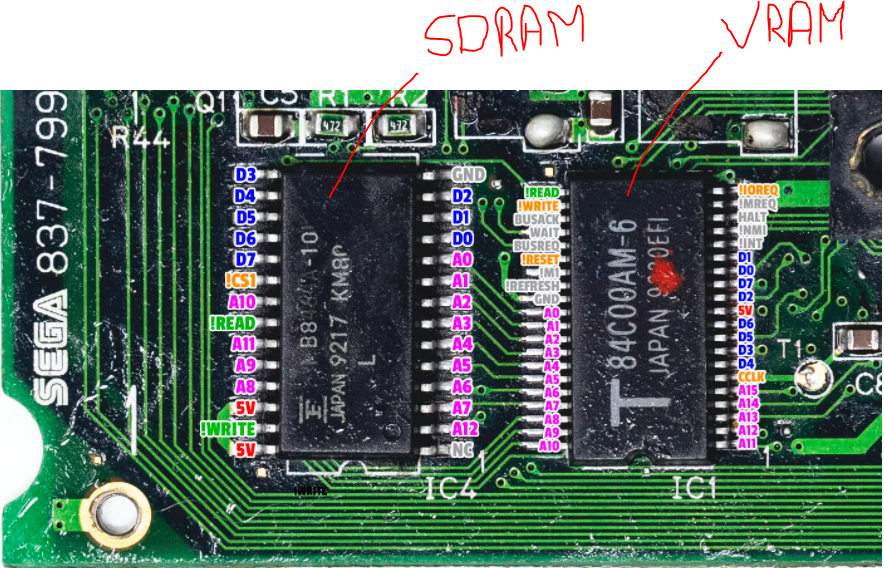
I've taken a break because I have come across another broken address line at the cart slot (A15).

You trace every pin from there and test to every pin back to the asics and the vram... you can see how this might take a while...


I've taken a break because I have come across another broken address line at the cart slot (A15).
Fairly massive china order just landed - Watch this space for some retro goodness!!! Yea baby!!
We have in todays fun
1 - IPS kit and case for GBA
2 - IPS kit and case for GB Pocket
3 - Pots for switch pro controller
4 - vita charge port
5 - 10 switch charge ports
6 - BGA solder paste
Its a fairly big haul
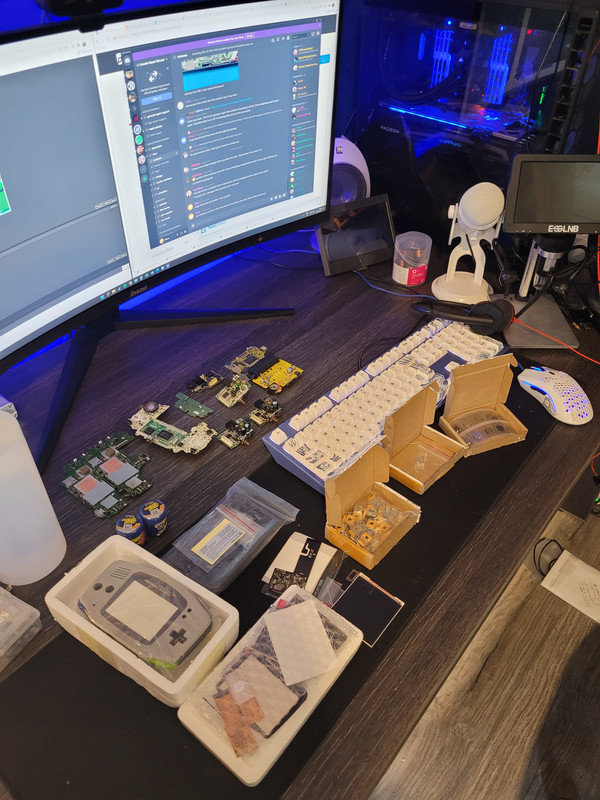
Still waiting on around £400 worth of stuff from china for more projects!!
We have in todays fun
1 - IPS kit and case for GBA
2 - IPS kit and case for GB Pocket
3 - Pots for switch pro controller
4 - vita charge port
5 - 10 switch charge ports
6 - BGA solder paste
Its a fairly big haul

Still waiting on around £400 worth of stuff from china for more projects!!
Last edited:
Fairly massive china order just landed - Watch this space for some retro goodness!!! Yea baby!!
We have in todays fun
1 - IPS kit and case for GBA
2 - IPS kit and case for GB Pocket
3 - Pots for switch pro controller
4 - vita charge port
5 - 10 switch charge ports
6 - BGA solder paste
Its a fairly big haul
Still waiting on around £400 worth of stuff from china for more projects!!
gotta love nice big deliverys! Looks like a lot of fun to come

gotta love nice big deliverys! Looks like a lot of fun to come
A lot of fun has already been had
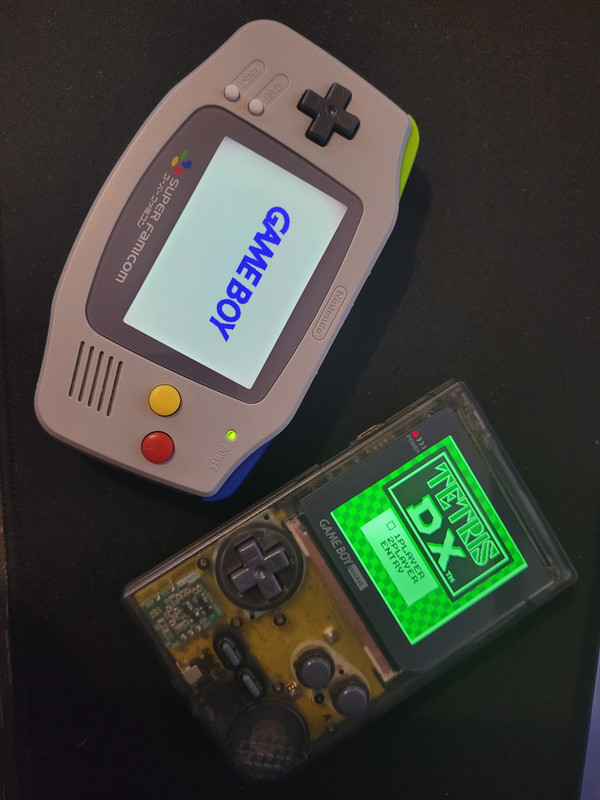
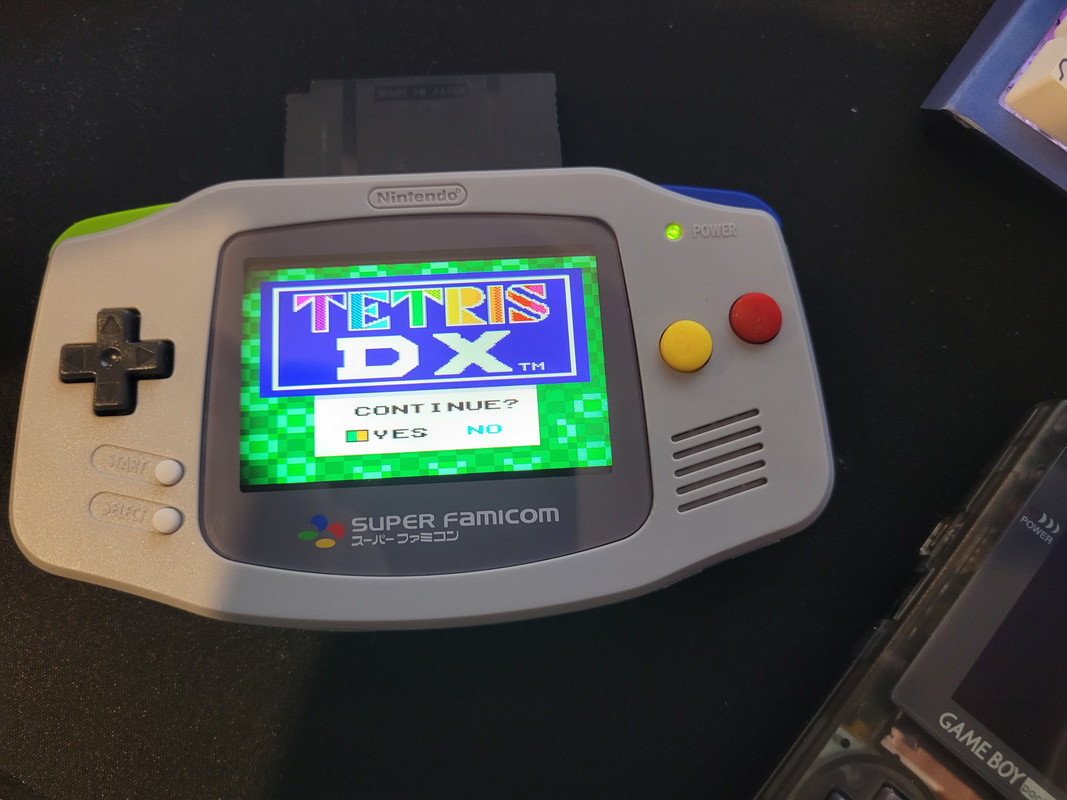
That was my GBA board and the pocket... both reshelled and looking damn good.
Tonight we are reballing max chips...
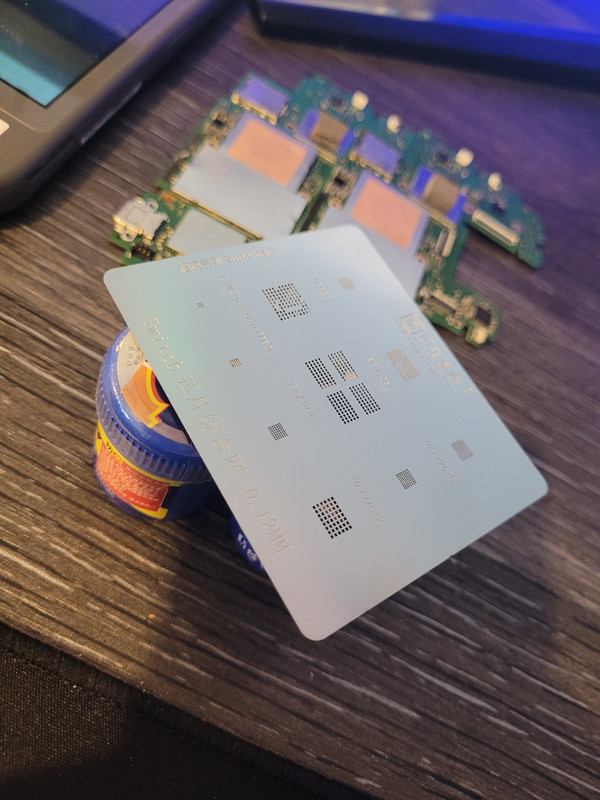
Then I am going to fix the 4 switch lite boards in my queue. Or I might do the Vita port... Or the Switch Pro controllers new pots... the options are endless...
I do still need to do more probing on the yellow GG as well! Basically I have a ton of stuff to work on!
Either way the pocket is getting listed straight away as I dont really want it, I just wanted to refurb it.
Last edited:
Today we can tick a few off of the list the Mrs was out for the day so I was happily in my own little world repairing and playing with stuff for a lot of the day. I decided to get a start on some of my switch lite boards. I regret that decision...
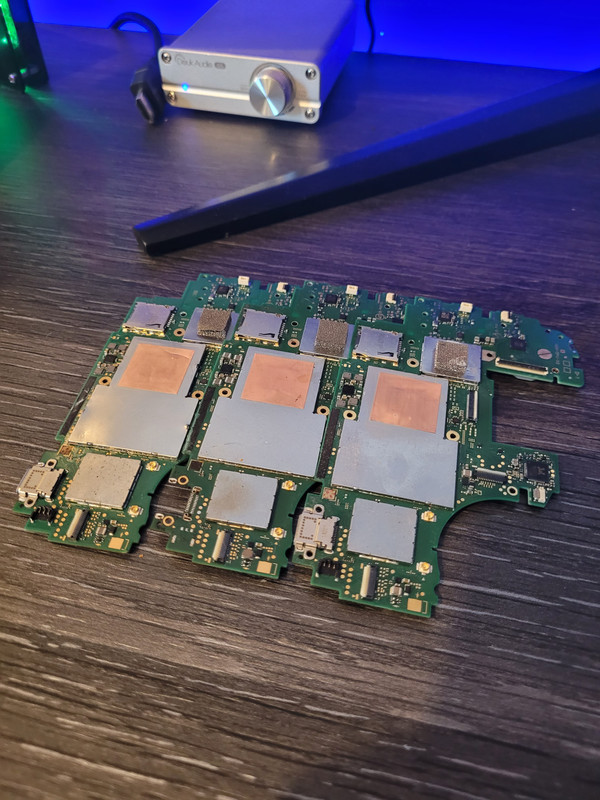
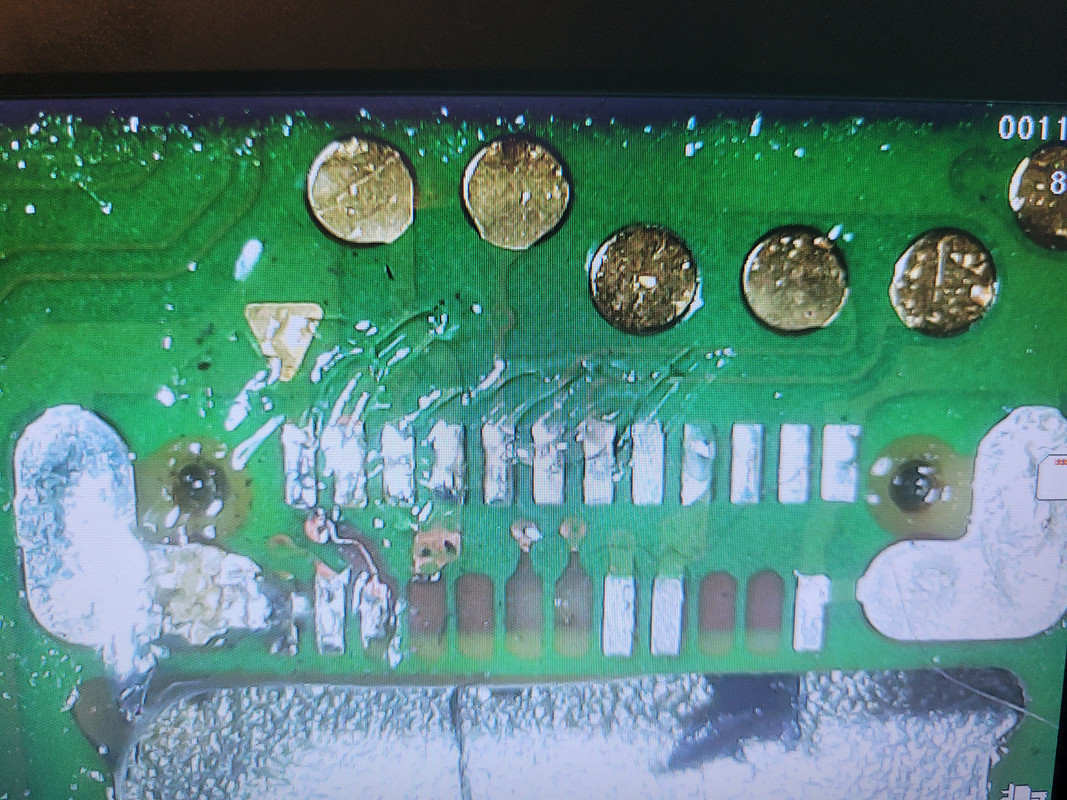
Board number one somebody has tried to replace the port and ripped all the hidden pins like a hooligan so here I was replacing traces with tiny trace repair things.. I only took a picture of the first one, second pin across on the bottom "hidden" row. But I replaced every required pin and trace, as well as m92...
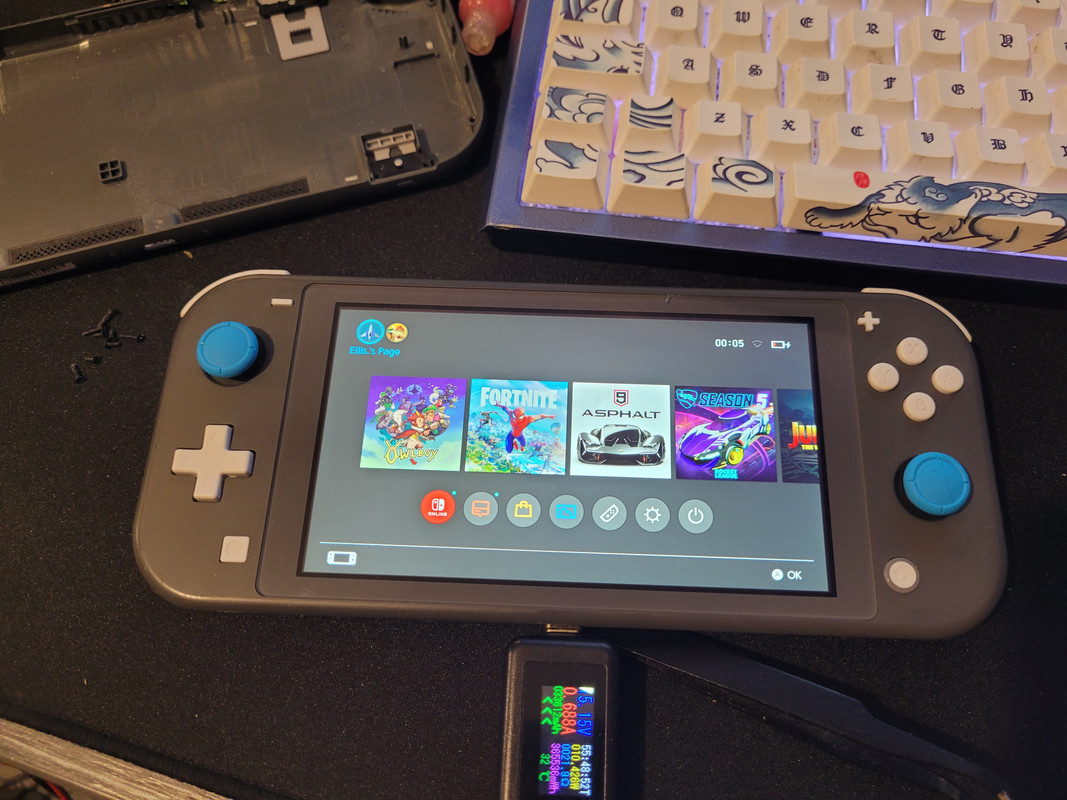
Then I stuck some blue analogue sticks in it, because why not.

Board number one somebody has tried to replace the port and ripped all the hidden pins like a hooligan so here I was replacing traces with tiny trace repair things.. I only took a picture of the first one, second pin across on the bottom "hidden" row. But I replaced every required pin and trace, as well as m92...

Then I stuck some blue analogue sticks in it, because why not.

Looks like I may be joining you on my first GG, one on route , powers on but green screen / no video. See what I can do, may have to get a scopeI've spent now hours testing the game gear and have fixed some data lines one with a jumper and another by bending a pin in the cart slot. It's really interesting using the scope for this as I can see the signals being generated out of the cart and as I trace those signals back through the cart slot then to ram/vram I can see exactly where the signal breaks. It's a long and tedious process but I am getting there. Basically the process goes something like this, this is the GG cart slot pinout:
You trace every pin from there and test to every pin back to the asics and the vram... you can see how this might take a while...
I've taken a break because I have come across another broken address line at the cart slot (A15).

Looks like I may be joining you on my first GG, one on route , powers on but green screen / no video. See what I can do, may have to get a scope
New toy, reads as stopped reading games then stopped powering on , goddamn it’s yellow!
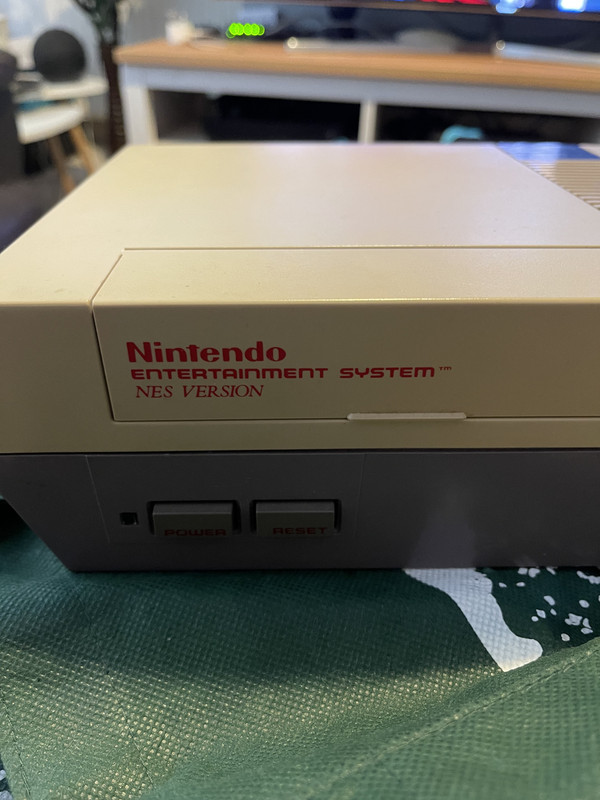
Ohh a NES! Look at us going all retro! - Cant believe that LYNX I paid more than I wanted but look at the condition!!! That NES looks pretty nice condition bar the yellow.
I fixed a the really bad green switch today using voltage injection! got loads of pics but ive replaced 5 caps and a fuse so far and have managed to remove a short from the VSYS rail... I think it might work when I put the component back on now!!! Also I reballed my first BGA chip successfully today... I also have pics of that
 - So much cool stuff to share!
Thanks dude, Ill keep doing it while I am enjoying it
I just did something.....
We have a lynx lads!!
Always wanted a Lynx, what state is it in?
Ohh a NES! Look at us going all retro! - Cant believe that LYNX I paid more than I wanted but look at the condition!!! That NES looks pretty nice condition bar the yellow.
I fixed a the really bad green switch today using voltage injection! got loads of pics but ive replaced 5 caps and a fuse so far and have managed to remove a short from the VSYS rail... I think it might work when I put the component back on now!!! Also I reballed my first BGA chip successfully today... I also have pics of that- So much cool stuff to share!
may have a few qs on GG outputs from chip, do you have any schematics / chip diagrams?
may have a few qs on GG outputs from chip, do you have any schematics / chip diagrams?
Nope but I do have some knowledge up in the soft stuff...
 you can always ask me in discord as well and ill be able to help
Always wanted a Lynx, what state is it in?
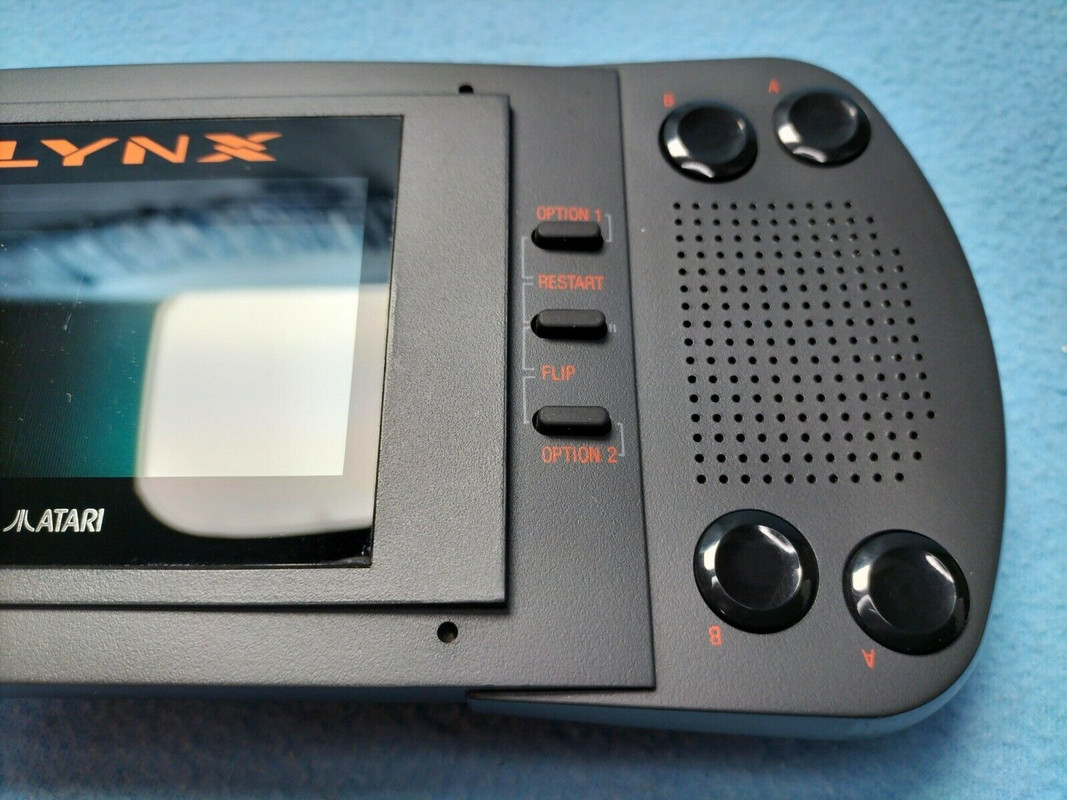
Cosmetically amazing, genuinely I think you will struggle to find a gen 1 lynx in better shape - Im told the OG screen works but has problems reading things and with data lines... when I say cosmetically amazing check this out...

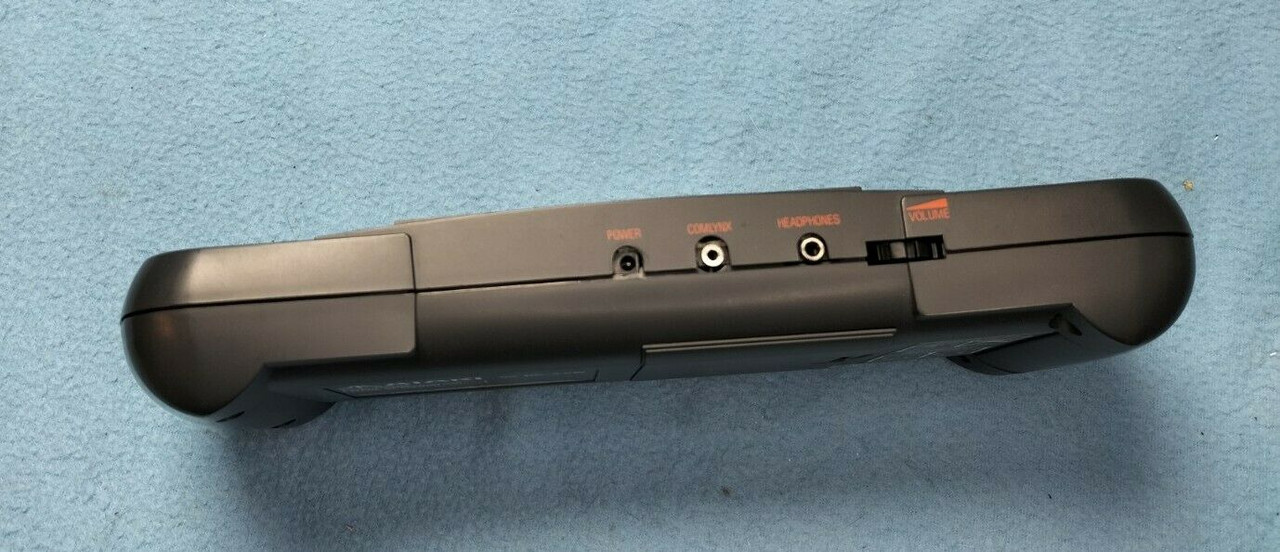
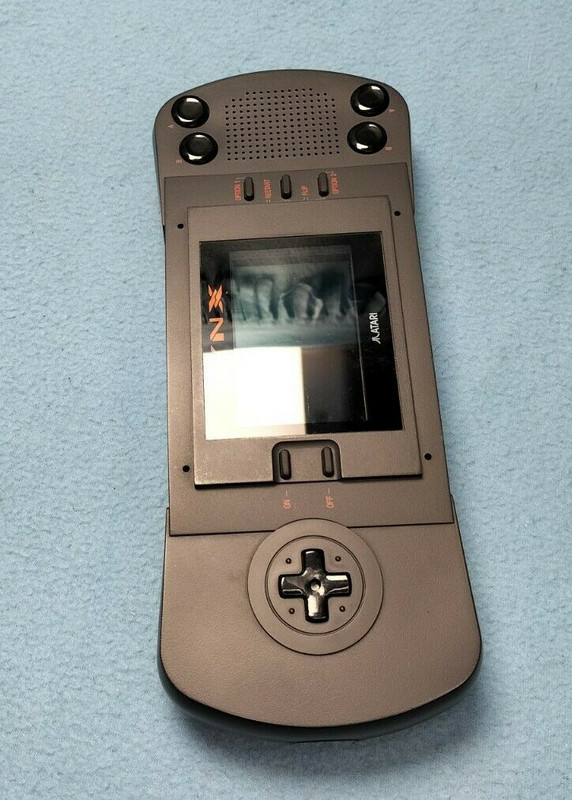
I also paid £20 postage because it was in the netherlands.. I'm into it for like £80. If I get it working and keep it original it will be one of the nicest OG lynx consoles I have seen. I told you he who waits will be rewarded when the right console comes up... been on the lookout for months.
I promised the thread a lynx and im going to deliver! Oddly the GG mcwill's I have on the way you can also cram into a lynx. I already have 5 kits coming so I could give the LYNX an IPS... time will tell! I need to buy me a game really.
Last edited:
Cosmetically amazing, genuinely I think you will struggle to find a gen 1 lynx in better shape - Im told the OG screen works but has problems reading things and with data lines... when I say cosmetically amazing check this out...
I also paid £20 postage because it was in the netherlands.. I'm into it for like £80. If I get it working and keep it original it will be one of the nicest OG lynx consoles I have seen. I told you he who waits will be rewarded when the right console comes up... been on the lookout for months.
I promised the thread a lynx and im going to deliver! Oddly the GG mcwill's I have on the way you can also cram into a lynx. I already have 5 kits coming so I could give the LYNX an IPS... time will tell! I need to buy me a game really.
that is insane for its age on how good it looks!
You know that snapped in half blue switch? I did a thing...
Broken bga chip that you can't identify to buy a replacement, all I know is its some sort of stepdown IC.

Got me a template and you can't see it but that chip is under the cam in this pic and is the same dimensions as max17050.. its tiny...
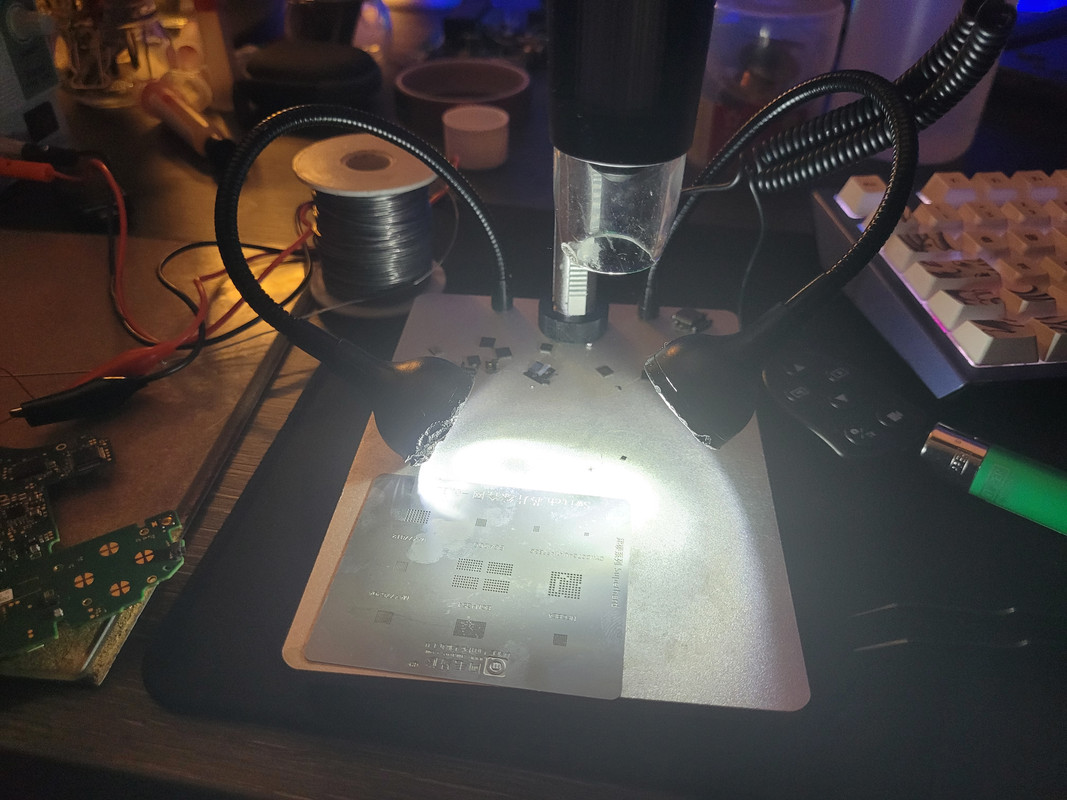
cleaned up the chip thin layer of flux (too much in this pic)
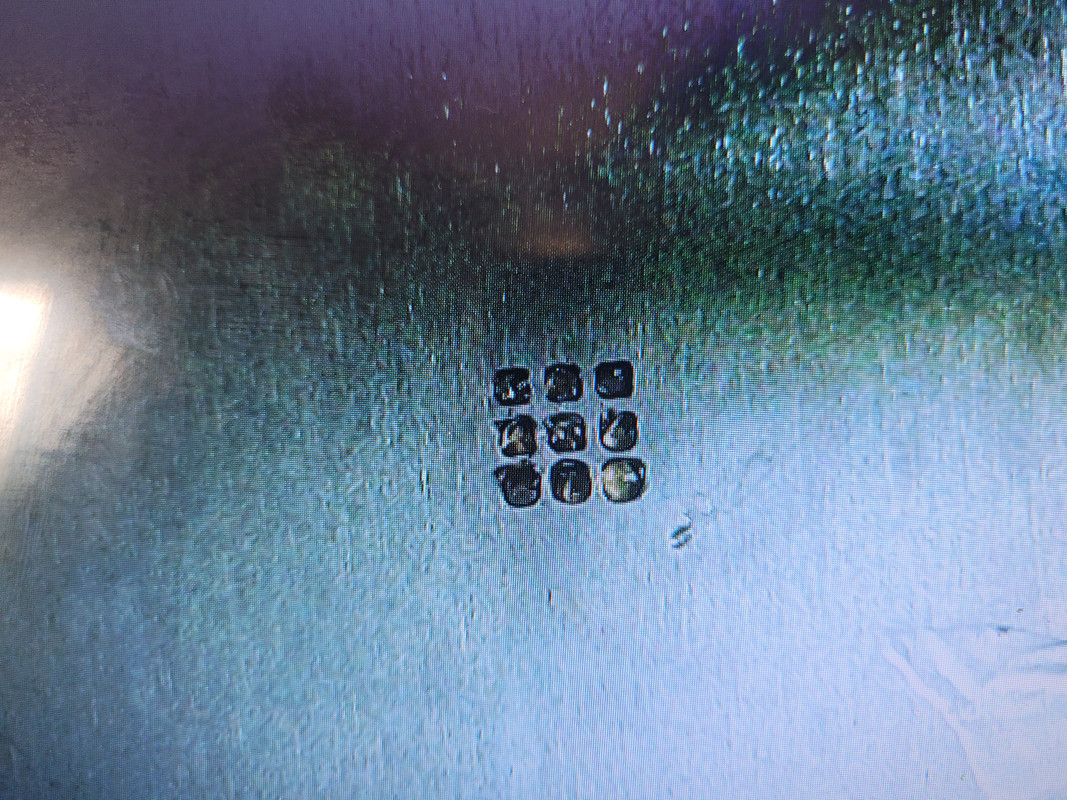
solder paste in the stensil.
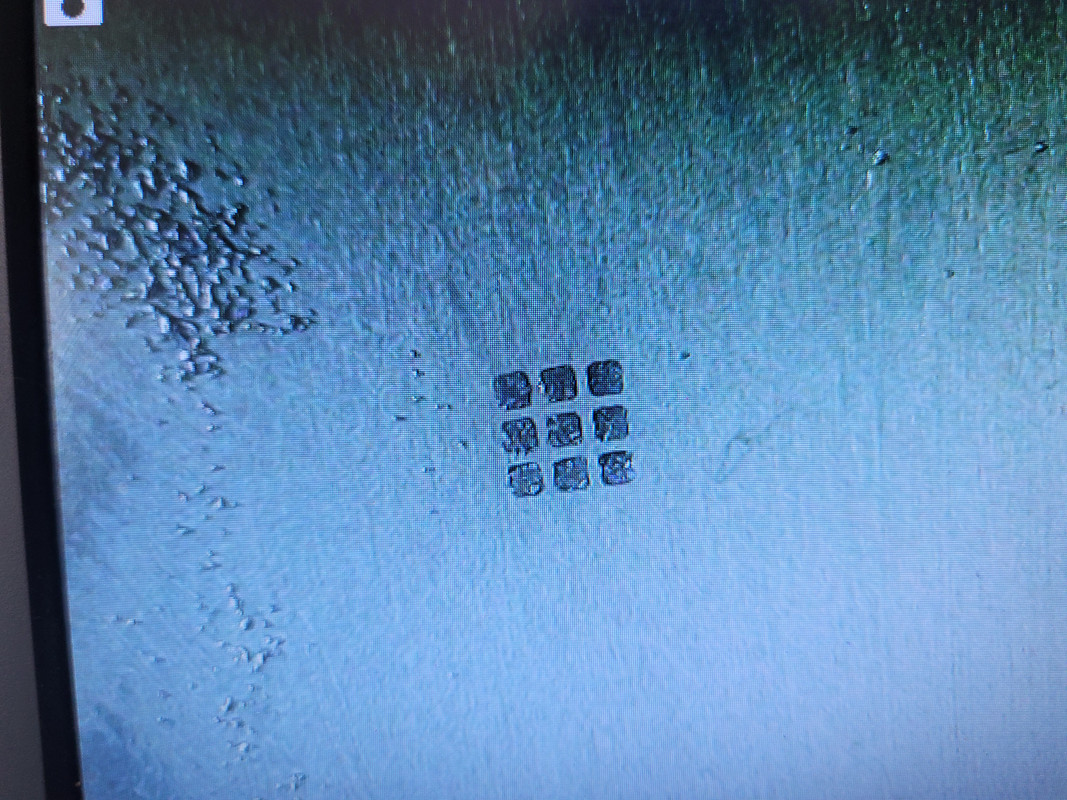
Re-balled my first bga!

This is where it needs to go. So I cleaned that up...
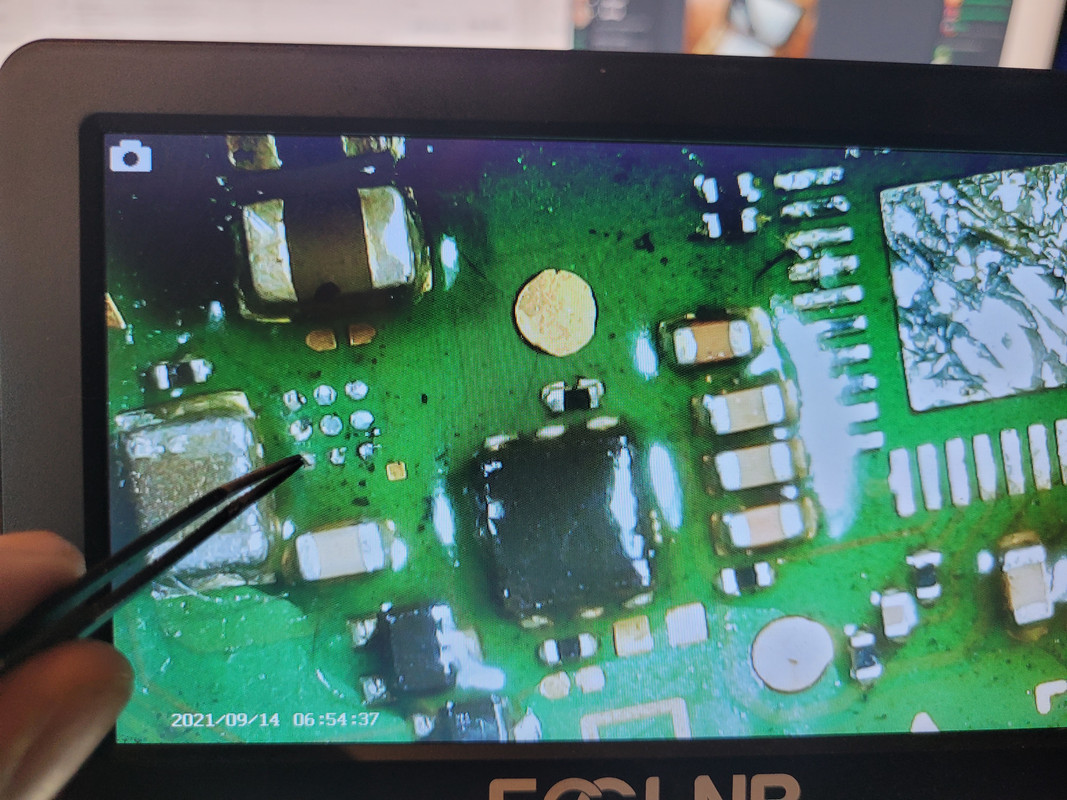
Put my chip back on and it pulled into place like a champ
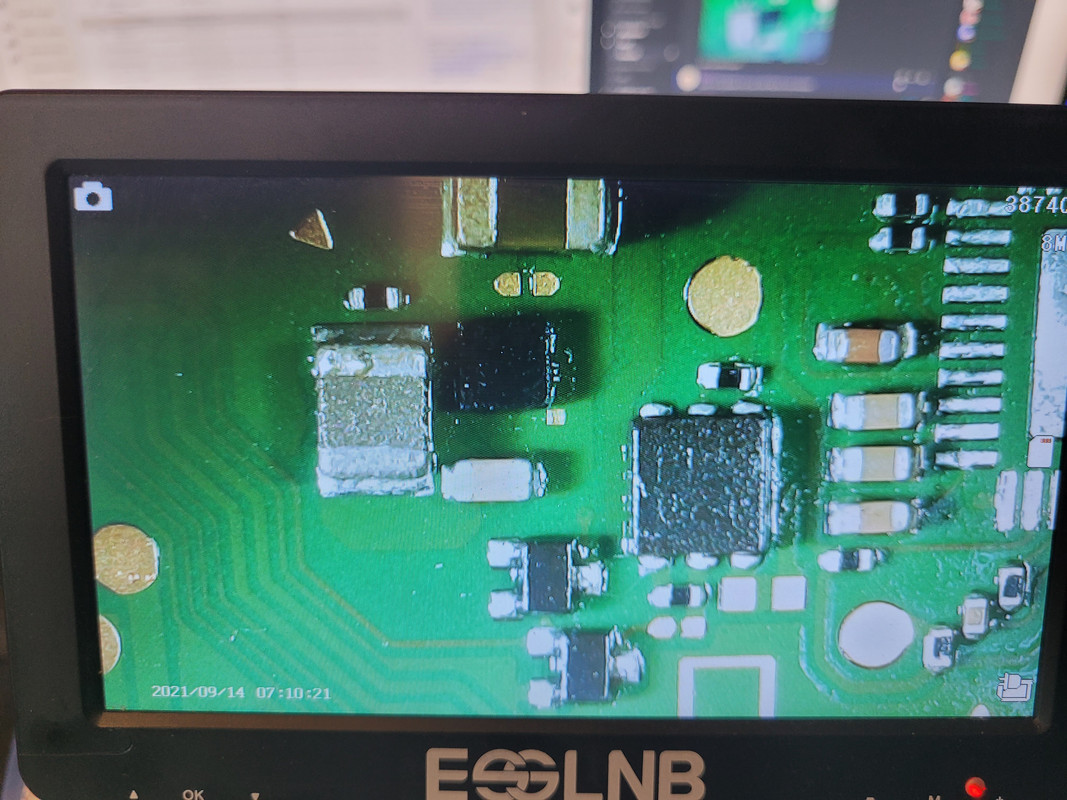
That took me probably 10 attempts of failing to reball that chip but man it was satisfying when all the little balls finally worked!
Now I had to do all this because that switch was bad this is the one that was snapped in half. So far we have replaced a fuse, 4 caps, a shorted cap on m92 that was the cap and not m92?! the cap behind the fuse was also shorted, shorting 15v to ground so that was also replaced. Finally after that and a new port I was able to get the switch to accept a charger but problem... I found that we have a short on the vsys rail... with vsys being the main rail on a switch that short could be anywhere, so I did what you should, set up voltage injection into vsys. With that done i set the bench supply at 1.5v and let it rip. The board ate 2amps quite happily so I had a feel around and this cap bottom left of the image burnt me. removed it and the short went... so thats cap 5
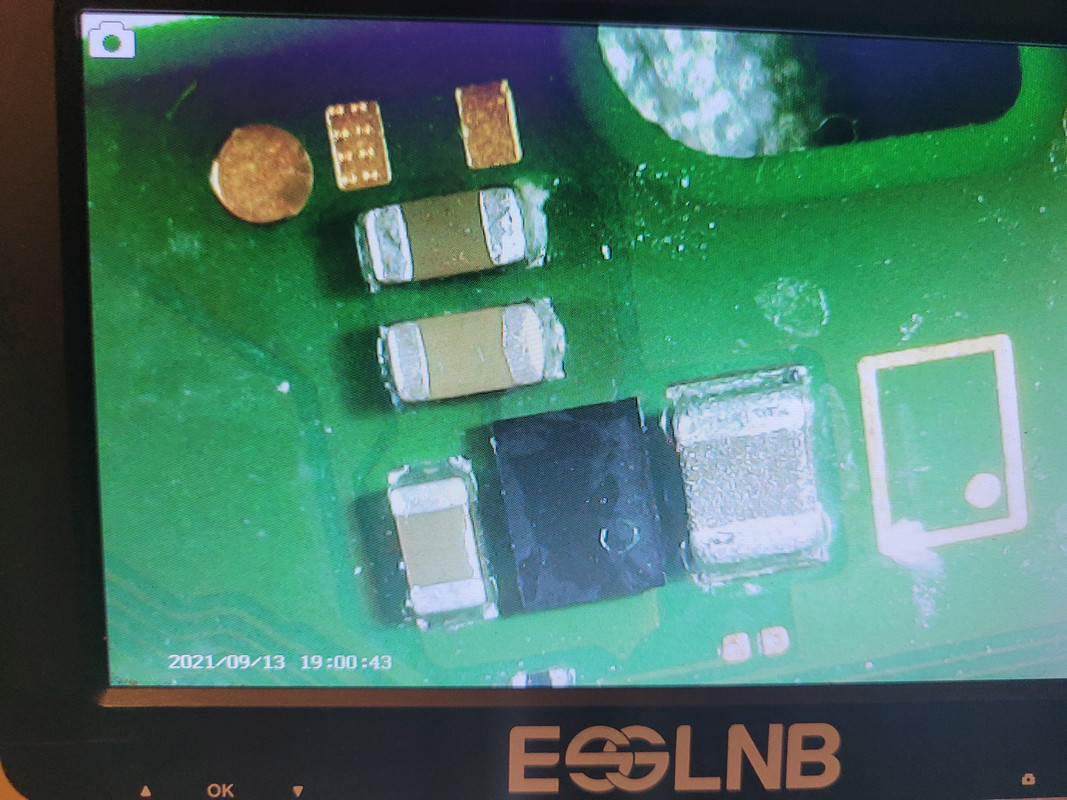
For anyone interested that IC to the right of my broken cap is for the audio.
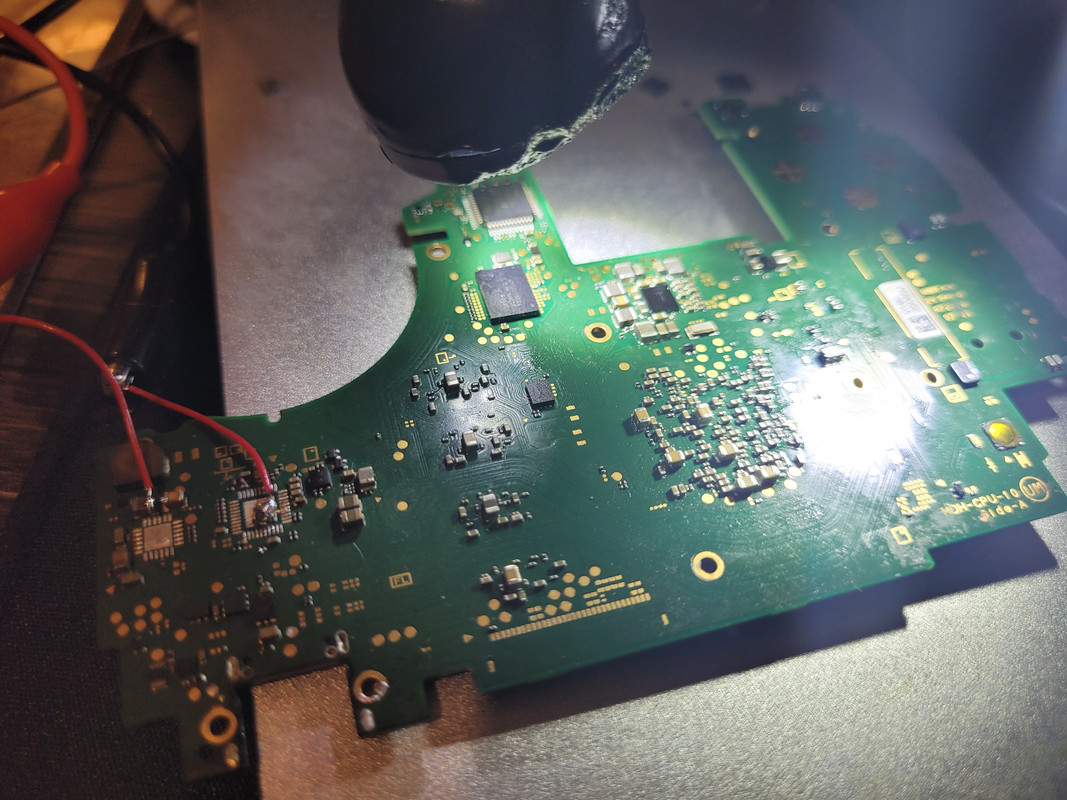
As soon as I removed that cap my vsys short was gone, I havent fully fixed this one yet but It's coming along nicely just got to put a port back on it, put m92 and bq back on and give it a test. I'm not going to lie I think this one is possibly going to work now. Ill probably stick it in a pink or a grey case we shall see whats here once we have it booting.
And yes im switching between projects all the time so that I don't lose patience and burn myself out on one single thing.
Broken bga chip that you can't identify to buy a replacement, all I know is its some sort of stepdown IC.

Got me a template and you can't see it but that chip is under the cam in this pic and is the same dimensions as max17050.. its tiny...

cleaned up the chip thin layer of flux (too much in this pic)

solder paste in the stensil.

Re-balled my first bga!

This is where it needs to go. So I cleaned that up...

Put my chip back on and it pulled into place like a champ


That took me probably 10 attempts of failing to reball that chip but man it was satisfying when all the little balls finally worked!
Now I had to do all this because that switch was bad this is the one that was snapped in half. So far we have replaced a fuse, 4 caps, a shorted cap on m92 that was the cap and not m92?! the cap behind the fuse was also shorted, shorting 15v to ground so that was also replaced. Finally after that and a new port I was able to get the switch to accept a charger but problem... I found that we have a short on the vsys rail... with vsys being the main rail on a switch that short could be anywhere, so I did what you should, set up voltage injection into vsys. With that done i set the bench supply at 1.5v and let it rip. The board ate 2amps quite happily so I had a feel around and this cap bottom left of the image burnt me. removed it and the short went... so thats cap 5

For anyone interested that IC to the right of my broken cap is for the audio.

As soon as I removed that cap my vsys short was gone, I havent fully fixed this one yet but It's coming along nicely
 just got to put a port back on it, put m92 and bq back on and give it a test. I'm not going to lie I think this one is possibly going to work now. Ill probably stick it in a pink or a grey case we shall see whats here once we have it booting.
And yes im switching between projects all the time so that I don't lose patience and burn myself out on one single thing.
Last edited:
that is insane for its age on how good it looks!
I'm genuinely chuffed if its in this condition when it gets here! For your GG have you grabbed a screen kit?
I'm genuinely chuffed if its in this condition when it gets here! For your GG have you grabbed a screen kit?
nope got got a kit yet, works out I will need one as seller has managed to get screen on but has lines and weird stuff on it . 2nd issue is it has no sound output at all!


