Vince's Repair Thread - (Console Repairs & Mods)

nope got got a kit yet, works out I will need one as seller has managed to get screen on but has lines and weird stuff on it . 2nd issue is it has no sound output at all!

Thats ok the sound board is separate. just recap it and you should be good. My screens should be here in a few weeks ive got 5 clone mcwill kits on the way 2 for GG's and one for the lynx if it needs it. Thats enough to sell you one cheap most likely.
 
Thats ok the sound board is separate. just recap it and you should be good. My screens should be here in a few weeks ive got 5 clone mcwill kits on the way 2 for GG's and one for the lynx if it needs it. Thats enough to sell you one cheap most likely.
Sounds good , been looking at all the bits there is available for GG , there is loads! May even mod it for the battery usb3
 
Sounds good , been looking at all the bits there is available for GG , there is loads! May even mod it for the battery usb3

Mines got USB3 :D gotta have it.. you seen the digital to analogue, analogue stick? That looks awesome.... Ill warn you now the screen mod is involved!!!
 
Mines got USB3 :D gotta have it.. you seen the digital to analogue, analogue stick? That looks awesome.... Ill warn you now the screen mod is involved!!!

better practice up on my microscope soldering , not done any for a few weeks!!
 
if not its all about the fun getting to the end right :)

Something like that - I am about 2/3 of the way through the GG testing... Much more interested in this properly nuked switch board from the snapped in half switch... I recon I may even have that running tonight if I can get some time on it.
 
Something like that - I am about 2/3 of the way through the GG testing... Much more interested in this properly nuked switch board from the snapped in half switch... I recon I may even have that running tonight if I can get some time on it.

Ace work you are doing on that, I feel i can nail any nintendo at mo apart from never tried a switch, fixed loads of snes, gb, nes, ds etc. GG is my very first one, cant wait to get it
 
Ace work you are doing on that, I feel i can nail any nintendo at mo apart from never tried a switch, fixed loads of snes, gb, nes, ds etc. GG is my very first one, cant wait to get it

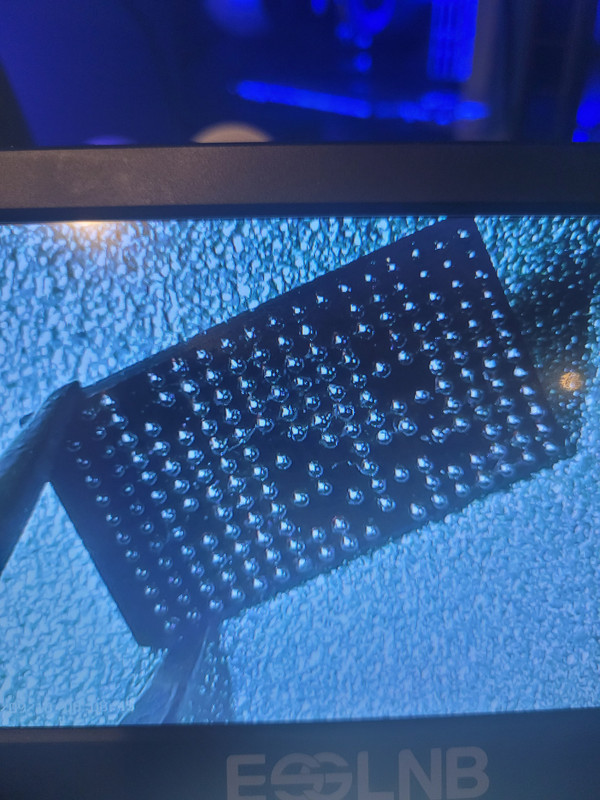
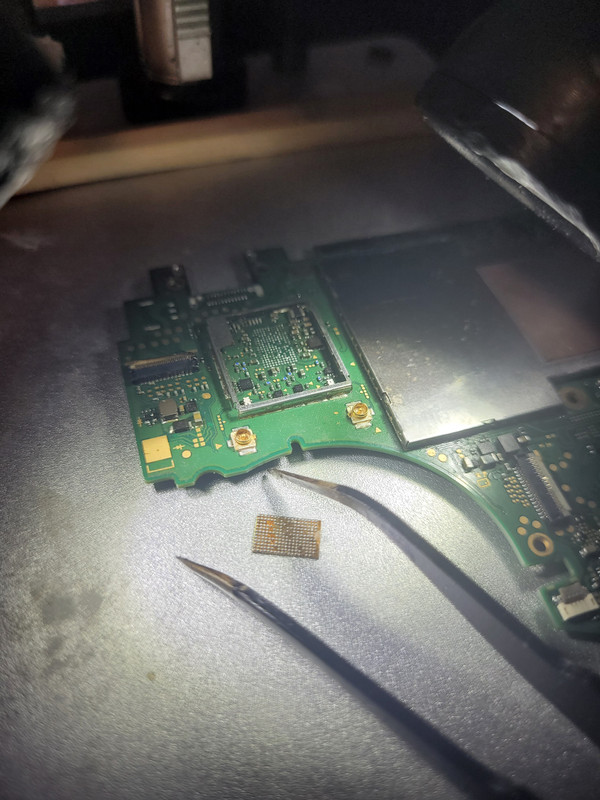
That switch board got away from me for a bit so I have put it to one side for now and moved on... I got rid of the short vsys line but one of the secondary lines has a short, I did inject that line but it was pulling 2.5amps at 0.5v and nothing appeared to be getting hot so for now we put it aide for another day as well it's on a line I know nothing about so instead I turned to one of my other donors and started putting stolen stuff back on that. I am currently reballing it's wifi IC which is a lot of fun. Have ordered balls instead of paste, not having much luck with the paste and stencil and I think I will prefer working with the balls. Still going to try and reball this IC with some paste today and see how we do :) It's a big ish one though around 200 balls.
 
Last edited:
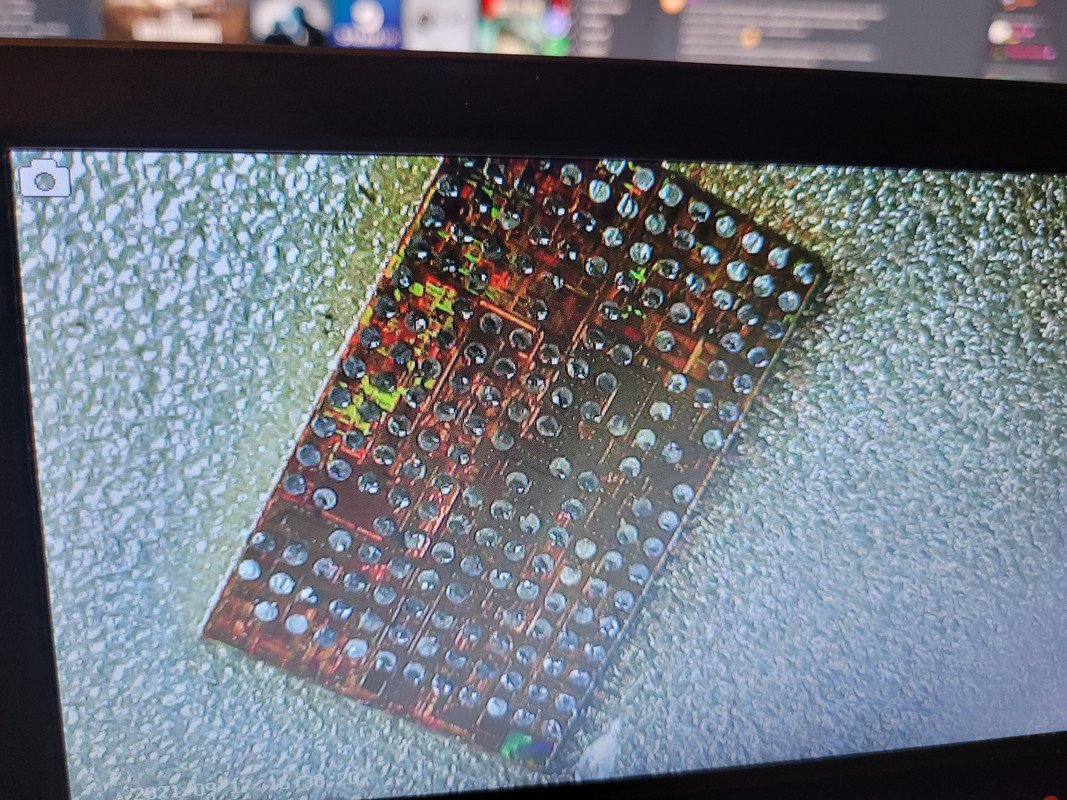
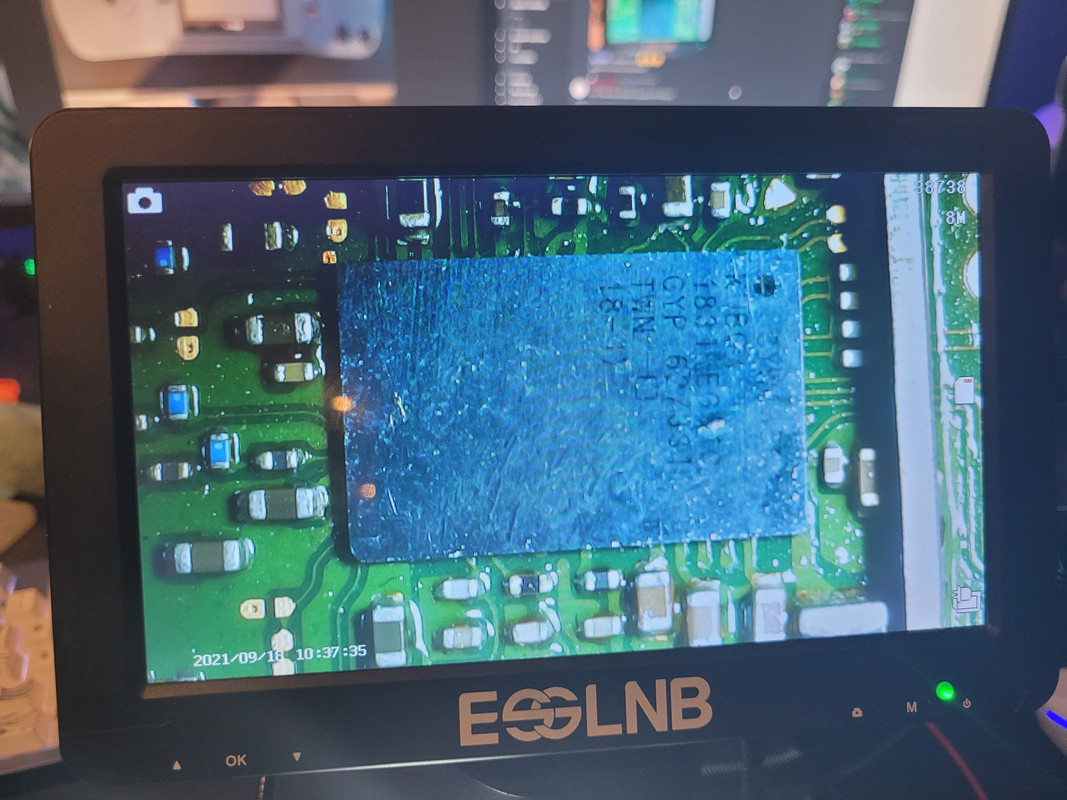
I need to share this because I am so unbelievably chuffed with myself... I'm starting to understand and develop my own method!!! I wont lie ive probably put 20 hours into reballing and failing.


Can Vince reball a switch wifi IC with 0.12mm pads? damn right he can :)
 
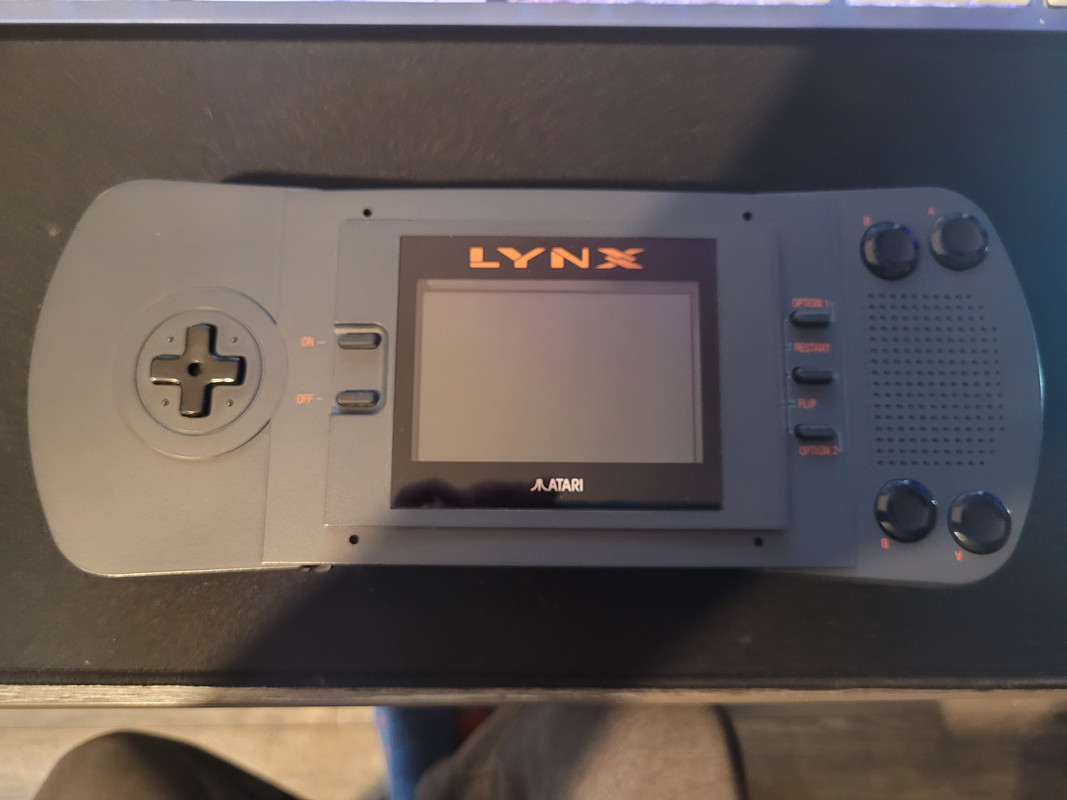
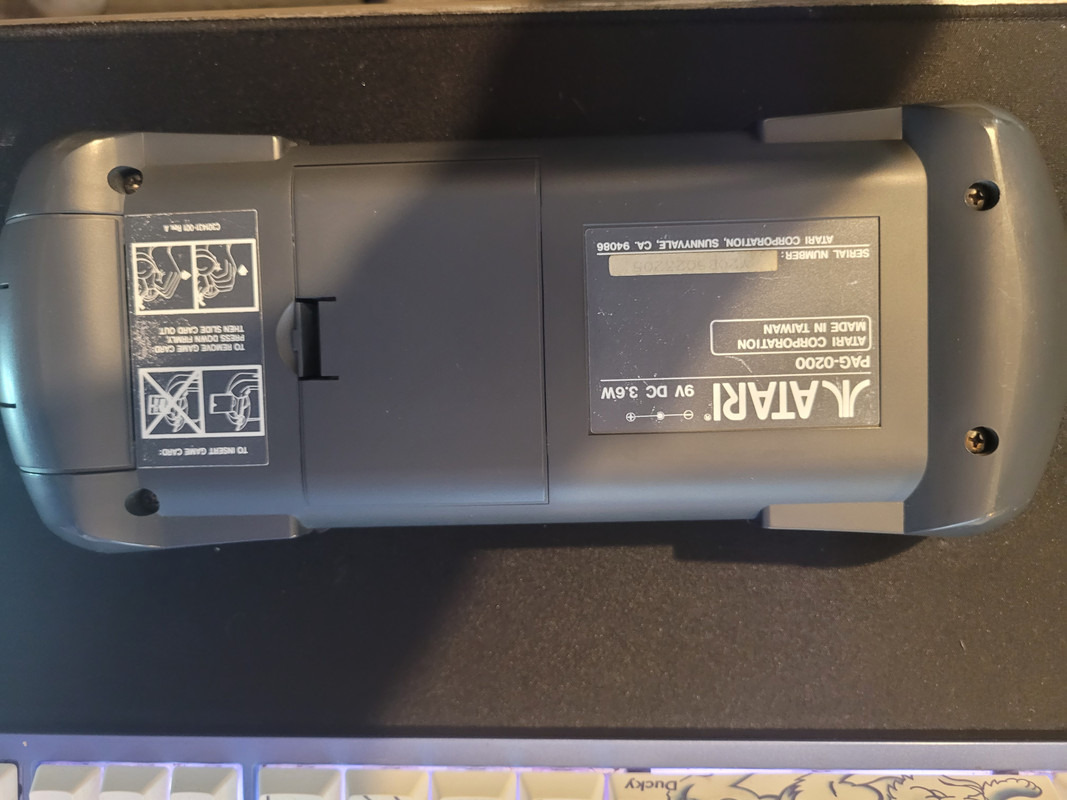
Gents do you want to see possibly the cleanest gen1 lynx ever? Check this out...


Into the queue it goes!! Genuinely there isn't a single scratch on the screen.
 
I need to share this because I am so unbelievably chuffed with myself... I'm starting to understand and develop my own method!!! I wont lie ive probably put 20 hours into reballing and failing.


Can Vince reball a switch wifi IC with 0.12mm pads? damn right he can :)
Awesome job fella , that looks like a right nightmare !

that lynx is insane. I don’t think I have ever seen one that tidy around!
 
Awesome job fella , that looks like a right nightmare !

that lynx is insane. I don’t think I have ever seen one that tidy around!

I'm really happy with the lynx, I'm going to bump it up behind the vita I think... but may have a play earlier... it's tempting but I have too many half finished projects to start it.

That bga has now been transplanted into a new board.


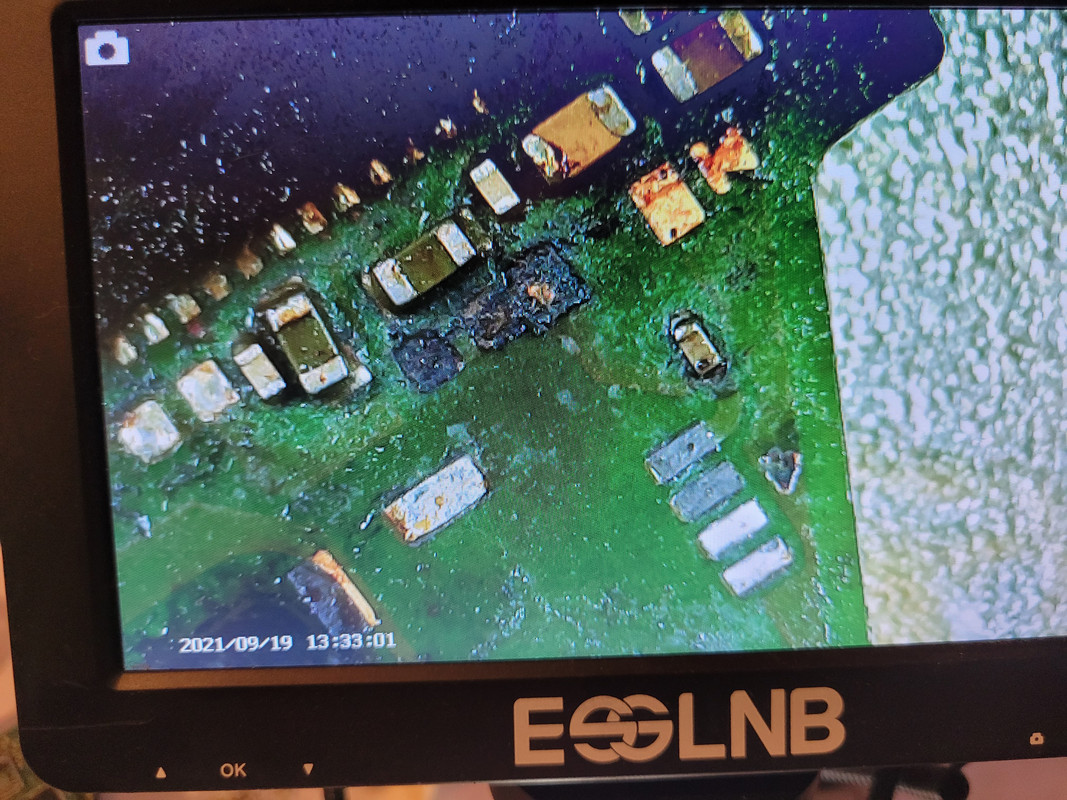
Interesting switch board tonight, described in the listing as "micro water damaged" but when I opened it up this is what I saw on the 17v backlight circuit and daughter board:
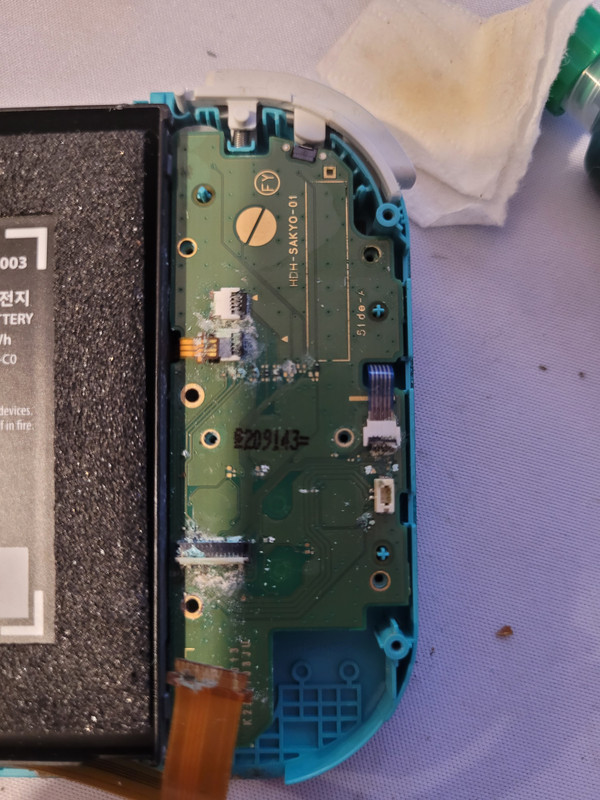


After some careful cleaning and swapping in my spare daughter board I managed to get the main board to boot once but I was met with a load buzzing sound and the console crashed when it got to the main screen.

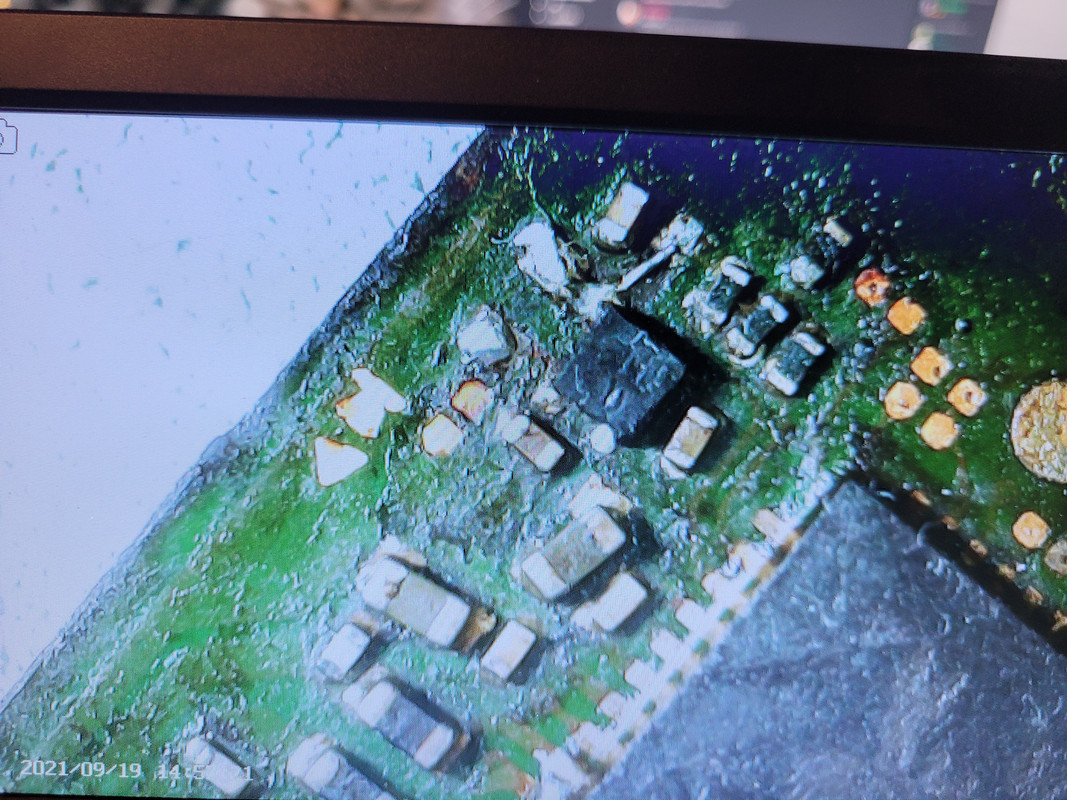
There was quite a bit of corrosion around the audio ic so I started removing components and pads were just gone... This is some sort of IC that has something to do with audio but its pads are mia.


This is for the fan with the connector taken off, the trace to the cap is burnt and the pad under the closest side of that cap is missing the test points for the 5v fan are also rotten.


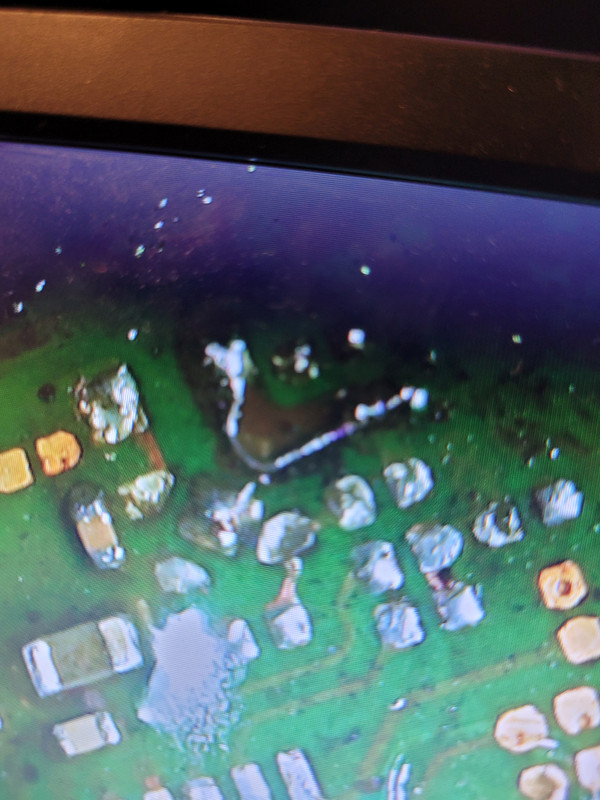
Now this isn't pretty, but I had no choice but to run jumpers, im using 0.1mm magnat enamelled wire


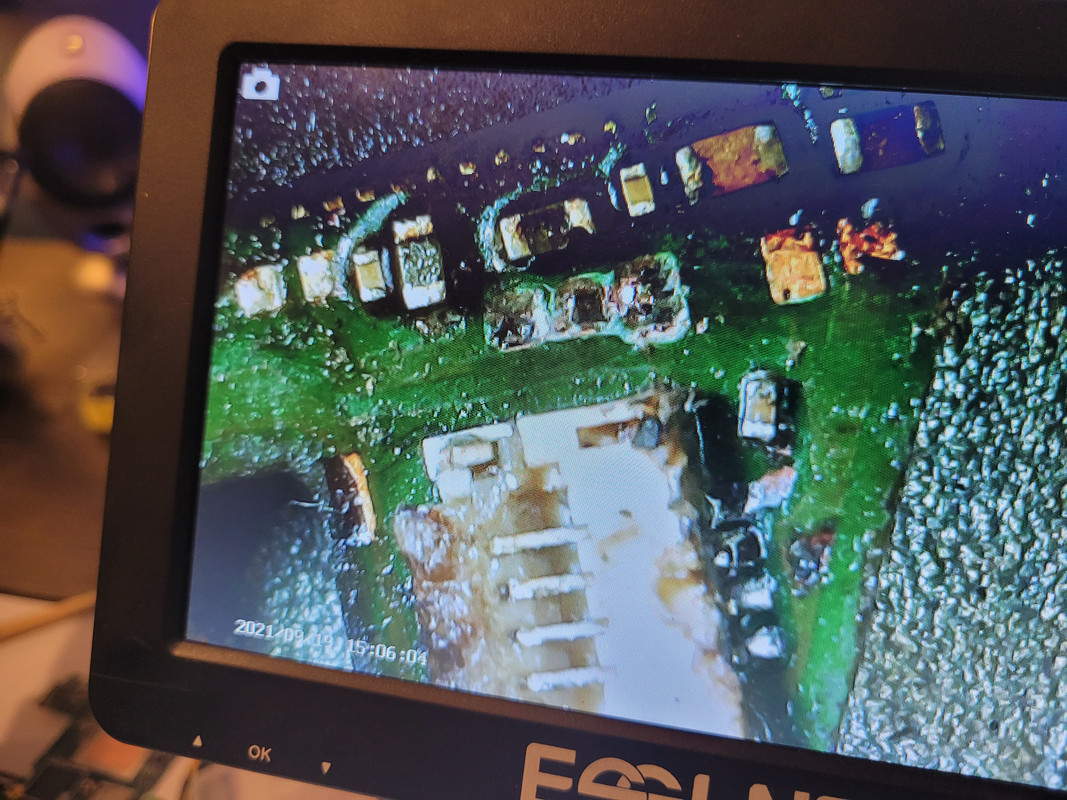
And with the IC back in place, ignore the burnt flux and wonkey caps for now they are all from a donor board and I went back and cleaned/straightened the area up with some fresh solder and mask later. It looks ugly but it works. At this point I had a working switch board with Audio :D But no cooling...


No cooling is a problem so next up I tackled the fan area, I popped a connector back on and 3 of the pins are fine, the top pin which is a 5v pwm is not, those test pads were totally rotten and the more I scraped, the more they just fell away, problem is they go through the board from here to somewhere else and they don't look connected to me.

After trying to get some solder down it was just falling away more so time for some jumpers, i went from the leg on the fan connector to the cap then over to where the test points were with a tiny bit that was still connected, tested it and as you can imagine no dice.
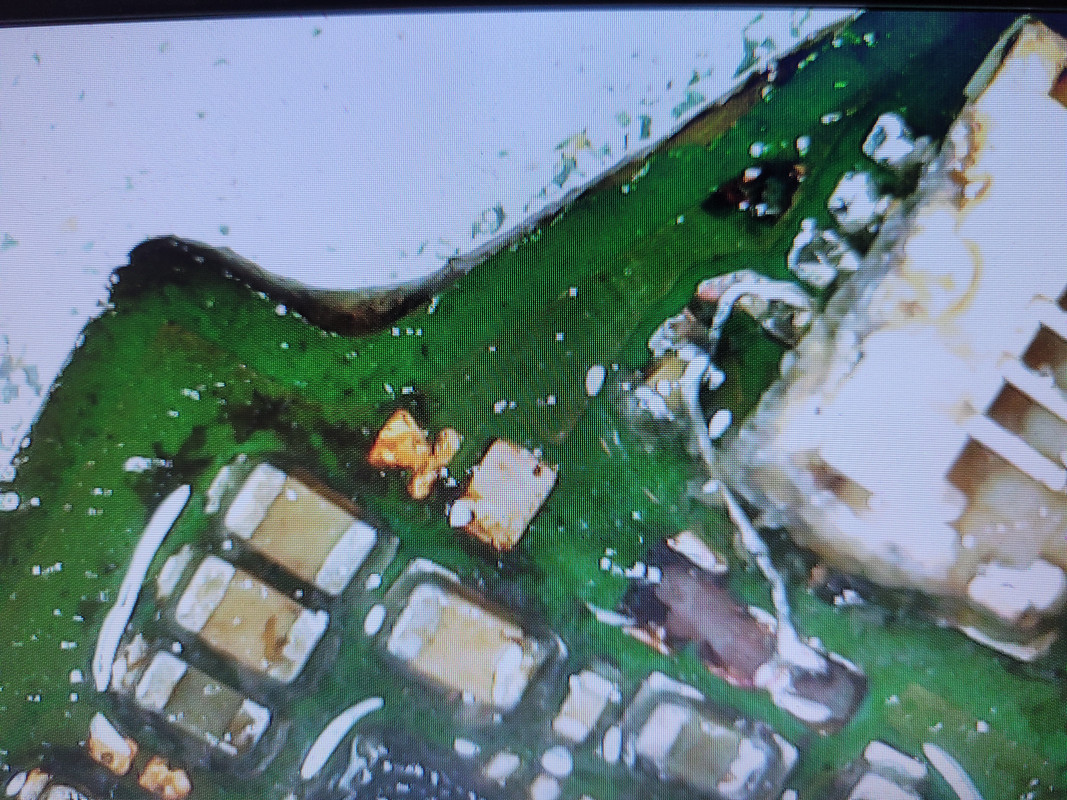


So I grabbed one of my donors and my meter and tested around the board for anything with continuity to that area, after a while I found it... run a quick jumper and tested it, look at that fan spinning :D you can just about follow the wire down to the cap in this pic:


Time to make it more permanent, with some better soldered wires and some mask:
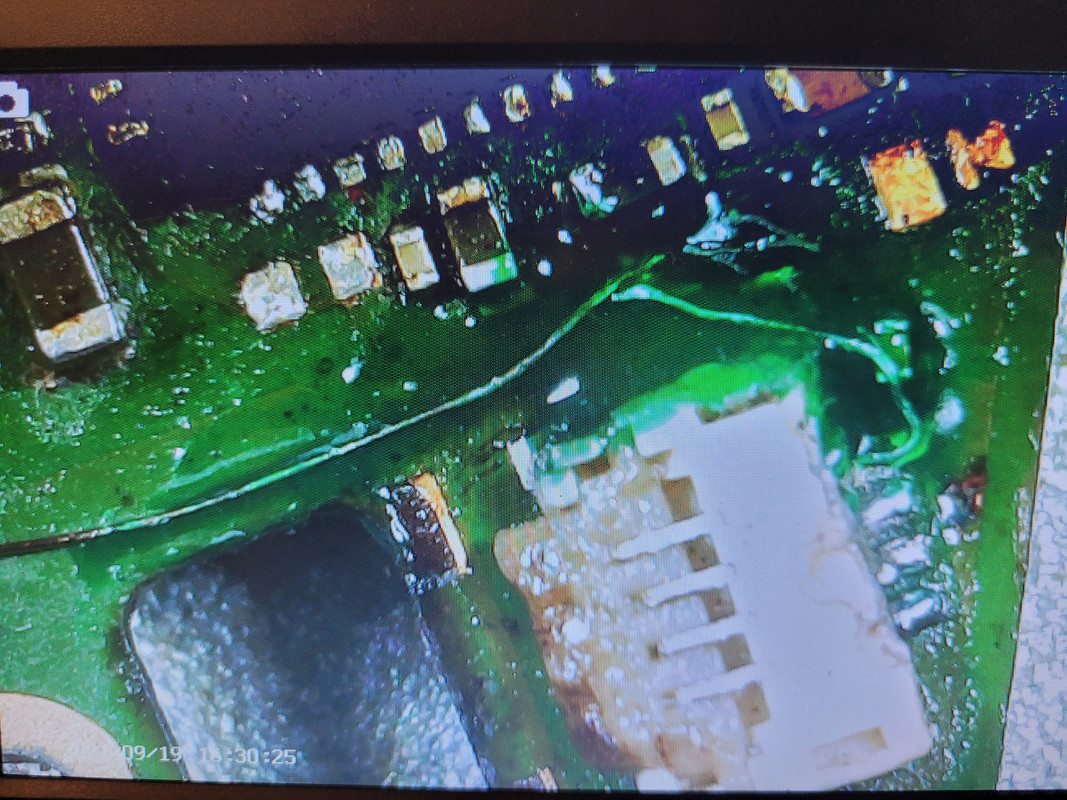

And this is now a fully working board, sure its a bit messy and there is a random wire running the length of the board plus a load of random rework around the audio IC but its a fully functioning switch once again.
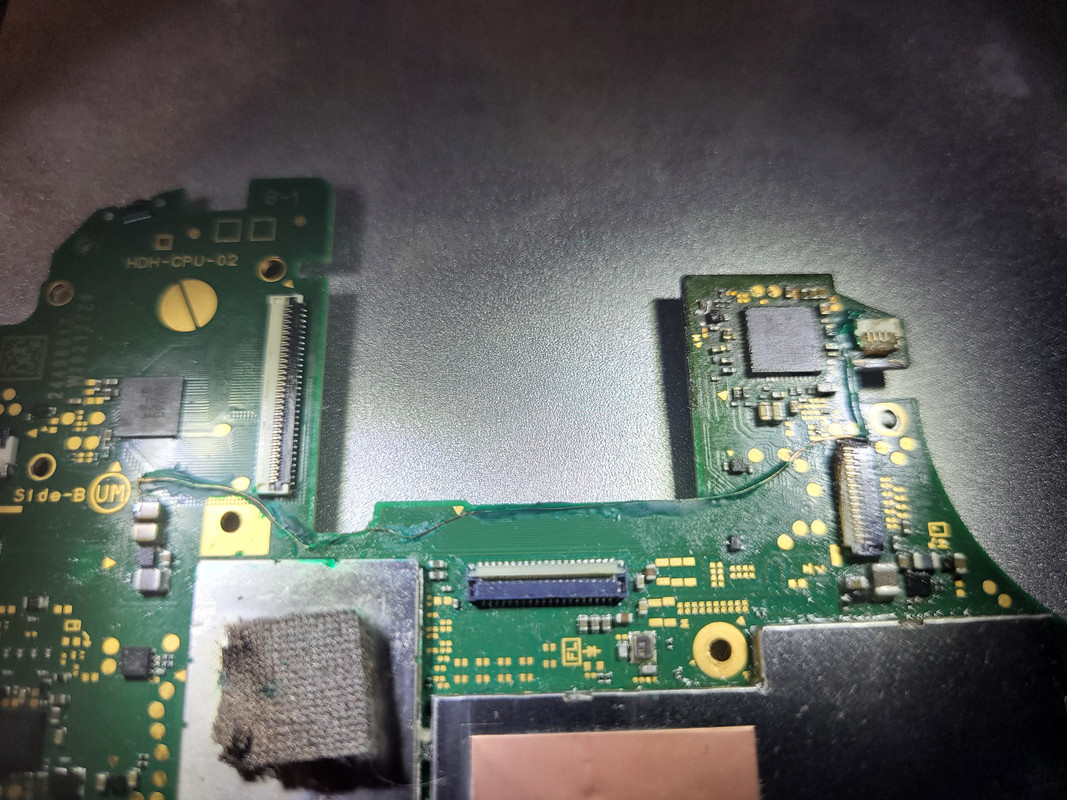
 
Last edited:
GG has arrived , strip down will be later will see if it’s a one chip or 2 . Gotta get the recap done for sound too as there isn’t any!
 
Haven't seen this thread before, all I can say is wow!

Awesome job @Vince :)

I've hidden it away nicely :D I was going to move it to GD at one point early ish on but I think being here people stumble across it and it gets the right amount of attention rather than gd amounts of attention. We have had some fun fixing random stuff that is for sure.
 
you really are mastering those switches now buddy, the recalls are going very well too. Good job

I've almost worked out what everything does on them now, I know things like the power sequence, what sort of voltage should be where and mostly what parts generate the voltage or step it down. There are still some boards in my pile that im completely stumped on but im slowly going back to the ones I couldn't fix at the start to see if I can fix them with what I know now. helps to fix lot of the same thing sometimes and for me that just seems to be switch lites but im trying to spend some time with my yellow GG and other projects as well. Like I did fix the long standing on the bench PS2 yesterday but it just wasn't interesting enough to put up in here.
 
Back
Top Bottom