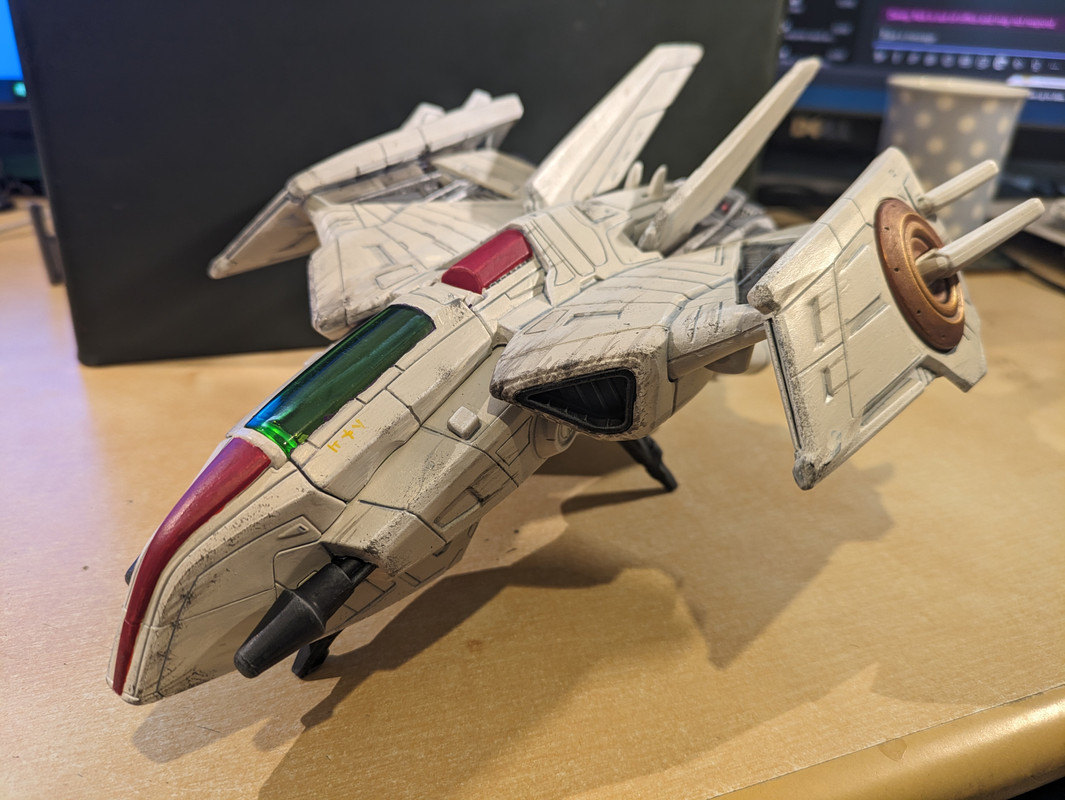
Interesting session. I went over a terminator that was already primed in a leasbelcher equivalent, this was the VMC Steel, I then tried to do a sort of zenethil with white aluminium, perhaps most noticeable on part of the glove, shoulder pads and the back right leg.
Pics are out of order and I'm on mobile so CBA sort.
The two gloved pics are me trying to spray black templar very lightly, it came out a kind of grey which was cool.
Lastly the second coat, now I've lost the metallic look and it pretty much looks like I've just primed it black. It does have some reflectivity in light but disappointing result. I wonder if I should use contrast medium to thin it more, also I guess the difference between the steel and white aluminium may not be strong enough to work, but then it could have been the two contrast coats were too big.
I don't think the steel really went on well to the leadbelcher primer either but this wouldnt happen going forward.
Had a couple of blockages too so even contrast needs a bit of thinner it seems. The retarder I had was a gel which I wasn't expecting so will get a more liquidy flow improver.
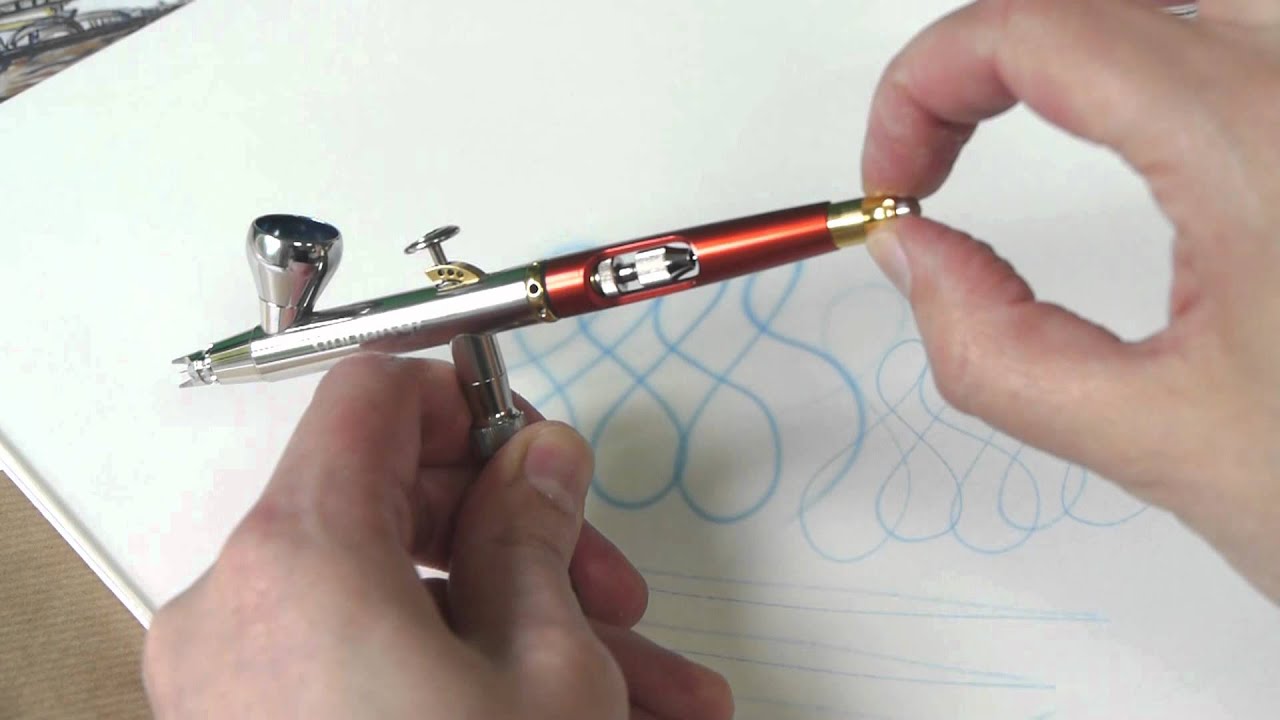
Finally, I really hope I didn't damage my needle, upon reassembly the trigger had moved which meant as I was putting the needle back in it hit something and I couldn't push it forward more. Not sure how I could tell, visually pretty hard.
https://i.~ibb.co~/RvVq24Q/PXL-20240214-215224505.jpg
https://i.~ibb.co~/yR3Lh4j/PXL-20240214-211043400.jpg
https://i.~ibb.co~/0yYLVj4/PXL-20240214-211110036.jpg
https://i.~ibb.co~/48xLqtk/PXL-20240214-215157548.jpg
https://i.~ibb.co~/0ChSHrL/PXL-20240214-221940111.jpg


 All finished


")
")