

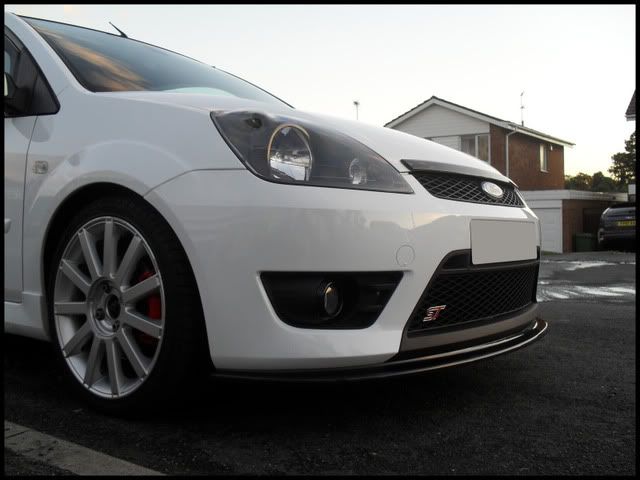
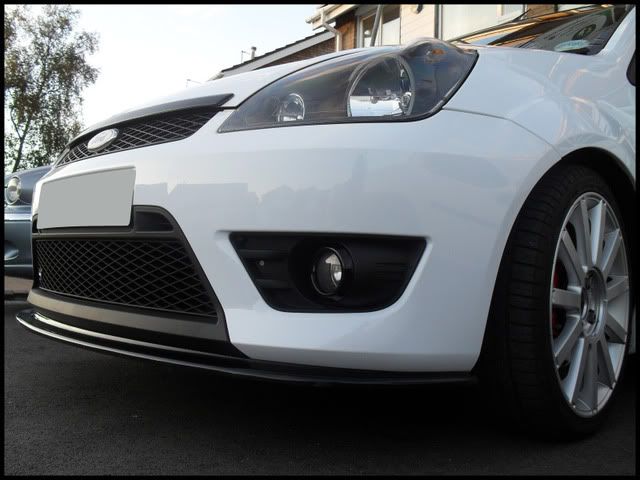
A bit late but I know I said I'd get a pic for whoever it was of my spaces, so here you go. Not the best pic but gives a good idea ")

Cheers for the help Will, you can get a set of 6.5 lights for £50 used so I'll just wait for some to turn up locally and get those
Cheers for the help Will, you can get a set of 6.5 lights for £50 used so I'll just wait for some to turn up locally and get those

 Hope it isn't too bad mate.
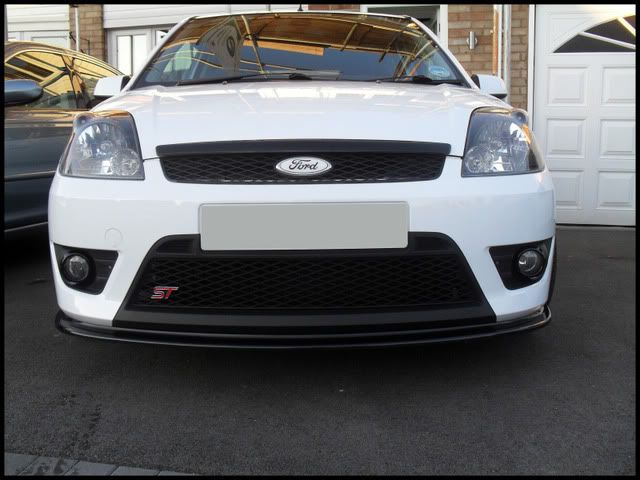


")